

How to Draw Bucky Barnes
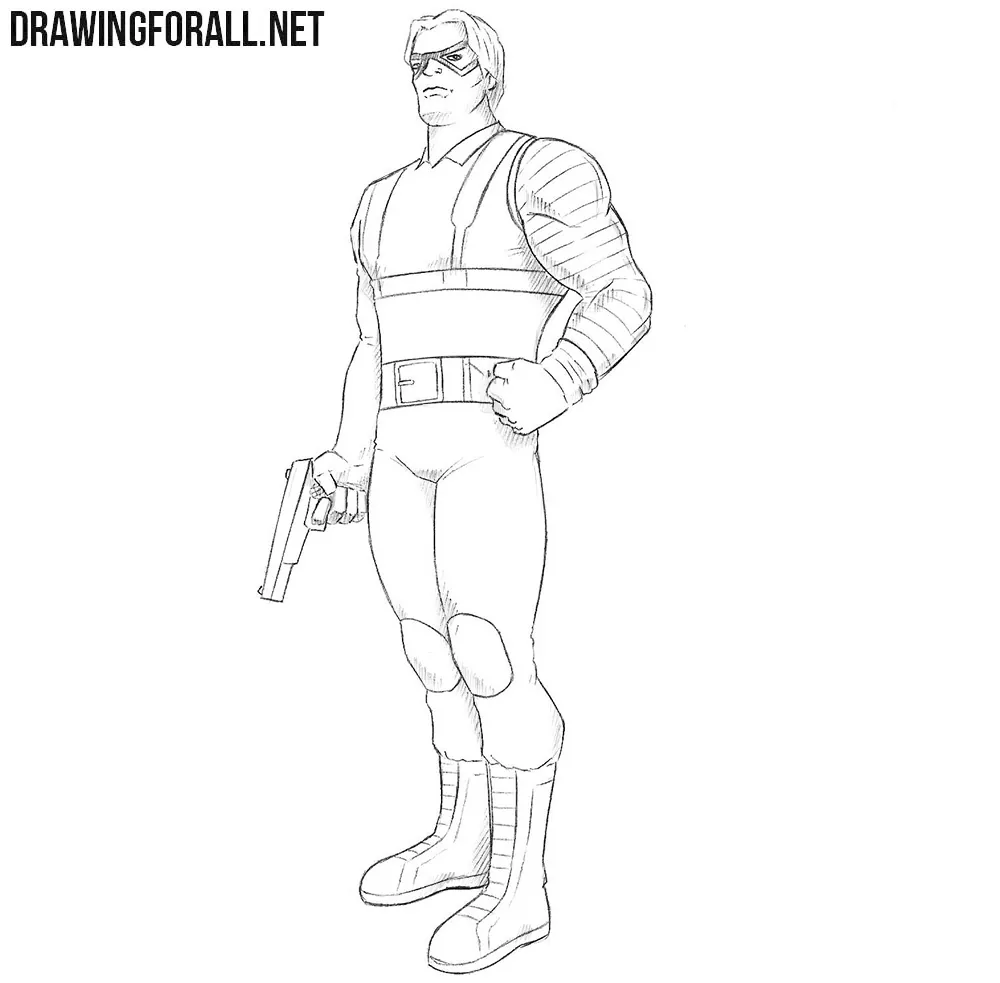
For this tutorial on how to draw Bucky Barnes, we chose his characteristic appearance from more modern works, but the same methods and techniques can be applied to drawing the classic hero from older comics.
We also based the drawing style on more recent comics. The basic principles of drawing classic superheroes lie at the foundation of this character, but here we will add the characteristic elements of the Winter Soldier.
How to draw Bucky Barnes step by step
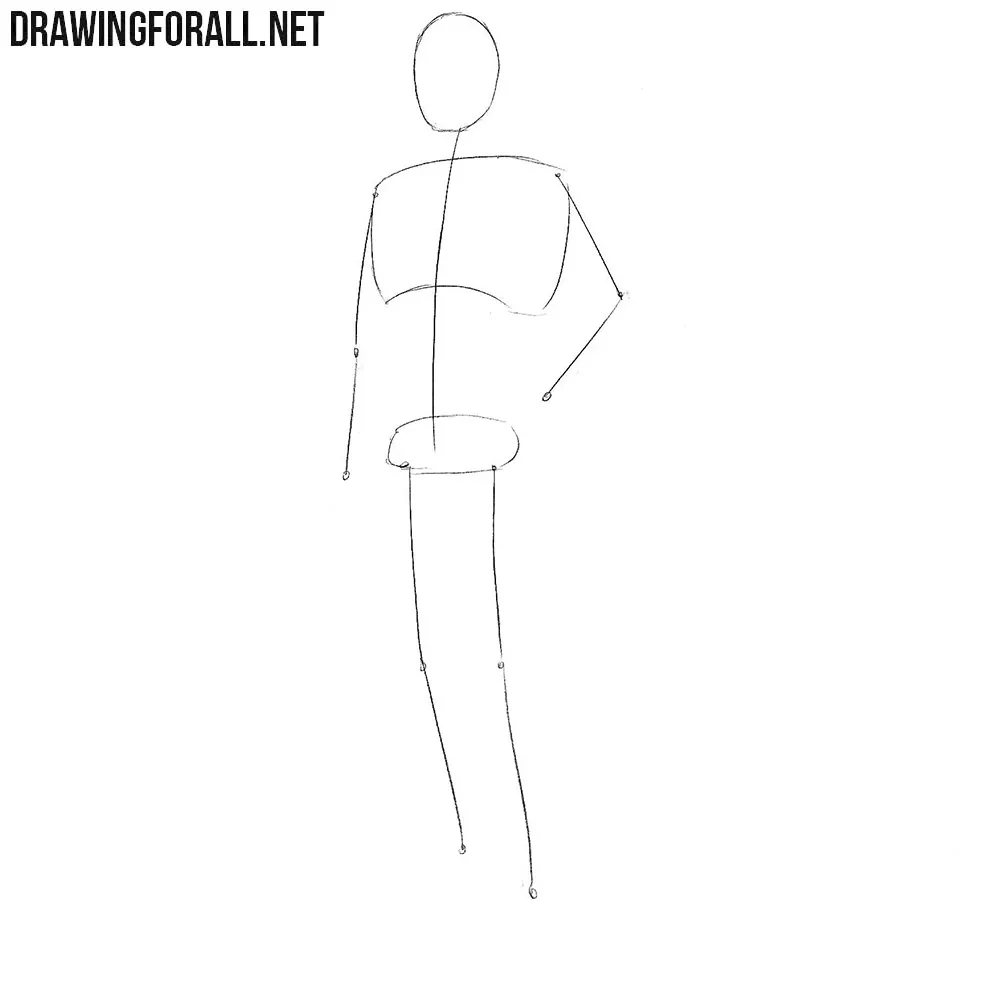
Step 1: Sketch Bucky Barnes’s basic figure
Begin with a stick figure. This is a common starting point in our tutorials on drawing comic book characters. With very light lines, sketch an oval for the head and a line for the neck and spine. Mark the chest and pelvis along the spine. Use simple lines to sketch the arms and legs. Sketch the arm on the left hanging beside the body and the other bent at the elbow, with the wrist near the waist.
Step 2: Build up the torso and limbs
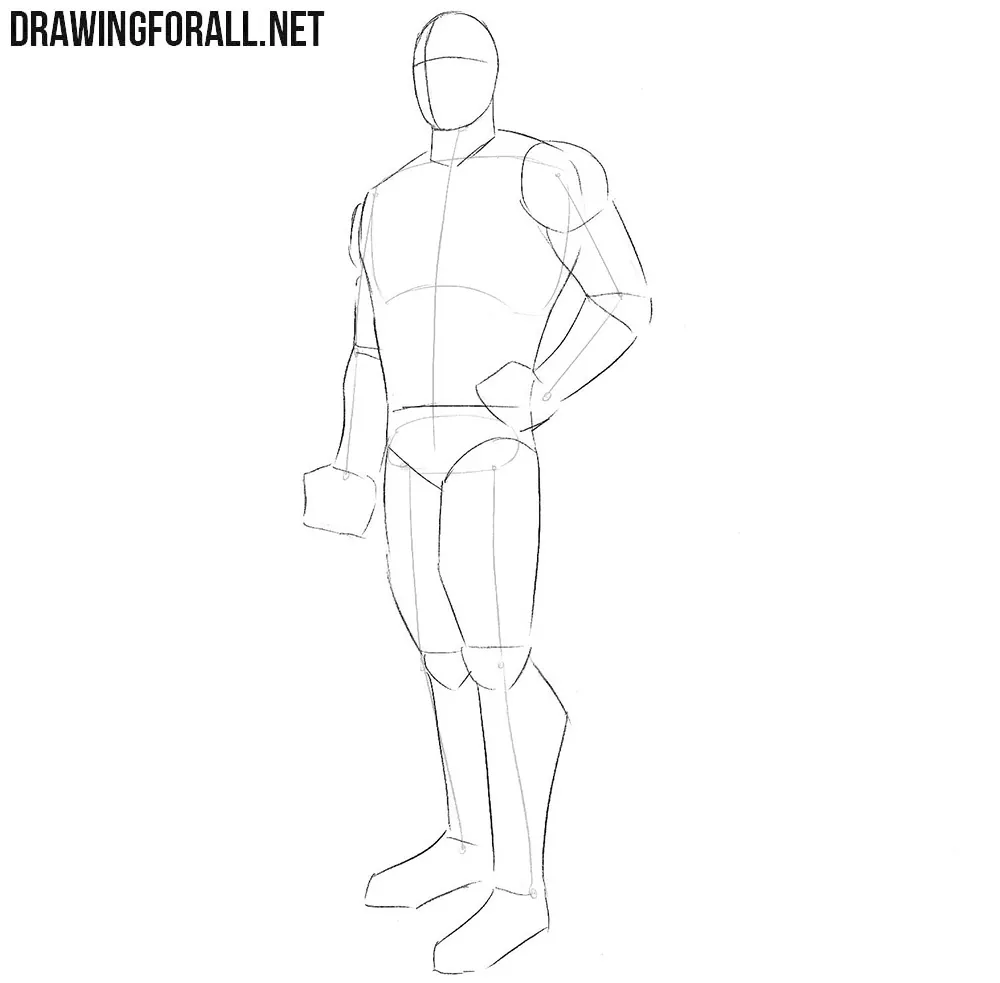
Draw a cylindrical neck and a torso with very broad shoulders and a narrow waist. Mark the shoulders with circles. Below them, outline the upper arms, forearms, and fists. Use tapered cylindrical forms for the arms. Sketch a triangular pelvis under the torso. Next, outline the legs with narrower sections at the knees and ankles. Mark the knees with simple circles.
Step 3: Outline the face and costume
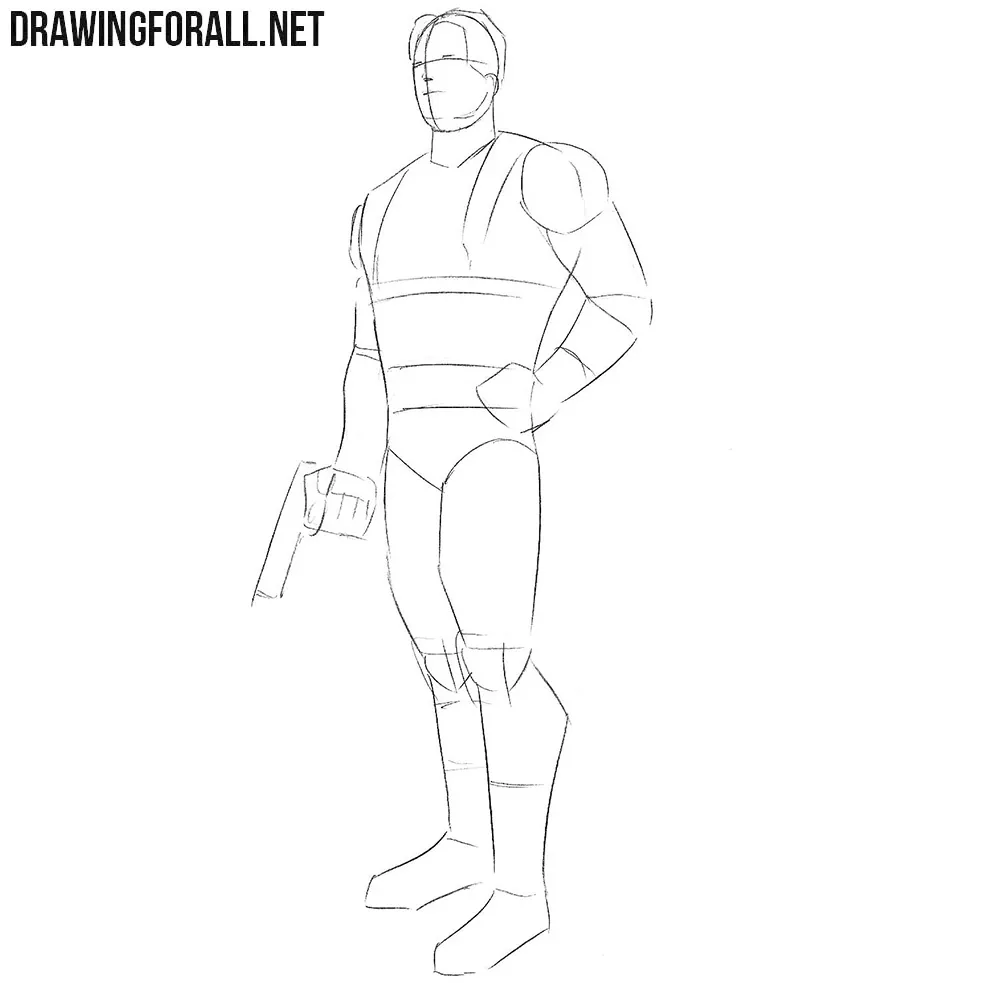
It’s time to sketch the basic details. Use two intersecting guidelines on the face to place the eyes, nose, and mouth. Outline Bucky’s hair around the top and sides of the head. Next, sketch the outlines of the costume. Mark the shoulder straps, chest band, and waist belt with paired lines. Add the knee pads and boot tops, then sketch the pistol pointing downward in his lowered hand.
Step 4: Refine Bucky’s mask and hair
The preliminary sketch is complete, so now use darker lines for the final outlines. Refine the facial features and the mask over the upper part of the face. Draw angular borders around the narrow eye openings and define the straight mouth and firm jaw. Draw the hair with smooth lines. Outline the swept fringe above the mask and separate a few strands beside the temple. Then erase the unnecessary guidelines from the head.
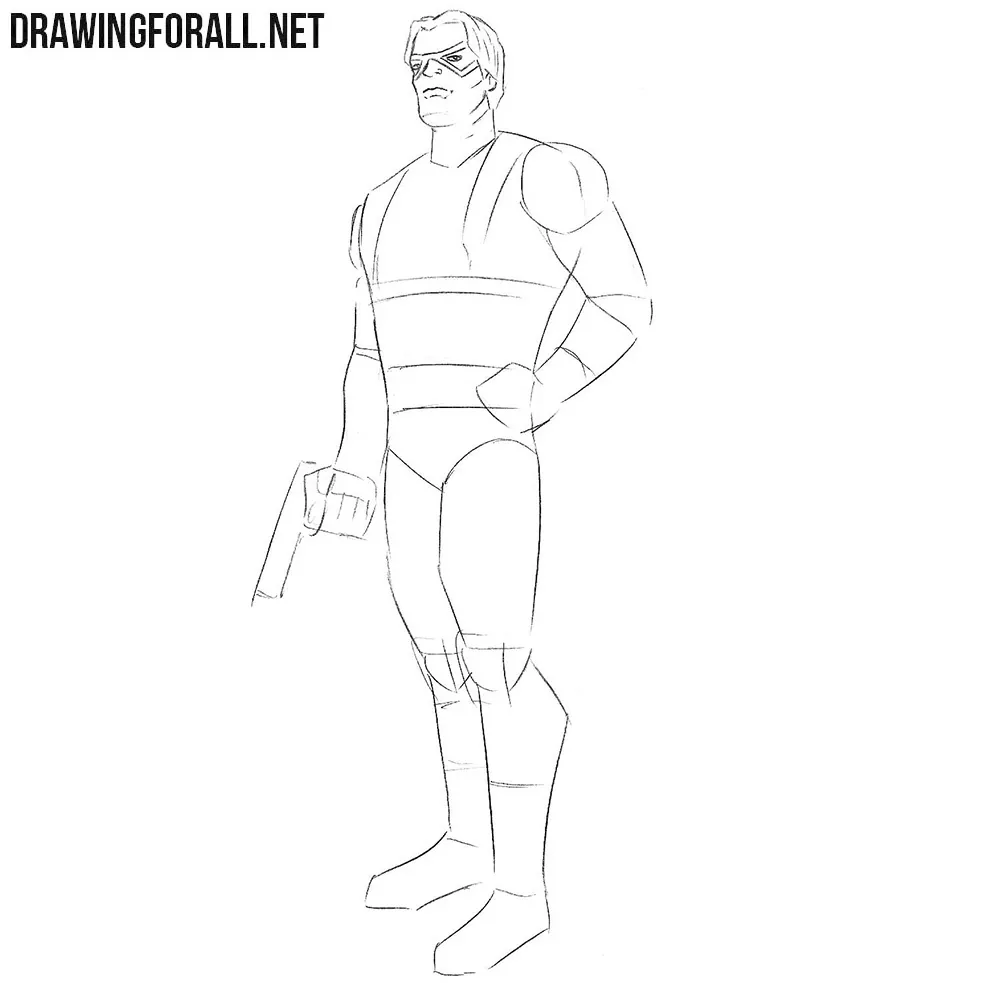
Step 5: Draw the belt and straps
Now move on to the torso. Carefully draw the contours of the belt and shoulder straps. Add the rectangular belt buckle with an inner border and a short prong. Next, add folds in the fabric and outline the other costume details. Draw the pointed collar and the curved edge of the sleeveless top around Bucky’s metal shoulder.
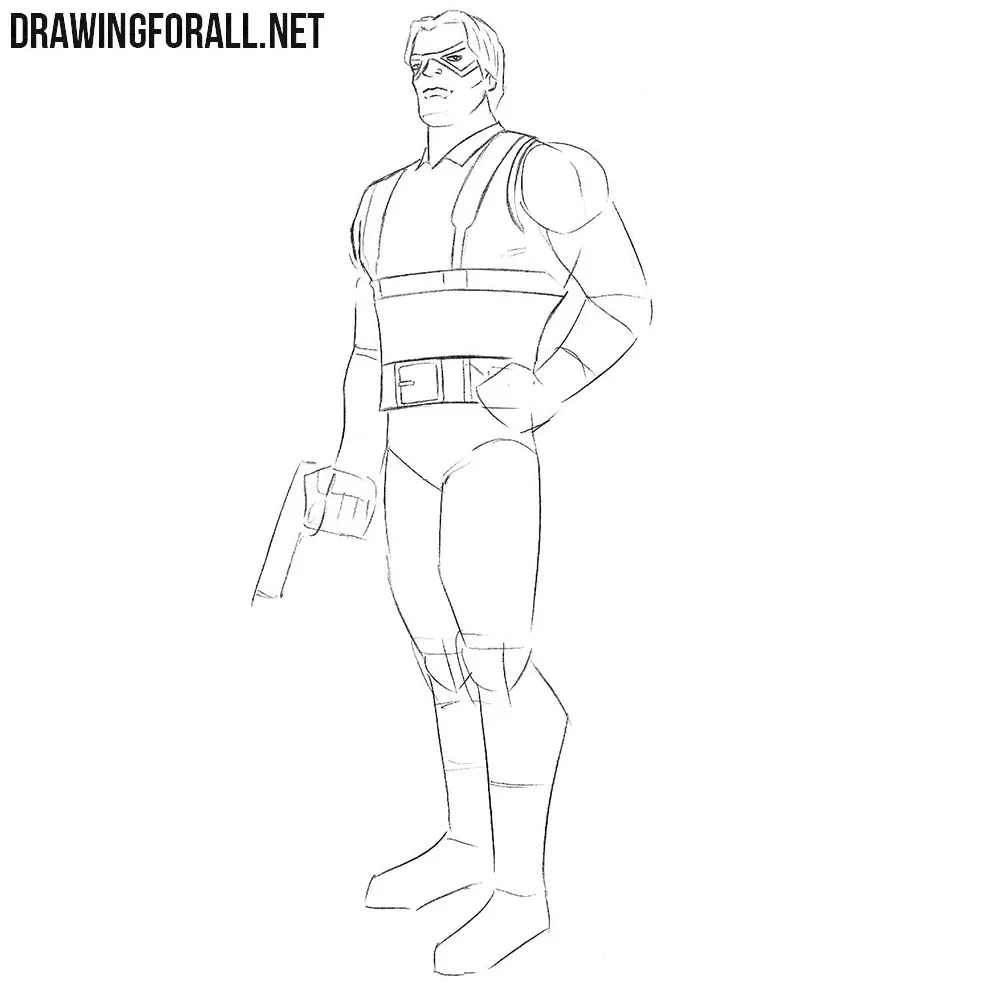
Step 6: Define the muscular arm contours
Draw the contours of the deltoids, biceps, triceps, and forearm muscles. Remove the unnecessary guidelines from the arms and draw the costume details. Divide the Winter Soldier’s metal arm into segments with curved lines across the shoulder, upper arm, and forearm. Follow each part’s cylindrical form. Define the knuckles of the fist at his waist, then draw the fingers around the pistol grip and trace the weapon’s straight edges.
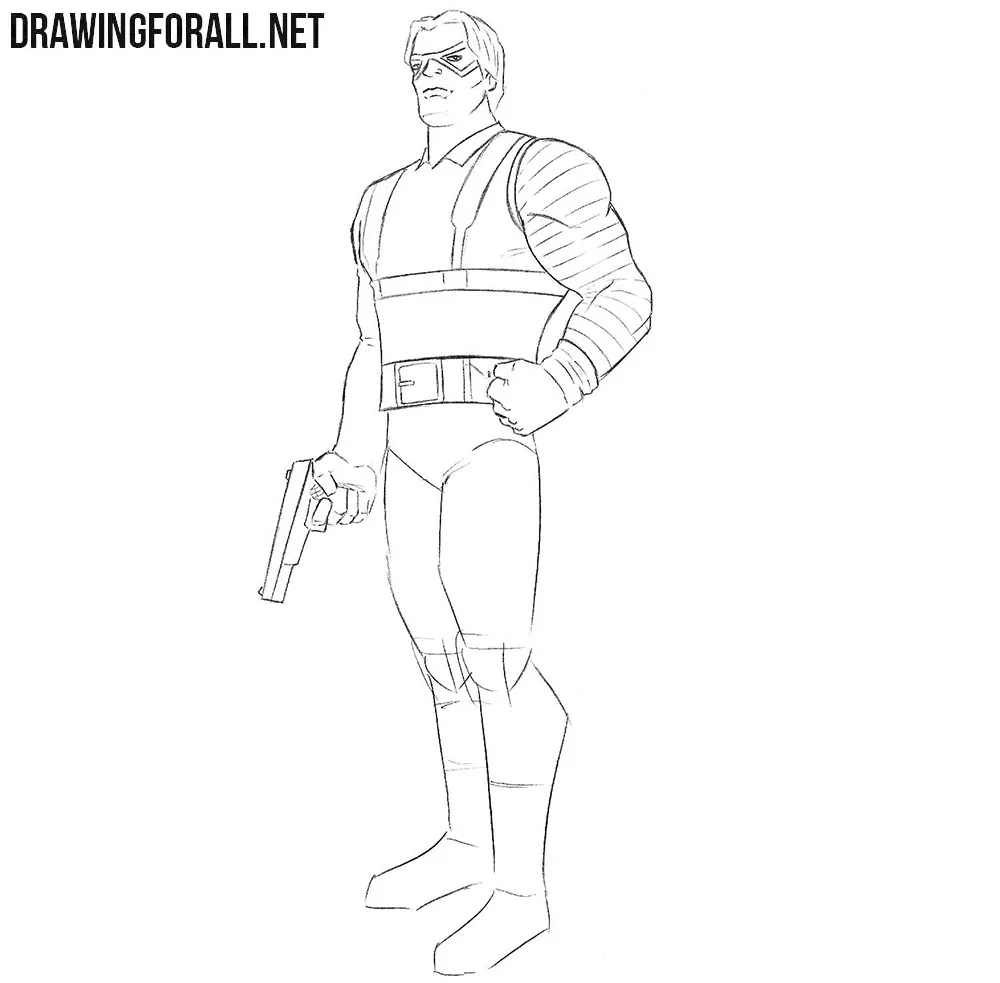
Step 7: Refine the legs and clothing
Work on the lower part of Bucky’s body. Erase the unnecessary guidelines from the legs and carefully refine their contours and muscle definition. Add the costume details and fabric folds. Outline the oval knee pads and the fabric gathered above the boots. Draw narrow panels down the boot fronts and divide them with short transverse lines. Trace the toes and add a second contour along the soles.
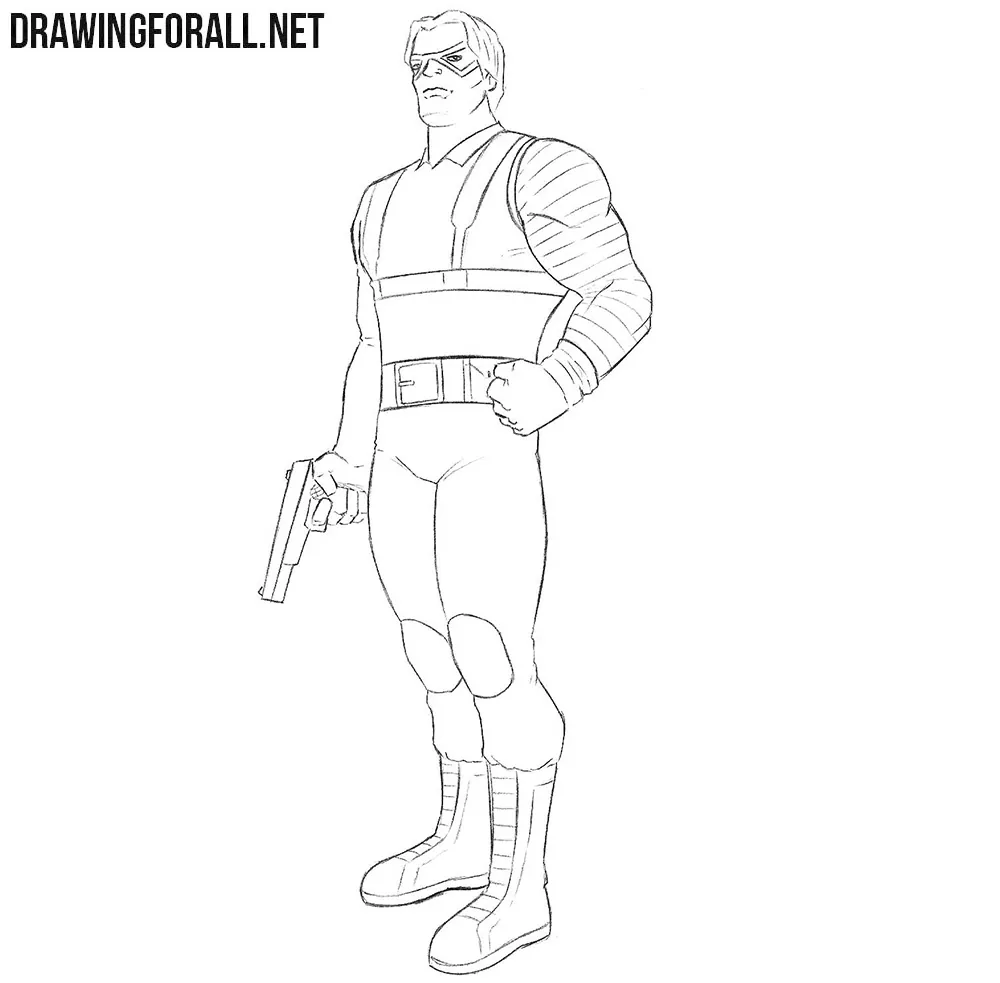
Step 8: Shade the Winter Soldier drawing
Use dense hatching in the least lit areas of the drawing. Use simple, even hatching and apply it to the areas that visually receive less light. You can use a more contrasting light-and-shadow scheme if you want to achieve a more dramatic comic-book effect. You can also add a cast shadow on the ground beneath Bucky.
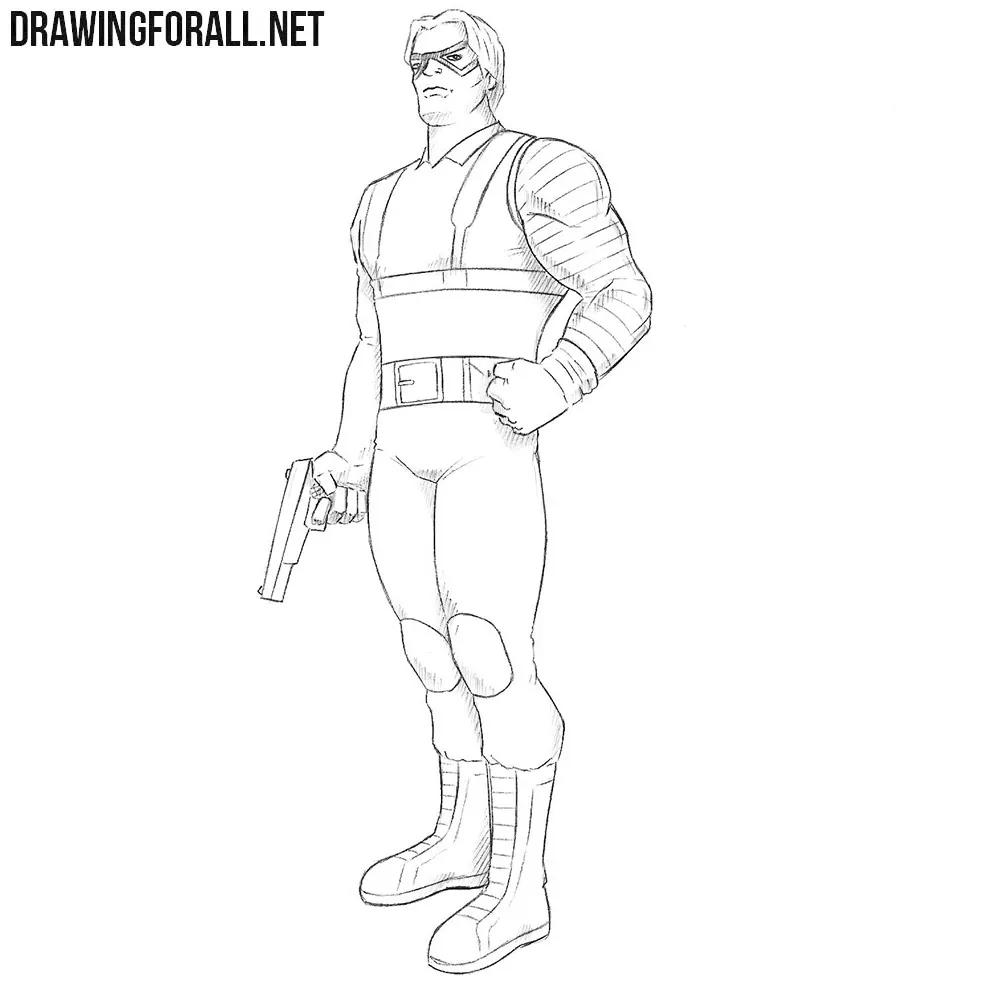
So, the Winter Soldier drawing is complete, and now it is time to evaluate the body proportions, elements, and details. If something in your drawing seems incorrect, try to analyze it.
Evaluate it from the standpoint of the basics of drawing and compare it with our finished example. As we said earlier, in this superhero drawing tutorial we used a more modern style, unlike in our Captain America drawing tutorial.
You can instead try using a more classic Golden Age comic-book style and depict the same hero in a slightly different costume, with different shadows and proportions.

I didn’t like the tutorial. Bucky looked weird and he didn’t have the star on his arm. I was disappointed.😢😢😢