

How to Draw the Punisher
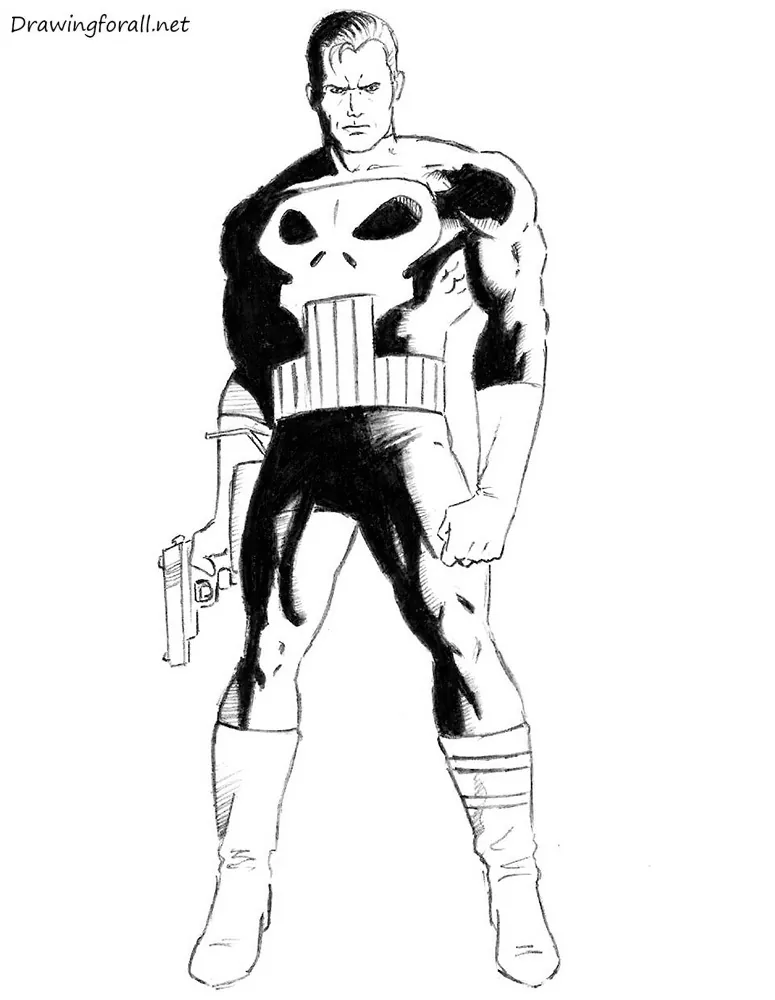
In this tutorial, we will show you how to draw the Punisher – one of the darkest and most brutal characters in the Marvel Universe.
The Punisher’s real name is Frank Castle. His story is tragic: Frank lost his family when they were accidentally caught in a shootout started by gangsters. After this, Frank began to destroy gangsters and other criminals in the cruelest manner.
How to draw Punisher step by step
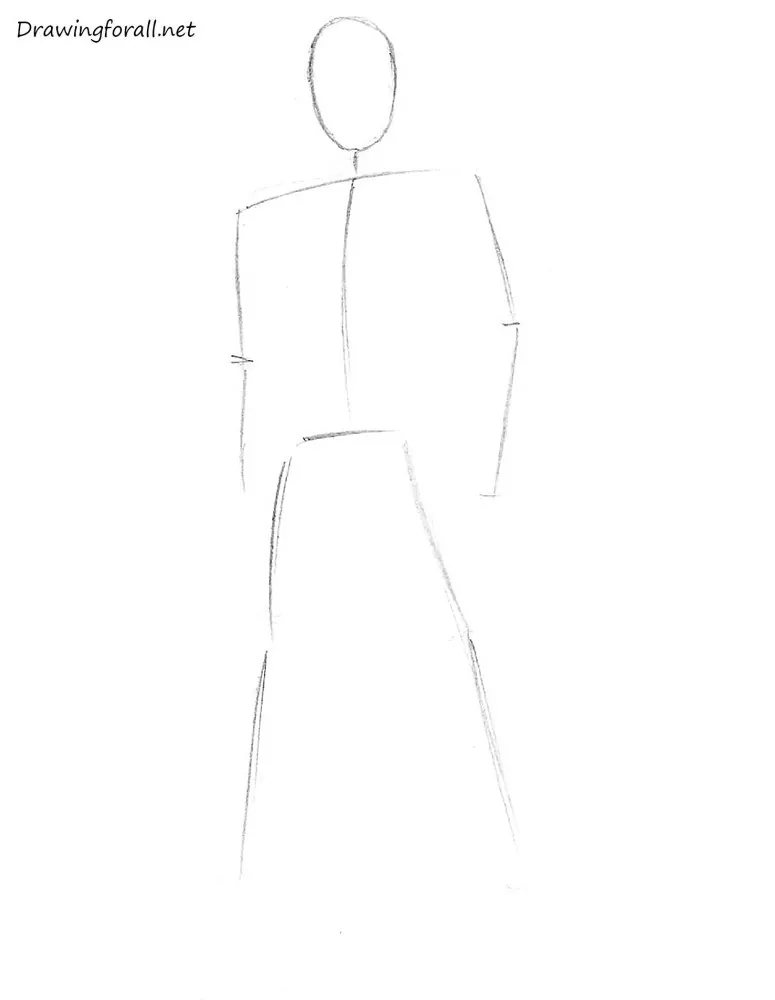
Step 1: Sketch Punisher’s stick figure
Begin by drawing a stick figure made of simple lines and circles. Use the same basic rules as when drawing Captain America to establish the position and structure of the human figure.
Step 2: Build the muscular body
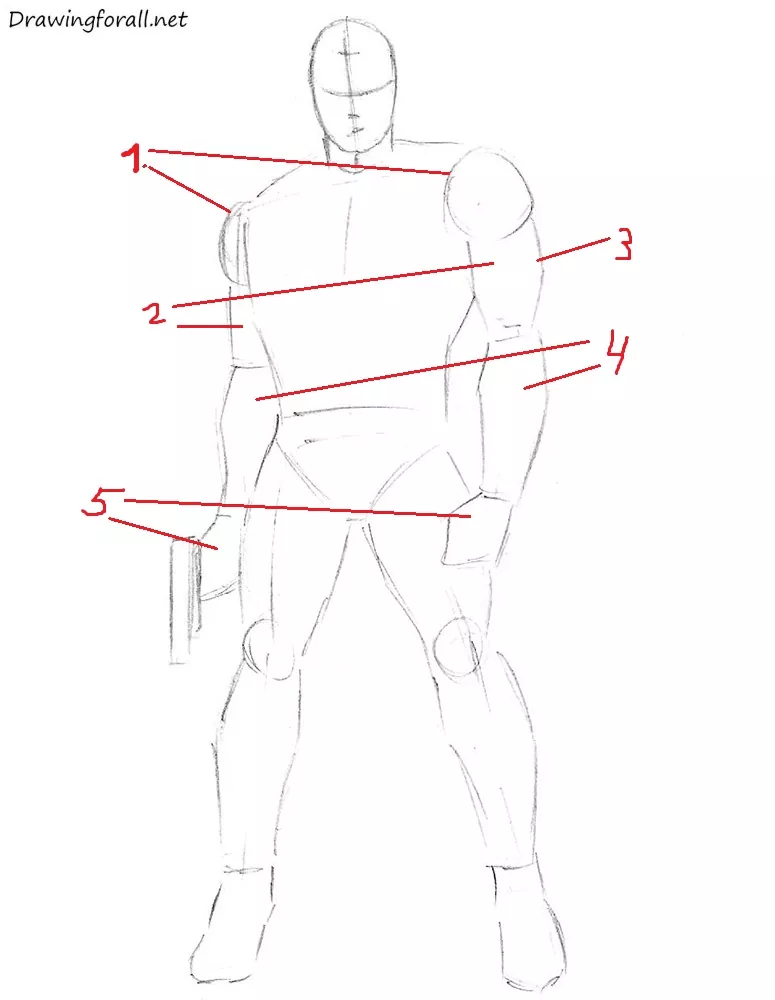
First, draw the neck as a short cylinder that supports the head. Then draw large circles at the tops of the arms. These circles represent the deltoid muscles of the shoulders. Connect these shapes to the neck. Next, sketch the arms. The following diagram marks the main muscles of the shoulders, forearms, and fists:
- Deltoid muscle of the shoulder;
- Biceps muscle. This muscle is located on the inner side of the upper arm;
- Triceps muscle. This muscle is located on the outer side of the upper arm. The triceps forms most of the outer contour of the upper arm;
- Forearm. This part of the arm has a slight thickening below the elbow;
- The fists. They resemble pentagons. When drawing the gun, keep its contours straight.
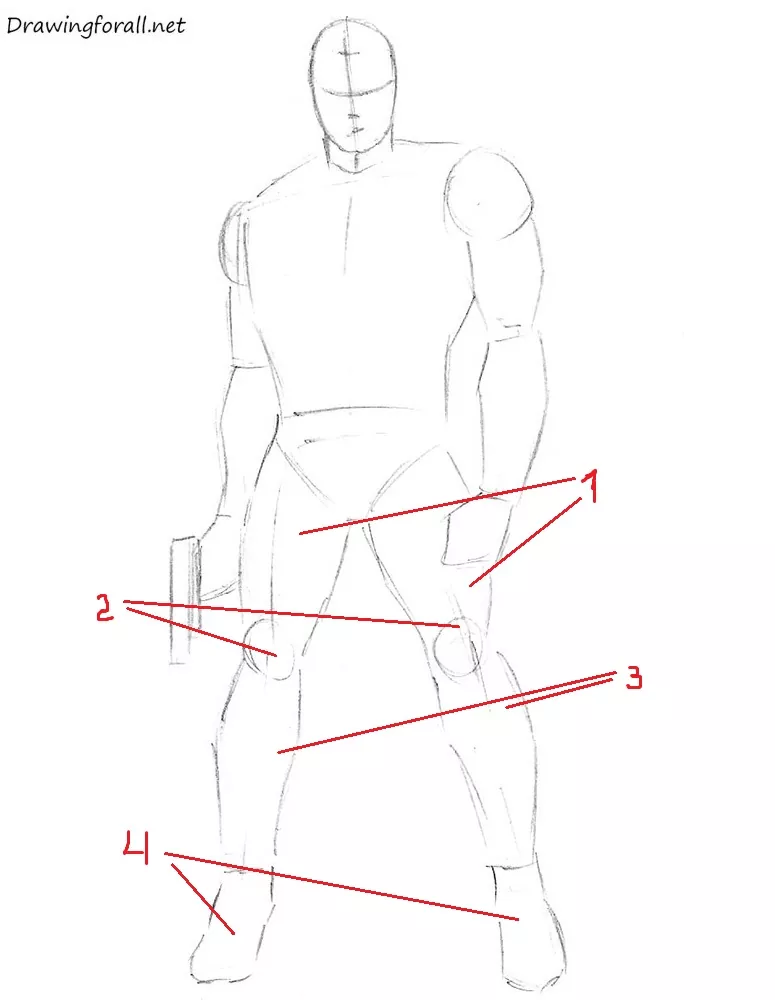
Then draw the torso. It is wide at the top and tapers toward the pelvis. The upper torso is broad because of the massive chest muscles and latissimus dorsi.
Next, sketch the contours of the legs. The silhouette of each leg consists of:
- The thigh. The main muscles are the quadriceps on the front, the biceps femoris on the back, and the medial muscle group. At this stage, these muscles appear as simple outer contours without details;
- The knee joint. On the front, the knee joint is covered by the patella, a small rounded bone;
- The lower leg. This part of the body has a thickening just below the knee, formed by the strong calf muscles;
- The feet. Draw them as a pair of elongated shapes.
The final part of this stage is drawing the face. First, sketch the vertical line of facial symmetry. Then add a line to mark the hairline. Below it, draw a slightly curved eye line, followed by guidelines for the nose and mouth.
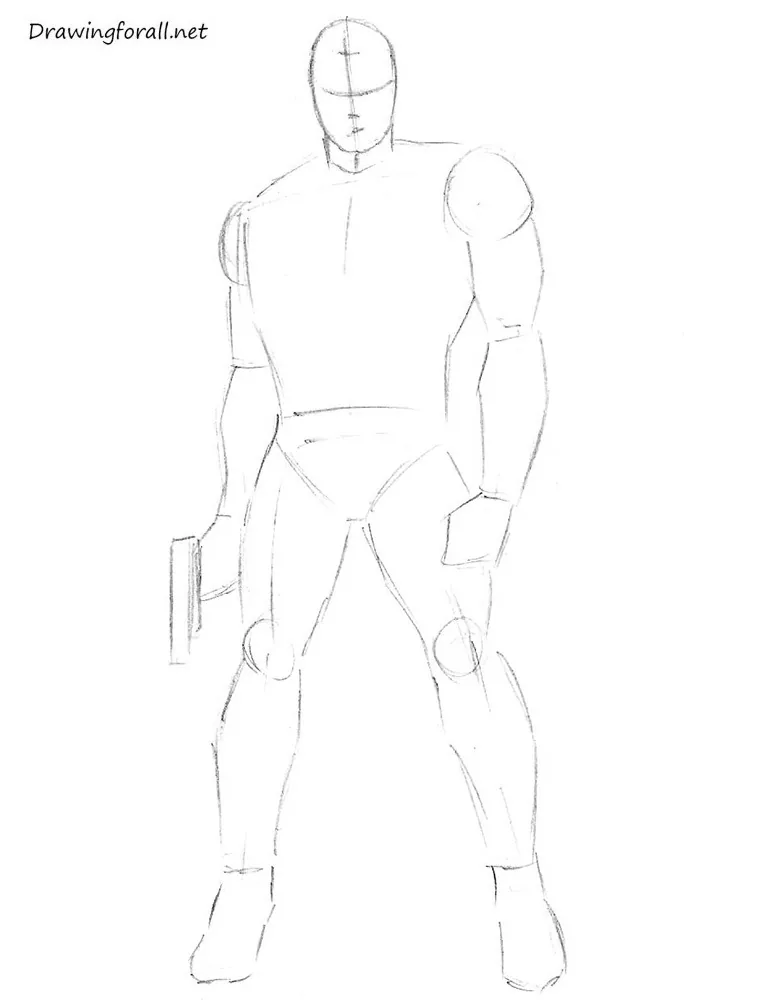
Step 3: Define the facial features
Now detail Punisher’s face. Normally, the upper edges of the ears align with the eyebrows, while the lower edges align with the tip of the nose.
However, Punisher’s head is tilted downward, so the upper edges of the ears sit above the eyebrows, while the lower edges sit above the tip of the nose.
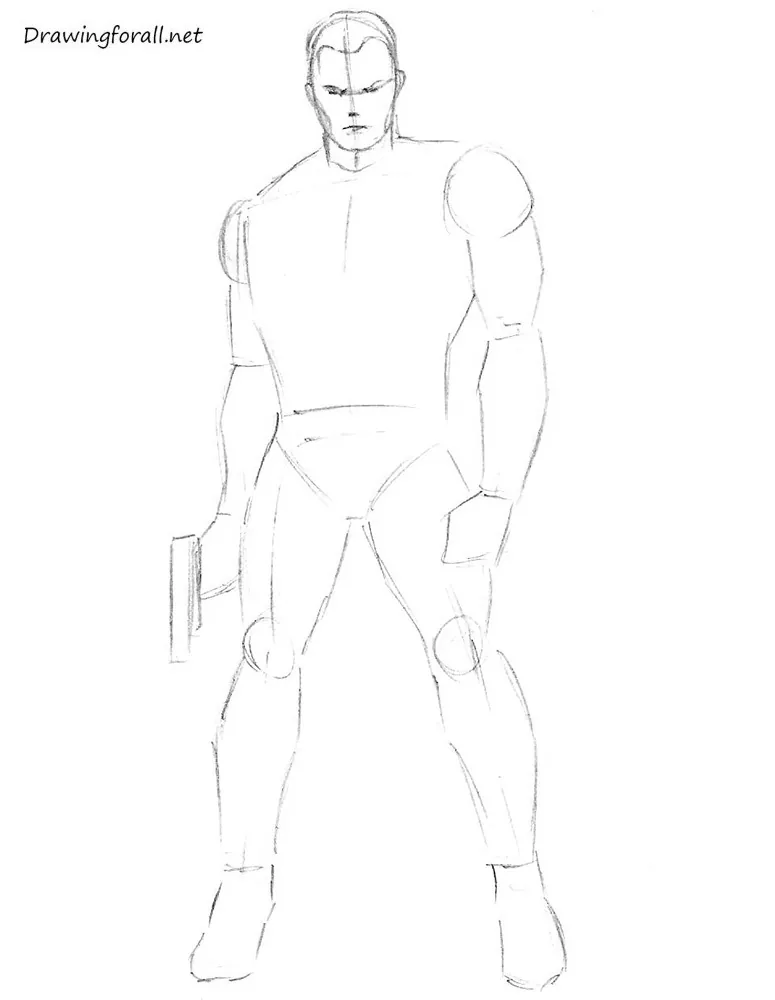
Step 4: Refine Punisher’s face
Now refine Punisher’s face. First, draw the hair, working from the roots toward the ends. Then draw the eyes and the wrinkles between them:
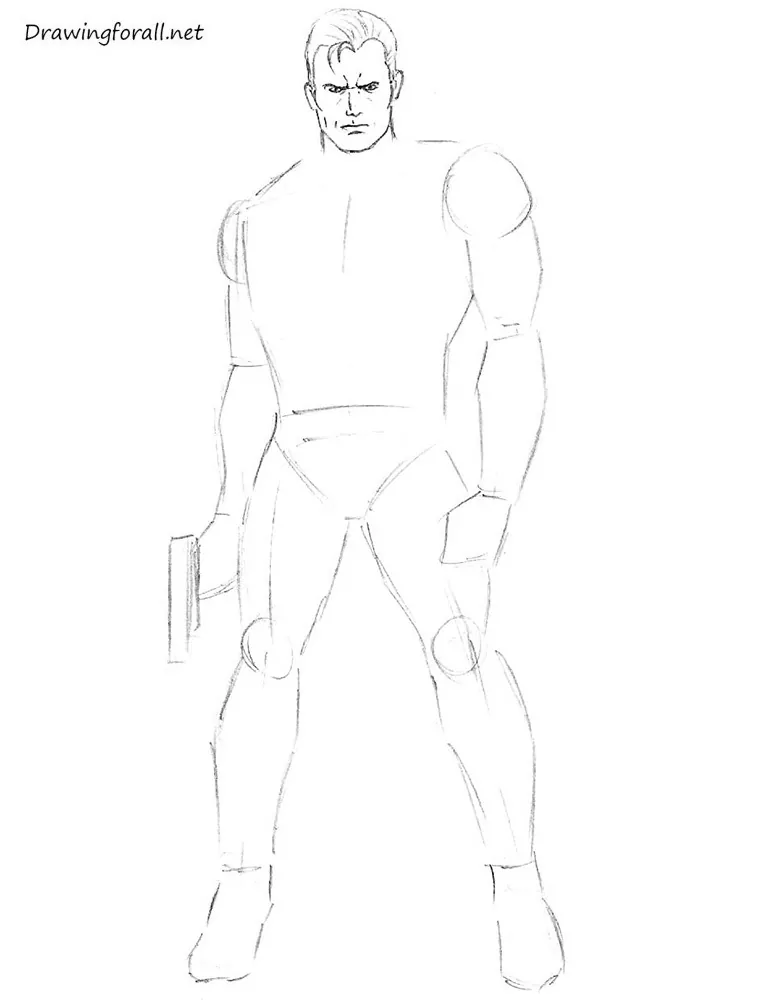
Step 5: Detail the torso emblem
Now draw Punisher’s torso. First, darken the lines between the neck and shoulders. Then sketch the clavicles as short, diagonal lines. After that, draw Punisher’s skull emblem.
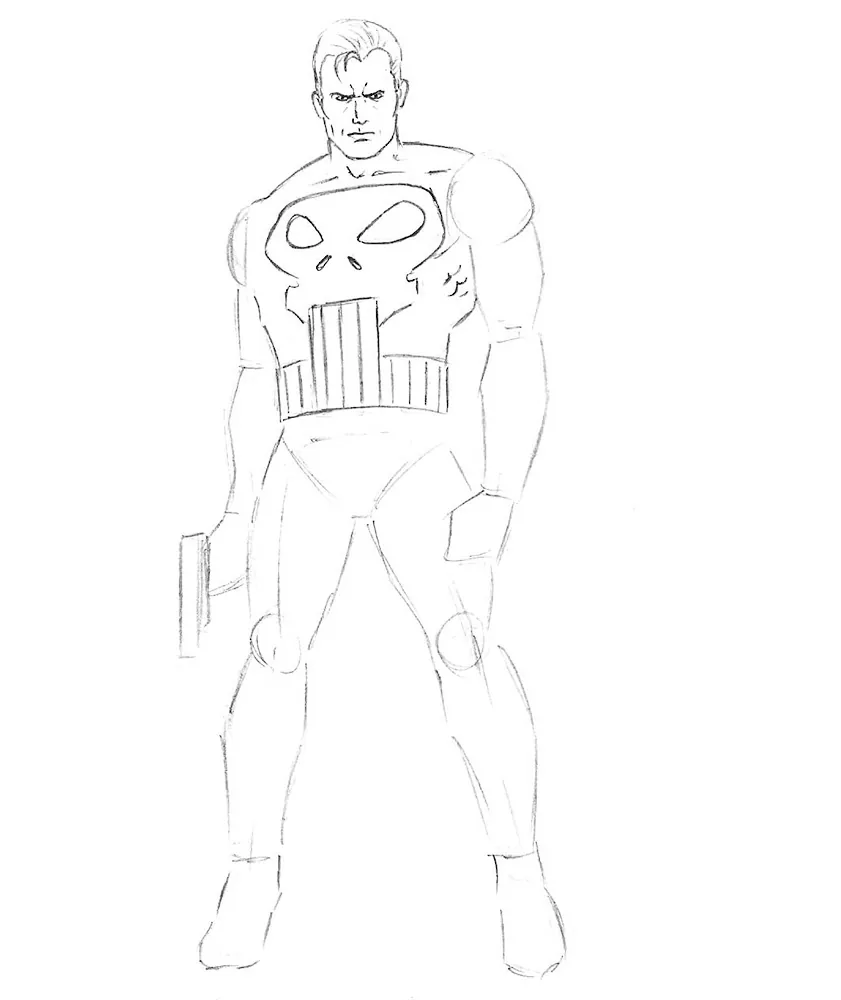
Step 6: Refine the arms and hands
Erase all unnecessary construction lines from the arms. This is easier when you understand the main muscle groups described in the second step. However, drawing the palms is more difficult, so try to work on this part in detail.
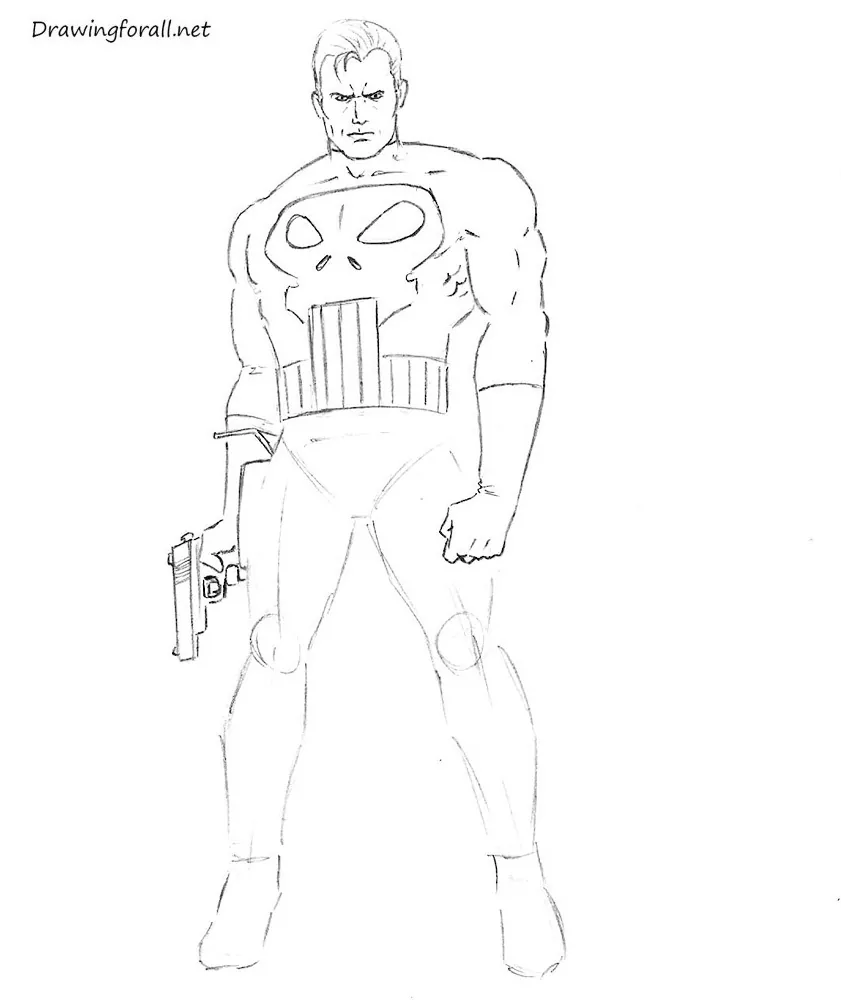
Step 7: Finish the legs and shadows
Darken the contours of Punisher’s legs. Also draw the folds on the boots.
Finish the drawing by adding shadows. The shadows are created in two stages:
- First, outline the shadow areas and add lines inside them:
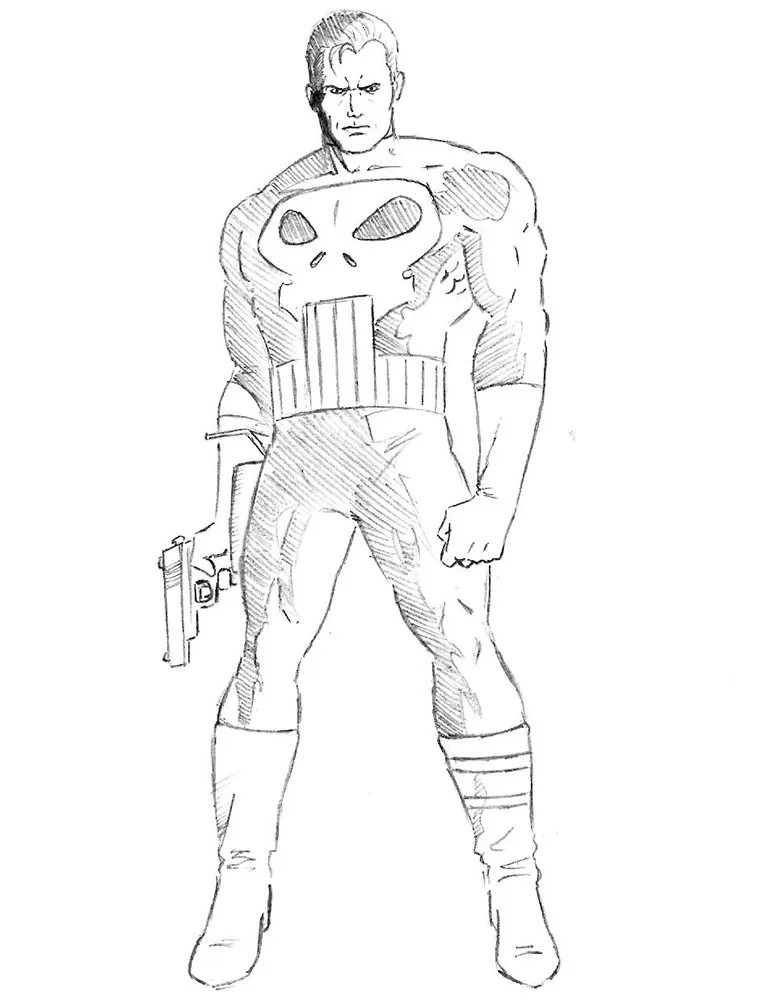
- Then fill these areas with black. You can use a black crayon or a soft graphite pencil.
This tutorial showed you how to draw the Punisher, one of Marvel’s most iconic antiheroes. If you’d like to continue exploring Marvel comics, try drawing Spider-Man to practice sketching a completely different superhero. Or continue with drawing Wolverine, another fierce Marvel character whose uncompromising methods often place him somewhere between a superhero and an antihero.



I love this Website