

How to Draw Superman
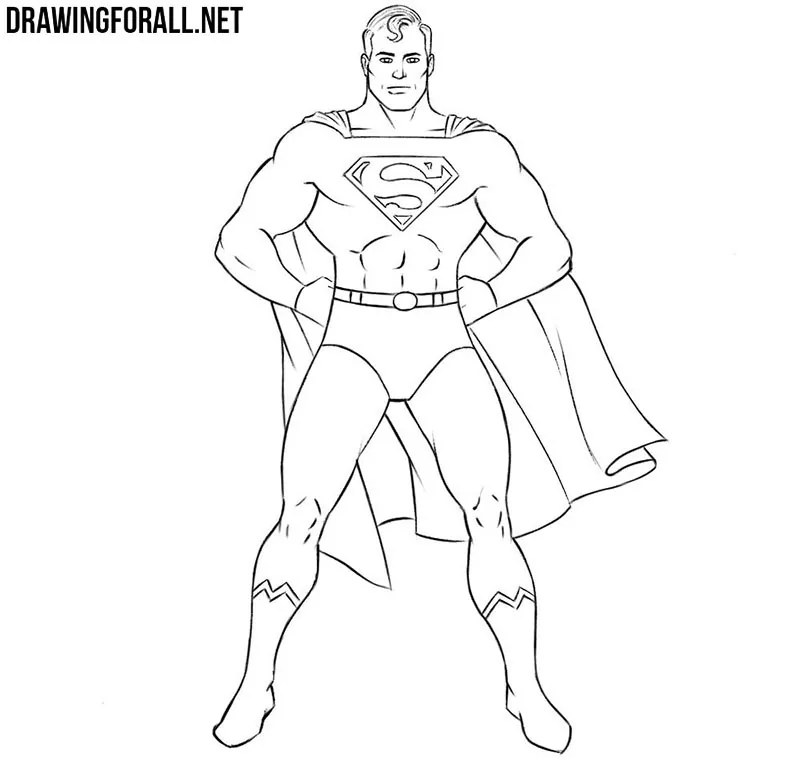
In this tutorial, we’ll show you how to draw Superman, the legendary superhero and one of the most popular comic book characters on the planet.
How to draw Superman step by step
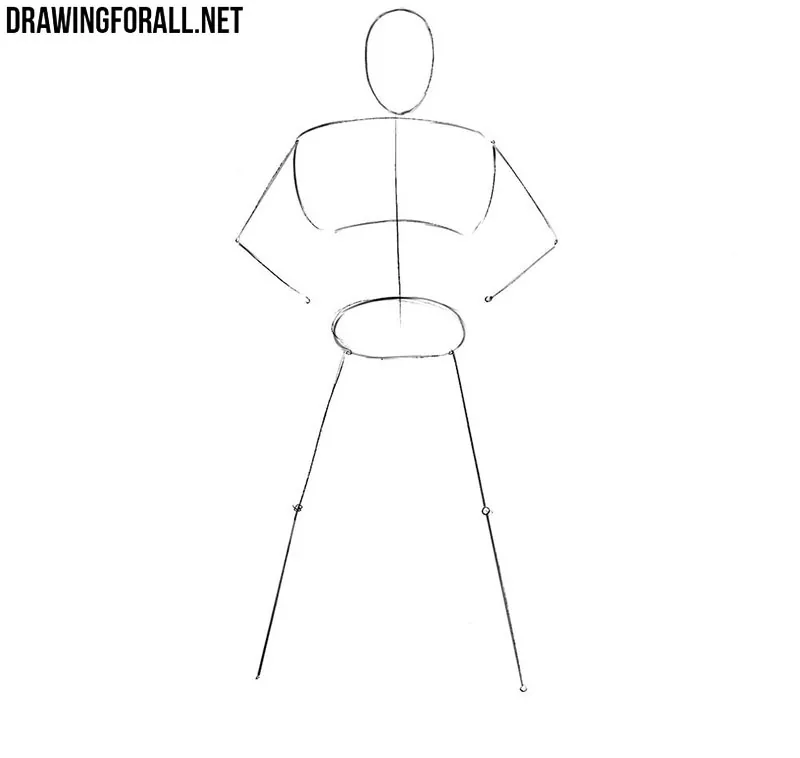
Step 1: Sketch the superhero’s figure
First, outline the basic structure of our character’s figure. Use a stick figure for this. As you know, this is a figure consisting of lines and circles. Here, we see a strong, muscular male figure with a wide chest and a narrow pelvis. The character’s height equals the combined length of six heads.
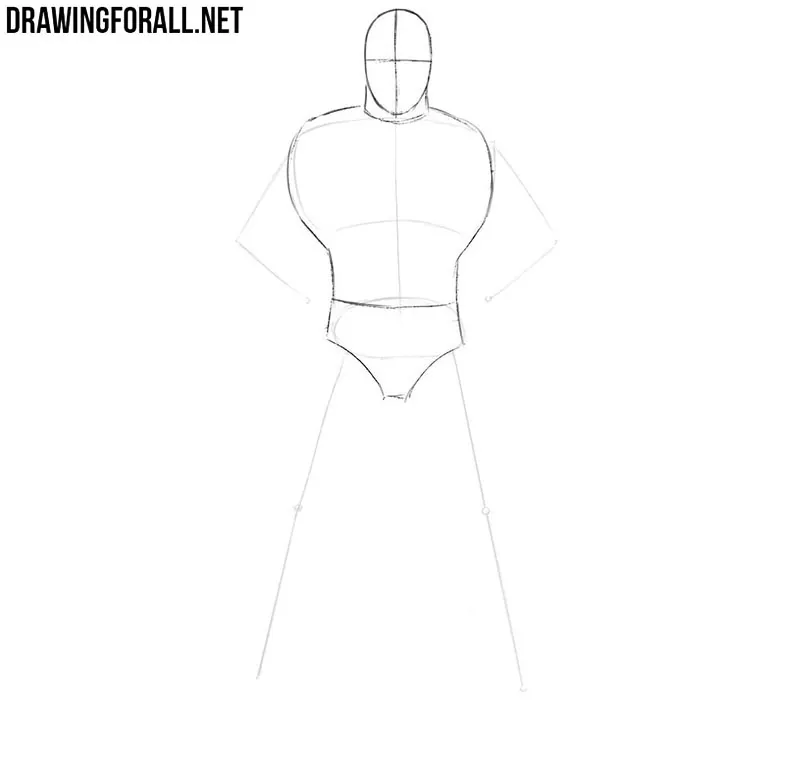
Step 2: Build volume of the upper body
In this step, connect the circular shapes from the previous step. First, connect the head and chest to form the neck. In our case, the neck looks like a strong, short cylinder. Next, draw smooth, curved lines connecting the wide chest and narrow pelvis. At the end of this step, draw two intersecting lines on the face that divide the head into equal parts.
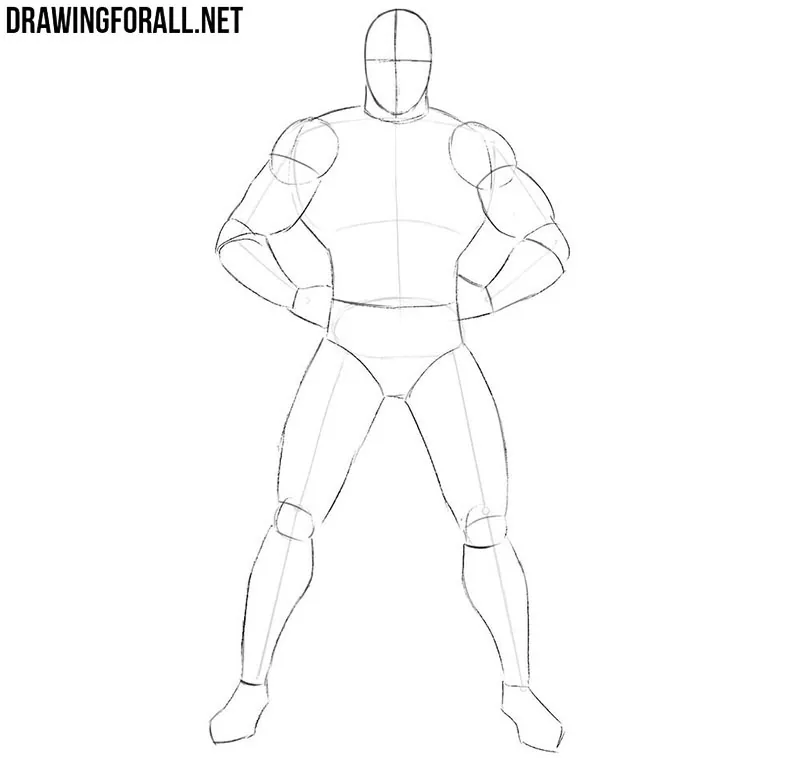
Step 3: Add volume to the limbs
Now, add some volume to Superman’s limbs. Mark the deltoids, elbows, and knees with simple rounded shapes, and sketch the arms and legs as slightly modified cylinders. At this stage, also sketch the hands clenched into fists and the feet with rough lines.
Step 4: Outline the main details
Outline the basic facial features with simple short lines. Also outline the hair with a wavy line. On the body of our hero, sketch the outline of the logo. Complete the step by outlining the cape.
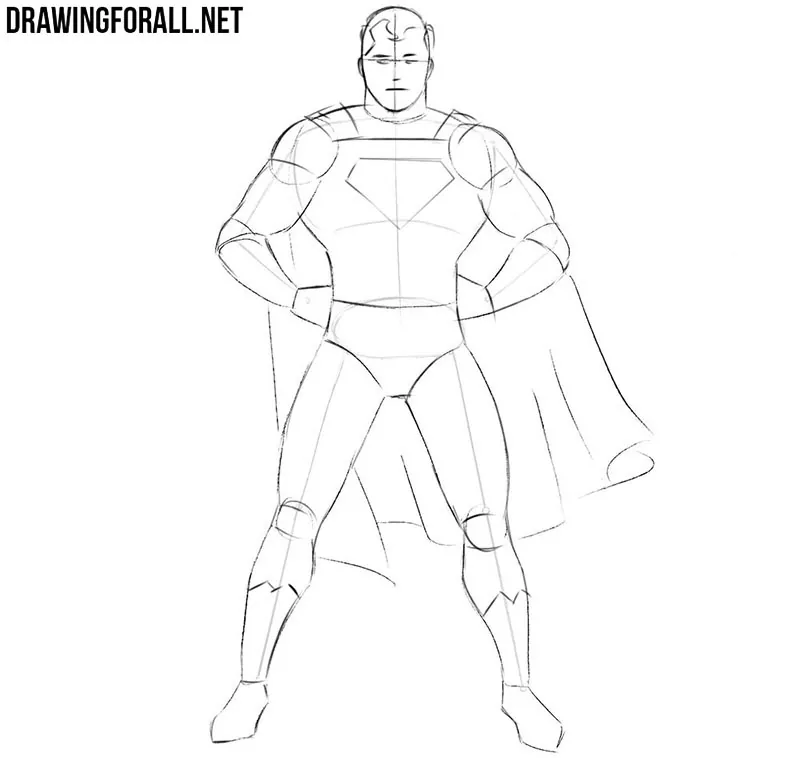
Step 5: Refine Superman’s facial features
Now, draw the final facial features. Avoid adding too much detail. Draw the eyes, then use a few short, broken lines to outline the nose and mouth. Do not forget the hair.
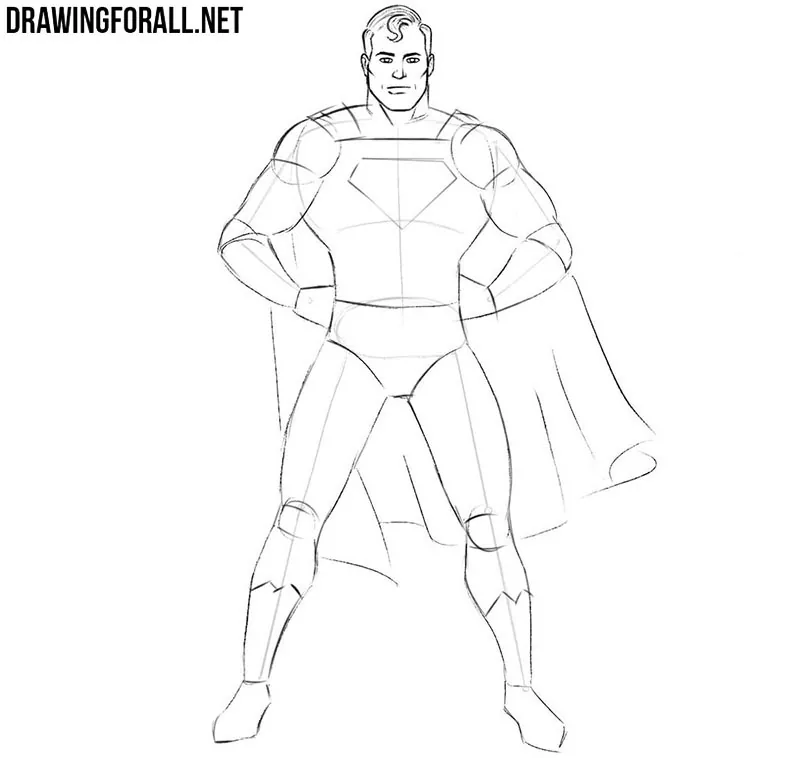
Step 6: Detail the muscular torso
Now, work on Superman’s torso. Draw the neck muscles, prominent pectoral muscles, and abdominal muscles. In the center of the chest, continue by drawing the Superman logo. After that, erase all unnecessary guidelines from the body and proceed to the next step.
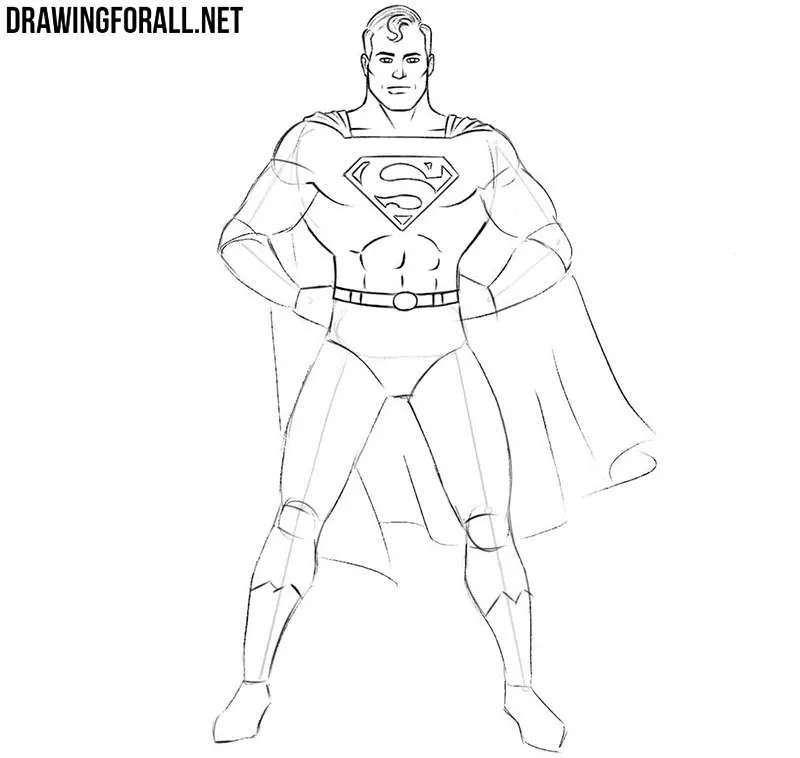
Step 7: Refine the powerful arms
Hands are one of the most difficult areas to draw. In this step, outline the contours of our superhero’s powerful shoulders and arms. After this, remove all unnecessary guidelines from the upper body and move to the lower limbs.
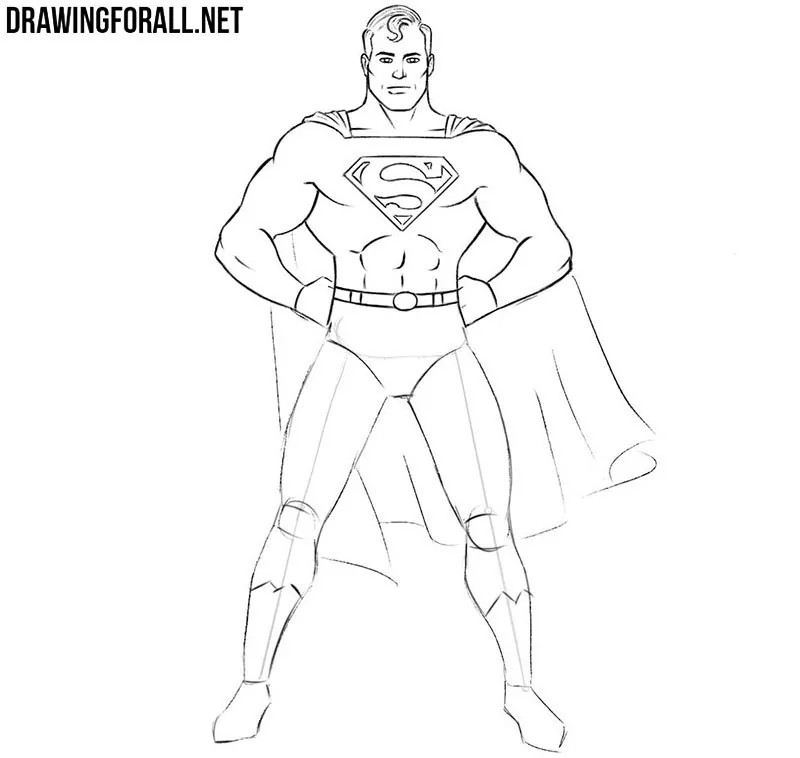
Step 8: Draw the legs of Superman in detail
Now, work on the final contours of the character’s legs. Trace the leg contours with clear, confident lines. Indicate the knee joints with a few strokes. Do not forget the angular line that separates the boots from the pants.
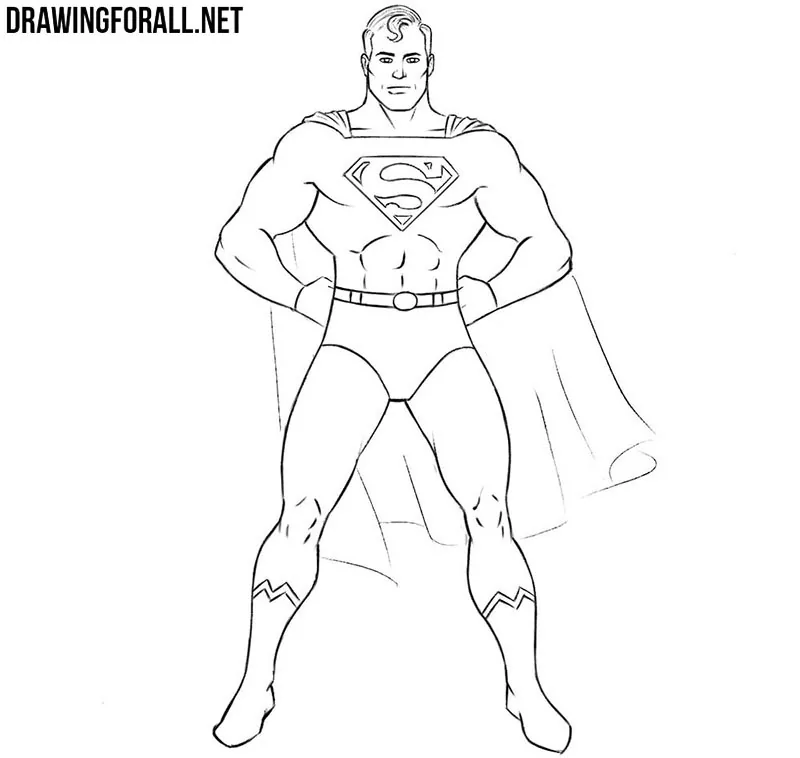
Step 9: Complete the flowing cape
This is the final step of the tutorial. Draw the final contours of Superman’s cape and add long folds to the fabric along its entire length. Fabric folds are very important because they help convey the character’s pose or movement at a particular moment.
We hope you achieved a great result and that your Superman looks realistic and imposing. Do not forget to share your results and comments with us.



easy to follow and is very detailed a simple.