

How to Draw Raiden from Mortal Kombat
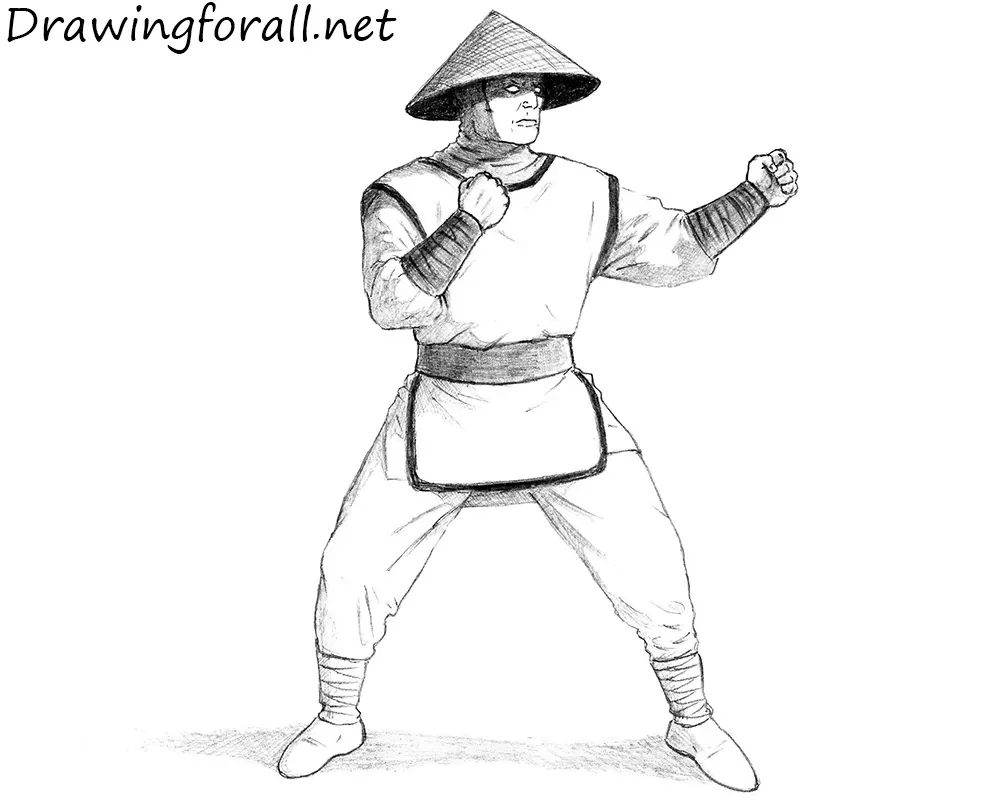
In this Mortal Kombat drawing tutorial, we will show you how to draw Raiden, one of the most charismatic warriors in the series.
Raiden is the Japanese god of thunder, similar to Thor in Norse mythology. Mortal Kombat fans know Raiden as a tall man dressed in white and blue robes similar to traditional samurai clothing. This is the version of Raiden we will draw.
How to draw Raiden step by step
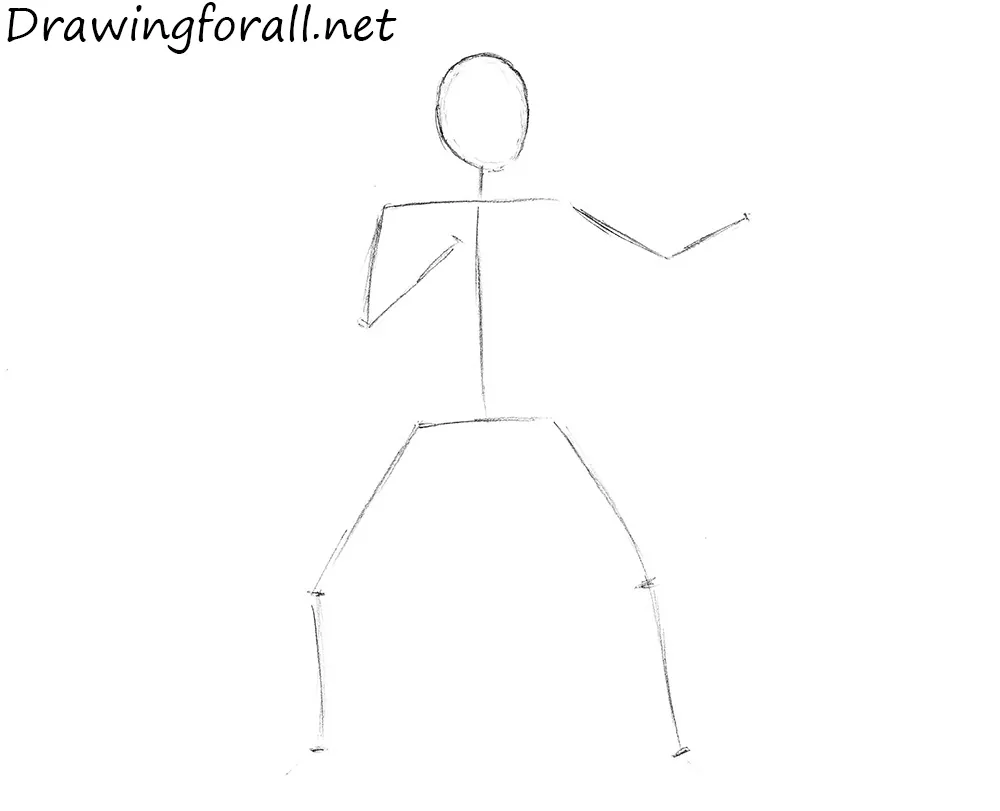
Step 1: Sketch Raiden’s basic figure position
First, establish the character’s proportions, pose, and position on the paper with a stick figure made of simple lines and circles. Pay attention to Raiden’s fighting stance, which many fans will recognize as his classic pose from the Mortal Kombat games. Despite his dominant position among the gods of Mortal Kombat, Raiden has the proportions of an ordinary man, except for his eyes. As with other characters with a normal human physique, such as a knight or Spider-Man, follow these basic proportions:
- The total height is equal to about seven head lengths;
- The legs are about three and a half to four head lengths;
- The torso and shoulders are about three head widths across;
- The torso from the waist to the neck is about two head lengths tall.
Outline the head as an oval. Sketch the torso, shoulders, arms, and legs with simple lines.
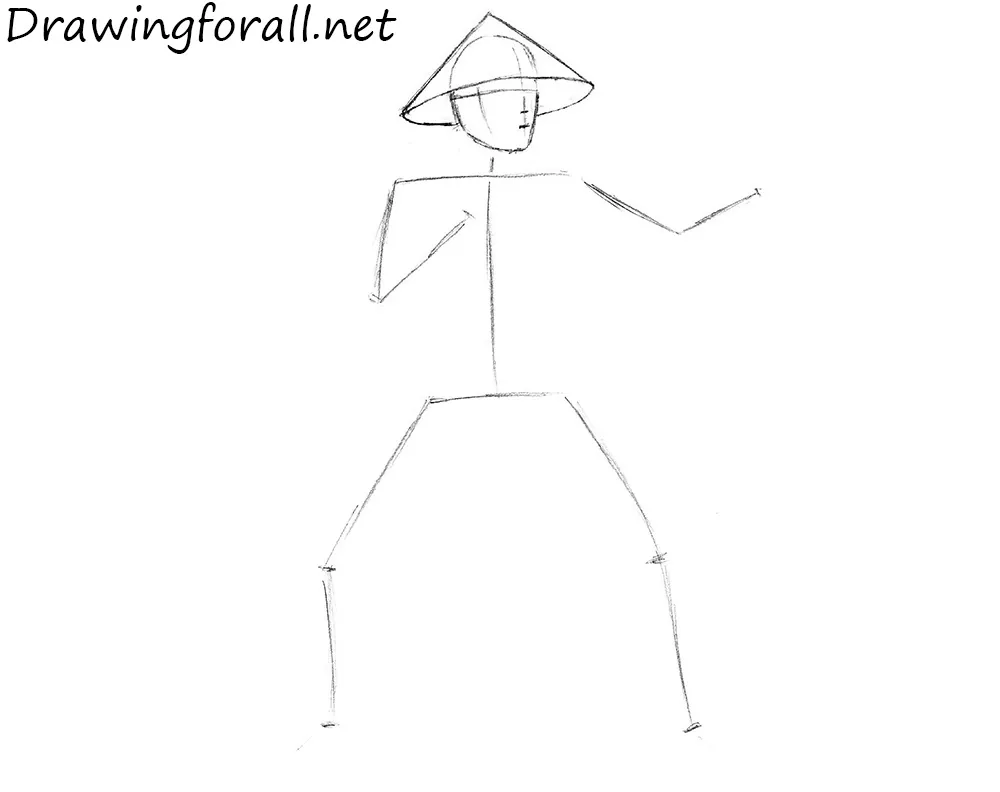
Step 2: Add the fighter’s head details
Raiden’s basic skeleton is ready, so begin adding volume and details. Mark the head with a vertical facial symmetry line and a horizontal eye guideline. Sketch the conical hat with its lower edge slightly above the eye line. Use short strokes to indicate the nose, mouth, and fabric near the temples.
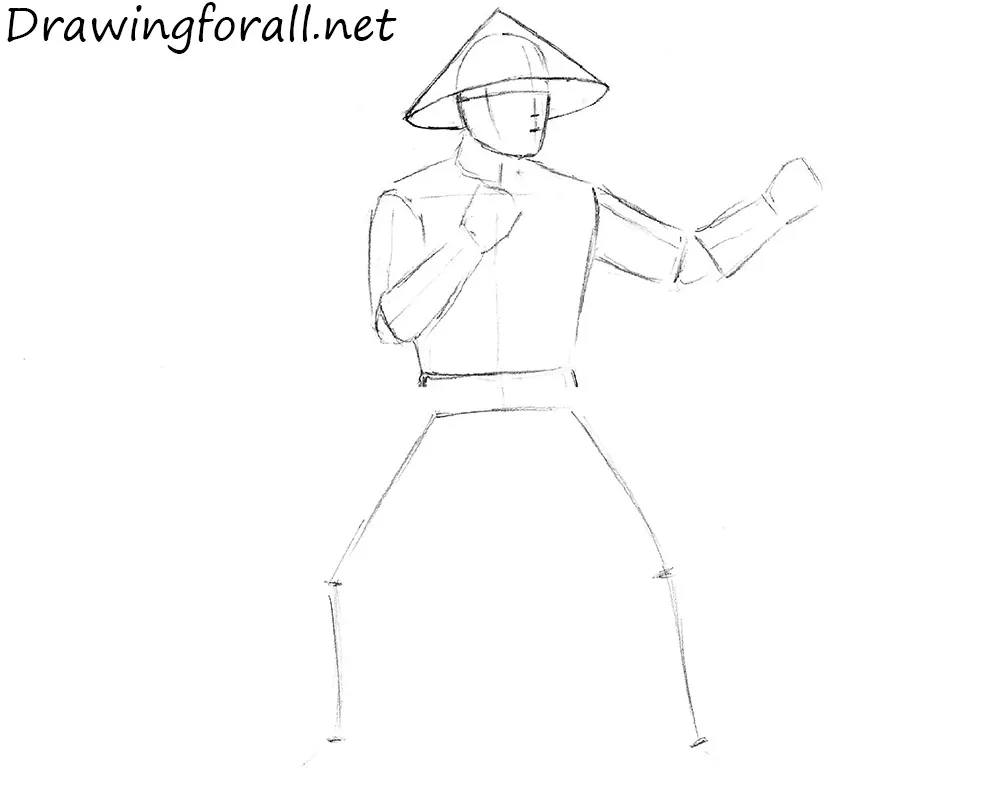
Step 3: Add volume to the upper body
Move down and add volume to the arms and upper body. Form the neck and arms with cylinders. Outline the torso as a large cylinder, then mark the elbows and fists.
Step 4: Construct the lower body
Repeat the process with the lower torso and legs. Use the stick-figure guidelines to outline the belt and triangular groin area, then construct the thighs as large cylinders. Give the lower legs the characteristic shapes of the knees and calf muscles, and sketch the feet.
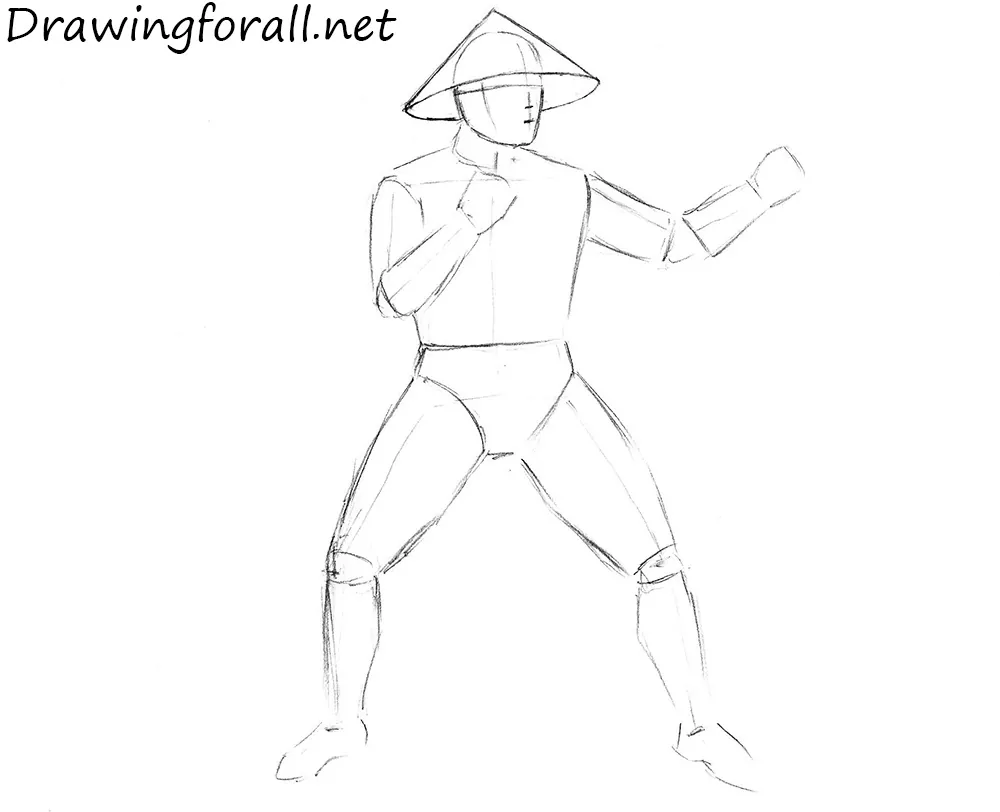
Step 5: Refine the arms and sleeves
Refine Raiden’s silhouette by erasing the extra guidelines from the upper body. Define the arms and their clothing. Outline the wide sleeves and tight bracers, then add several fabric folds.
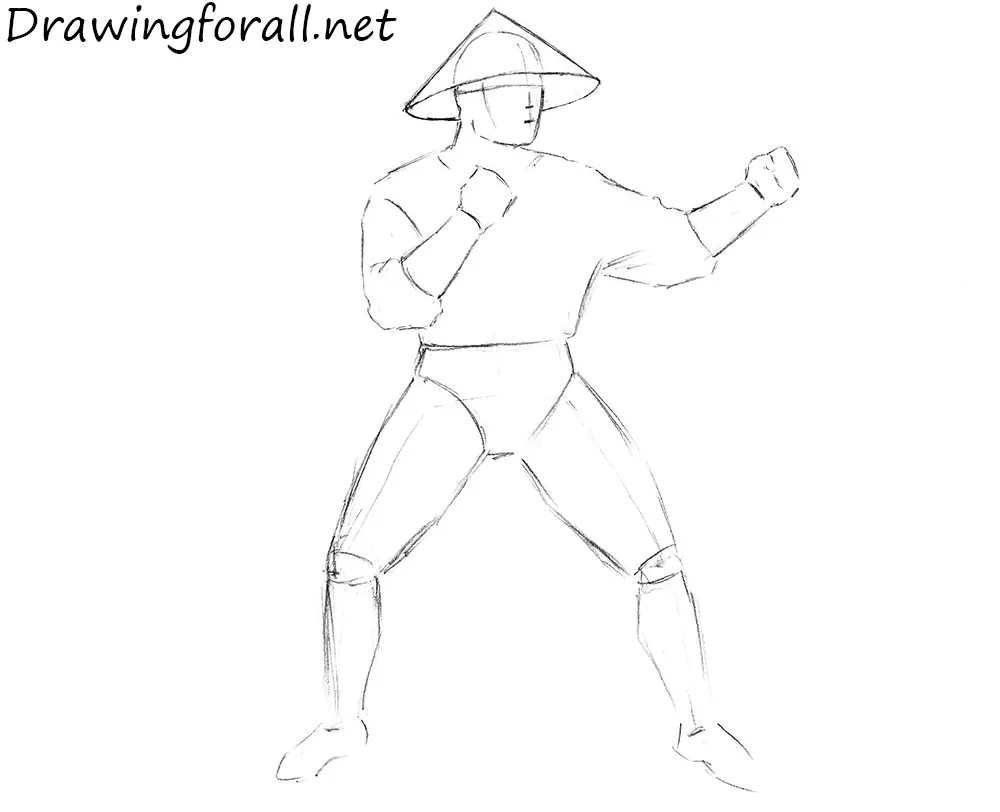
Step 6: Add the lower garments
Work on the lower torso and legs. Erase the remaining guidelines, then give the pants a loose appearance. Draw the lower part of the kataginu and continue by drawing the belt. Add a few folds to the fabric covering the legs.
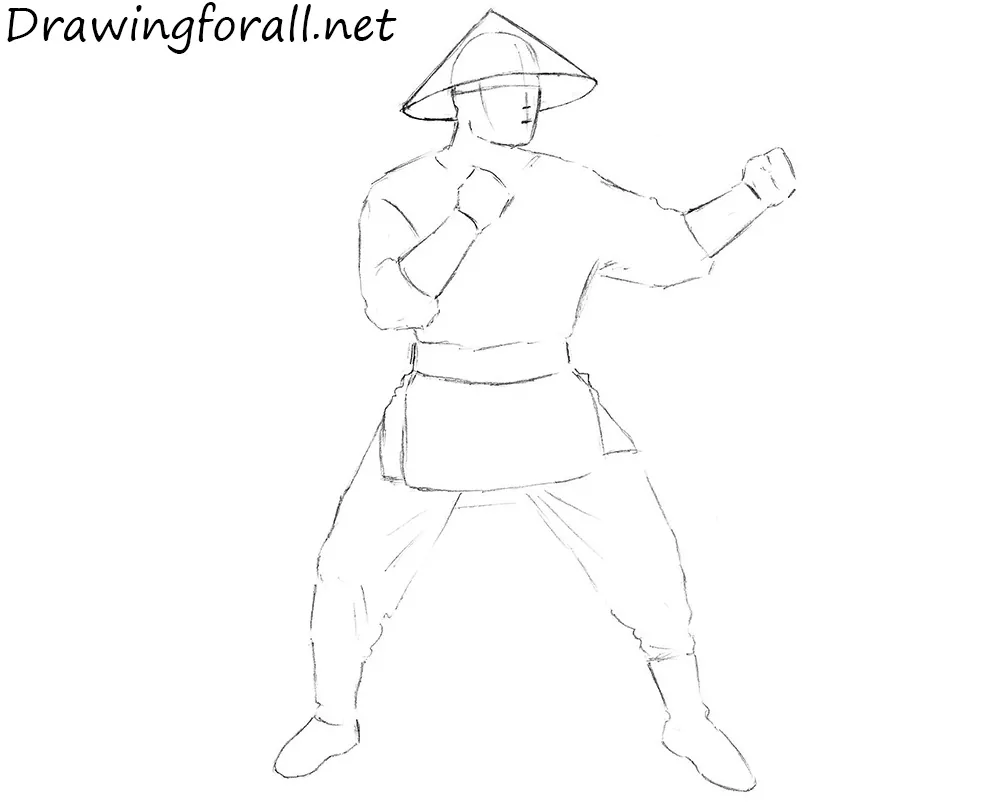
Step 7: Draw Raiden’s facial features
The silhouette is well developed, so add more detail to the head. Begin by drawing the eyes, then add the arched eyebrows, short nose, and mouth lines. Include the nasolabial folds and the shadow cast by the hat. Draw a vertical strip of fabric extending from the hat of Raiden to the lower jaw.
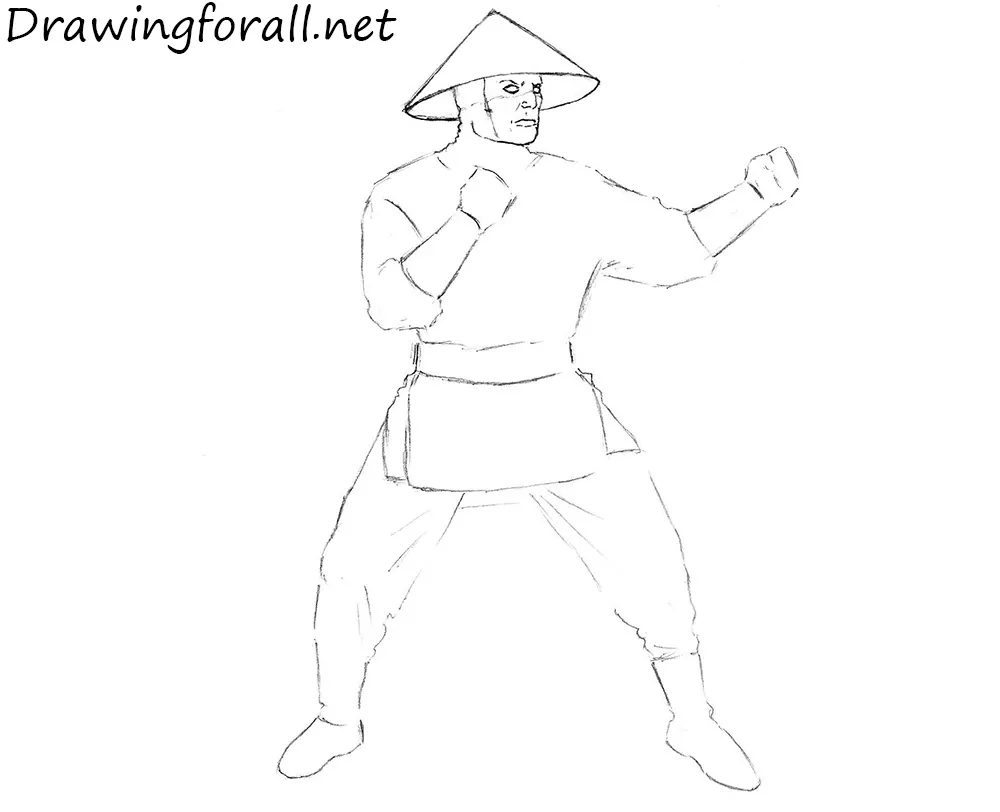
Step 8: Detail the upper clothing
Cover Raiden’s headdress with crosshatching. Add folds and other details to the clothing. Use smooth lines around the throat and neck, then add several wrinkles from each shoulder to the elbow. Draw the cloth strips around the forearms and define the details of the kataginu. Finish by drawing the hands.
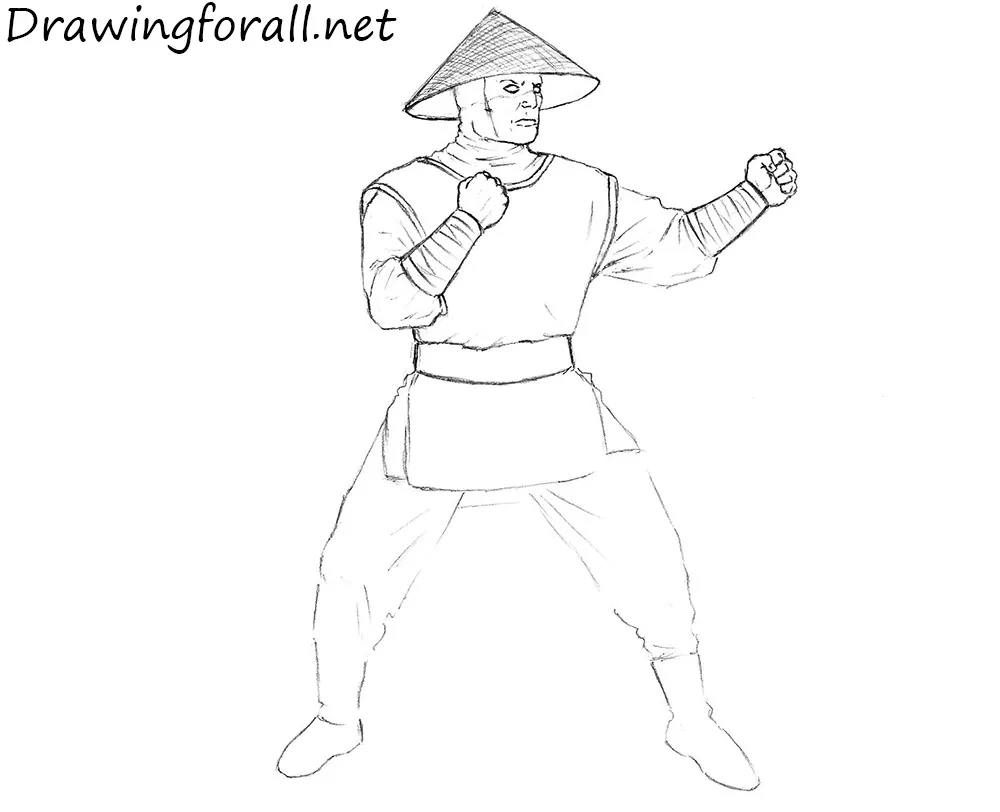
Step 9: Refine the waist and legs
Apply the same approach to Raiden’s waist and legs. Add details to the lower section of the kataginu, draw wrinkles across the pants, and outline the thick fabric bands around the lower legs.
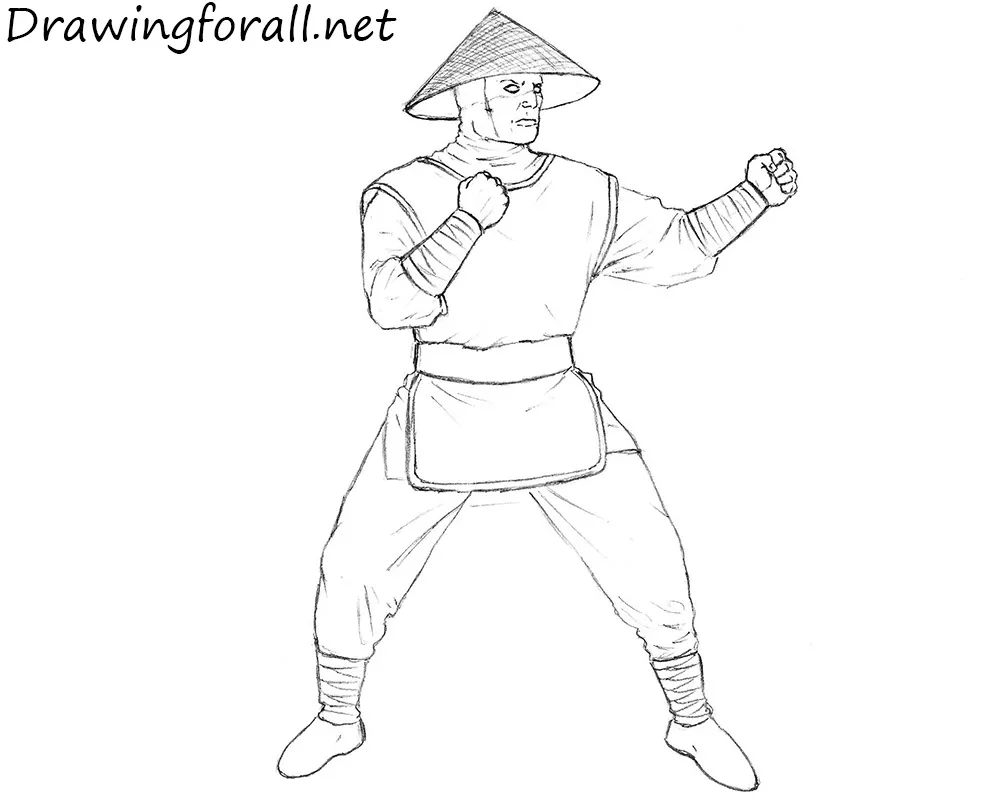
Step 10: Add the final shadows
Raiden is almost complete, so begin adding shadows. Determine the light source, which comes from the upper right. Use light hatching to shade the left side of the hat and darken its interior. Add the shadow cast by the hat across the upper face while leaving the eyes unshaded so they appear illuminated. Shade the neck and the shoulder beneath the head, then apply lighter shadows to the legs. Finish with the soft cast shadow beneath Raiden’s figure.
If you’d like to draw more Mortal Kombat characters, continue with drawing Scorpion. You can also try drawing Sub-Zero or drawing Reptile.
This was a difficult tutorial, but the result was worth it. Visit Drawingforall.net for new drawing tutorials. All the best!



Can you make a tutorial on drawing Kung Lao
Of course. Soon we will draw Kung Lao.
ur not even an admin