How to Draw a Zebra
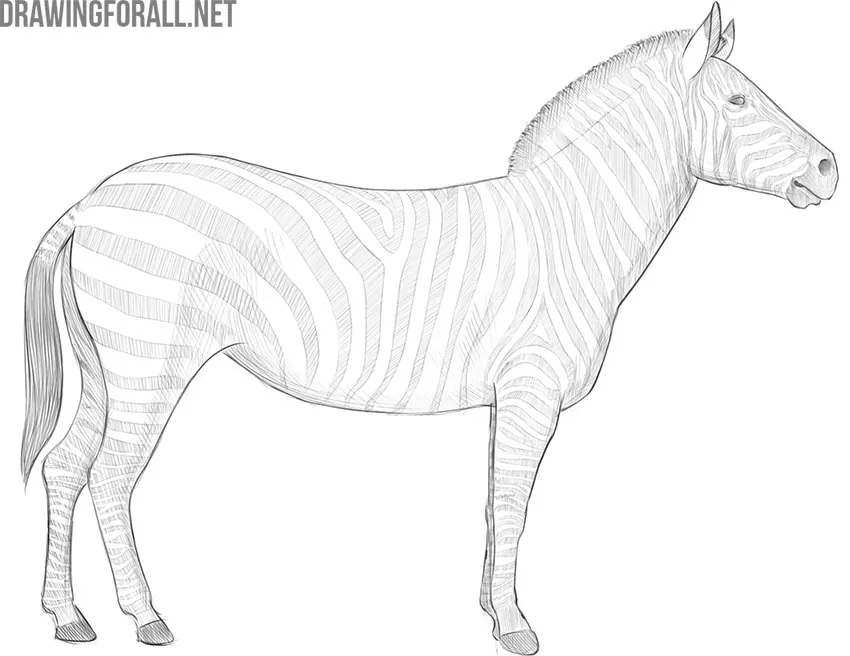
In this step-by-step tutorial, we will show you how to draw a zebra – a wild equid related to horses and donkeys.
We’ll follow similar steps to those you’d use to draw a horse, but we’ll add distinctive stripes and shadows for volume.
How to draw a zebra step by step
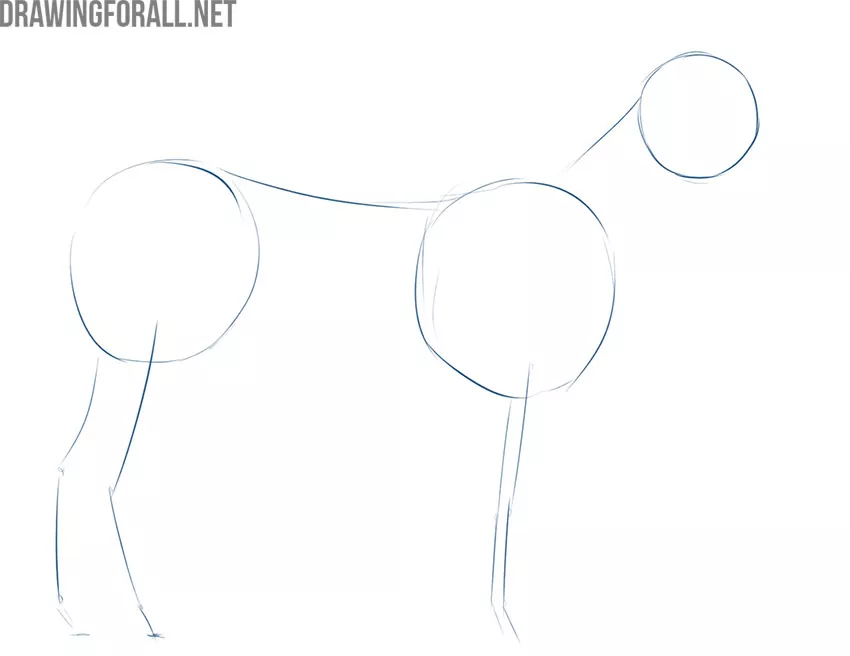
Step 1: Sketch the animal’s basic forms
Start drawing a zebra by sketching the head, ribcage, and pelvis as circles. Next, draw the limbs with simple lines. At this stage, outline the main parts of the body with very general and rough lines and arrange the future zebra drawing on the paper.
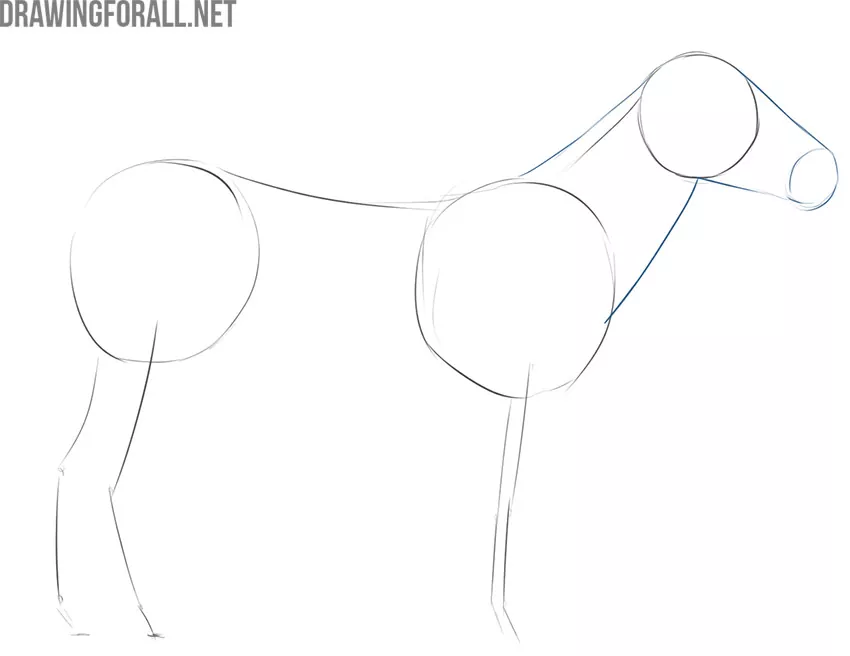
Step 2: Add the muzzle and neck
Now use a few lines to draw the zebra’s head. The muzzle should taper smoothly toward the end. Next, use a pair of curved, flowing lines to draw the zebra’s neck. It should expand smoothly from the head to the chest.
Step 3: Build the zebra’s front legs
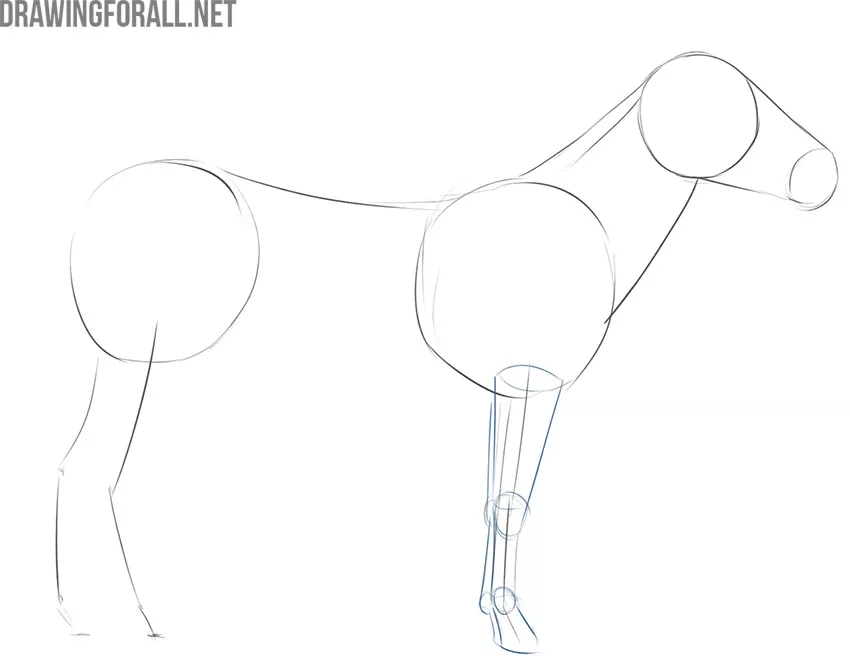
Now move to the front legs of the zebra and give them volume using simple geometric shapes. The upper and lower parts of the legs look like cylinders, and the joints look like rounded forms. At the very bottom of the legs, sketch the hooves with a few short lines.
Step 4: Shape the hind legs
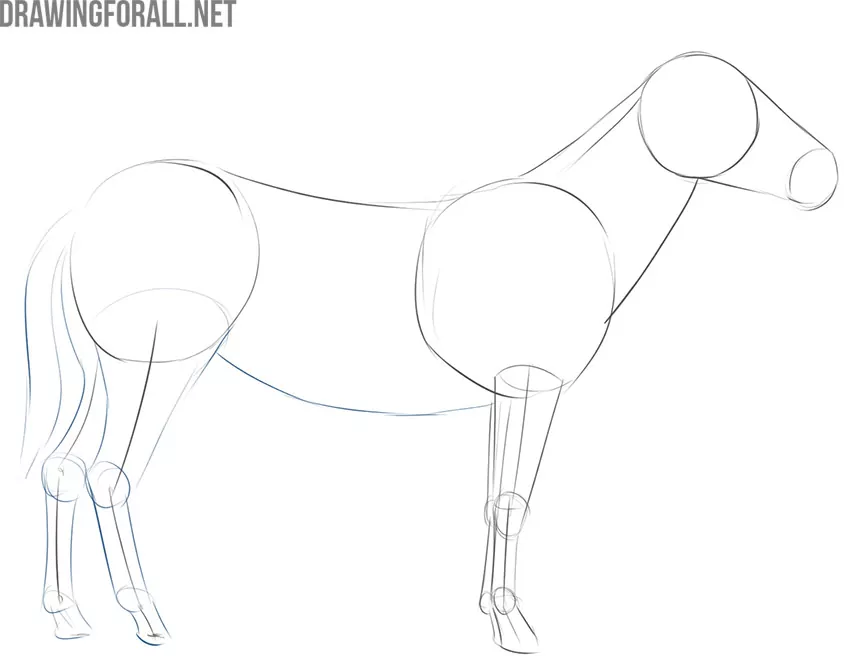
Next, move to the hind legs of the zebra, adding volume in the same way as you did with the front legs. Note that the hind legs are noticeably thicker at the top and taper smoothly toward the middle. Draw the zebra’s tail with a pair of smooth, curved lines.
Step 5: Draw the facial details
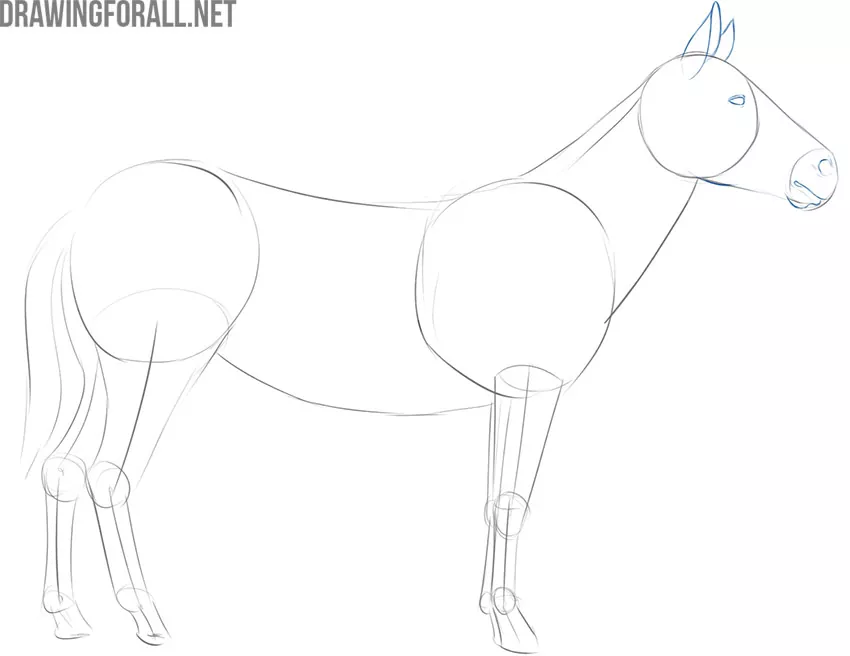
Now let’s draw the zebra’s face in detail. Start with the eye, drawing its outline and the folds around it. Next, move upward and draw the ears. Move to the tip of the muzzle and sketch the mouth and large nostril. The folds around the nostrils and mouth will give your zebra drawing a more natural look.
Step 6: Add the mane and chest
Using lots of very short lines, draw the zebra’s mane. Unlike the softer mane of a horse, a zebra’s mane stands more upright like a stiff brush. Now move to the torso and draw the outline of the chest just below the neck. Do not forget to compare the different parts of your zebra drawing and look at it from a distance to notice mistakes more easily.
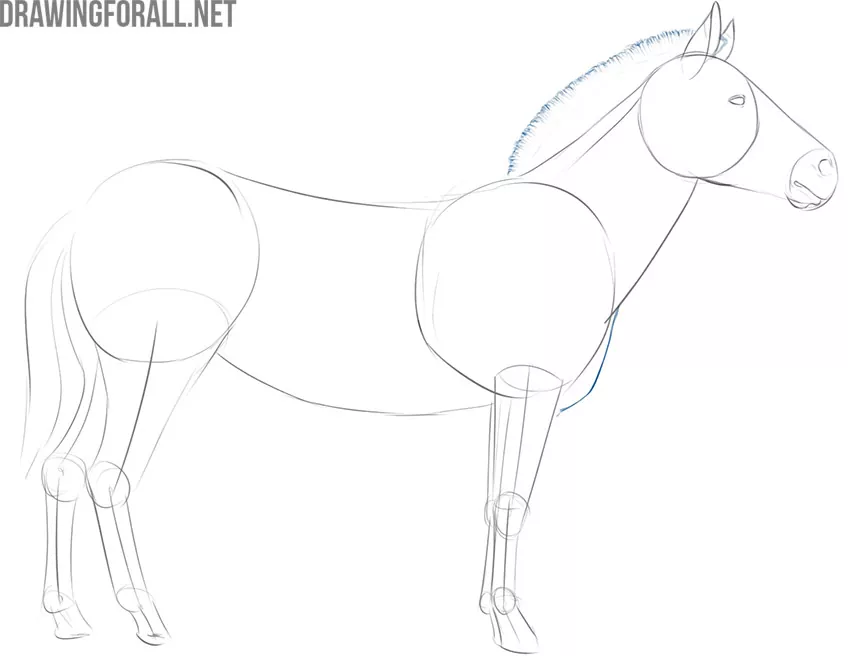
Step 7: Refine the body and legs
Use a couple of long, flowing lines to give the zebra’s torso a more finished look. Then carefully refine the front legs of the zebra, considering the shapes of the muscles and joints beneath the skin.
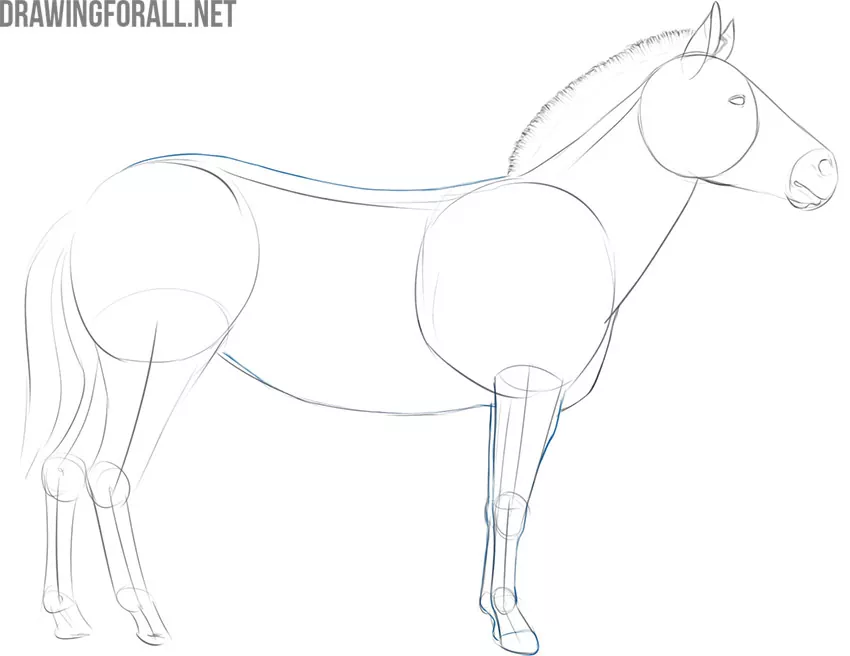
Step 8: Refine the hindquarters and tail
Move to the back of the zebra and give the hind legs a more finished look. Using a few long, smooth lines, draw the hair texture on the animal’s tail. You can check your zebra drawing for accuracy by looking at it in a mirror.
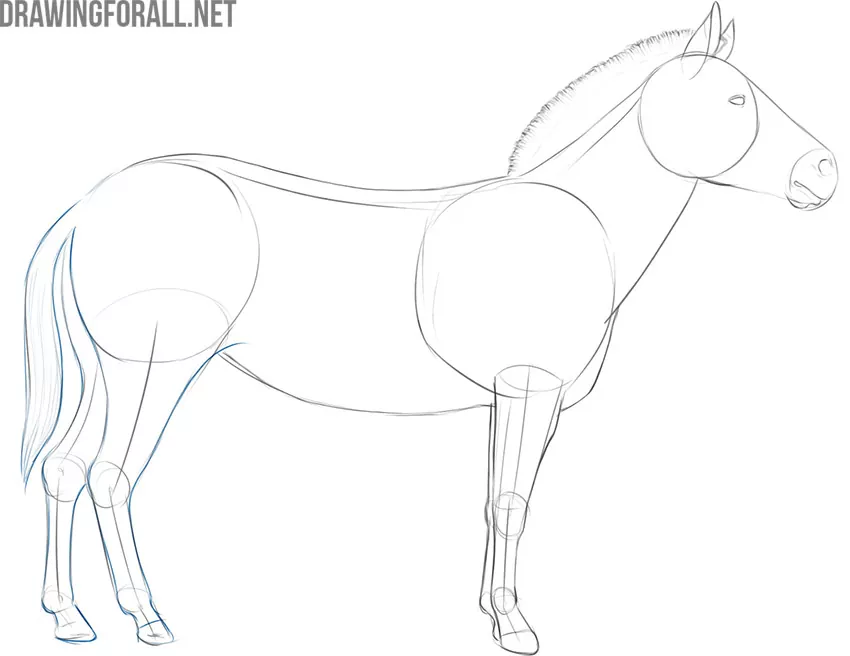
Step 9: Remove the construction lines
Erase all the construction lines drawn at the beginning. Try not to touch the important contours. Check your zebra drawing carefully to see if there are any mistakes.
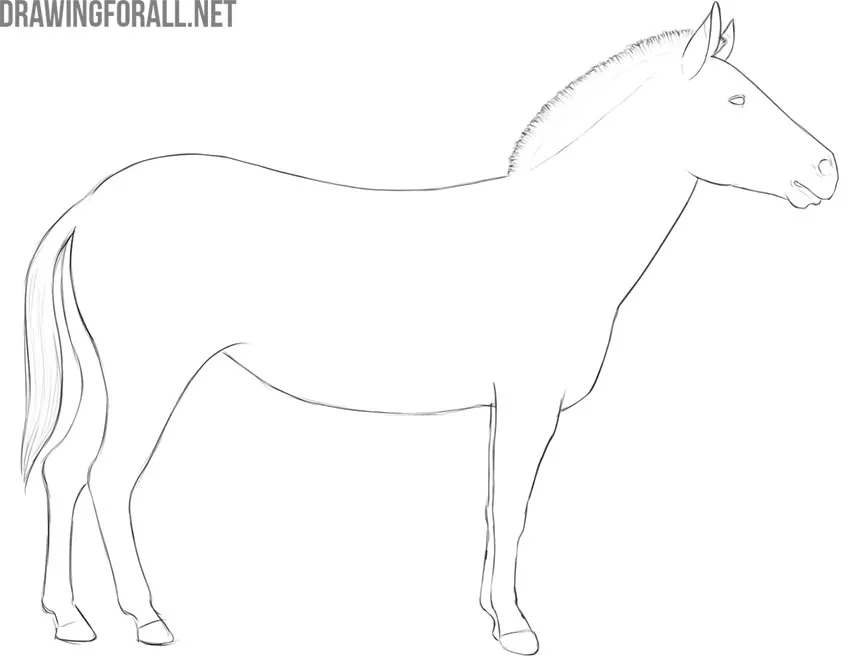
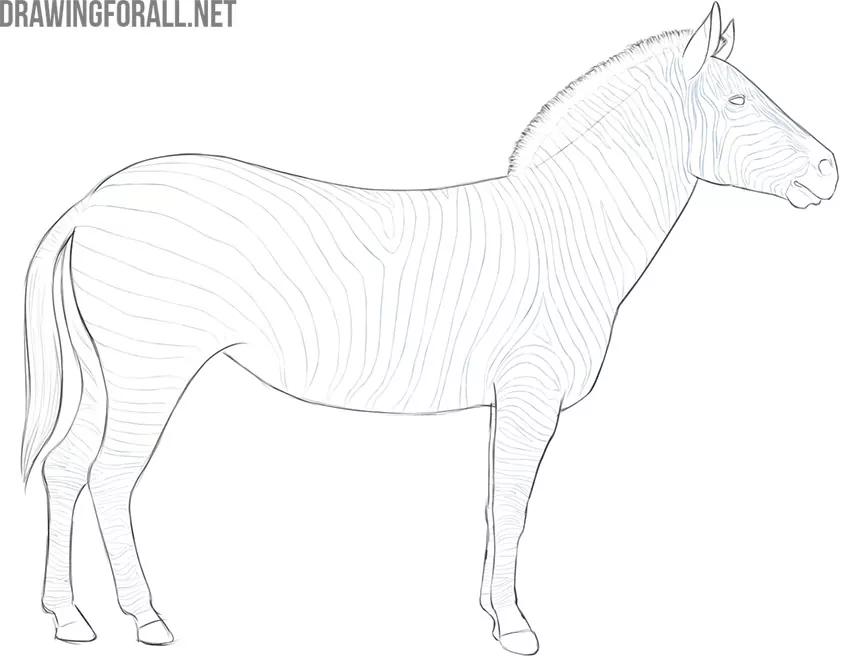
Step 10: Draw the zebra stripes
Start adding the pattern on the animal’s body using smooth, long lines. Keep in mind that the stripes on the face and legs are noticeably smaller than those on the torso. Draw these patterns so they follow the curves of the zebra’s body and help show its volume.
Step 11: Darken the zebra stripes
Use hatching to darken the zebra’s stripes. Don’t forget to darken the tips of the ears, the top of the mane, the end of the muzzle, and the hooves with hatching. Darken the eye, leaving a small white highlight. Use long, smooth lines to darken the tail.
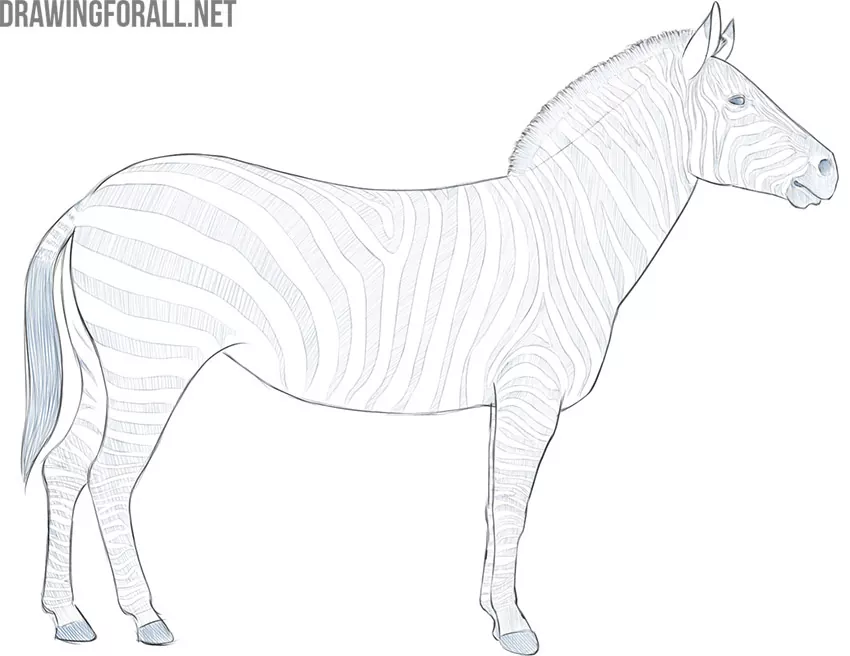
Step 12: Add the final shadows
Now use more accurate hatching to draw the shadows. Correctly drawn shadows will make the zebra look much more three-dimensional.
Try to draw a zebra in a different pose or from a different perspective. Also, try to add more complex shadows. This will make the task somewhat more challenging and help consolidate your skills.
You can also use my principles to create more specific species. For example, you could draw a plains zebra or any other variation you desire. The external differences between them are minimal.