

How to Draw a Standing Dragon
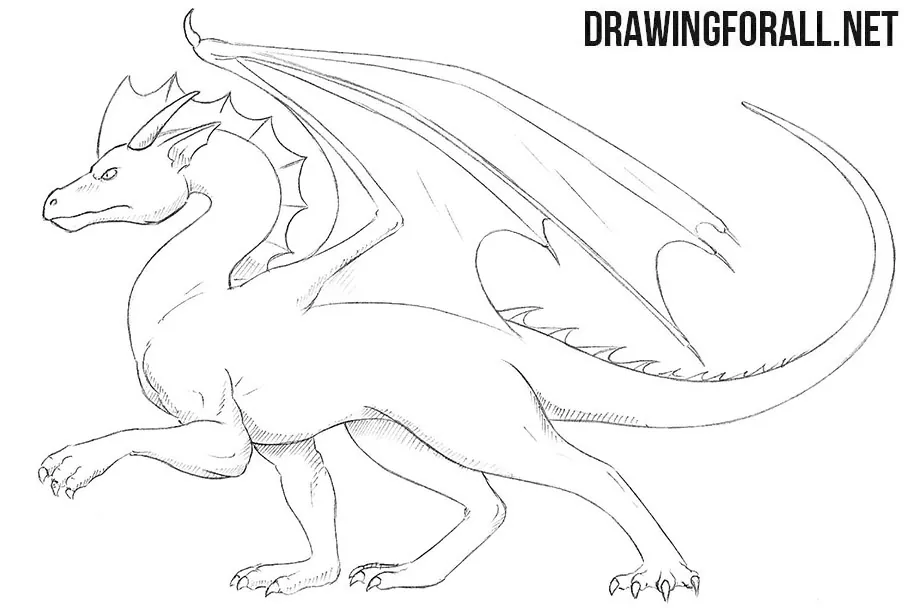
This tutorial continues our dragon drawing tutorials and shows the process of depicting this monster in a standing pose. Here we will show you how to draw a standing dragon in a fairly realistic line-and-shadow style.
In our example, the dragon stands on three legs with one front leg raised. You can position the legs a little differently if you wish.
Details and elements such as the wings, spikes, or facial features can also be changed to your liking during the drawing process.
How to draw a standing dragon step by step
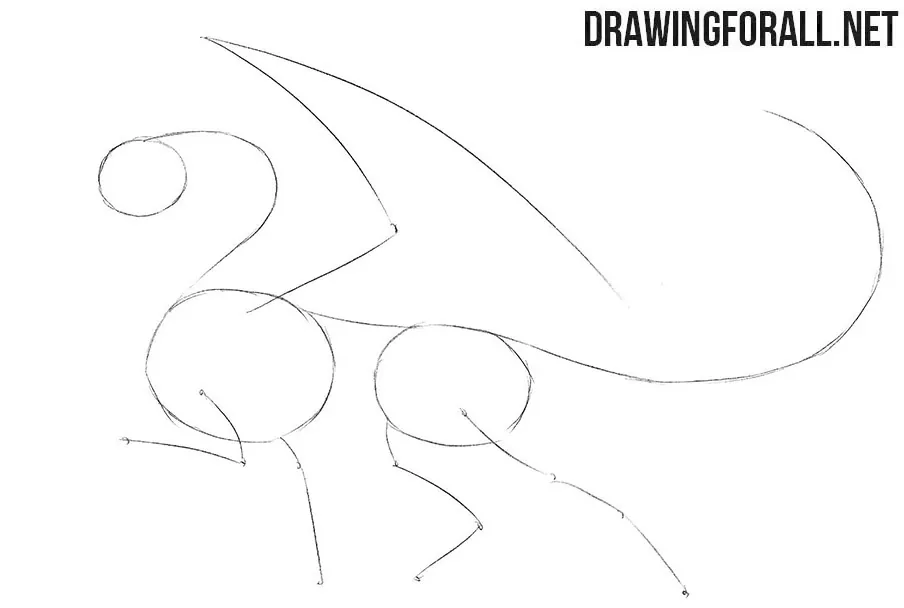
Step 1: Sketch the dragon’s basic skeleton
Sketch the dragon’s head and a long line for the neck, spine, and tail. Give the raised neck an S-shaped bend. Use simple ovals for the chest and pelvis. Outline the limbs and wings with light lines. Mark one forelimb raised in front of the chest and the other three limbs reaching toward the ground.
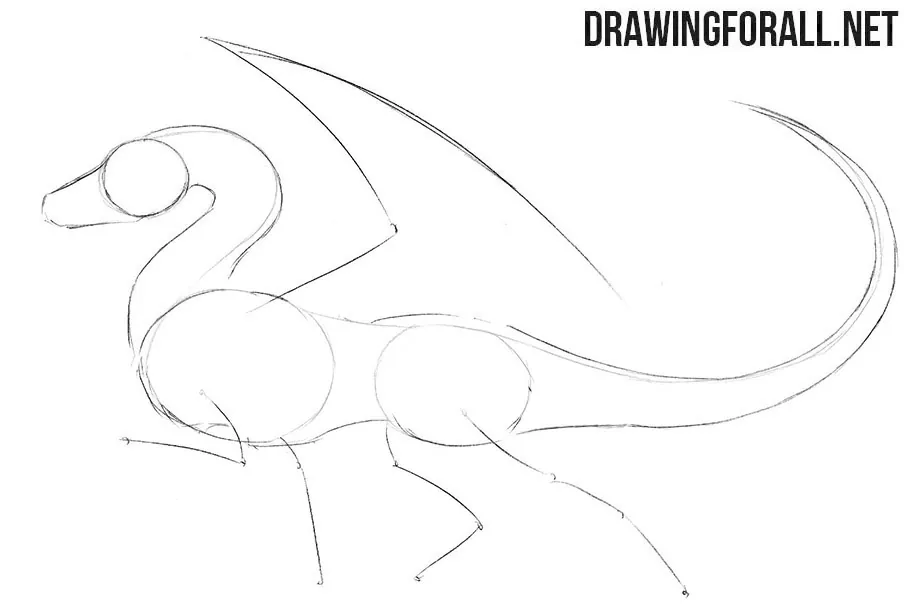
Step 2: Outline the muzzle and body
Now add some volume to the dragon’s body. First, sketch the muzzle. Extend it to the left of the head circle as a short, tapering shape. Next, outline the neck, which joins the torso and continues into the long tail. Draw the neck as a curved cylindrical form that becomes thicker near the chest. Connect the body ovals with the back and belly contours. The tail should gradually narrow towards the tip.
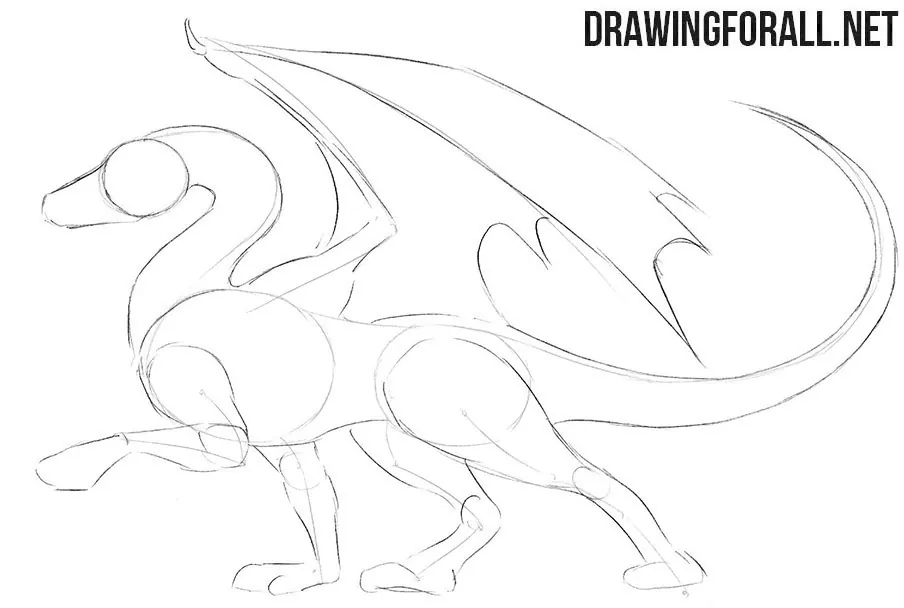
Step 3: Shape the wings and limbs
Continue to add volume to our threatening dragon. Outline the monster’s huge wings, arms, and legs. Sketch the wing membranes with deep inward curves. The limbs should look muscular and resemble human arms and legs. The hind legs should be noticeably more massive, especially in the upper parts. Overlapping the forms will help give the drawing volume even in the early stages.
Step 4: Refine the dragon’s fierce expression
The main outlines are complete, so we can begin drawing the dragon in detail. Refine the muzzle and its large mouth, then draw the dragon’s eye with a scowling expression. In this side view, only one eye is visible. Place it beneath a low, sloping brow and mark the nostril near the muzzle’s tip. Remove the unnecessary guidelines from the muzzle.
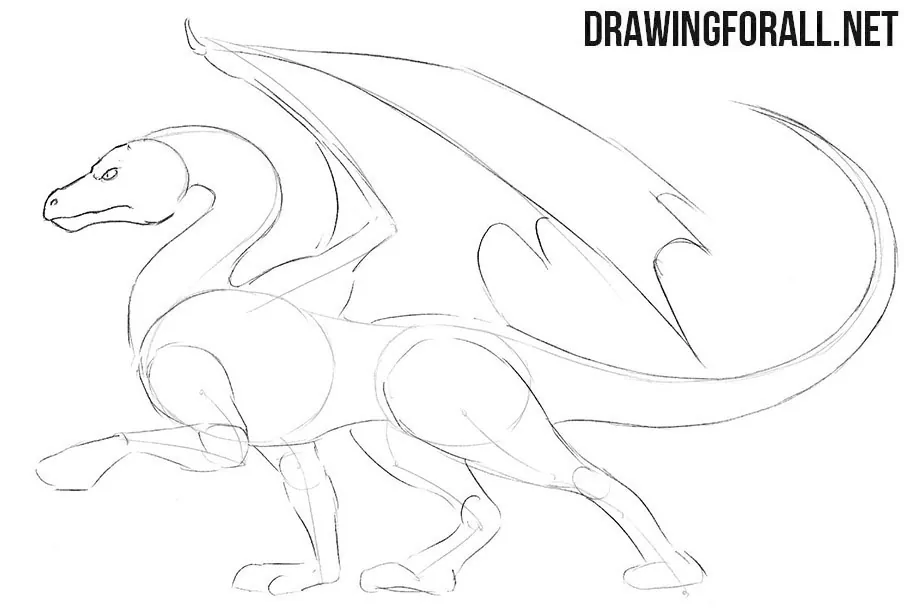
Step 5: Add horns, ears, and crest
Add long, sharp horns and pointed ears. Draw the visible horn sweeping backward and add the ear below it. Next, draw the crest along the head and neck. Join its pointed tips with concave curves and make the sections smaller toward the shoulders. Remove the unnecessary guidelines before moving down to the body.
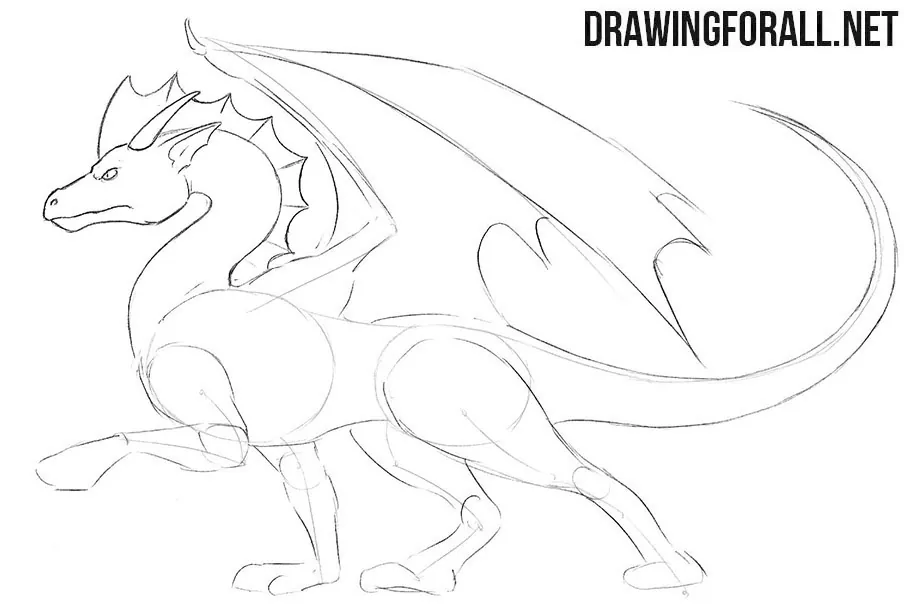
Step 6: Define the forelimbs and claws
Continue the neck lines toward the shoulders and carefully draw the dragon’s arms. Trace the full curve of the chest and the bulge above the raised elbow. Define the muscles and skin folds, then draw the long fingers and their sharp claws. Separate the hanging fingers of the lifted forelimb. On the planted foot, spread the toes along the ground. Use short creases at the elbow and shoulder to finish the muscle details.
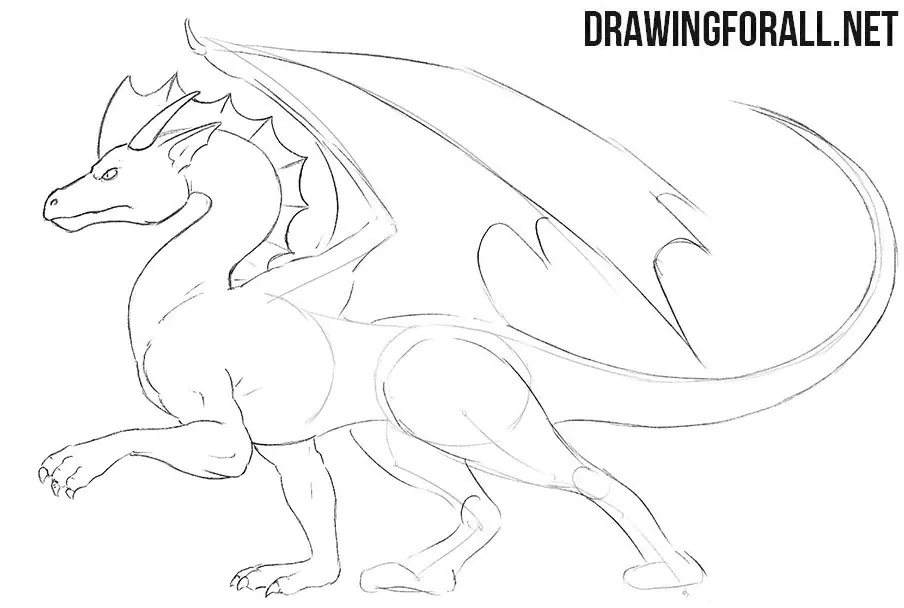
Step 7: Draw the hind legs and tail
Trace the nearer thigh from the hip into the backward-sloping leg, then define the sharper bend of the farther leg beneath the belly. Add toes with sharp claws to the feet and spikes along the tail. Make the spikes largest near the tail’s base and progressively smaller along its upward curve. Finish by erasing the unnecessary lines from these areas.
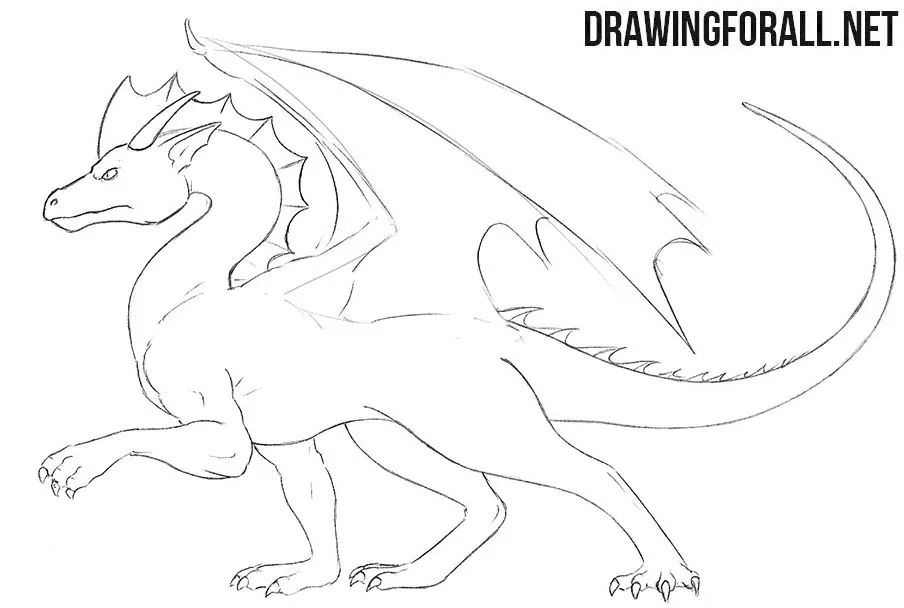
Step 8: Trace the large batlike wings
Now trace the huge wings, which resemble bat wings. Draw the joints and folds in the wing membranes. Add narrow contours beside the supporting fingers and a few light creases across the stretched surfaces. Erase all remaining guidelines from the dragon.
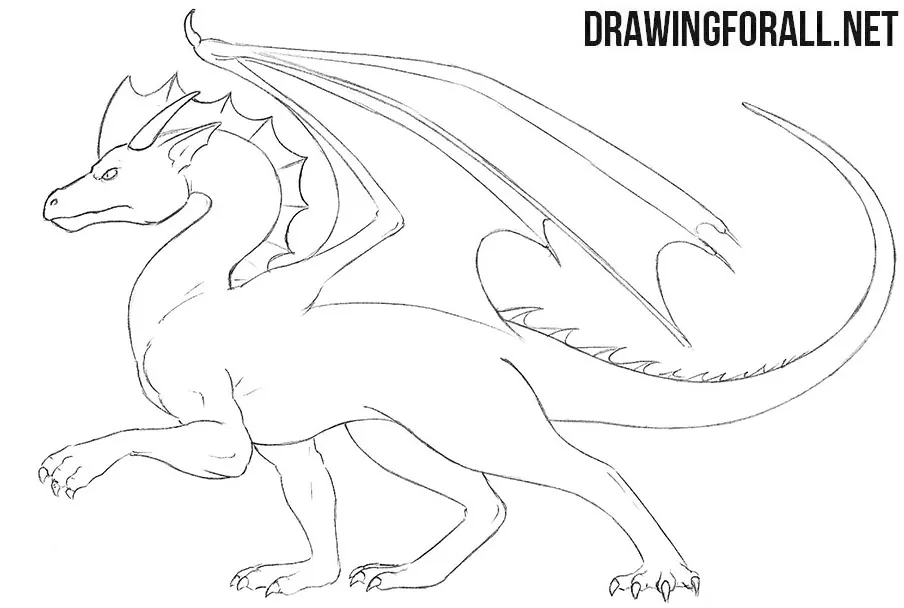
Step 9: Shade the dragon with hatching
Finish the standing dragon drawing with shadows. First, decide where the light comes from, then add hatching to the least lit areas of the dragon. Place short strokes beneath the jaw, chest, and raised forelimb. Continue the shading along the belly and underside of the tail, with a darker patch on the far leg beneath the torso. Add a thin shadow beneath the wing arm and use only a few faint strokes across the membranes.
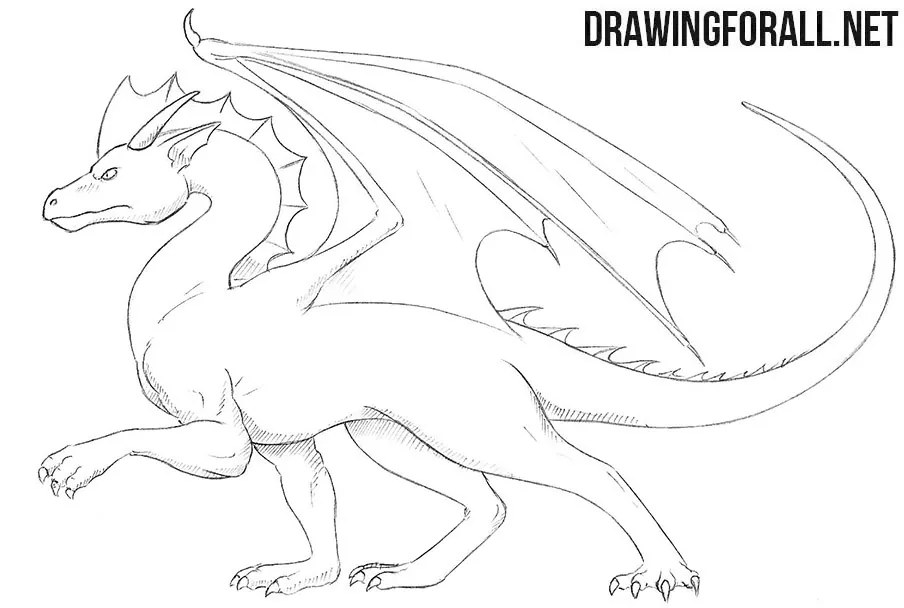
Now you know how to draw a standing dragon from the side. A slightly more difficult exercise is to draw a dragon in the same pose at a three-quarter angle. Try doing this next.
This tutorial continues our series on drawing dragons in different poses and movements. A standing pose is one of the simplest, while a flying pose is a little more difficult. So try drawing a flying dragon next and conveying its movement on paper.

that is cool
how old are you
10.
I am 9, turning 10 in a month
oh wowwww.. your drawing really young it’s good to start at a young age so when you get older you can get so much better .
I don’t know
Couldn´t figure it out. Great idea though!
this really helpt me i love drawing and i love dragons im just not to good at drawing them bye
HOLD UP HOLD UP HOLD UP ,,,,,CAN WE SWITCH DA LAUNGUAGE??????????
To what?
To what? This looks really cool and I plan on trying it. I might alter it a little, though.
how?? i am really bad at drawing and i did it just fine try not to get over whelmed and take time to do it do it step by step it’s easy i promise.
try to do it step by step it’s easy i promise.
It is good,I ‘v done it
This is cool! I finished.
i luv drawing dragons but im not good at them lol.can you tell us how to draw some of the dragons from Dragon Adventures,ROBLOX ? like the casirus,its rly hard to draw,or a moixaura (full mutation is cooler)?it will rly help