How to Draw Professor Frink
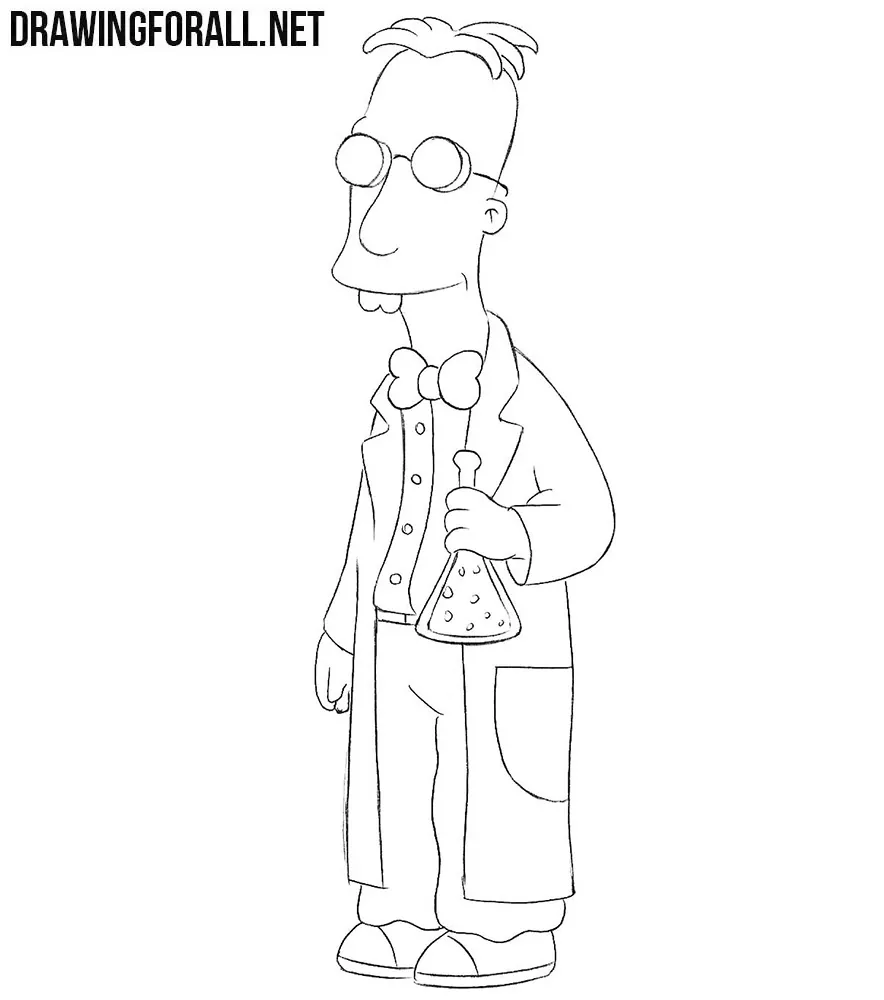
We have already drawn the main characters from the animated series The Simpsons, and decided to start drawing minor characters. Today we created a lesson about how to draw Professor Frink.
Step 1
First of all, we need to sketch out the basic outlines of the head and torso with the help of simple geometric figures.
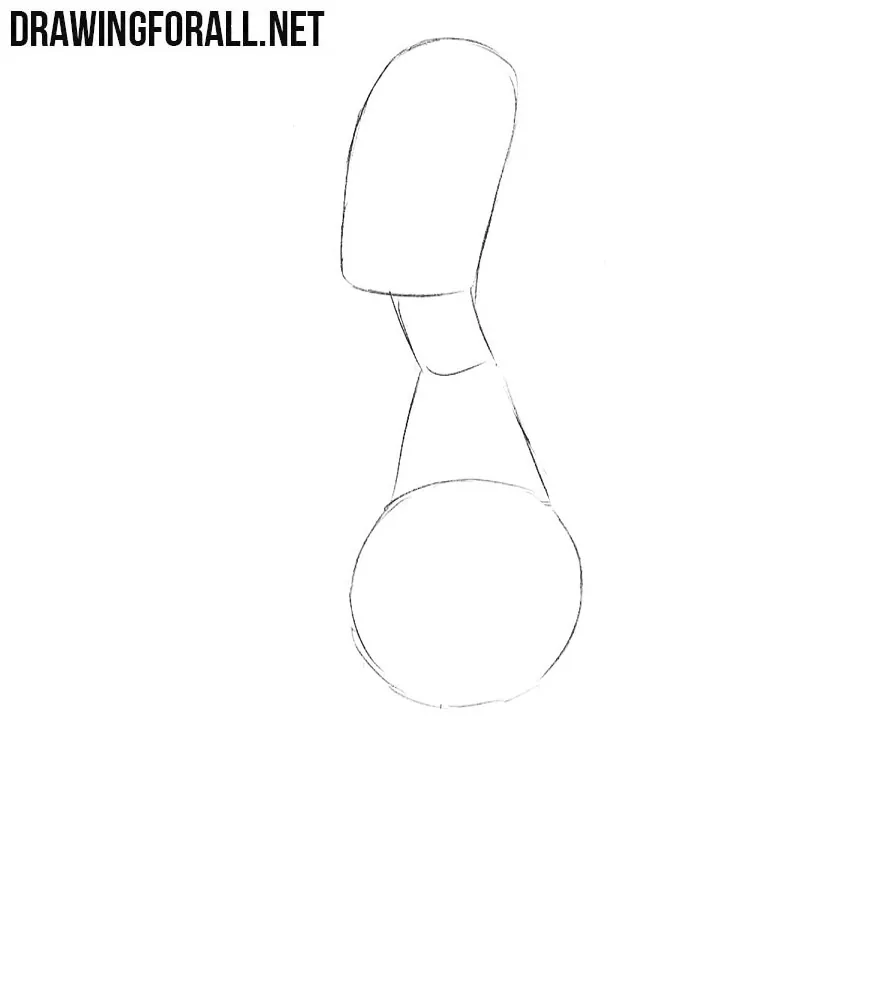
Step 2
Now also with the help of simple geometric figures we sketch out the outlines of the arms and legs of the professor.

Step 3
Let’s start working with the details. On the head, let’s sketch out the glasses, as in our example.

Step 4
Now draw the upper part of the head and the outlines of the hair.

Step 5
Draw out a nose, mouth and sticking out teeth. Next, outline the ear and neck lines.

Step 6
A very simple step in which we will need to draw out a collar and a bow tie.

Step 7
Let’s move a little lower and using clear lines draw out the outline of the arm.

Step 8
Draw the shape of the bottle in the hand. Inside the bottle draw liquid and bubbles (we wonder what is it?).

Step 9
Now we will need to draw out the outlines of the collar of the lab coat and the buttons of the shirt under the lab coat.

Step 10
A very simple step in which we will need to draw out the second hand of our professor.

Step 11
With the help of long and smooth lines draw out the outlines of the lower edge of the lab coat.
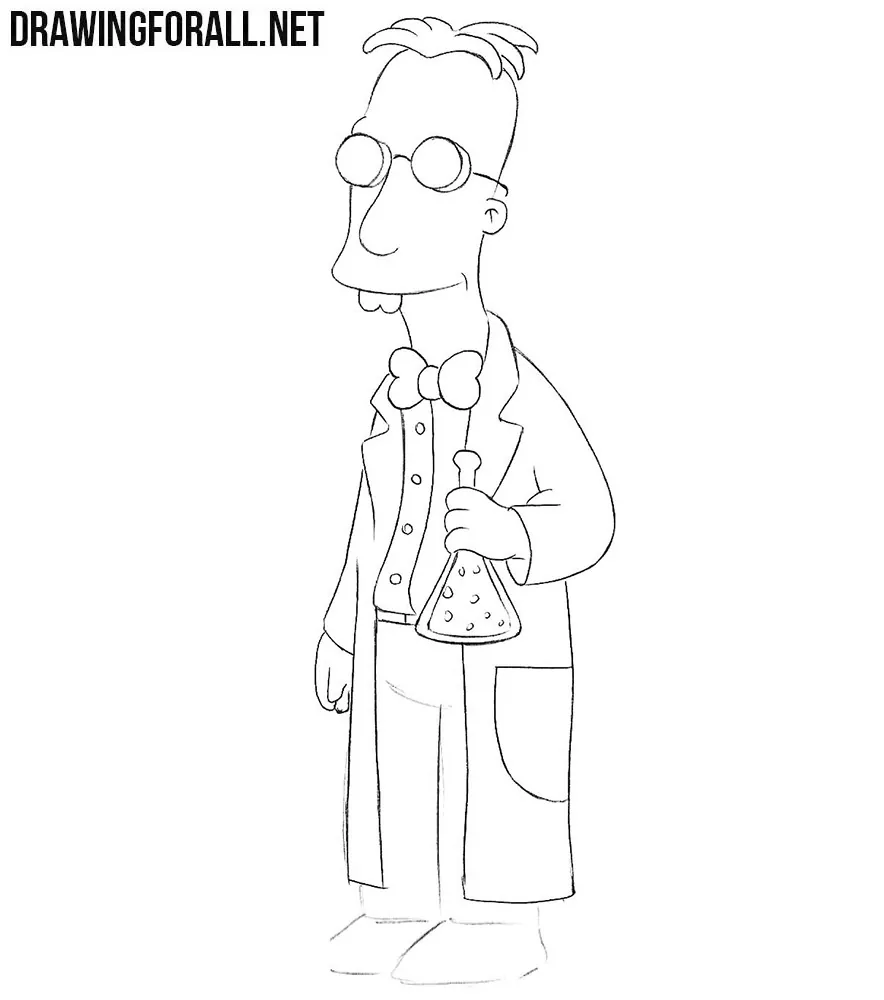
Step 12
And the final step of the lesson on how to draw Professor Frink, in which we will need to draw out the legs and shoes.
We divided this lesson into a lot of very simple steps to simplify the drawing process. Note that this lesson is a little different from the lesson about other simpsons, for example about Lisa or Bart. By the way, what do you think about our site and about this lesson? Write your opinion in the comments to this article or on our social networks.