How to Draw a Shrimp
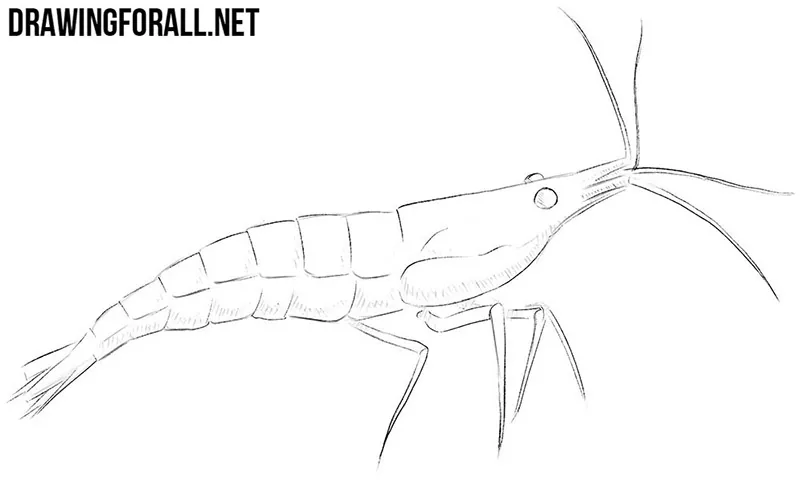
If you love wildlife, you can look at a shrimp as an interesting animal to draw. If you are more interested in food, youw may see it as an ingredient in many different dishes. In this tutorial, we will show you how to draw a shrimp step by step.
How to draw a shrimp step by step
Step 1: Sketch the shrimp body
Block in the basic contours of the shrimp. Make the body wider in the chest area and gradually narrow it toward the tail head. Then use a few simple lines to mark the legs beneath the body.
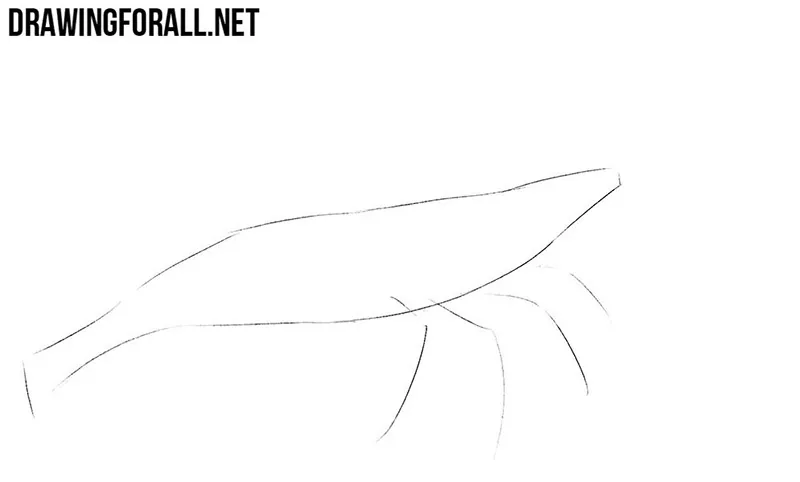
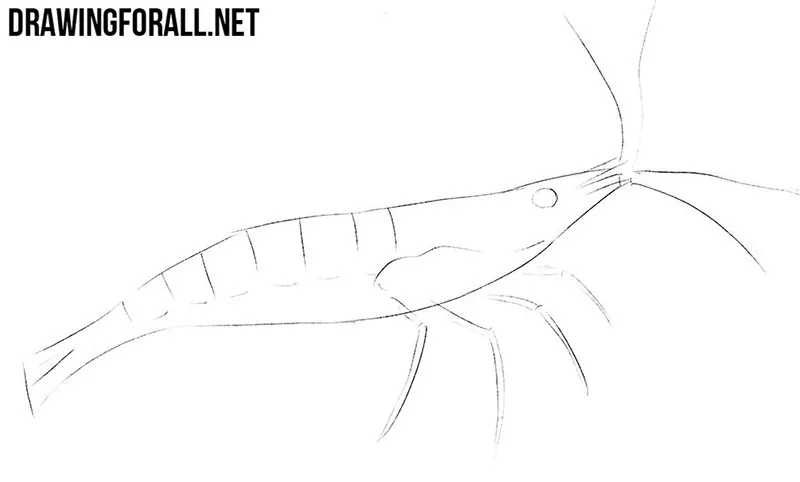
Step 2: Add the shrimp details
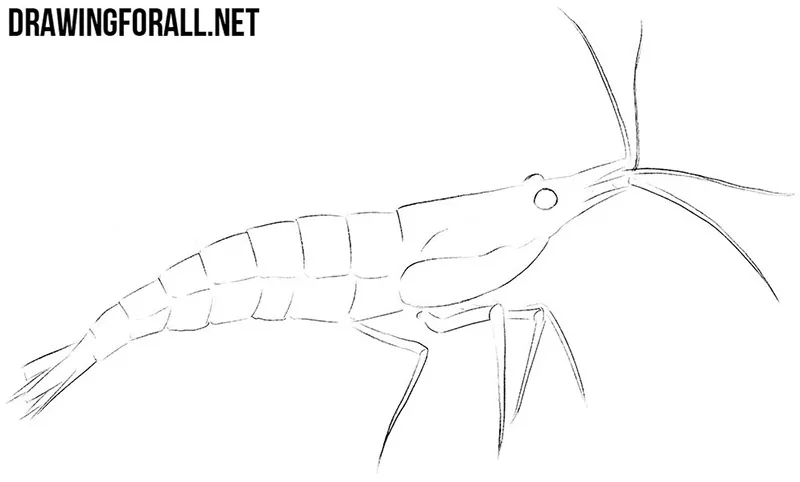
There are quite a few details to add in this step, so work in one direction to avoid getting confused. Start with the head and draw the eye, mouth, and long antennae. Keep the eye simple and draw it as a small circle. Next, move toward the tail and divide the shell into separate segments. Then give the legs thickness, using a few light lines.
Step 3: Clean up and trace the drawing
Erase the unnecessary construction lines from the head and body. Give the tail a pointed shape and make the legs thin and pointed. Add the remaining details of the shell, paying particular attention to the size and placement of its segments.
Step 4: Add shadows to the shrimp
In the last step, add shadows to give the shrimp more volume. Add hatching along the lower edges of the shell segments and sketch a wider area of hatching to the head. Adjust the pressure on the pencil where you need lighter or darker shadows.
The segmented body and numerous thin legs make a shrimp somewhat similar to other arthropods in terms of drawing.
You can change the curve of the body, the position of the legs, and the direction of the antennae to draw a shrimp in a different pose.
Next, you can draw a crayfish and use a similar approach to depict a similar creature.