

How to Draw Chibi Naruto
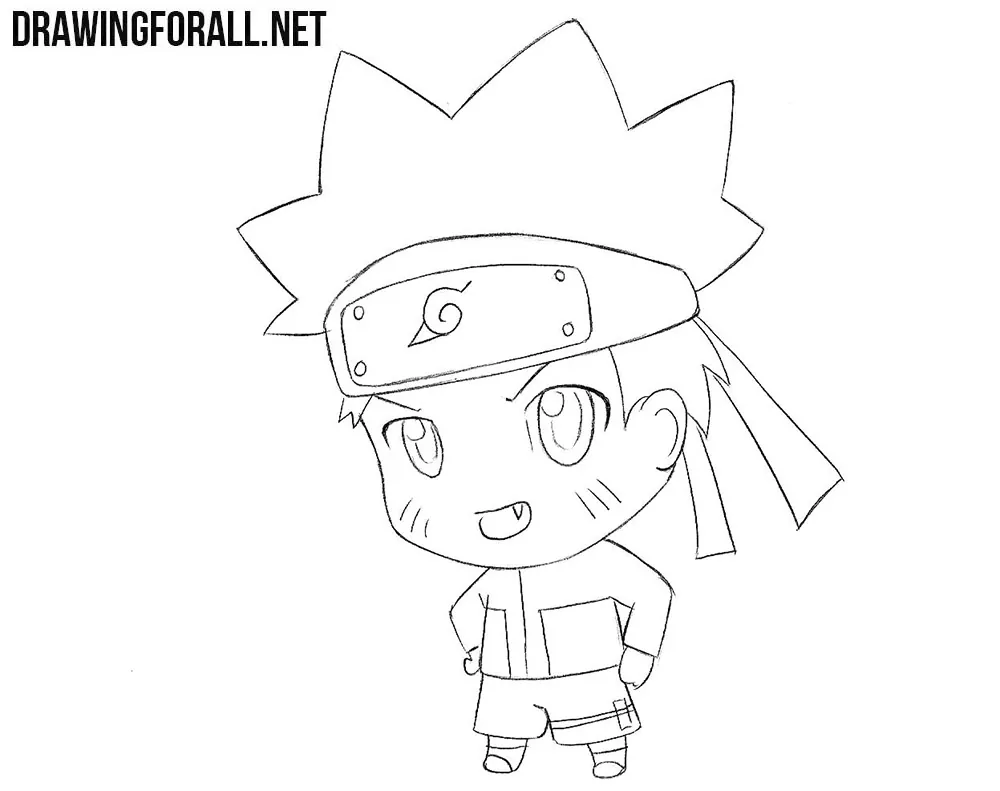
In one of our tutorials, we showed you how to draw Naruto in a style close to the anime version. Here we want to show you how to draw chibi Naruto, preserving all his characteristic elements and features while simplifying them as much as possible.
In this version, Naruto Uzumaki has a much larger head and a smaller body than in the original anime.
How to draw chibi Naruto step by step
Step 1: Sketch Naruto’s large head
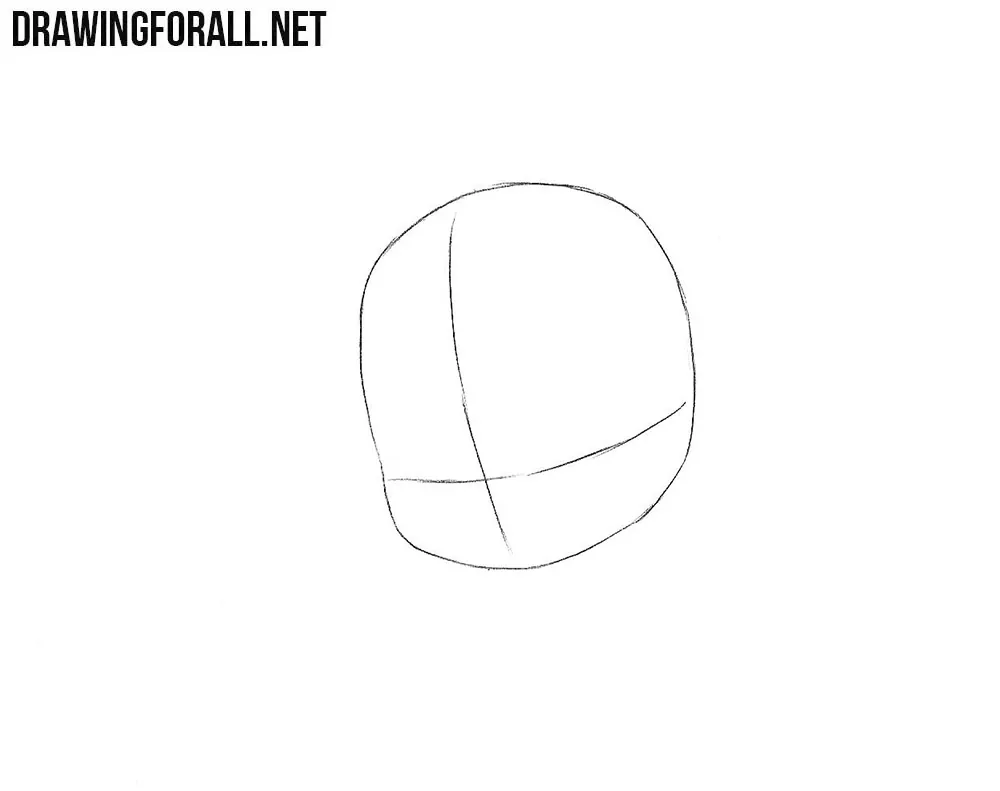
The first thing you need to know is that the proportions of chibi characters are very different from those of ordinary anime characters. Start by sketching Naruto’s head as a large, rounded shape. Next, draw two intersecting guidelines across the face. The vertical line marks the center, and the horizontal line indicates where the eyes will be placed.
Step 2: Outline the small body
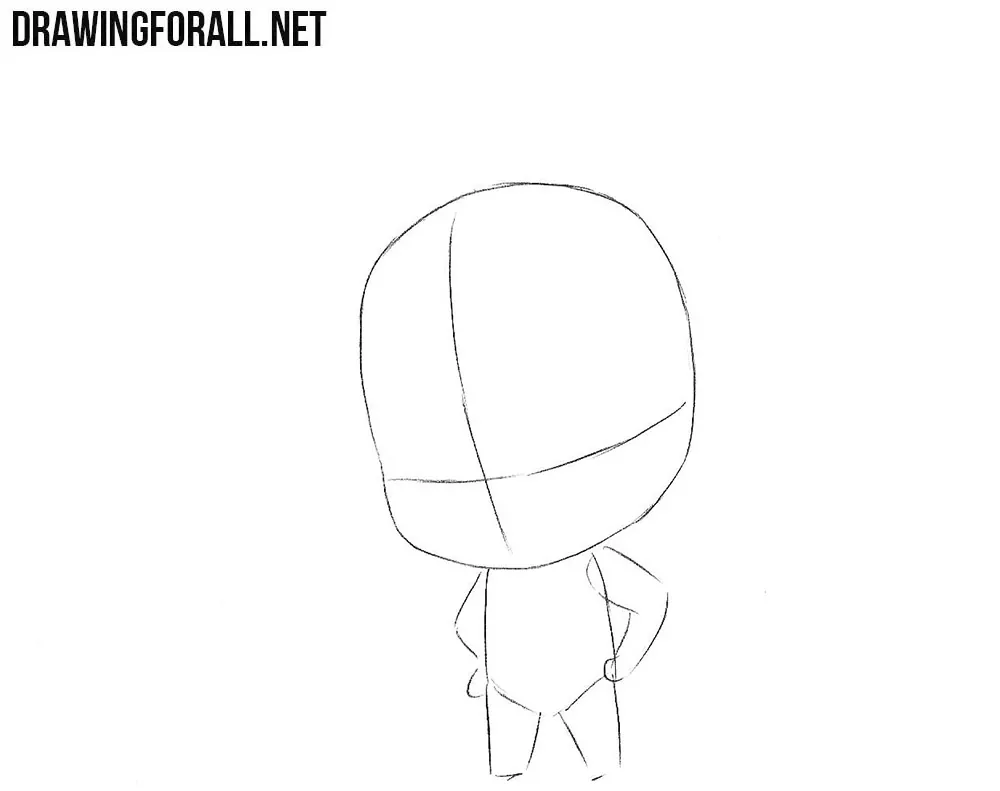
Now use very light lines to sketch the small torso, arms, and legs. Notice that the body of our chibi ninja is approximately the same height as his head. Construct the torso as a simple form and mark the short limbs with basic lines. Avoid pressing hard on the pencil during these early stages.
Step 3: Mark the ninja’s features
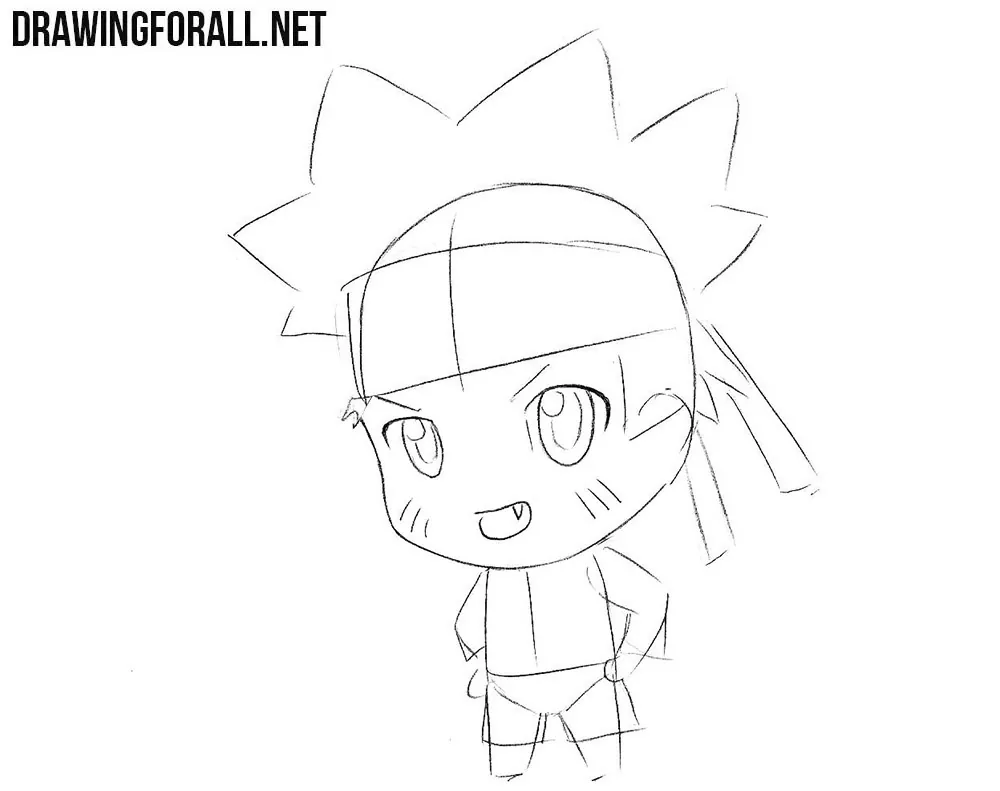
Using the same light strokes, sketch Naruto’s spiky hairstyle and outline the forehead protector. Mark the positions of the eyes and other facial features, such as the characteristic whisker marks on his cheeks. Then sketch the contours of his ninja outfit, following the small body shapes from the previous step.

Step 4: Draw Naruto’s facial details
Using clear, dark lines, carefully draw the large anime eyes of Naruto and add the pupils with small highlights inside them. Next, refine the outline of the face and draw the mouth. Add the short whisker marks on both cheeks, one of the most iconic features of Naruto Uzumaki.
Step 5: Refine the hair and headband
Carefully trace the angular contours of his hair, forming sharp locks that point in different directions. After that, refine the forehead protector and draw the Hidden Leaf Village symbol on its metal plate. Use clear, dark lines for the headband and erase the remaining construction marks from the head.
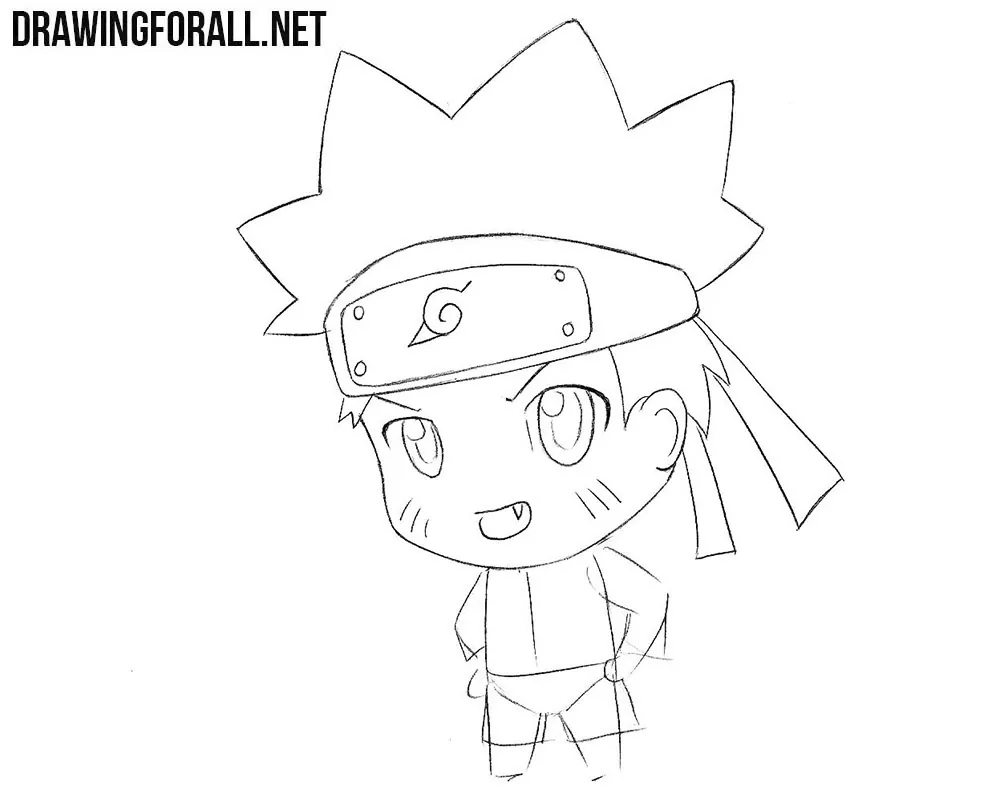
Step 6: Complete Naruto’s ninja outfit
Move on to the small body of our anime character. Carefully define the contours of Naruto’s jacket, sleeves, trousers, and footwear. Use short lines to indicate the folds and details of his clothing. Finally, remove all unnecessary guidelines and correct the remaining outlines to complete the drawing.
So, as you have already noticed, preserving the main features of a character that make him identifiable is one of the most important principles of drawing chibi anime characters.
The characteristic spiky hairstyle, forehead protector, marks on the cheeks, and costume are all things that need to be preserved when drawing any version of Naruto.
Here we used a highly simplified and exaggerated style with a huge head and a small body. But the chibi style itself can vary greatly. The degree of detail and exaggeration can change depending on how you want to depict the character.
For example, you can draw the body slightly larger, depict a few more elements and details, or, on the contrary, simplify the details and elements even further. The most important thing is to preserve all the features that we depicted in the steps of this tutorial.



nice
i love naruto
How to Draw Perry the Platypus (Agent P) from Phineas and Ferb for Kids : Step by Step Drawing Lesson
naruto!! !
how to draw chibi kageyama
he is not a hero