How to Draw Multiple Man
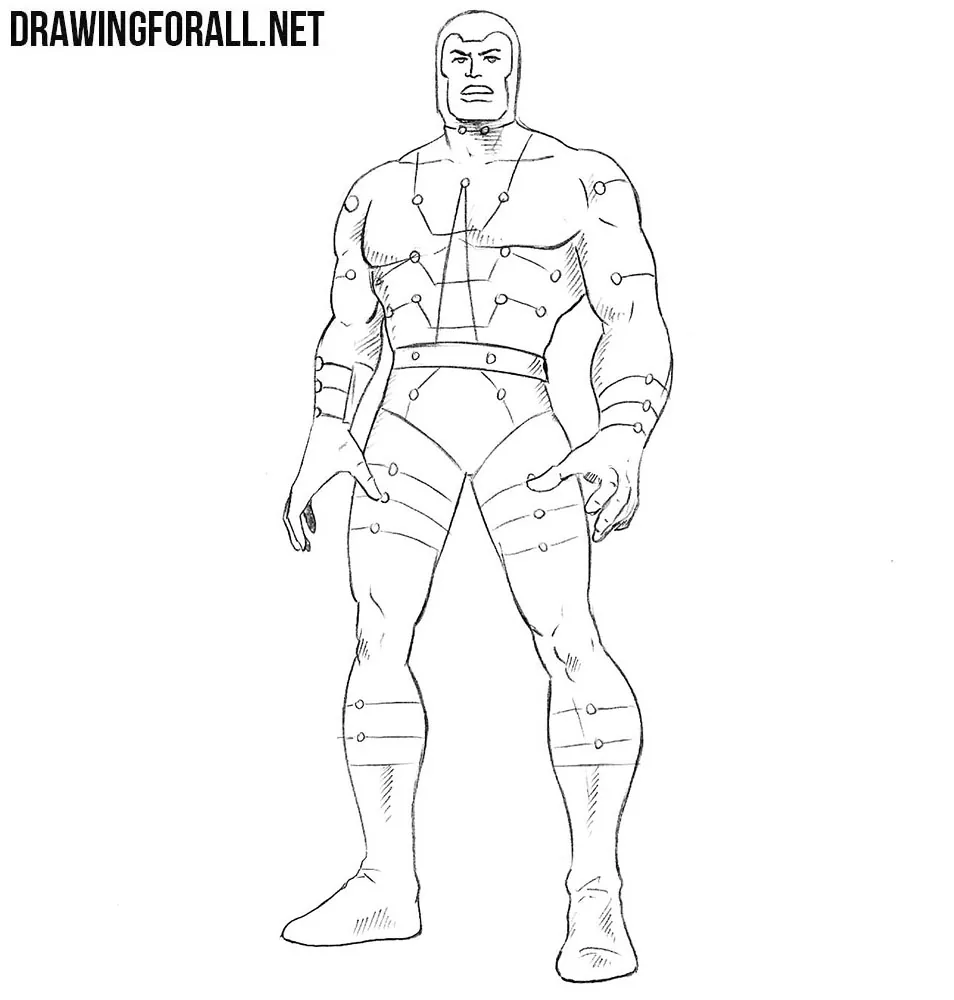
Multiple Man is a member of the Brotherhood of Mutants. He is also known as one of Magneto’s most devoted assistants. His main superpower is the ability to create clones of himself. Each clone is an independent person capable of making decisions and thinking for himself.
To create a clone, he only needs to snap his fingers or stamp his foot. Here we will show you how to draw Multiple Man in his classic costume, using a comic-book drawing style with contrasting lines and hatching.
How to draw Multiple Man step by step
Step 1: Sketch the basic figure
Start by drawing a stick figure made of simple lines and shapes. We need it to establish the pose and main proportions. Sketch the oval head, then mark the spine, shoulders, and pelvis. Use light lines to indicate the positions of the arms and legs. The character stands upright with his legs apart and his arms slightly bent.

Step 2: Add volume to the body
Draw two intersecting guidelines across the head. These lines will help you position the facial features. Then outline the neck as a cylinder and give volume to the torso. Note that the body should be wide at the shoulders and taper toward the waist, since we are drawing an athletic figure. After that, use simple geometric shapes to outline the arms and legs. Make the shoulders rounded and the thighs wider than the lower legs.

Step 3: Draw the face and headgear
Now begin adding details. Starting with this step, use darker, clearer lines. You can press a little harder with your pencil or use a liner or ink. Carefully draw the facial features and outline the headgear, which covers the upper and side parts of the head and extends around the lower part of the face. Use the guidelines from the previous step to keep the features in the correct positions.

Step 4: Refine the upper torso
Now move on to the body. Continue the lines of the neck to outline the trapezius muscles. A little lower, draw the collarbones and large pectoral muscles. Define the broad upper body and the abdominal area. Use clear lines to refine the contours and erase the unnecessary construction guidelines from this part of the figure.

Step 5: Draw the arms and hands
As in the previous step, use dark, clear lines to refine their contours, taking into account the shapes of the muscles beneath the costume. Draw the shoulders and arms with smooth curves, then carefully draw the hands and derail fingers. Pay attention to the different positions of the hands.

Step 6: Refine the legs and boots
Now we only need to finish the lower part of our superhero. Carefully refine the contours of the legs, following the shapes of the thighs, knees, and lower legs. Draw the outlines of the boots and add the necessary folds around the joints. Erase the remaining construction lines from the legs, leaving clear, finished contours.

Step 7: Add the costume patterns
We now have a completely outlined figure. Draw the characteristic patterns on the Multiple Man’s costume. Add the angular lines across the chest and abdomen, then continue the costume details along the arms and legs. Make these lines follow the shapes of the body.

Step 8: Add the final shadows
Use dense hatching to shade the front of the neck, the inner parts of the arms, and the areas around the knees. Add darker shading to the folds and recessed parts of the costume. This will give the Multiple Man drawing the contrasting appearance of a classic comic book illustration.
The classic comic-book drawing style is interesting because it tends toward a certain degree of realism in its forms, while avoiding excessive detail and complexity.
This is exactly the style we used to draw this comic-book character. His proportions and overall outline are fairly realistic, but they are still created using relatively simple lines and forms.
You may have seen a similar figure in our Doctor Manhattan drawing tutorial.
We also used a fairly simple shading scheme, but you can make it even more comic-book-like. Create more contrasting areas of solid black shadow, placing them where we used hatching.
For the transitions from shadow to light, use contrasting hatching. We used this shading technique in our Nebula drawing tutorial, so you can study it and apply it to this character.