How to Draw Mickey Mouse
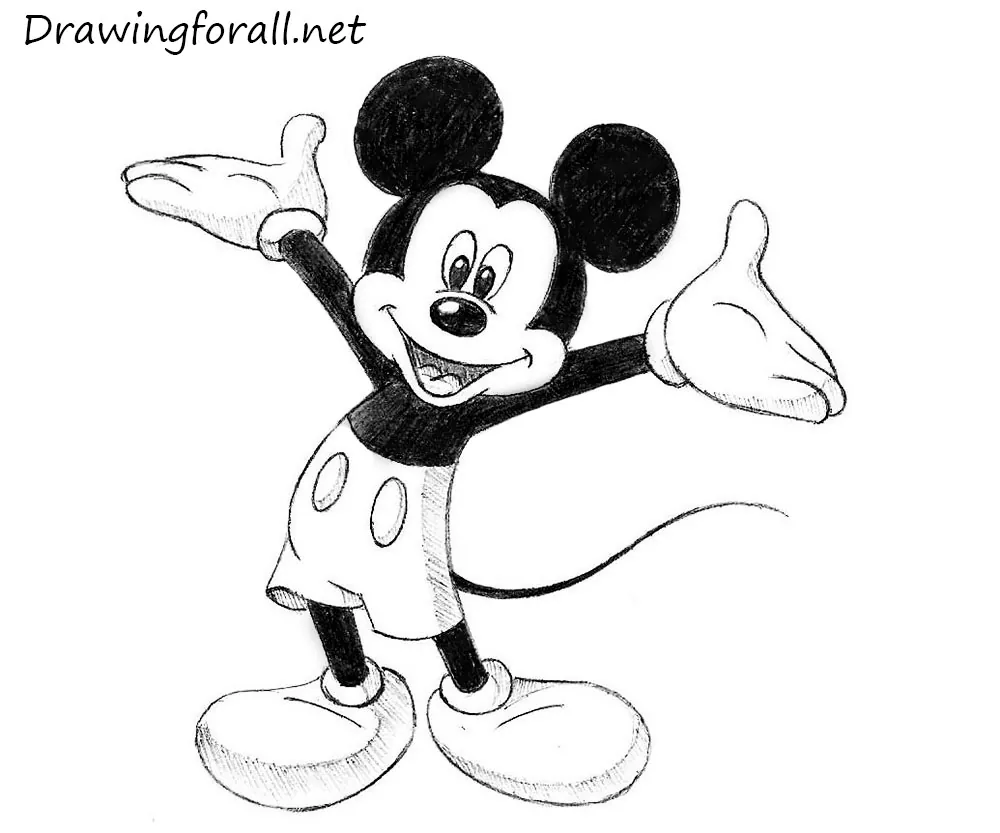
Today the team of Drawingforall.net has prepared for you a new drawing tutorial, in which we will teach you how to draw Mickey Mouse. This mouse is known to all people on the planet. Since the first appearance in 1928 Mickey has changed very much. Of course, now he has become more detailed. Now he has shadows, reflections, improved animations, and movements become more realistic and natural.
So, let’s start the tutorial and learn how to draw Mickey Mouse!
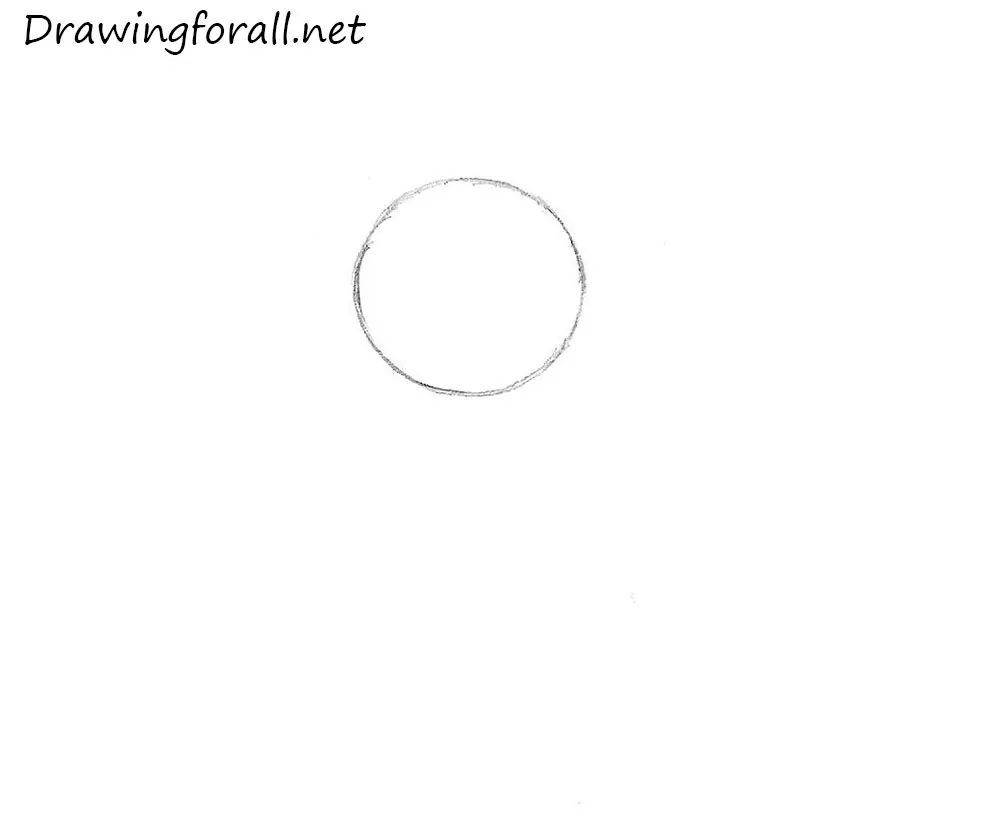
Step 1
Let’s start by drawing a usual circle, it should be drawn at the top of the page. It will be the guide for the head of Mickey Mouse. Note, that at the first steps you should not press down too hard on the pencil.
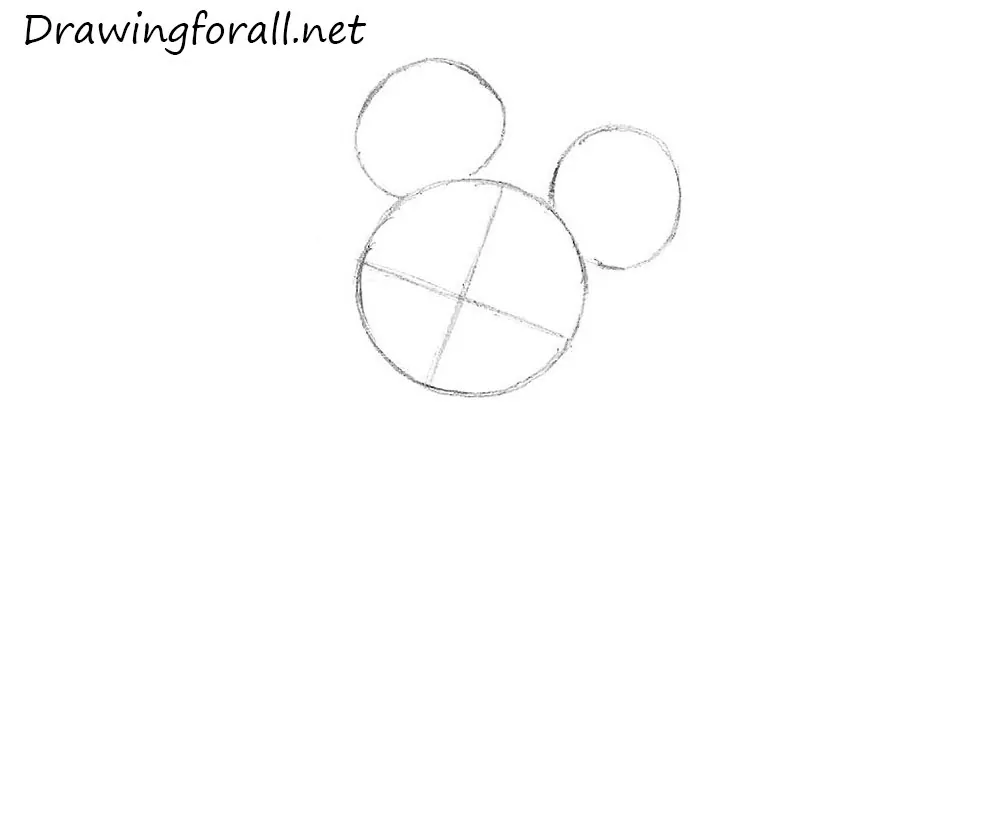
Step 2
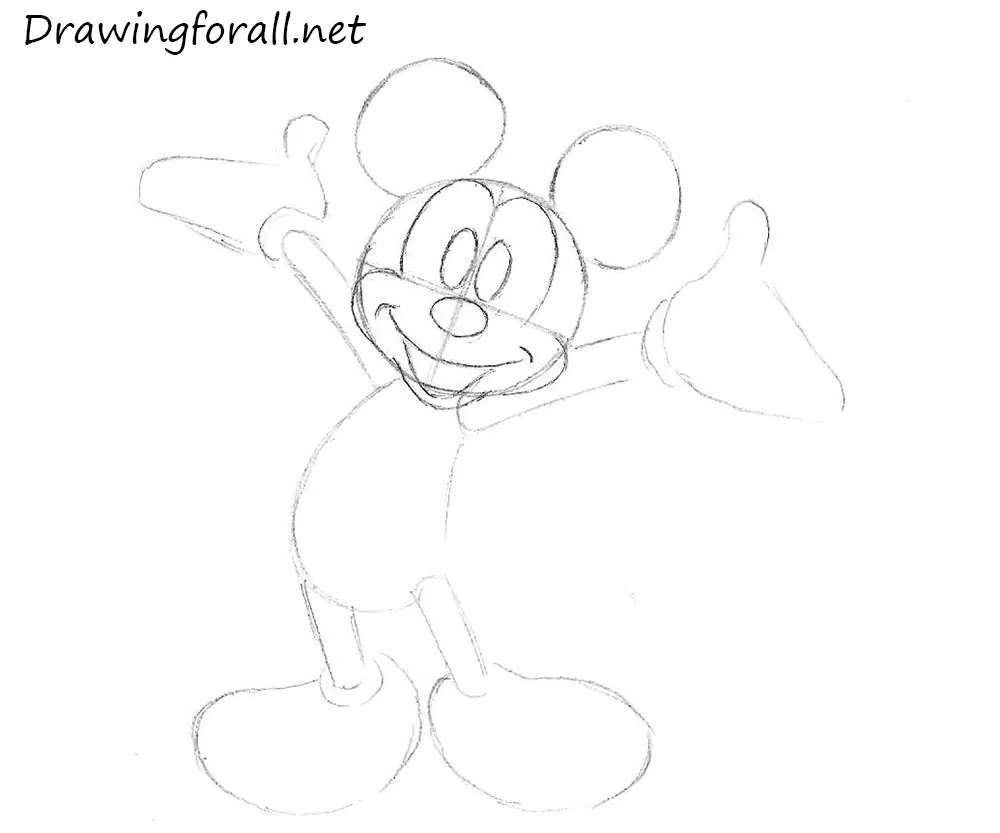
Sketch out the guidelines for facial symmetry. First draw the vertical line, which will help you to find the center of the face. Then draw the horizontal line, which will help you to draw the eyes. Note, that they should cross at right angles. After that draw two small circles on the upper part of the head, and in the result you should get a very recognizable eared silhouette of Mickey Mouse.
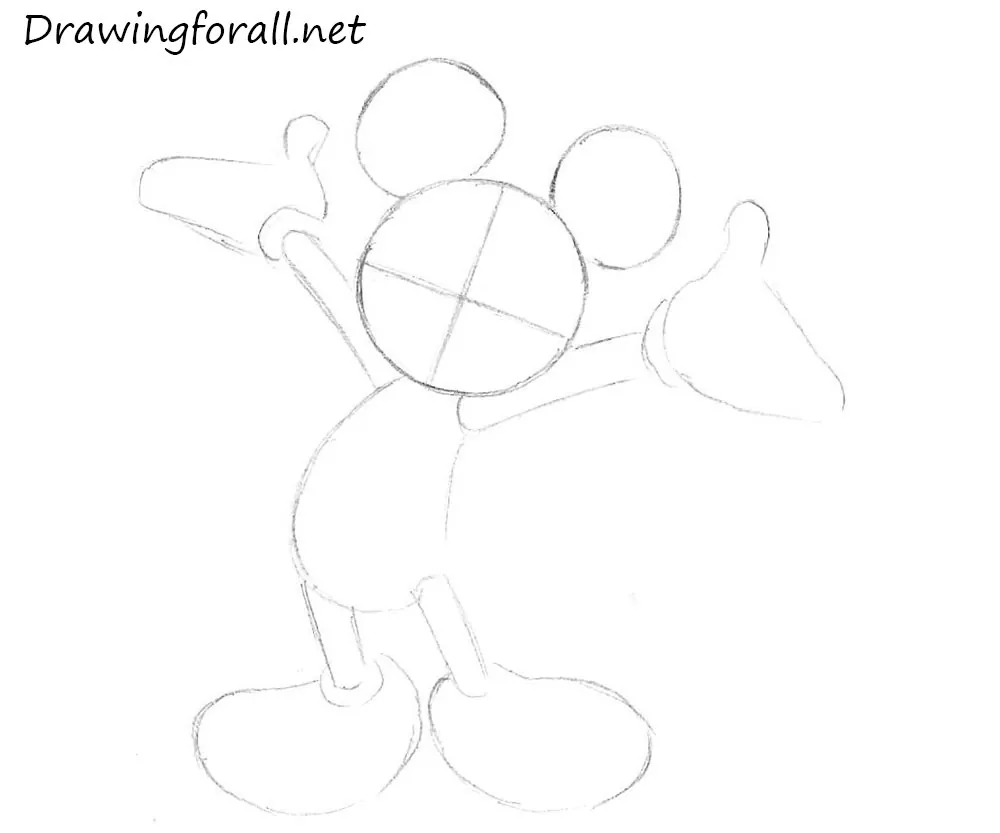
Step 3
This step seems too hard, but it isn’t so. At first draw the torso of Mickey Mouse, it looks like a thin (much thinner than the head) raindrop, slightly tapered at the bottom. Then draw a pair of elongated cylinders at the top of the torso, right below the head. After that, sketch out the palms of Mickey Mouse. Next, draw two thin cylinders at the lower part of the torso. It will be the guidelines for the legs. Then, At the bottom of the legs draw the feet in the form of curved ovals (note, that the feet should be very similar to beans).
Step 4
In this step of the tutorial about how to draw Mickey Mouse, we draw the face. Using the guidelines from the second step draw the facial features. Using ovals draw the eyes. They should be placed at the sides of the vertical facial line, right above the horizontal line. Then using a flattened oval draw the nose, which should be located directly under the line of the eye. Then using curved lines draw the smile. And at the end of this step, draw the cheeks, chin, and area around the eyes in the form of the letter “M”.
Step 5
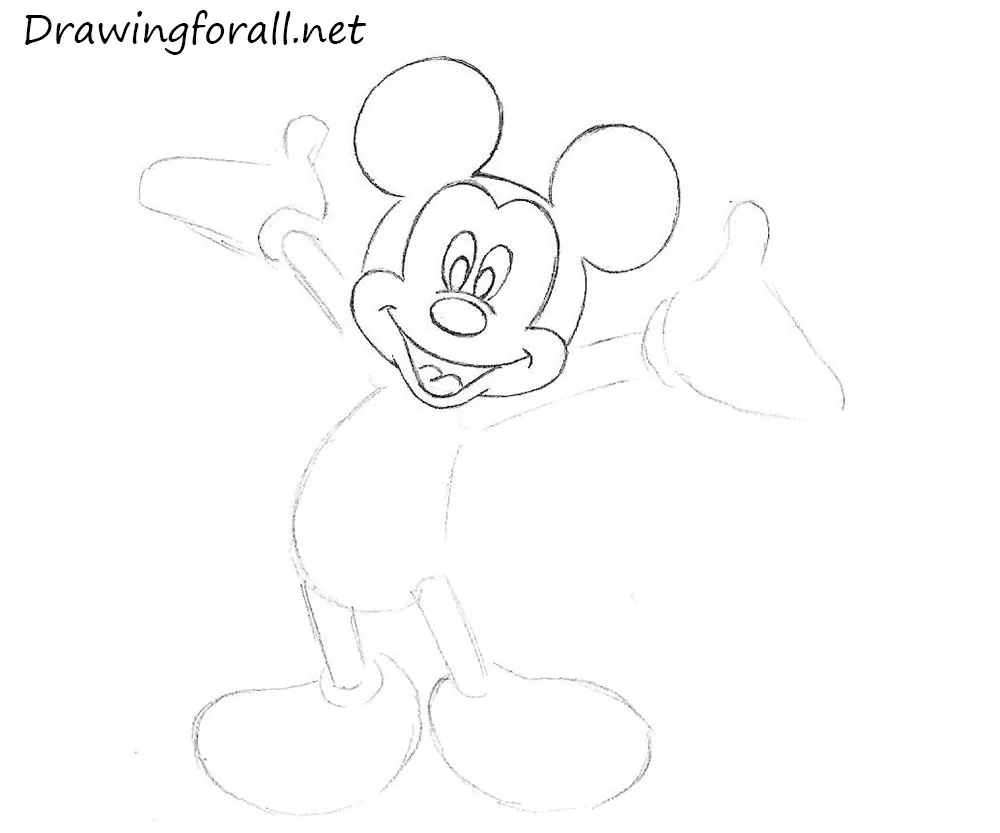
Erase all unnecessary guidelines from the face of Mickey Mouse, draw the tongue and a line under the eyes. At this step, we will finish with Mickey Mou’s face. Darken all the lines of the head as in our example. The lines of the head of Mickey Mouse should be as clean and complete as possible.
Step 6
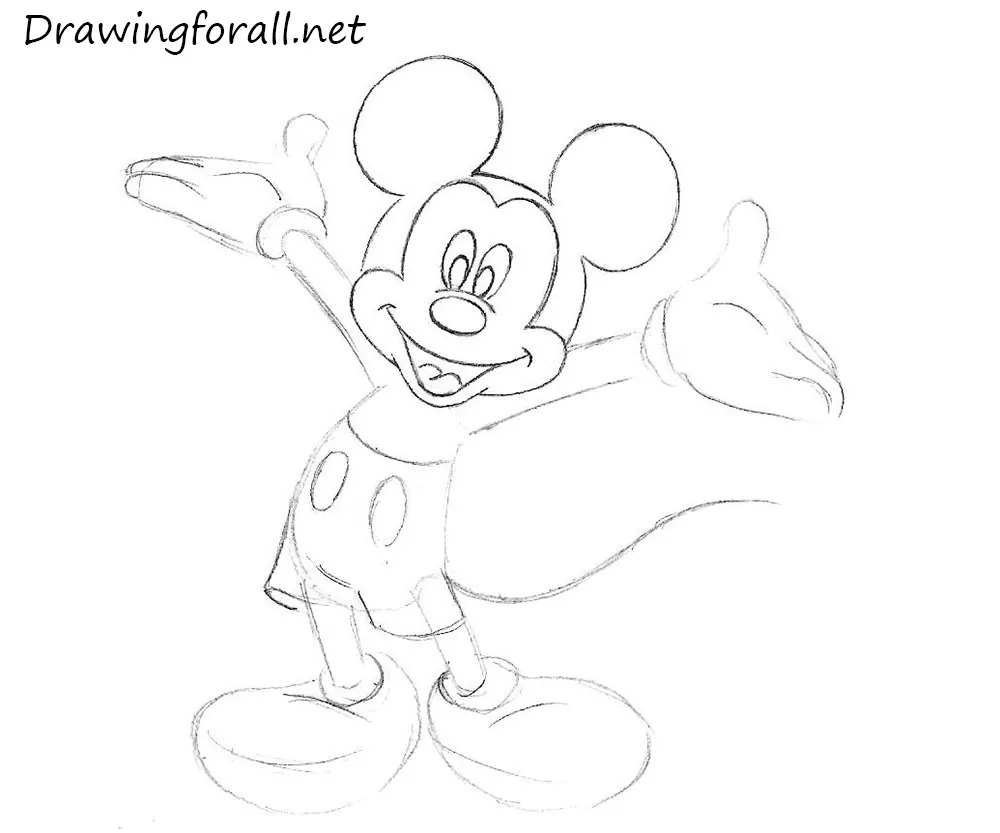
At this step of the tutorial about how to draw Mickey Mouse, we will add some details. First sketch out the fingers. Then, using two curved lines draw the tail. Using curved lines draw the outlines of the shorts. Sketch out two buttons in the form of ovals and move to the next step.
Step 7
So, we got to the last step of the tutorial about how to draw Mickey Mouse. At first, you need to erase all unnecessary guidelines from your Mickey Mouse drawing and darken the lines. Paint all the black parts and add shadows. In order to get shadows as in our example, at first you should outline the contours of the shadows, and then hatch them using short strokes.

It was a tutorial about how to draw Mickey Mouse. We hope this tutorial was interesting and informative for you. If this tutorial seems too easy for you, we recommend you visit tutorials about how to draw Wolverine and how to draw Sub-Zero. Stay tuned and wait for new drawing tutorials!



Thanks.I drew it. It was simple 🙂
Wow it was great 🤩😄🤩😄🤩🤩
Beautiful 🌹🌹🌹
Very Easy
I am a big fan of Mickey and I love it🥲🥲 beings me memory’s.
It was so easy, it helped me improved my drawing skill
Very difficult tricks