

How to Draw Garlic
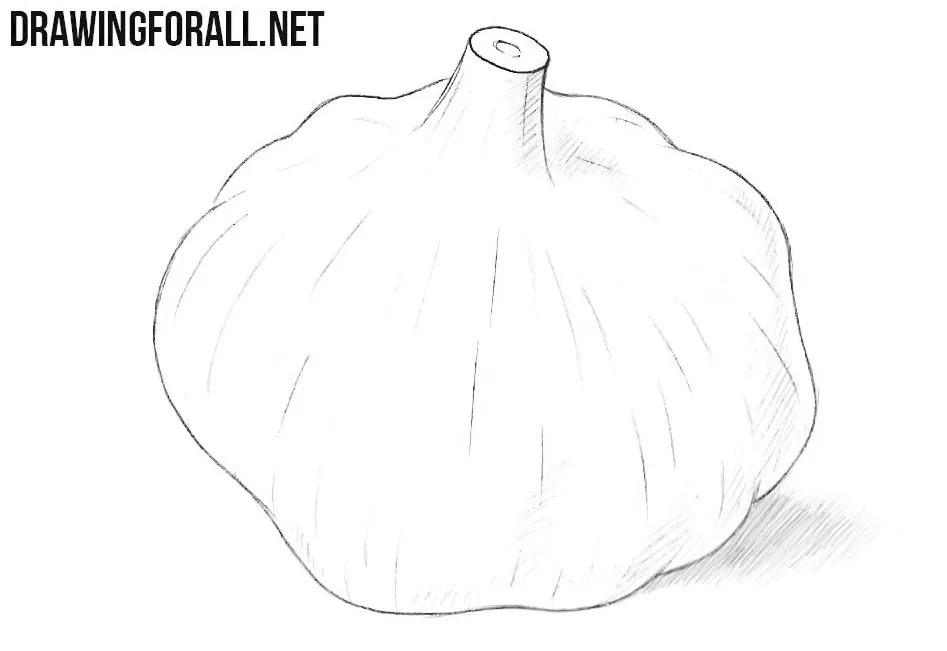
The shape of garlic has been familiar to all of us since childhood. In this step-by-step tutorial, we will show you how to draw garlic, convey its bumpy form that narrows toward the top, and add simple hatched shadows to create volume.
In addition, in this tutorial you will learn the main differences between drawing garlic and drawing an onion.
How to draw garlic step by step
Step 1: Sketch the garlic bulb
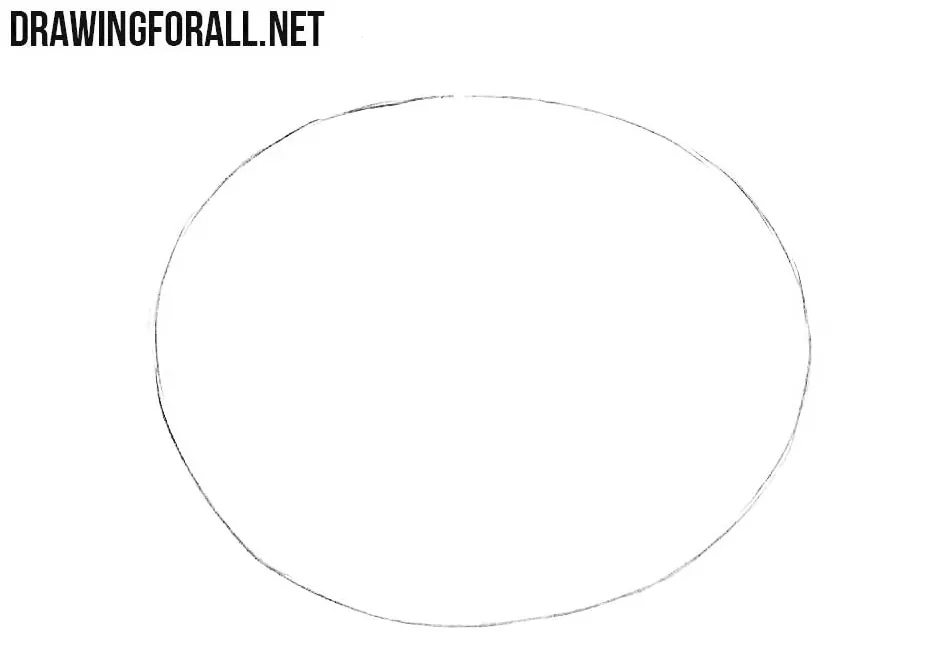
So, first of all, sketch the outline of the garlic bulb as a simple circle. The lines in this step should be very light. Use this circle only as the outer boundary of the future bulb; in the next steps, its regular edge will be replaced by the separate bulges of the cloves.
Step 2: Draw the cloves and stem
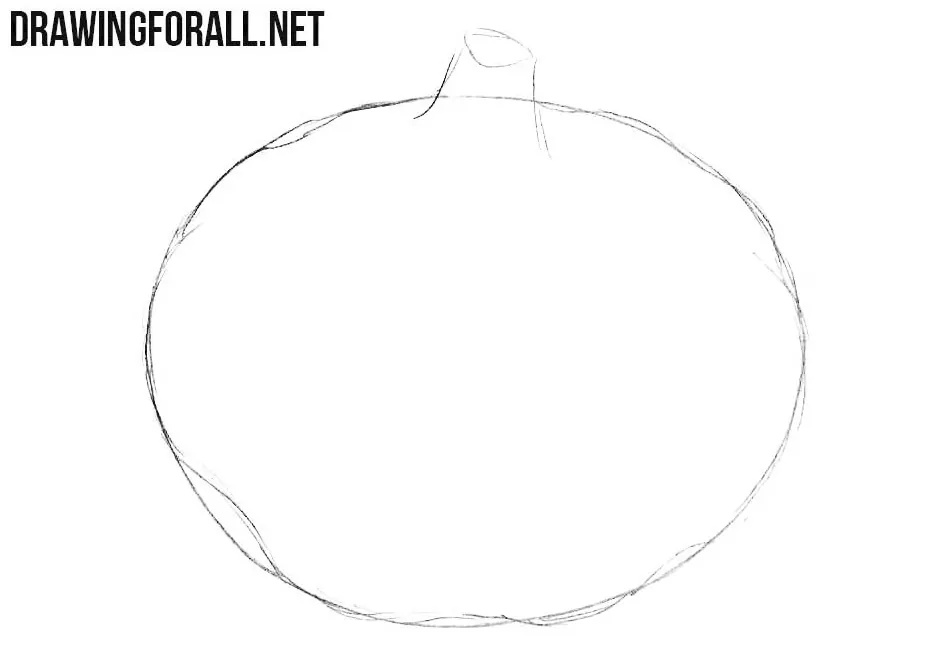
With the help of smooth lines, draw the outlines of the garlic cloves. Break the circular silhouette into several broad lobes, making the lower edge especially uneven where the cloves meet. At the top, draw the short stem of the garlic. Give it two slightly diverging sides and close the upper end with a tilted oval.
Step 3: Refine the garlic contours
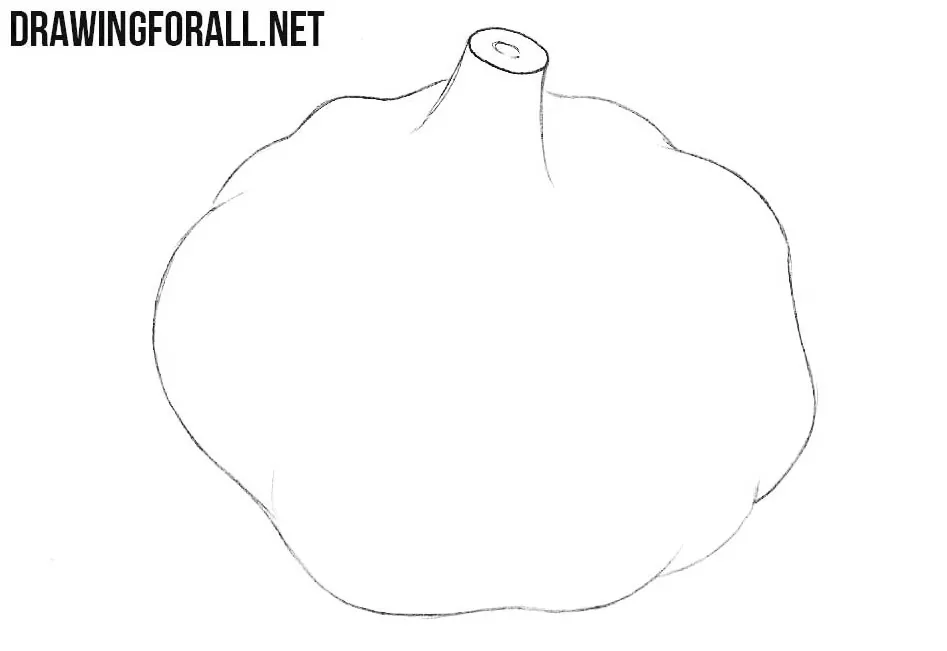
Remove the unnecessary guidelines from the garlic. Then trace the outlines of the bulb and stem with clear, dark lines. Preserve the separate clove bulges. Don’t return to the circular construction shape. Add the small inner oval on the cut end of the stem.
Step 4: Draw the garlic texture
Using long, smooth lines that follow the form of the garlic, draw the texture. These texture lines should not run all the way from the top to the bottom. They should be broken and placed somewhat randomly. These lines should emphasize the form of the garlic, spreading apart across the widest part and converging toward an imaginary point at the bottom.
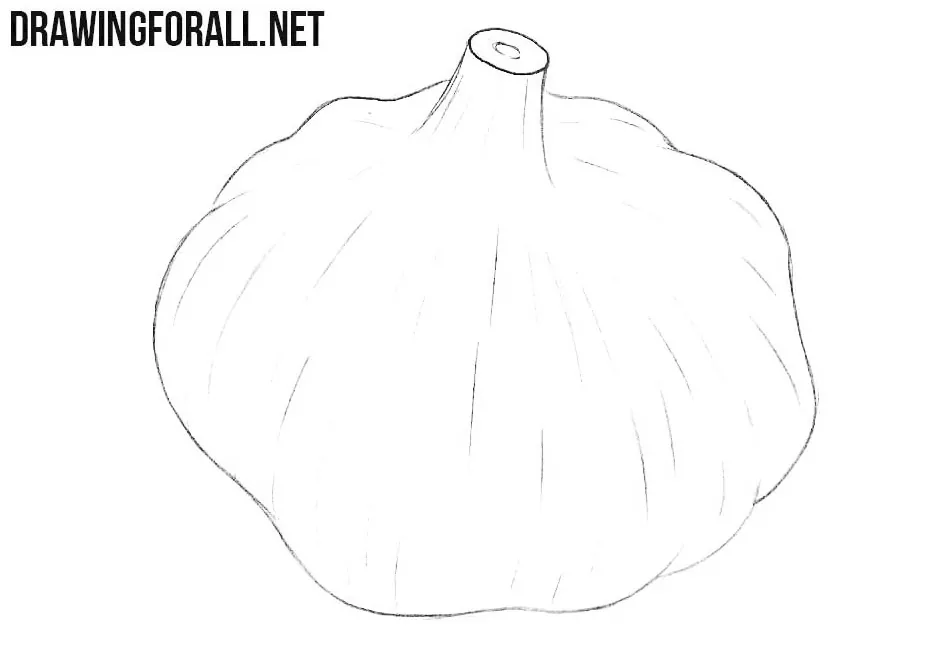
Step 5: Add shadows to the garlic
Add shadows with hatching along the right side of the bulb and around the stem. Apply hatching to the right sides of the garlic cloves, which are less exposed to the light. The strokes should not be spread evenly across the entire right side of the overall form if you want to emphasize the volume as much as possible. Also draw the cast shadow on the surface beneath the garlic. In our example, it starts under the lower-right edge and stretches diagonally to the right.
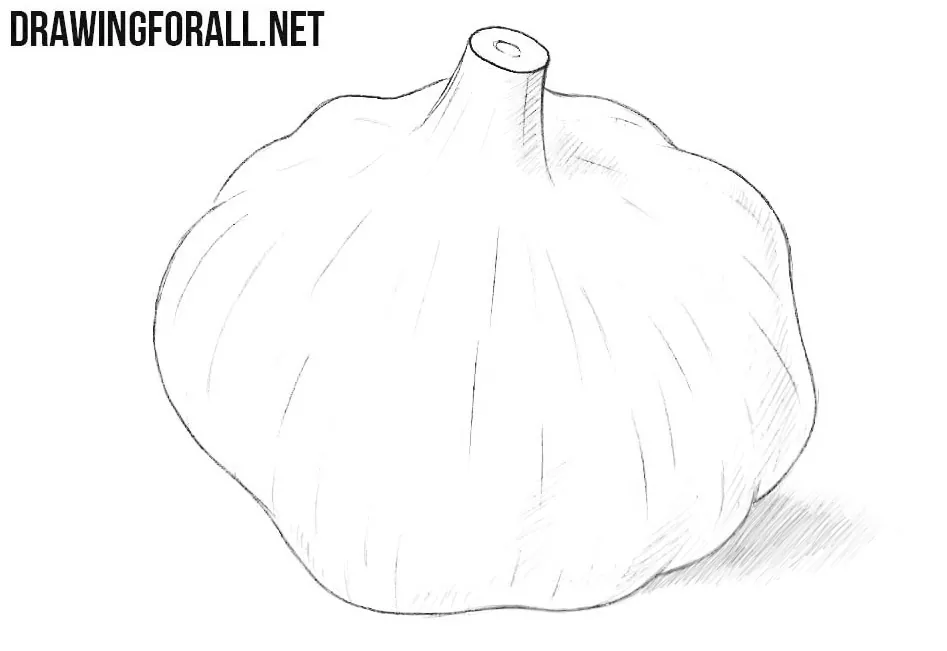
So, the main principles of drawing garlic are, first of all, to convey its characteristic overall mass, then depict its bumpy form that narrows toward the top, and add shadows correctly to emphasize all of this.
The main visual difference between garlic and an onion is that garlic has a bumpy surface, while an onion has a smoother one. In addition, an onion has more pronounced longitudinal lines, while on garlic, even when such lines are present, they are much less noticeable.
Try drawing an onion next to garlic so you can clearly see these differences for yourself. If you want to create a more complex and interesting still life, you can draw a potato next to these vegetables or add any other object you can find in your refrigerator.
In fact, you can use your refrigerator as a source of references, repeating the steps from our tutorials while drawing real objects placed right in front of you.


