How to Draw Chibi War Machine
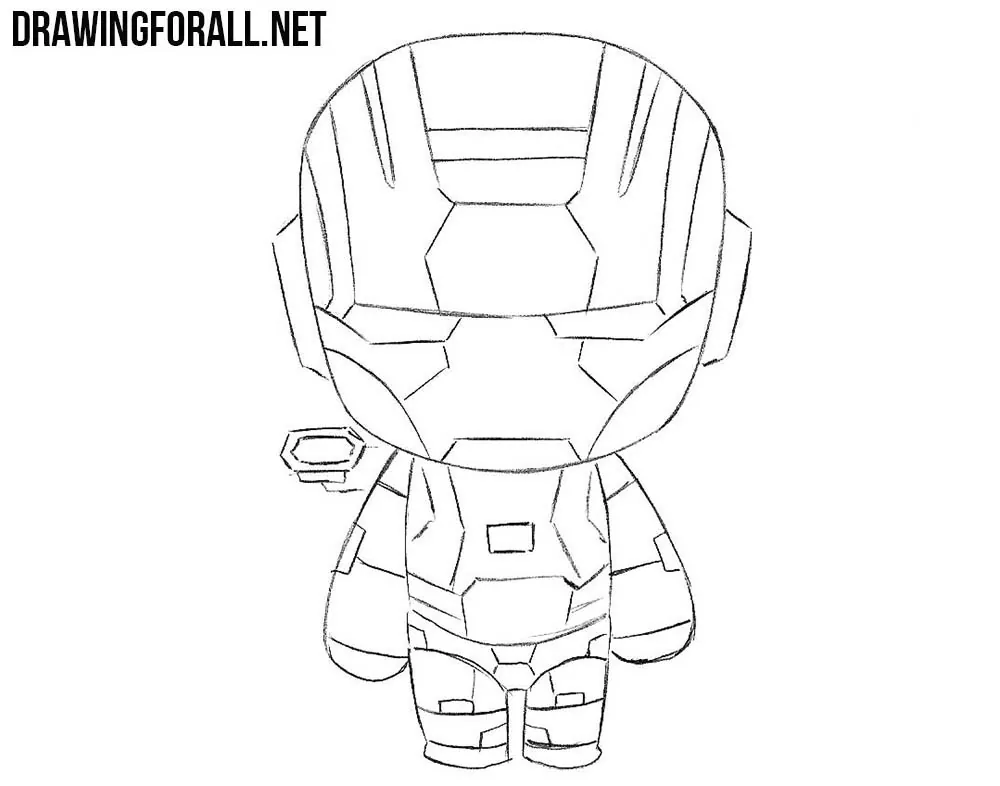
Chibi is a very interesting and unusual drawing style, especially when a superhero is drawn in it. In this tutorial, we will show you how to draw chibi War Machine in a simplified style and how to depict his characteristic armor and the gun behind his back.
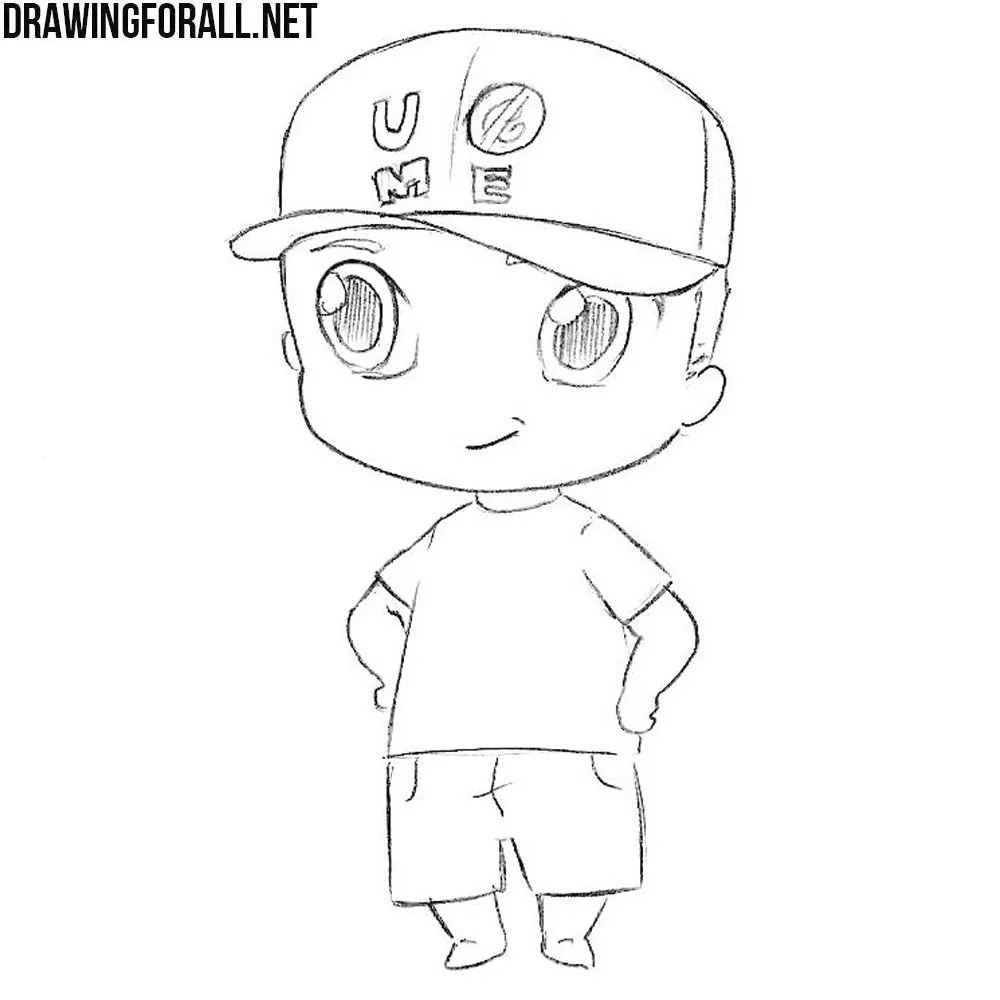
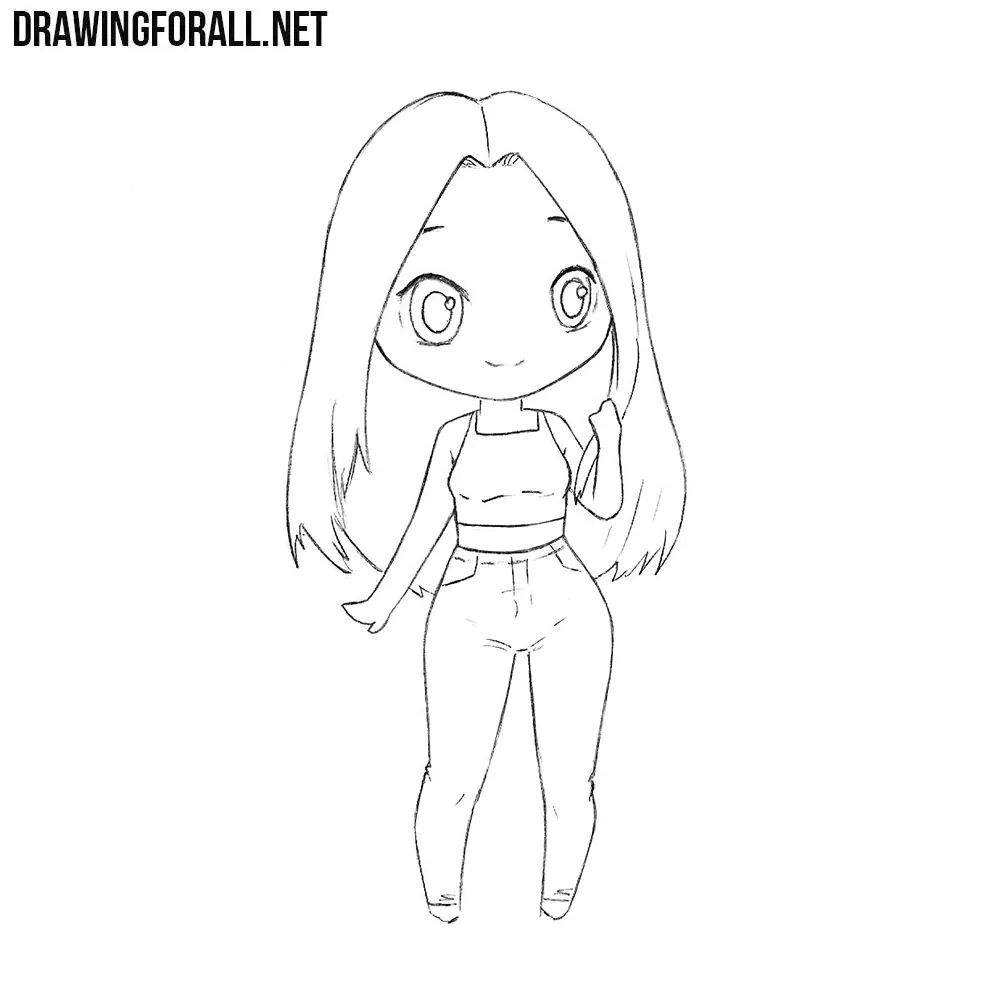
This tutorial follows our basic chibi character drawing tutorial but introduces the characteristic elements of a comic book character’s costume, simplifying them to a minimum.
How to draw chibi War Machine step by step
Step 1: Draw the large head
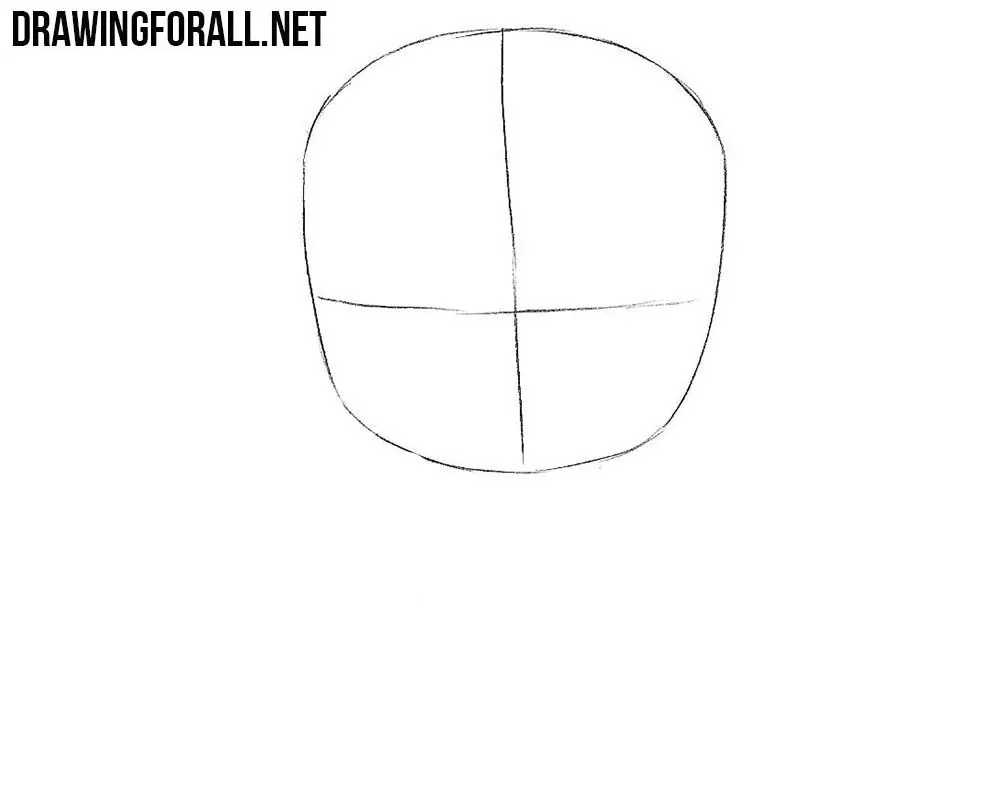
First, draw the head of chibi War Machine. As you can see, the head is wider at the forehead and gradually narrows toward the chin. After that, draw the traditional cross of facial guidelines. The vertical line marks the center of the face, and the horizontal line shows the position of the eyes.
Step 2: Add the small body
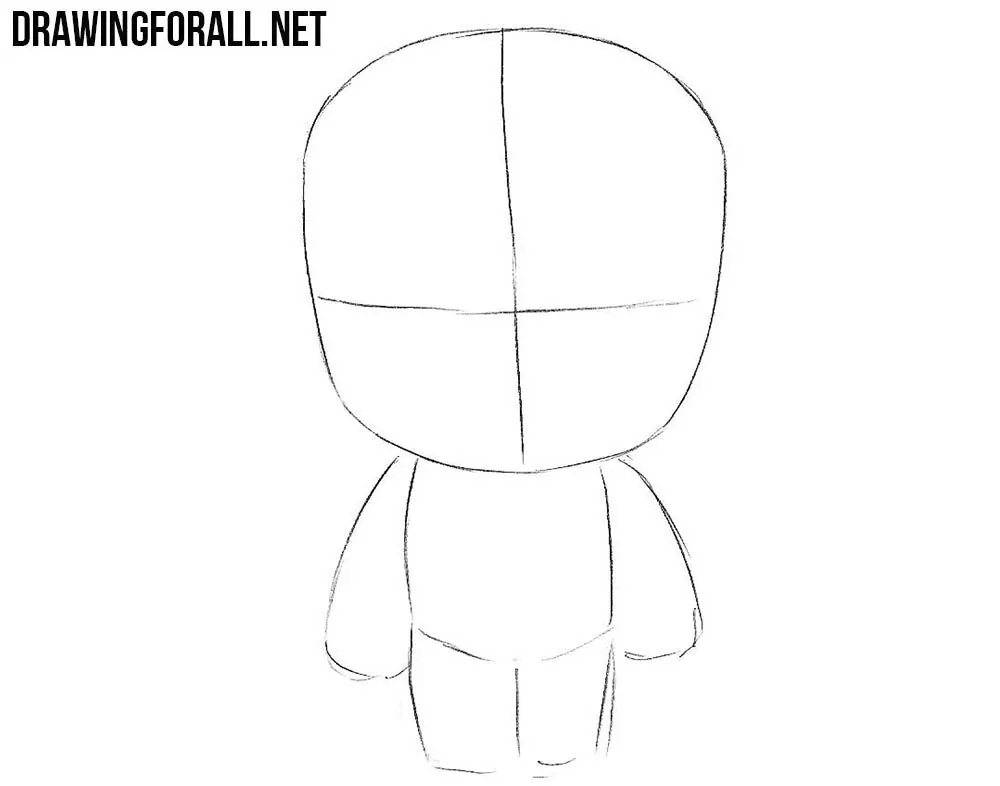
Then draw the body, arms, and legs of the chibi character. Pay special attention to the proportions: the head should be larger than the rest of the body. Draw the torso very small and make the arms and legs short. At this stage, use simple shapes and light lines without adding any armor details.
Step 3: Sketch the helmet eyes
Now it is time to sketch out the eyes of War Machine. Place them along the horizontal guideline from the first step. The eyes should be positioned symmetrically. After that, erase the facial guidelines that we no longer need.
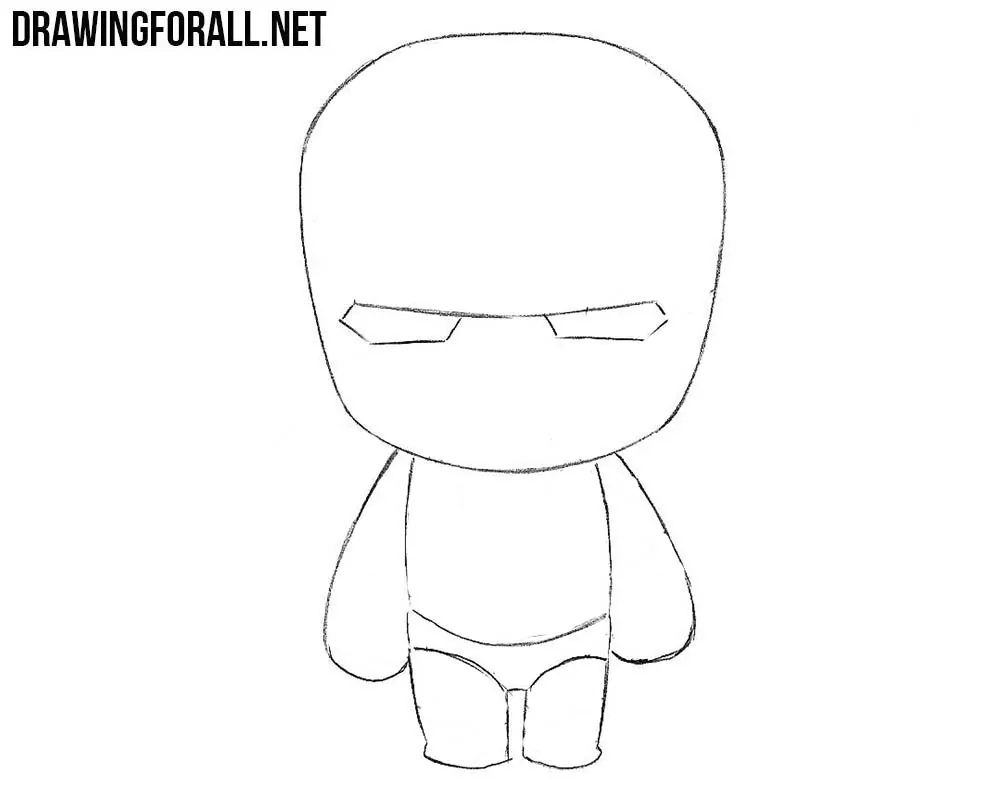
Step 4: Detail the armored helmet
You can see many details on the helmet in this step. First, draw the area under the eyes, and then move to the details above them. This order will help you avoid getting confused by the large number of lines. Carefully add the plates and contours. The left and right sides of the mask should be symmetrical.
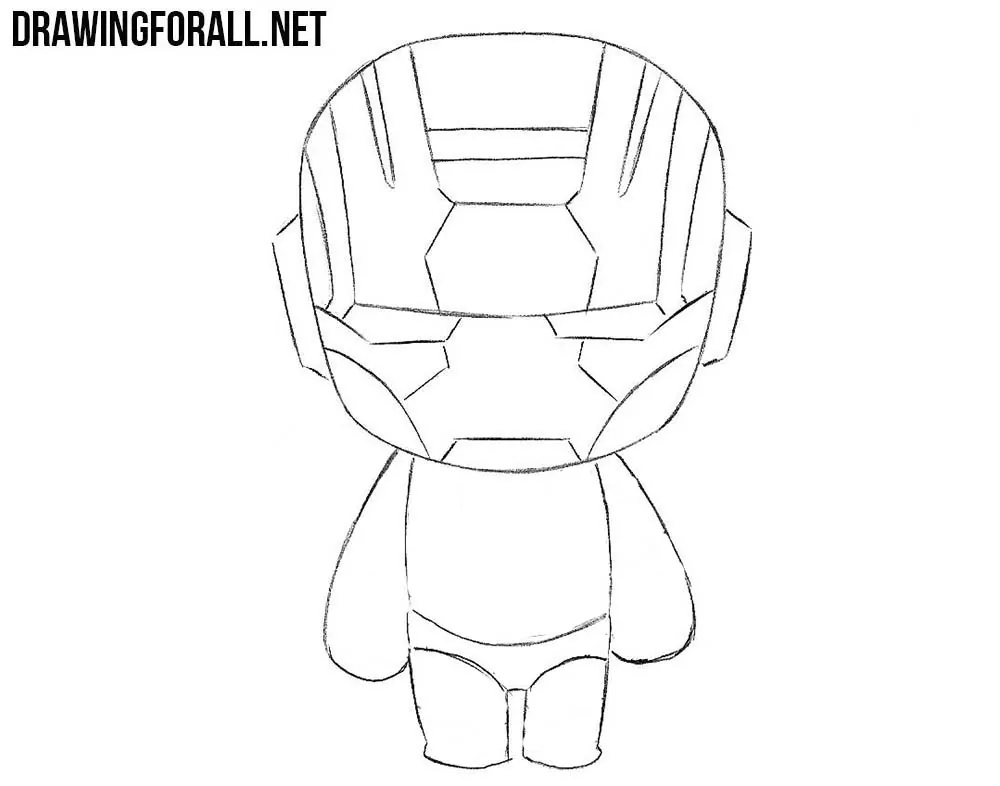
Step 5: Outline the torso armor
Now move to the body of chibi War Machine and draw armor that covers the torso. Draw the large chest plates first, then add the smaller details around them. Also, don’t forget to draw a small square shape in the center of the chest.
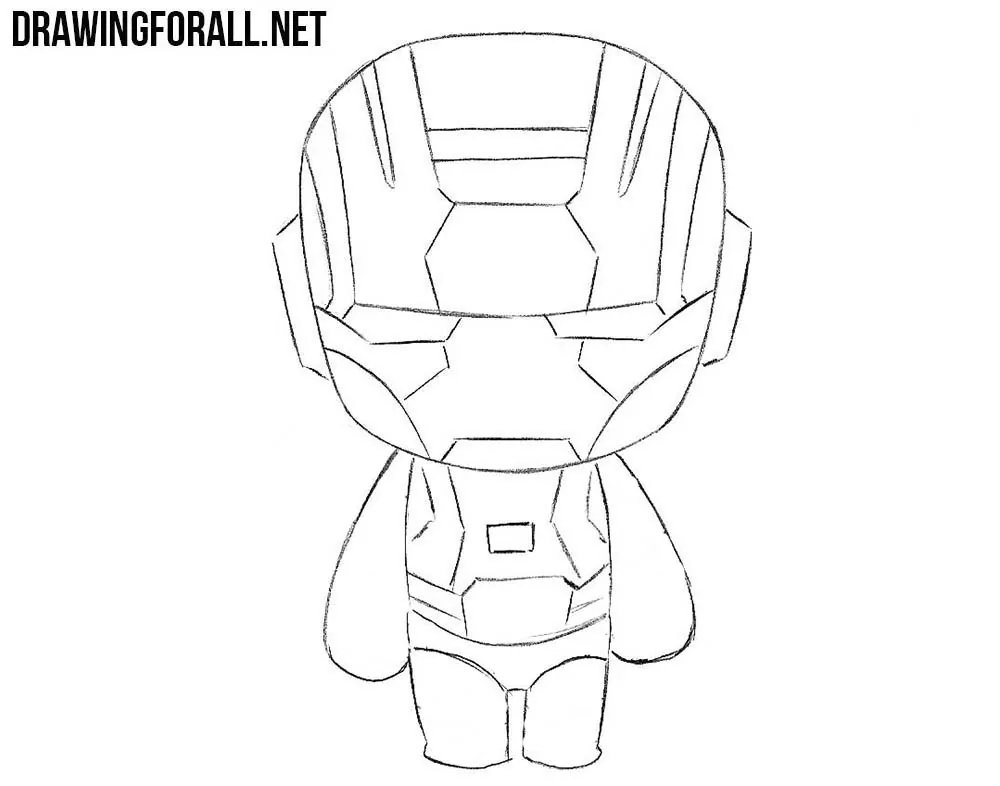
Step 6: Finish the limb armor
Now draw the armor covering the arms and legs of chibi War Machine. Add the main plates with short lines. Do not overload these small areas with details. Add the shoulder parts and the characteristic cannon behind the figure. Finish the contours and remove any remaining unnecessary lines.
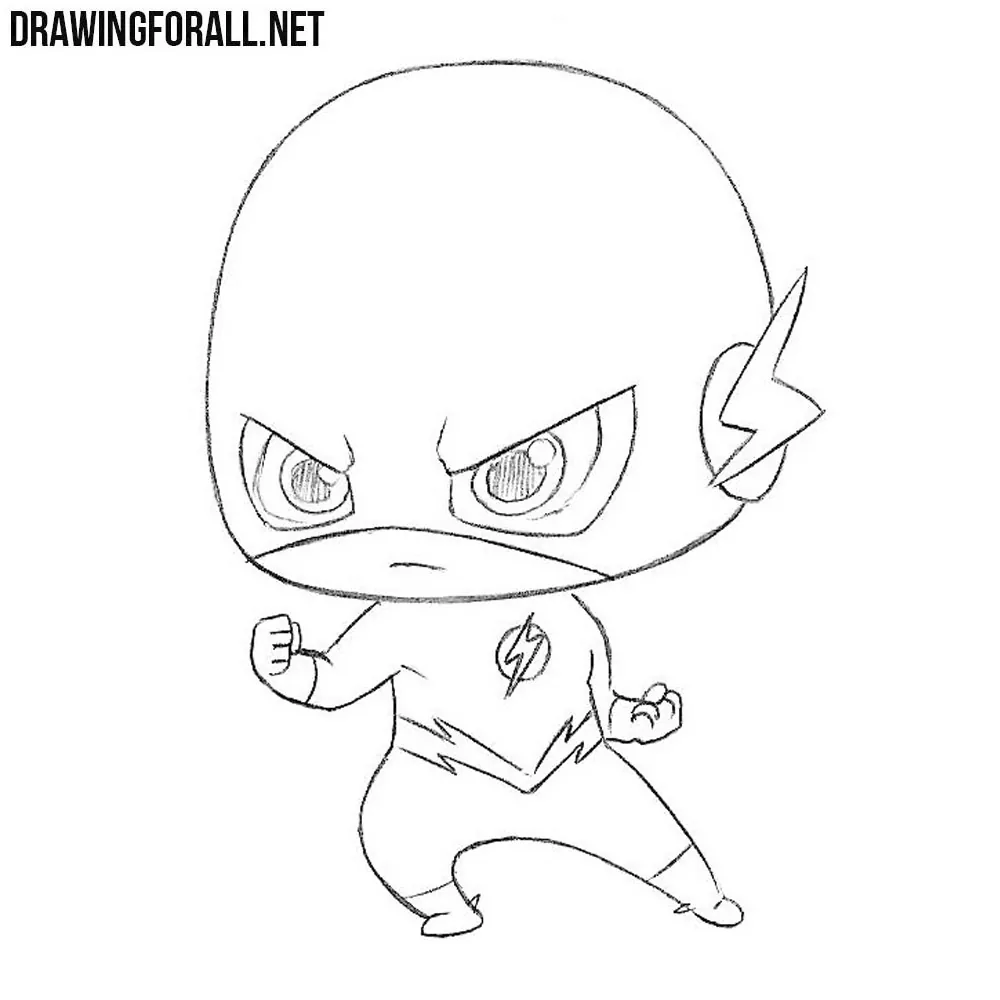
Chibi characters have characteristic body and facial features that somewhat resemble anime but are much more simplified. Any superhero or other character can be drawn in this style.
We explained how to simplify such characters into chibi versions in our chibi anime character drawing tutorial.
Using the same principles, you can, for example, draw chibi Spider-Man or any other hero or villain from the Marvel universe.
Be sure to also see our tutorial on how to draw chibi Iron Man, which shows a similar armored superhero in the same style but in a different pose.