How to Draw Chibi Natsu
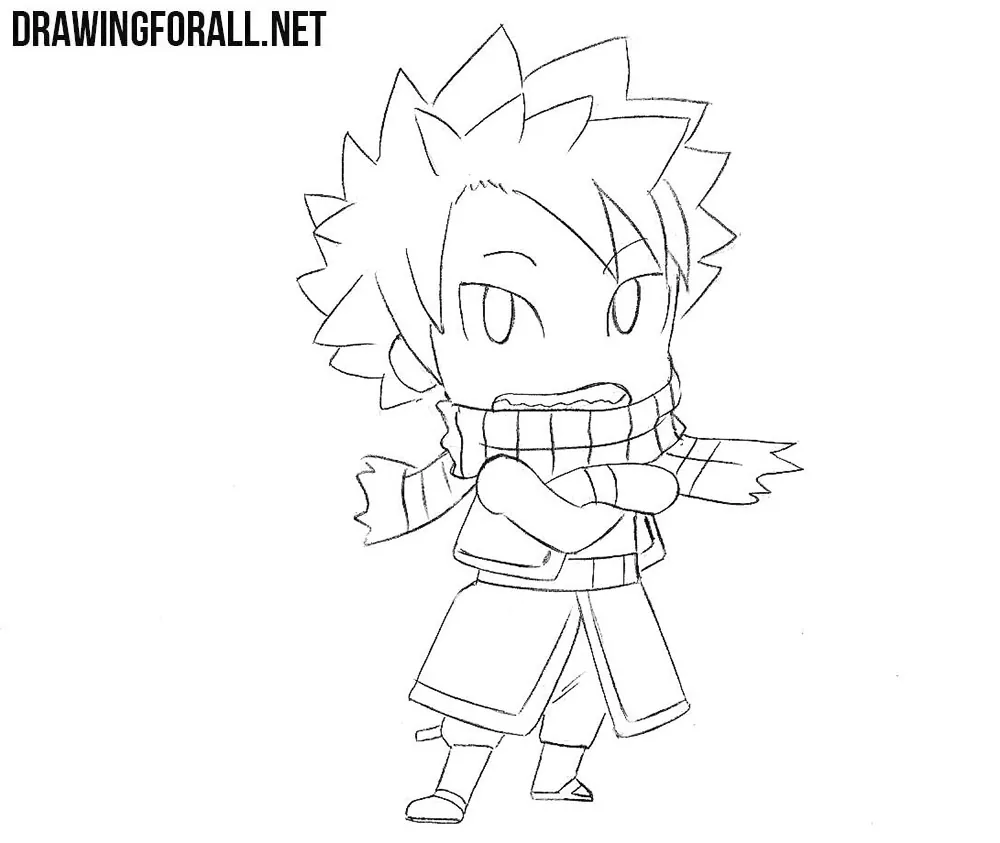
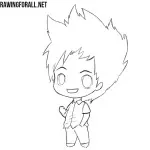
On our site there is a huge number of drawing lessons about the most different characters drawn in the chibi style. Today, this series of chibi lessons will be supplemented by a new article on how to draw chibi Natsu.
Step 1
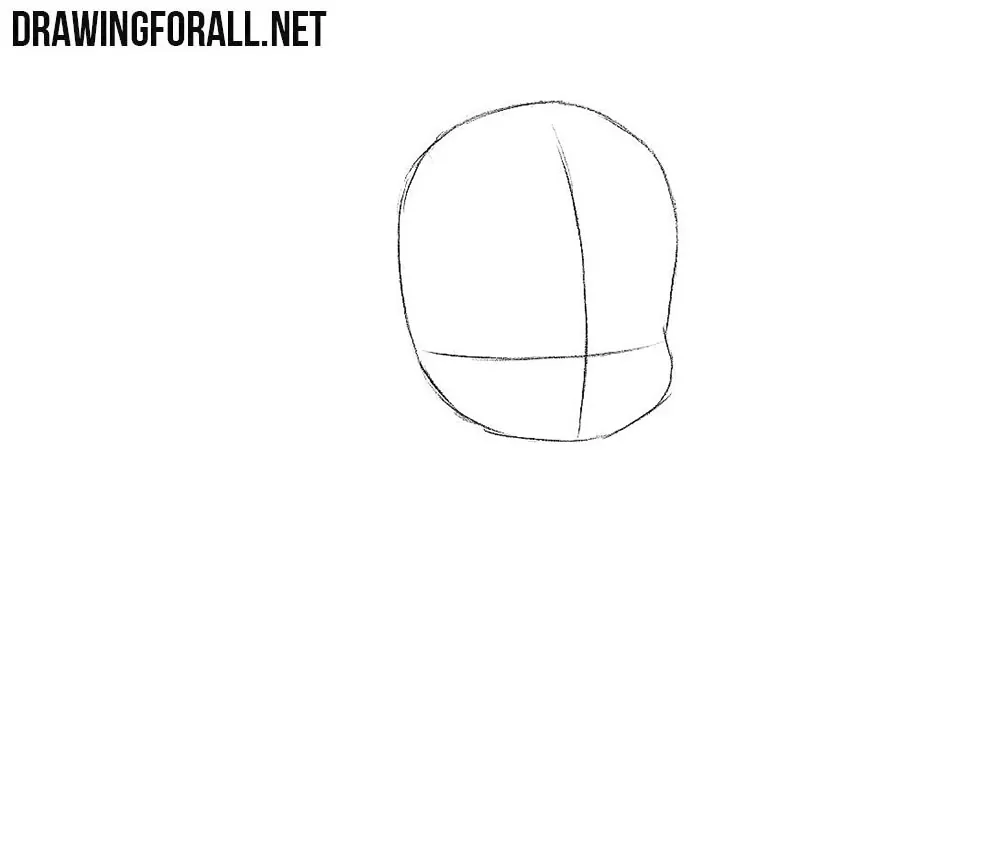
By tradition, we start with the head of the chibi character, sketching it in the form of such a rounded figure. On the surface of the head, sketch out two intersecting lines.
Step 2
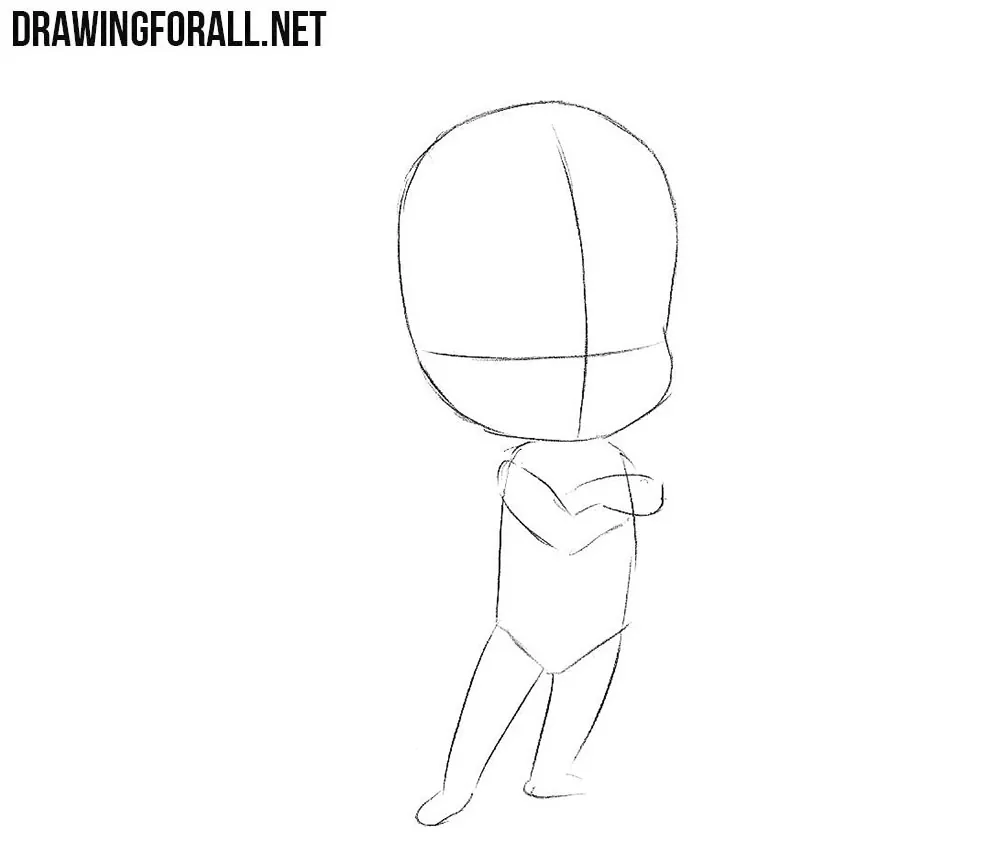
Now we are sketching out a very small torso and very small arms and legs. Notice that the chibi body is about the same height as the head.
Step 3
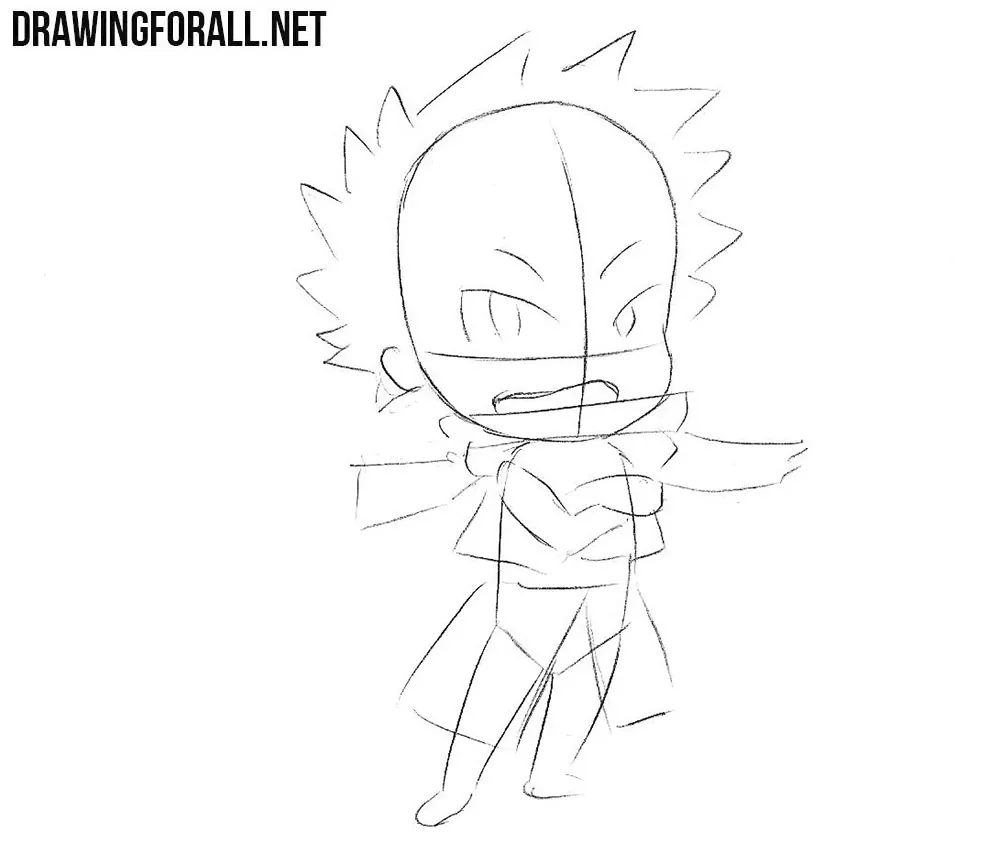
On the head sketch out hair, outlines of eyes, ear and mouth. Next, sketch the outlines of the scarf. At the end of this step sketch out the outlines of clothing.
Step 4
This will be a fairly simple step in which we will need to draw out the contours of the hair, as in our example.
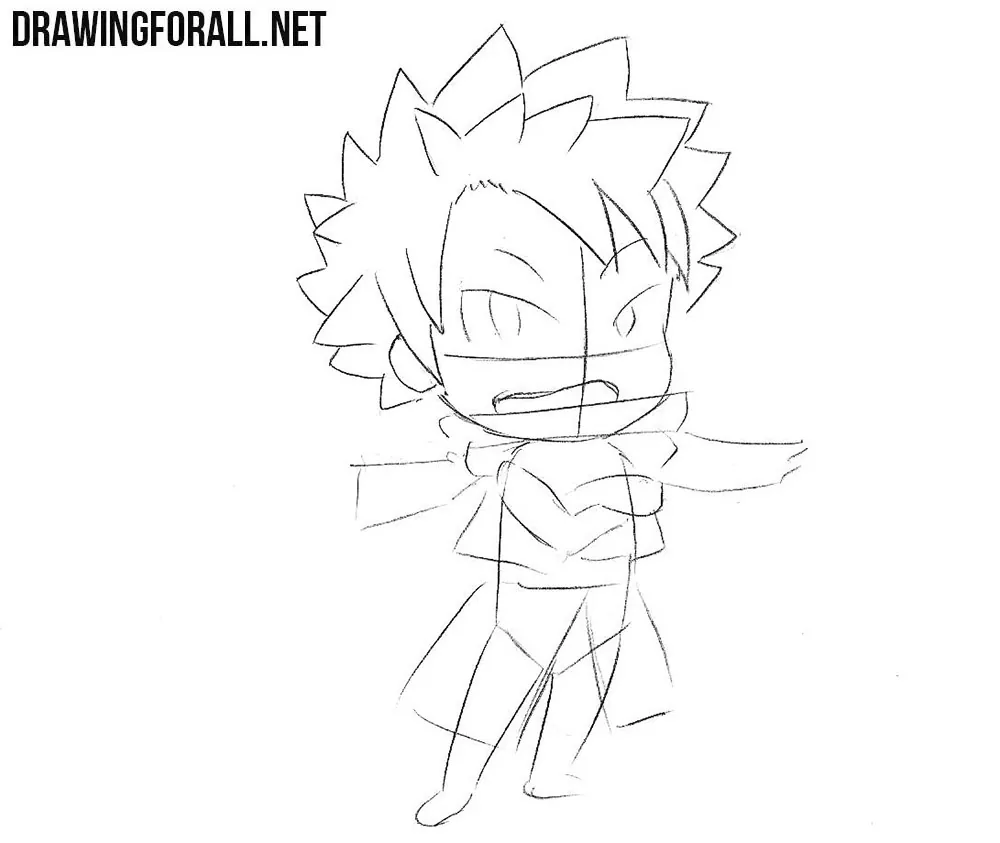
Step 5
Now let’s get to the face of our chibi. Carefully draw the eyes, pupils, eyebrows and mouth. In the same step, draw a scarf and stripes on the scarf.
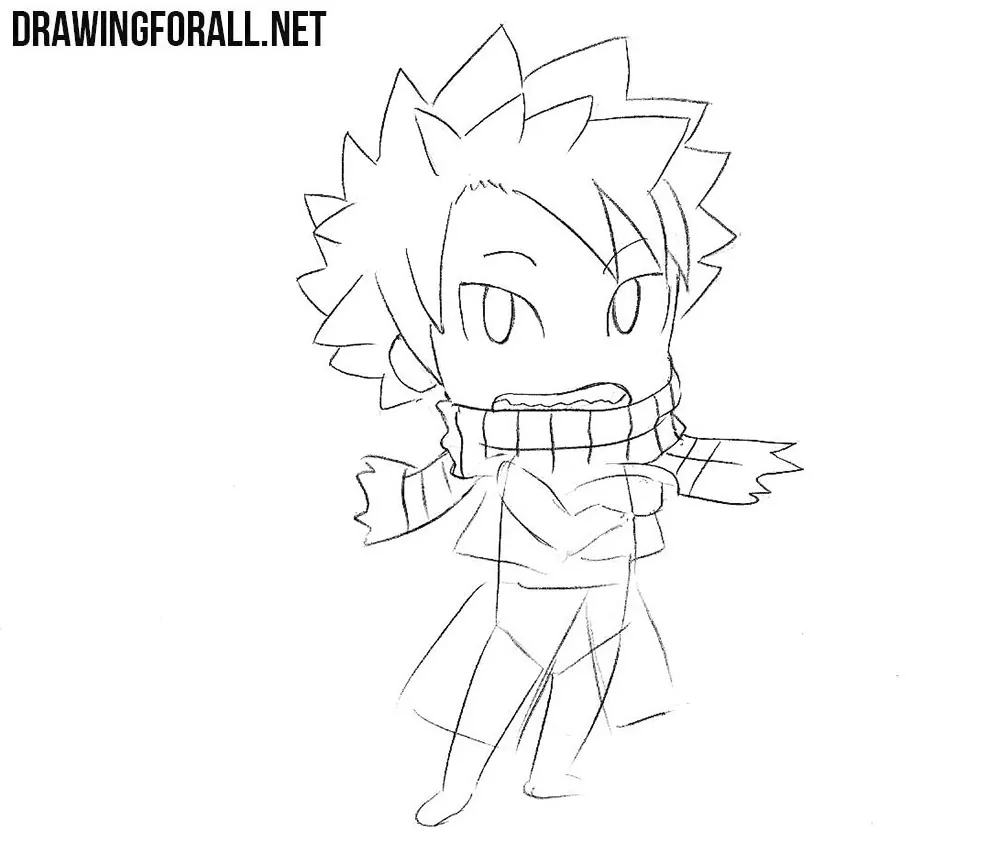
Step 6
Let’s now move to the top of the chibi body, drawing out the outlines of the arms and torso. Do not forget to remove unnecessary guidelines from the upper body.
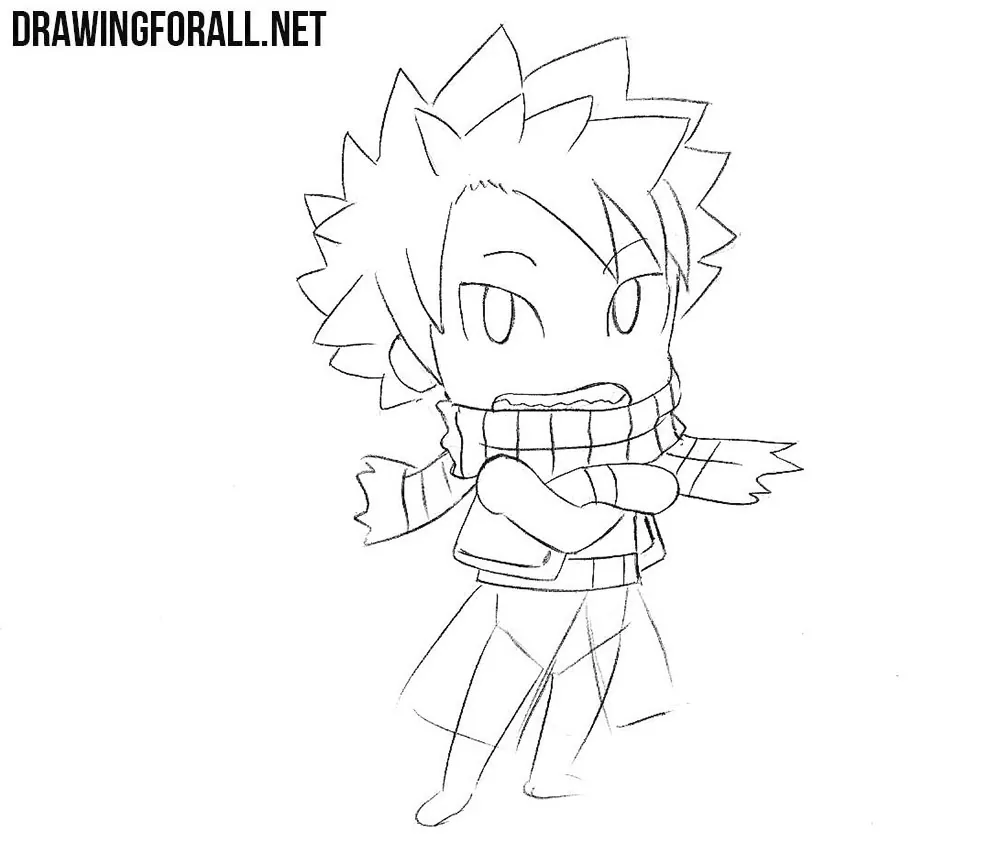
Step 7
And the last step in which draw the outlines of the legs and clothes as shown in our example and remove all the remaining unnecessary guidelines.

As you can see, today’s drawing lesson was extremely simple, as well as all our other drawing lessons from the chibi character series. If you want to learn the rest of the chibi characters, then visit our category called “Anime”. But if this lesson was too simple for you, then visit our other categories, where you will find more challenging drawing lessons. Anyway, visit DrawingForAll as often as possible and subscribe to us in social networks.



thank u but one comment: you forgot the fairy tale symbol on his left arm