

How to Draw Chibi Spider-Man

This tutorial will teach you how to draw a chibi Spider-Man and represent all his key features and motion in a simple style.
Here we continue our series of guides on this superhero, where we show how to depict him in different styles, poses, and variations.
Unlike our main Spider-Man drawing tutorial, here we will use not the classic comic style, but a super simplified chibi style.
It primarily involves reducing all forms to their most basic shapes while preserving the most recognizable features.
How to draw chibi Spider-Man step by step
Step 1: Sketch the head of the chibi superhero
Start by sketching the outline of the head in the shape of an upside-down egg or a simple oval. Indicate the tilt so the head looks natural when you draw the rest of the body.

Step 2: Draw the torso of chibi Spider-Man
Next, continuing the same implied tilted line, draw the torso as another oval slightly overlapping the first. The torso can be the same size as the head or smaller to further emphasize the chibi style.

Step 3: Sketch the chibi arms and legs
Then, from the upper part, draw the arms as two elongated ovals extending outward. In the lower part, depict slightly bent legs with smooth lines. In chibi style, the arms and legs should be noticeably smaller compared to the head than in a realistic figure.

Step 4: Add the eyes of Spider-Man
Trace and darken the outline of the head with smoother, cleaner lines. Draw Spider-Man’s eyes, showing the turn of the head – one eye is fully visible, while the other is only partially visible due to the angle.

Step 5: Refine the chibi torso and limbs
Now, in the same way, refine the outline of the torso, removing uneven and rough lines to give the whole body a smooth, somewhat toy-like look. Very simply, without extra detail, draw the chibi fingers on the forward hand in Spider-Man’s characteristic web-shooting gesture.

Step 6: Outline the eyes of the chibi character
Trace the outlines of Spider-Man’s eyes with darker lines to give them a more recognizable look. In the classic design, the eye frames are thicker at the outer corners and thinner toward the inner corners. Add a small highlight in each eye with a couple of short strokes.

Step 7: Draw the costume separation lines
To separate the red and blue parts of the suit, first draw lines on the chest that transition into the belt at the bottom and into the shoulders at the top, then merge with the gloves. Next, mark similar lines on the legs, taking into account the curvature of the form.

Step 8: Draw the web of chibi Spider-Man
From the wrist of the outstretched hand, draw straight lines to indicate the strands of the web. Then draw cross rings surrounding the main bundle to create texture. In the same way, draw the web in the hand extended backward.

Step 9: Sketch the web pattern on the suit
First, draw the longitudinal web lines on the head, torso, arms, and legs, but only on the red areas of the suit. Then, with short curved lines, draw the cross sections of the web on those same parts. In the center of the chest, draw the Spider-Man logo.

Chibi Spider-Man drawing basics
After learning how to draw a chibi Spider-Man, it is important to go over the key points that apply both to this specific character and to the style as a whole.
As mentioned at the beginning of the tutorial, the chibi style involves deliberate simplification along with exaggeration of forms.
Instead of detailed arms and legs as in the classic comic style, chibi should be drawn with simple rounded shapes. Instead of complex details, focus on the main outlines, and instead of defined muscles, use soft, almost plush, toy-like contours.

At the same time, such strong simplification and exaggeration do not mean abandoning the basic principles of drawing.
Despite their simplicity, all forms should still feel three-dimensional and follow the principles of symmetry, perspective, proportion, and other fundamentals covered, for example, in our basic drawing course.
In other words, when drawing chibi Spider-Man, you simplify the details to a minimum while still fully maintaining the core principles so the drawing remains convincing despite its simplicity.
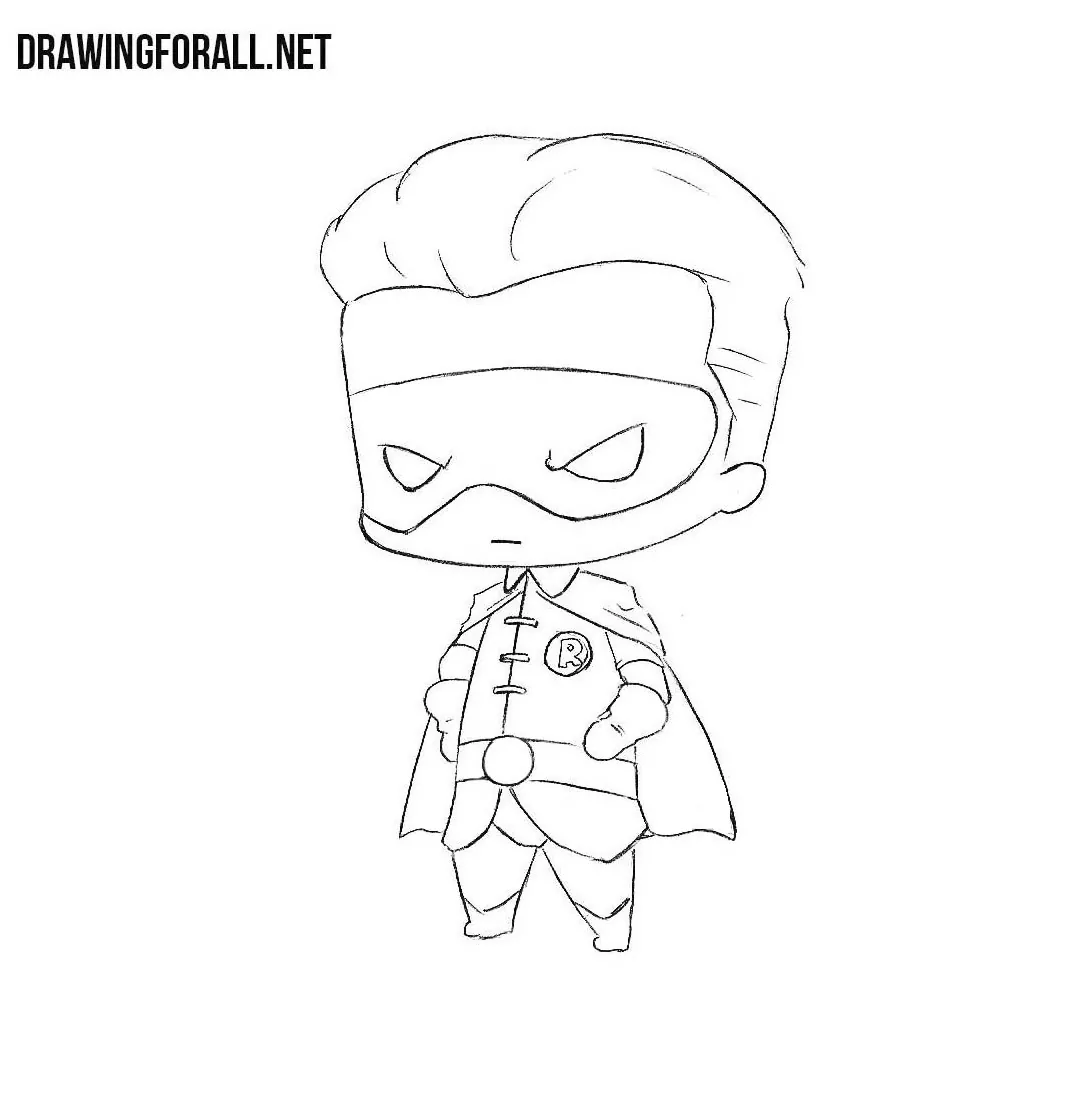
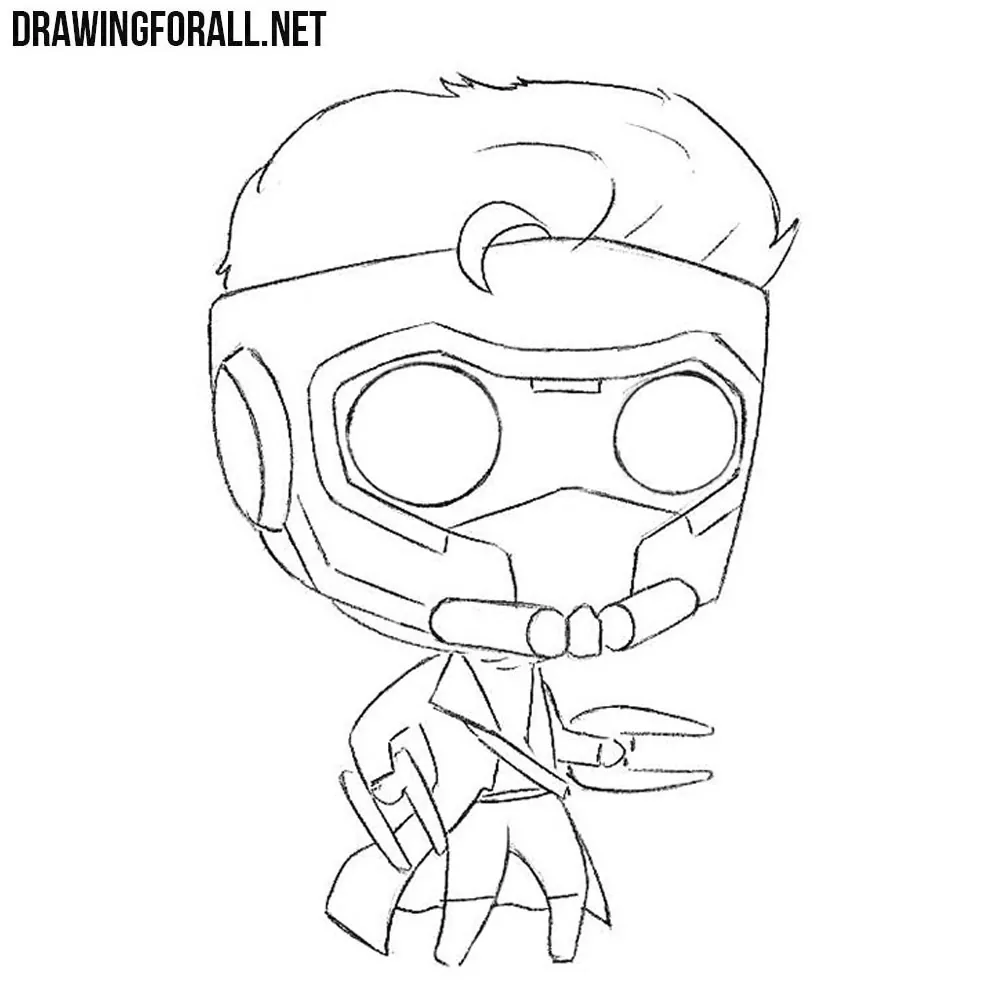
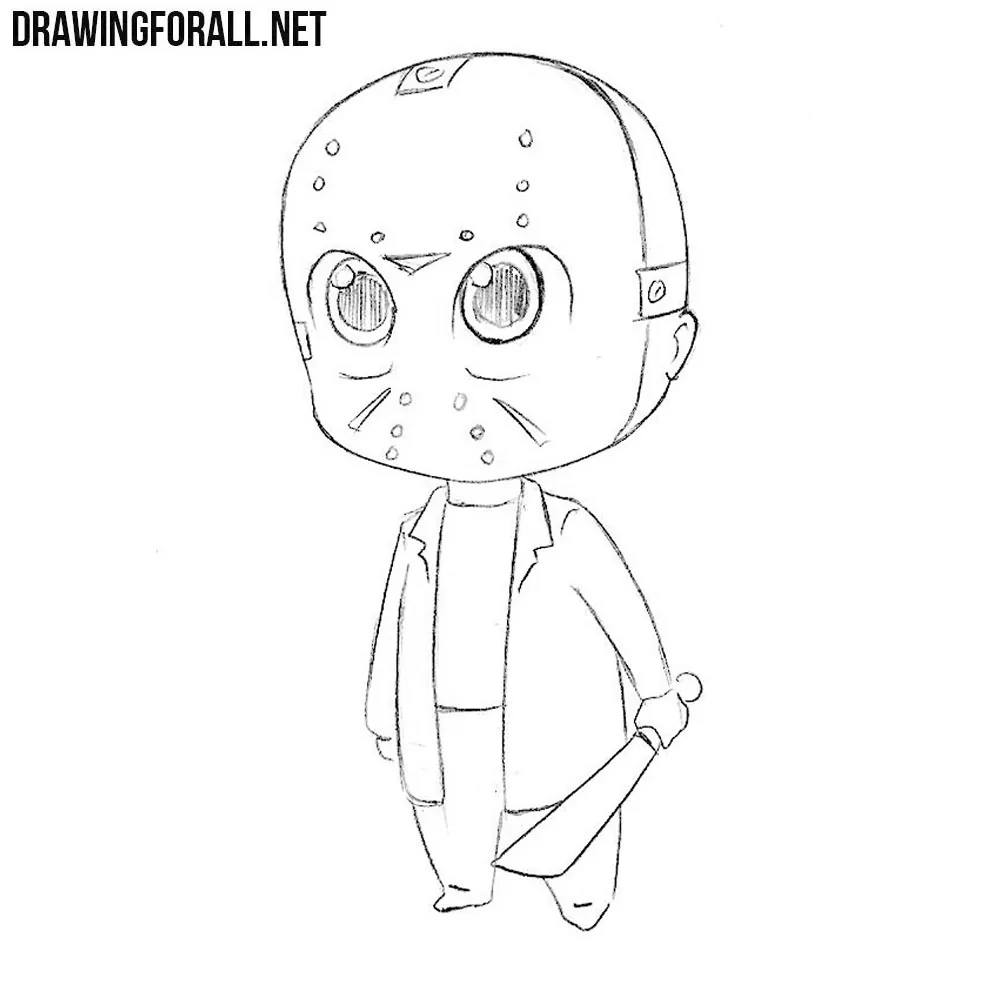
This same principle can be fully applied when drawing a chibi superhero from any comic or universe, or when adapting a character that is not originally in an anime style into this style.
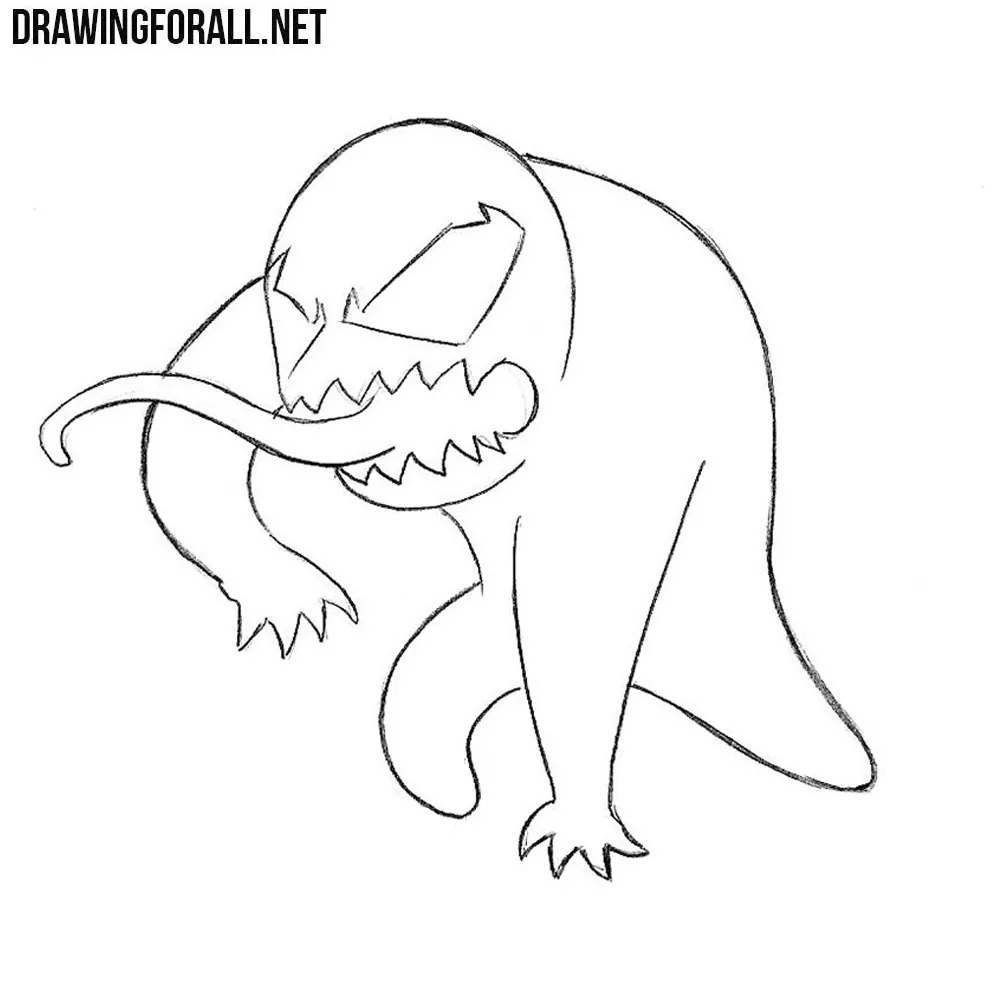
For example, you can draw chibi Venom by simplifying all the details from the original comic to a minimal level while still maintaining recognizability and the proportions of the figure.


fett ful
tyst
Cool
Thank you! Your site is great!
VERY HELPFUL! THANKS!
It is really cute but easy to draw, thanks!
You are a good mentor
so cute
so cute and very helpful
I loved this tutorial!