How to Draw an iPod
In this really simple step-by-step drawing tutorial, we decided to sketch a classic device from Apple. How to draw an iPod? Let’s start the lesson and find out!
This will be a very simple guide that any artist can handle. For sketching, we used one of the classic Apple iPod models.
There are a lot of straight and clear lines here, and with the help of this lesson, you can not only learn how to draw an iPod but also learn how to create straight and parallel lines on paper.

How to draw an iPod step by step
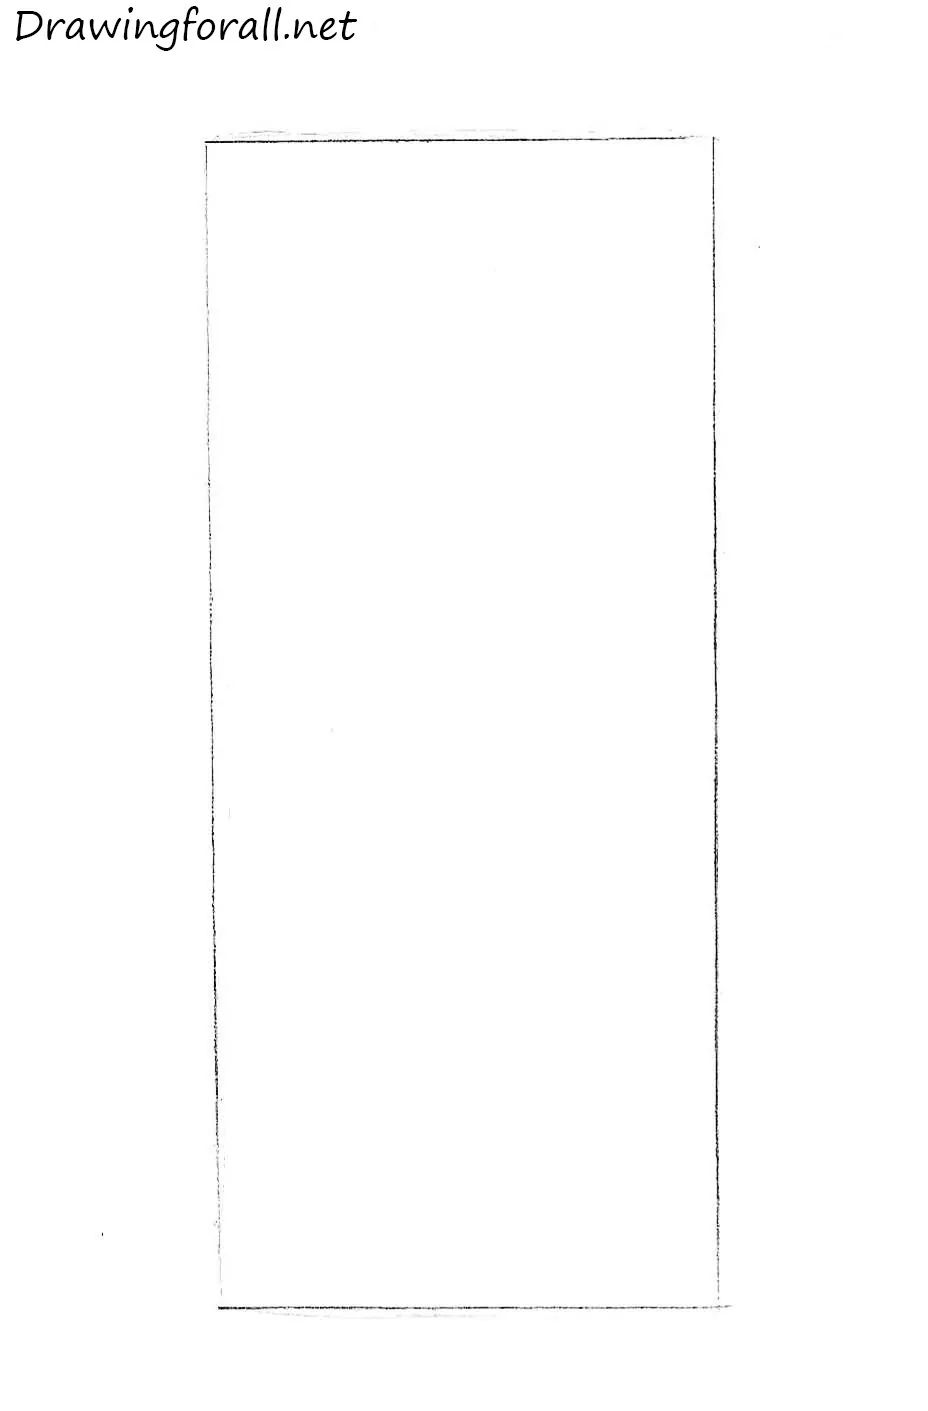
Step 1: Sketch the rectangular shape of the iPod
First, draw a rectangle that will serve as the base for the iPod’s body. Try to draw the lines as straight as possible. Use quick and confident hand movements instead of slow strokes, because this will help you achieve cleaner and more even lines without a ruler. If the rectangle looks uneven, erase it and try again. Make sure the corners are sharp and the sides parallel.
Step 2: Draw the rectangular iPod screen
Inside the rectangle, sketch another smaller one near the top of the player body. This will be the iPod’s screen. Position it close to the upper edge while leaving even spacing on the left and right sides. Make sure the edges of the screen are parallel to the outer body. If you want, you can add simple menu icons or interface elements on the screen to make the iPod drawing look more recognizable.

Step 3: Sketch the circular control panel
Next, draw the signature control panel of the classic iPod. Create two circles, one inside the other, centered in the lower part of the body. The outer circle represents the click wheel, and the inner circle is the button in the middle. Keep the circles neat and symmetrical.

Step 4: Trace the body and sketch the interface symbols
Make the body clearer and more polished. Then begin drawing the headphones. Use smooth, curved lines for the earpieces at the bottom of the device. After that, include small details on the click wheel, such as labels or tiny symbols for menu, forward, back, and play.

Step 5: Complete the headphones and add shading
Finish drawing the headphones of your iPod. Add small holes or speaker grilles at the top of each earbud, and use short cross-hatching lines to show the texture of the speakers. You can also apply light shading to the iPod’s body to give it volume.

In the age of the internet, iPhones, and other universal devices, the iPod no longer has the same popularity it enjoyed a couple of decades ago.
Still, it remains an interesting and recognizable object, making it a solid subject for drawing practice.
Over the years, the iPod appeared in different designs – some with buttons, some without, sometimes wider or slimmer, taller or shorter, and at times closely resembling the iPhone.
All of these variations can be reflected in your drawing depending on the style you want to show.
You can also adjust accessories. For example, replace the classic wired earbuds with wireless ones, or draw large headphones placed beside a small iPod.
On the screen, you might add an illustration of the kind of music or playlist you imagine the device playing, which can make the drawing feel more personalized.
The most important point is proportion and symmetry. Check that both sides of the iPod match evenly and that the screen and buttons (if included) are aligned properly.
This accuracy is critical not only for product designers when creating real devices but also when drawing, so the result on paper looks close to the real object.
The iPod drawing tutorial came to an end. We hope you enjoyed this lesson. If you like the Apple gadgets, probably you will like our tutorial about how to draw an iPhone.
Do not forget to subscribe to our social networks so as not to miss new drawing lessons from our team.


Cool
Glad you liked it, Erin. Thanks for checking it out.
Noice
Appreciate it, Jimmy.
commenting just to remember that I drew this
That’s a smart way to use the comments for this purpose.
Cool and awesome!!! I tried drawing it and had some difficulties. But still managed to complete it 🙂
Happy to hear you finished it, even with some challenges. Well done.