How to Draw an Eye from the Side

This tutorial will show you how to draw an eye from the side in detail with realistic shadows and highlights.
As we’ve mentioned many times before, drawing the human figure and its individual parts from different angles and positions is a fundamental skill for any artist. Earlier, we learned how to draw eyes from the front.
Now, we’ll focus on how to draw an eye from the side. In this lesson, we’ll explore how to create a sense of volume in this perspective and highlight the most important aspects you should pay attention to in order to make your side-view eye drawing look realistic and convincing.
By the way, we have a separate guide on the basic anatomy of the eyes. Read this before you start a new lesson. This will help you to understand much better what exactly you are drawing.
How to Draw an Eye From the Side Step-by-Step
Step 1: Draw the front edge of the eye
Firstly, draw the outer side of the eyeball. The outermost part of the eye is called the cornea. Let’s draw this with a smooth curved line like in our sample.

Step 2: Sketch the eyelids
Secondly, add the contours of the eyelids. It looks like a sharp corner with a slight rounding. In general, it should look like a regular triangle.

Step 3: Add depth to the eyelids
Thirdly, add the contours of the mucous membranes. On the upper eyelid, it looks like something like an inverted Nike logo. On the lower eyelid, it’s just two parallel lines.

Step 4: Detail the eyelids
Draw more voluminous contours of the eyelids. Add smooth lines that continue the lines from the previous step.

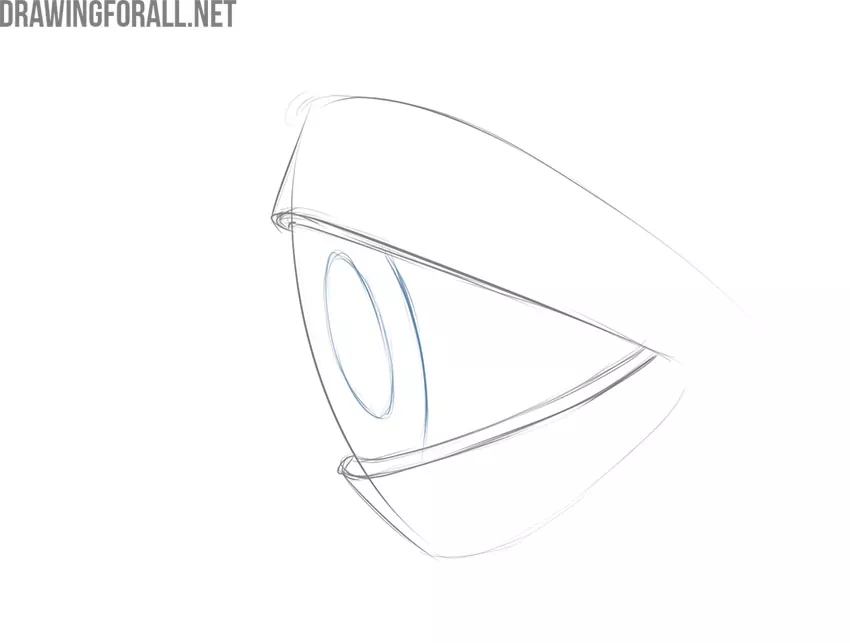
Step 5: Draw the pupil inside the eye
Add the outlines of the pupil. It looks like two disks of different sizes. The location of the pupil always determines the direction of gathe ze.
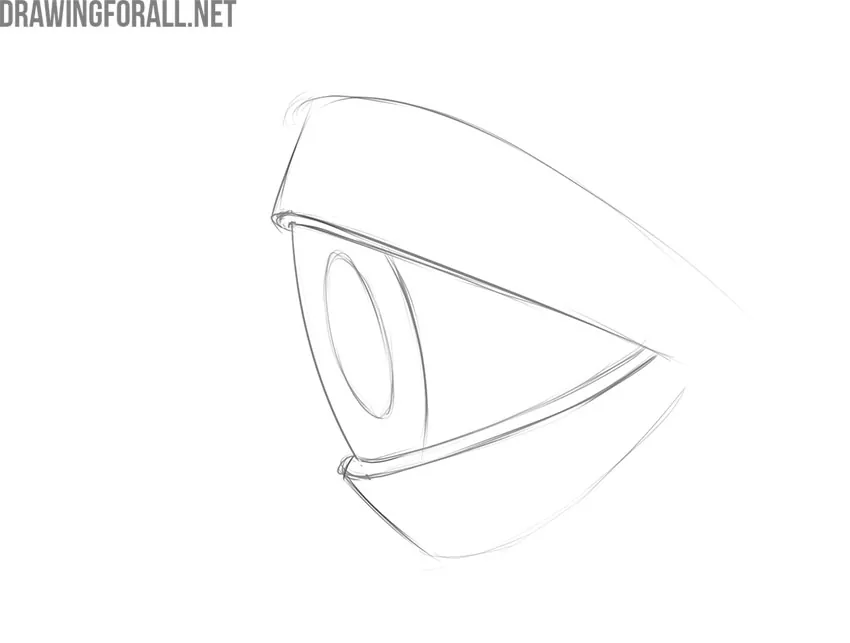
Step 6: Erase the construction lines
So, we continue to tell you a lesson on how to draw an eye from the side. Erase extra lines from the entire drawing. Check the correctness of all shapes and proportions. From the next step we will add smaller details.
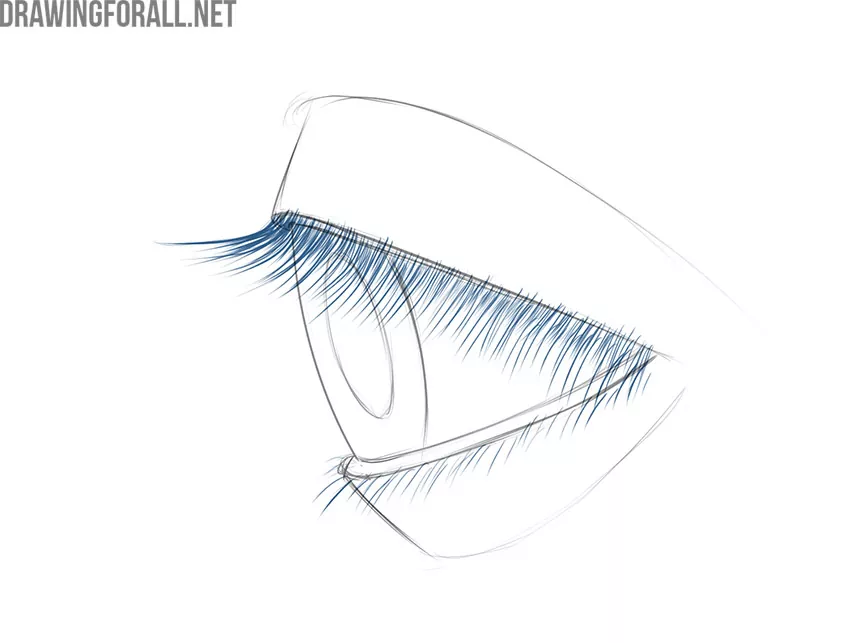
Step 7: Draw the upper and lower eyelashes
Draw the contours of the eyelashes. These are long smooth lines that are located obliquely and have bends. At the top you can see more intense lines.
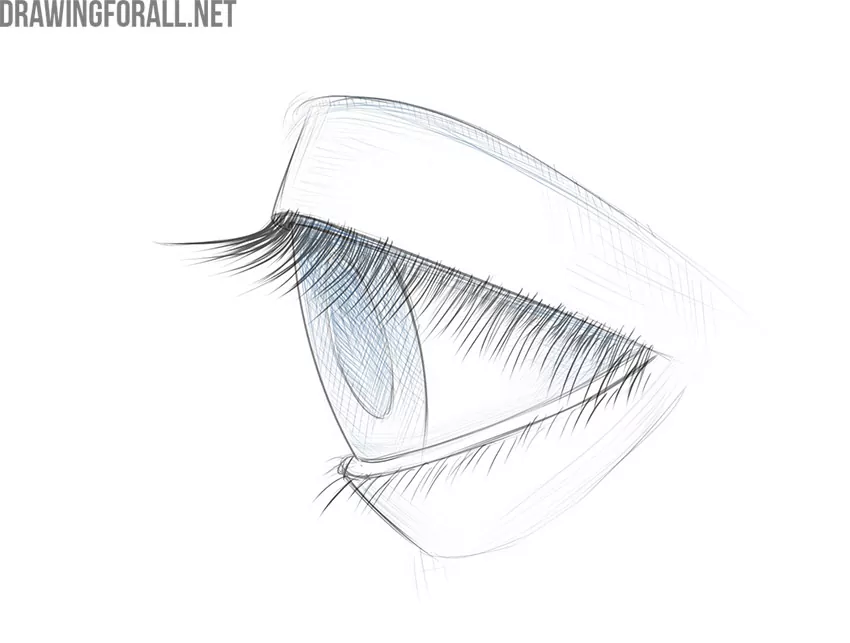
Step 8: Add hatching to the eye drawing
So, this is almost the end of our drawing tutorial. Don’t forget about the rule we often mention. The more hatching layers, the darker the desired area will look. Paint over the pupil and apply small shadows using this technique.
And this is really the last step. Erase extra lines from the entire drawing. Delete a small section of hatching to form a rounded highlight.
The eye is a highly complex structure, and in portrait drawing, it’s arguably the most important element – something we’ve given special attention to throughout our lessons. That’s no coincidence: when drawing a portrait, artists usually start by carefully rendering the eyes in detail, while other features of the face and everything below the neck are often addressed later. This is because the eyes in art set the tone and mood of the drawing and allow the artist to convey the character of the person being portrayed.
If you learn how to draw an eye from the side and master this skill, you’ll be able to capture both the correct angle and the desired personality without losing the sense of volume in the drawing. To better understand how to draw the human eye from different positions, as well as the human figure itself, be sure to explore our Basic Drawing Lessons category, where we cover the most important principles every artist should know.


I love this .This is Great
bruh this is not so easy
WHAT THE??? DID YOU DID THAT???
Wow
IS VERY GREAT