

How to Draw an Anime Student
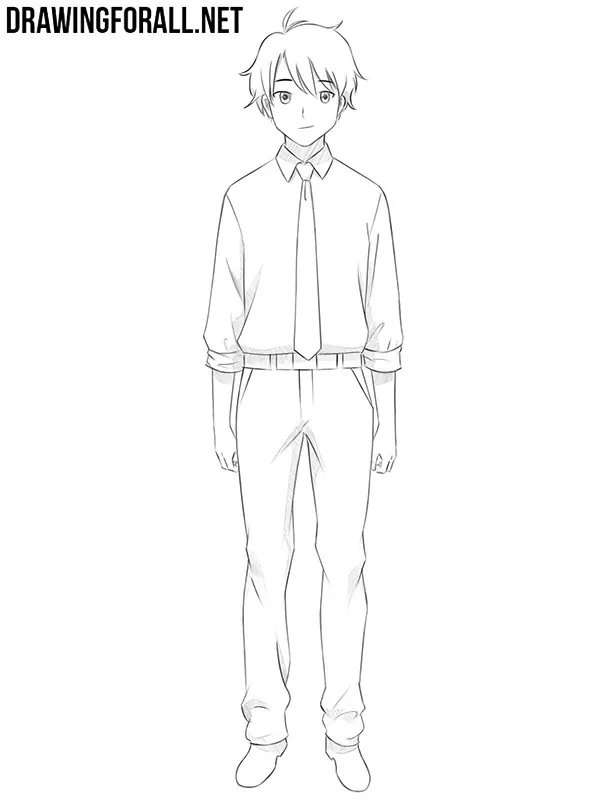
In this simple step-by-step tutorial, we’ll show you how to draw an anime student wearing a school uniform and tie.
This tutorial will largely follow our basic anime character drawing tutorial, but with the addition of a classic school uniform drawn using simple methods.
How to draw an anime student step by step
Step 1: Sketch the basic figure
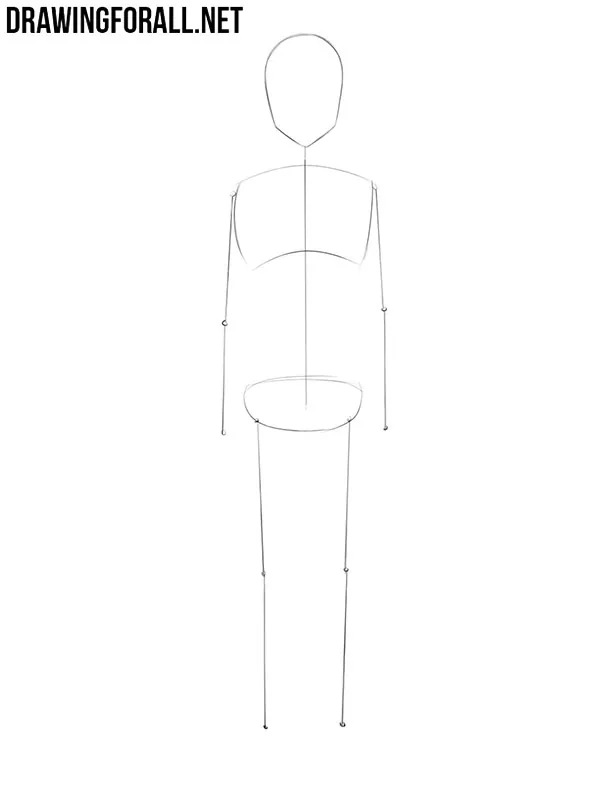
First, we need to outline the basic proportions of our anime student. We see a typical physique of a teenage student. The proportions are characterized by a rather large head, short stature, and a predominance of shoulder width over the width of the pelvis. The latter feature is quite typical for male figures in general.
Step 2: Add the main guidelines
Let’s prepare the guidelines for the next steps. First, draw two crossed lines inside the contour of the head. The horizontal line marks the eyes. The vertical line divides the face into two equal halves. The eye line is much lower than the midpoint of the head. After that, connect the head and chest using a cylinder. From the middle of the neck, draw two more oblique lines toward the arms. Finally, draw a hexagon in place of the pelvis oval and connect it to the chest with a pair of concave lines.
Step 3: Outline the arms and legs
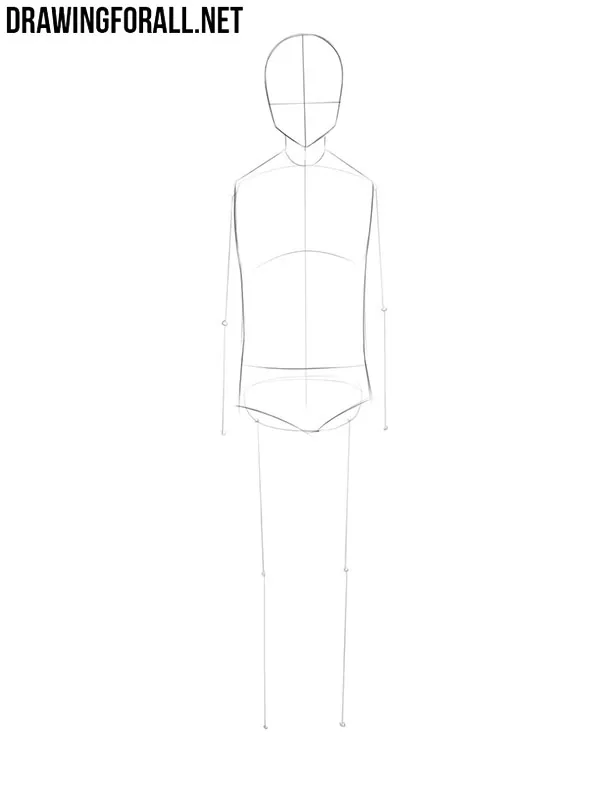
Add the approximate contours of the anime student’s limbs. The arms and legs look like thin, elongated cylinders that alternate with larger joints. We decided to mark the joints as circles. Sharp bends will make your character’s figure look more athletic. Avoid sharp bends if you do not want to achieve this effect.
Step 4: Sketch the face and hair
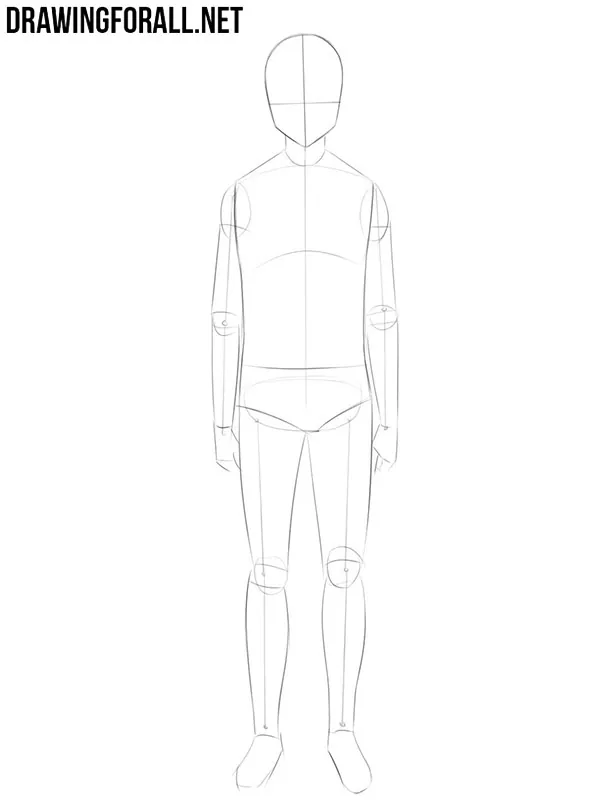
Let’s outline the anime facial features and hair. Using the intersecting guidelines, mark the eyes, nose, and mouth. Then sketch the anime ears on the sides of the head and add the tousled hair on top. Choose the appearance and hairstyle of your anime student to your taste.
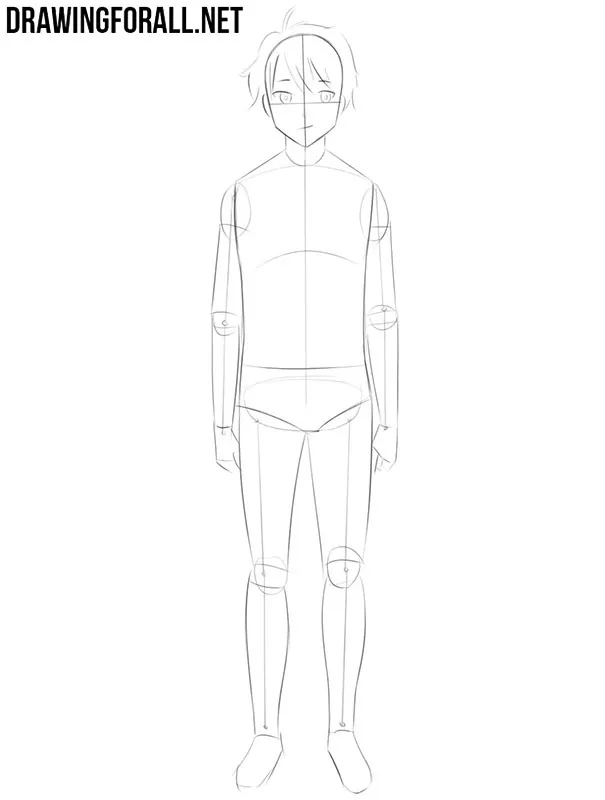
Step 5: Outline the school clothes
Now add some details to the body and legs of the anime student. We will not touch on small details yet. Our task is to outline larger details such as the tie, collar, and contours of the trousers. If you decide to draw looser clothing, leave more space between the contours of the clothes and the body.
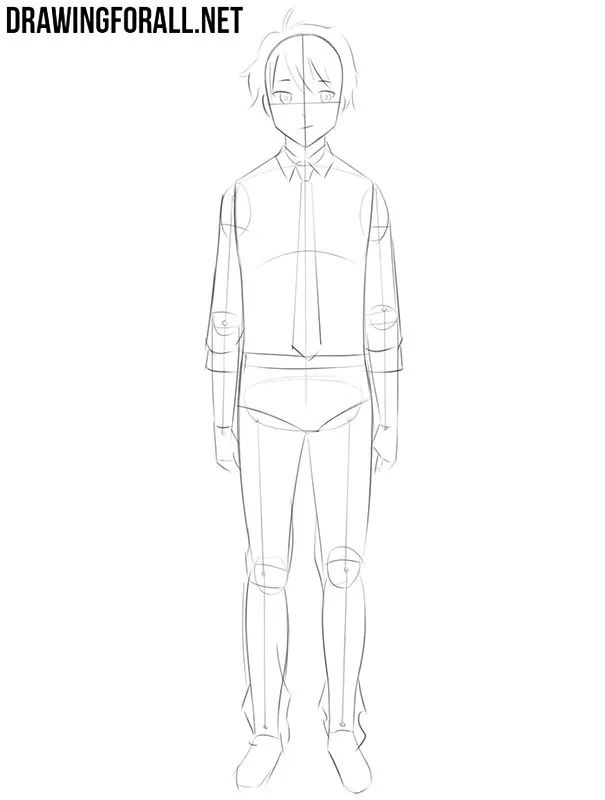
Step 6: Refine the face and hair
Draw the anime student’s face in detail, especially the eyes. First, draw the anime boy’s eyes, using the guidelines sketched earlier. The eyes look like vertically truncated ovals. Mark the nose, mouth, and eyebrows with small dashes. If you need more help with this part, you can check out our anime head tutorial.
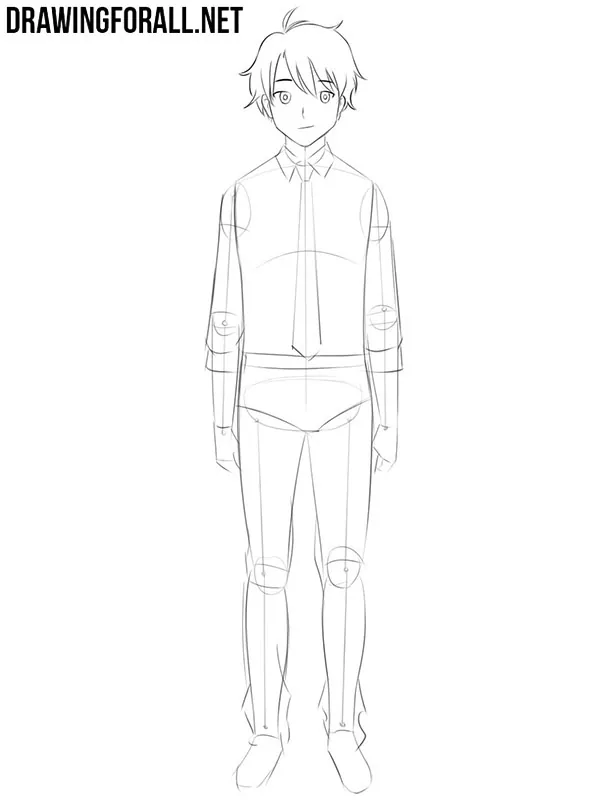
Step 7: Refine the shirt and tie
Continue cleaning up the sketch and drawing the anime clothes in detail. Remove the extra lines from the anime student’s shirt and tie, then outline the small folds. If you choose a different style of clothing, add the details according to your design.
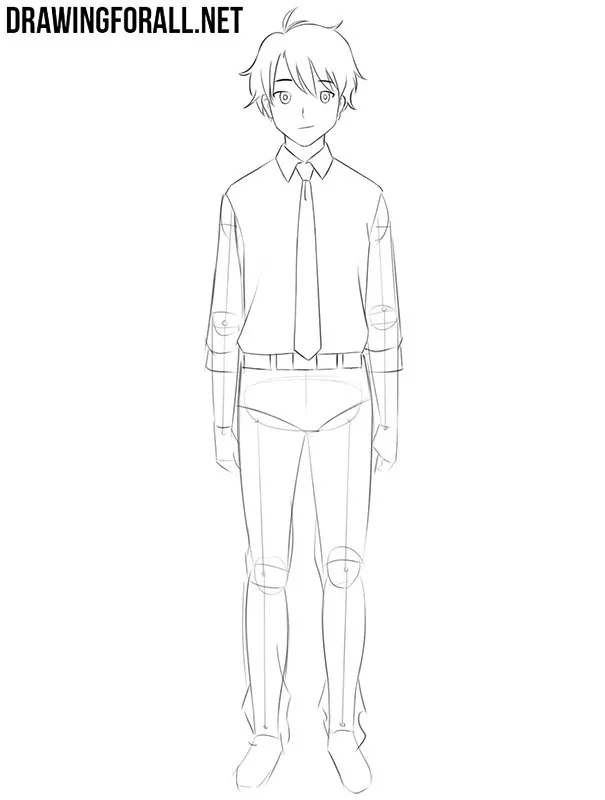
Step 8: Draw the hands and sleeves
Moving down from the shoulders, outline the sleeves, darkening the contours and erasing the unnecessary construction lines. Add the rolled-up sleeves and sketch the folds. Then draw the anime hands in detail, outlining the fingers and removing all the remaining construction lines.
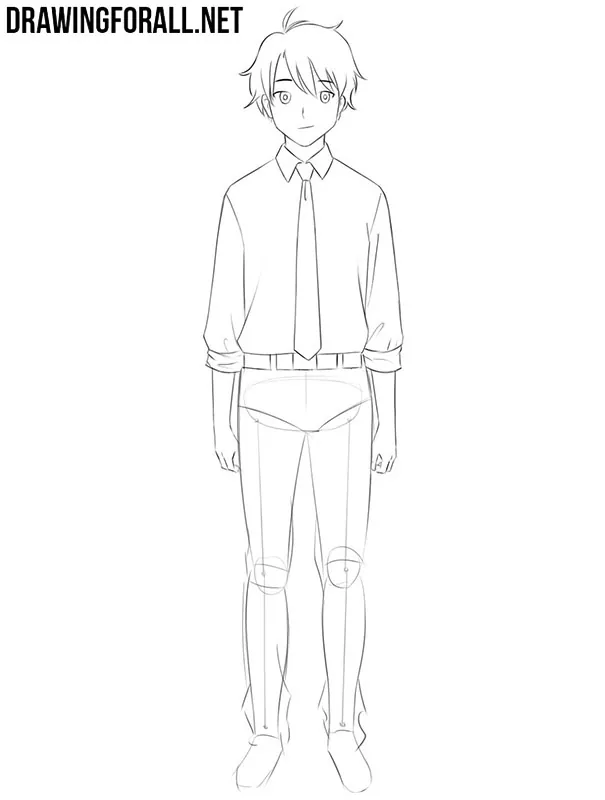
Step 9: Refine the student’s trousers
Remove all the extra lines from the anime student’s trousers. In this case, they are formal, close-fitting trousers. If you draw looser clothes, add more vertical folds.
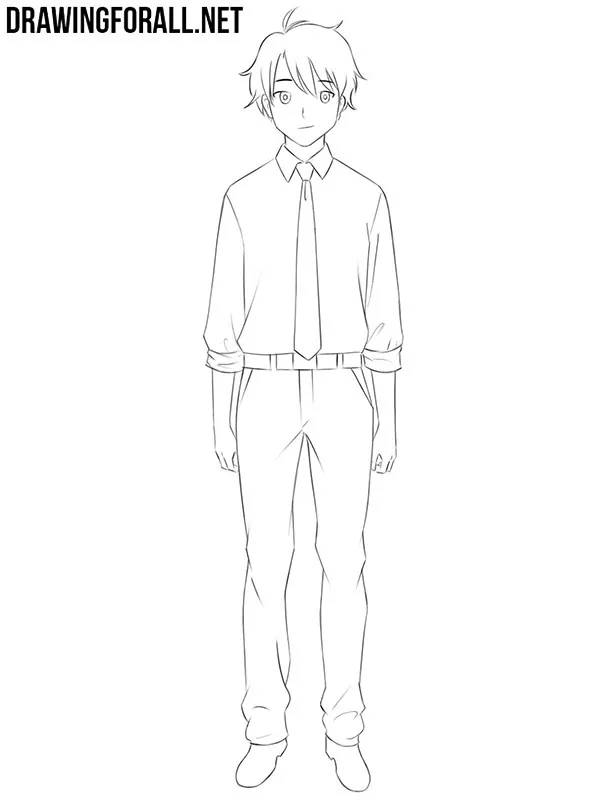
Step 10: Add the final shadows
Apply light shadows to the neck, hands, and clothes of the anime student. As you can see, the shadows are areas of light, single-layer hatching. Shadows on the clothes are located mainly next to the folds of fabric. You can also look at our tutorial on drawing light and shadow.
Tell us about your drawing preferences on our social networks or in the comments below this article. We always appreciate your feedback!


an you try and make a Cybertruck
thank you
thanks its a cute drawing 😉
oi
Cool