How to Draw a Stool Step by Step
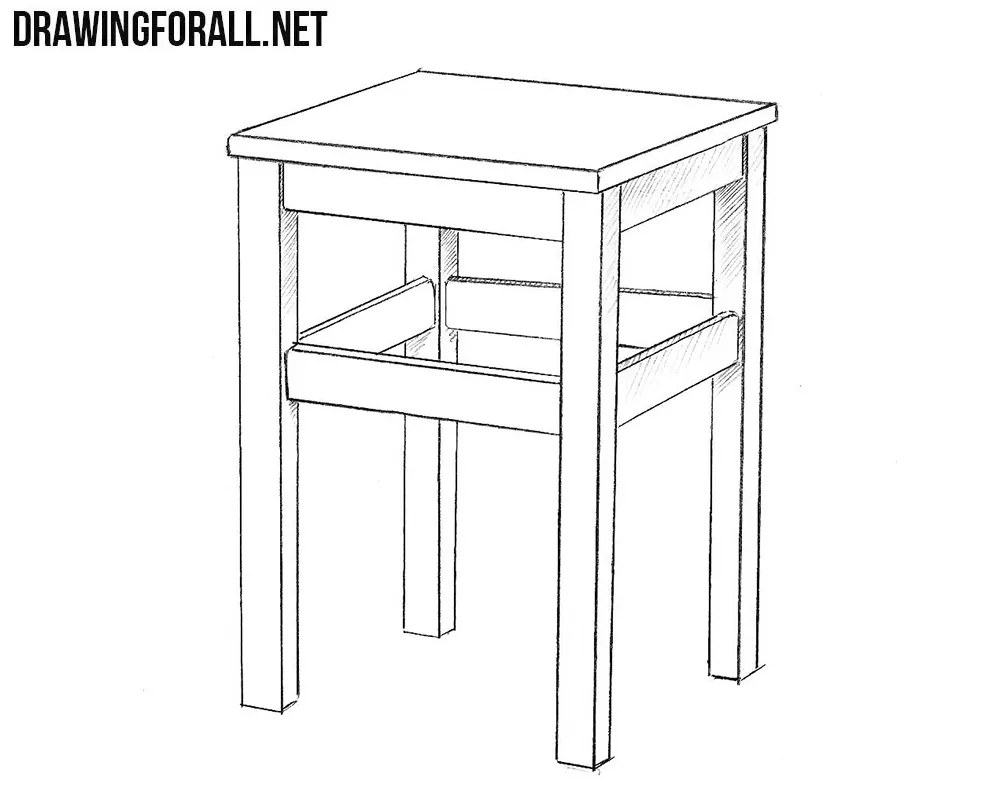
Hello everybody. We try to teach you all the basics of drawing. So, we showed you how to draw a chair, table, jug and much more, which is taught to beginners artists. In this tutorial we want to continue this topic and show you how to draw a stool.
Step 1
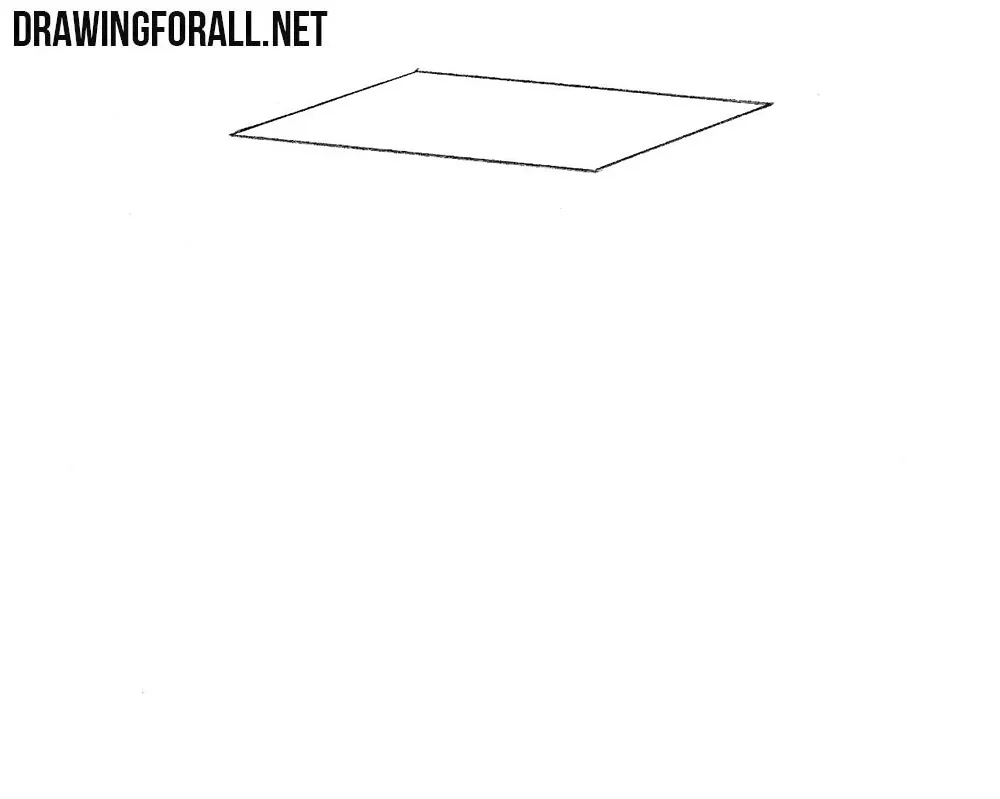
So, first of all we draw the upper surface of the stool in the form of a rhombus.
Step 2
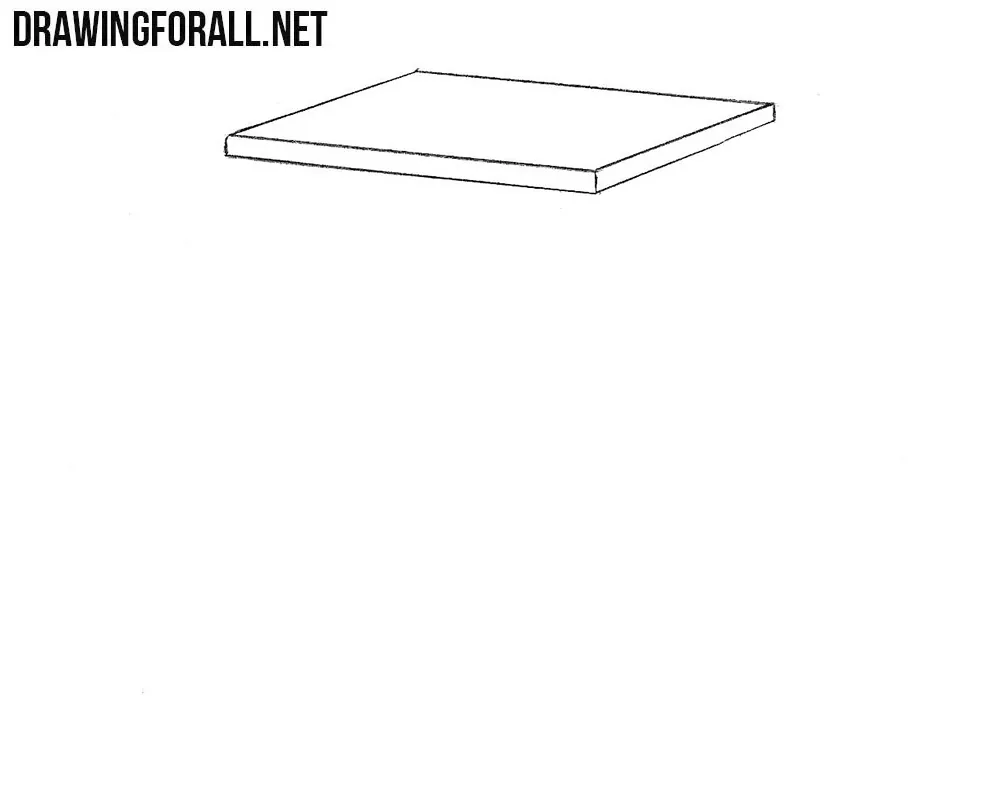
Now add some new lines as in our example to make the top surface three-dimensional.
Step 3
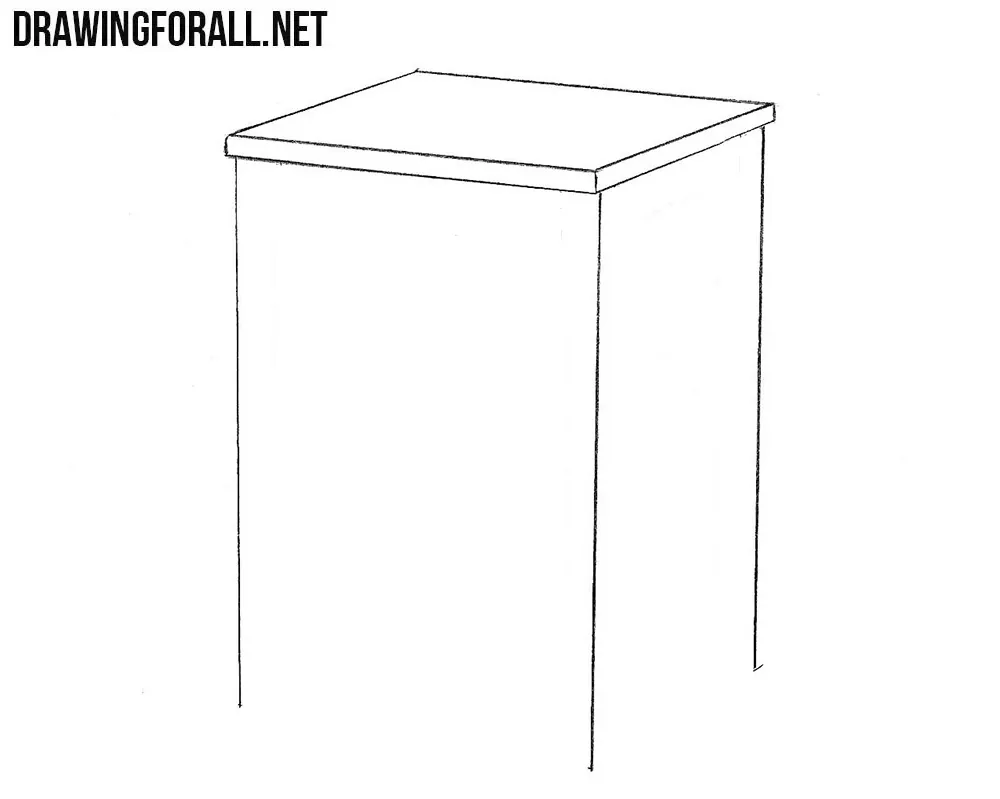
Now with the help of long vertical lines draw the legs of our stool.
Step 4
Add more lines to the legs of the stool, which will make them a little more voluminous.
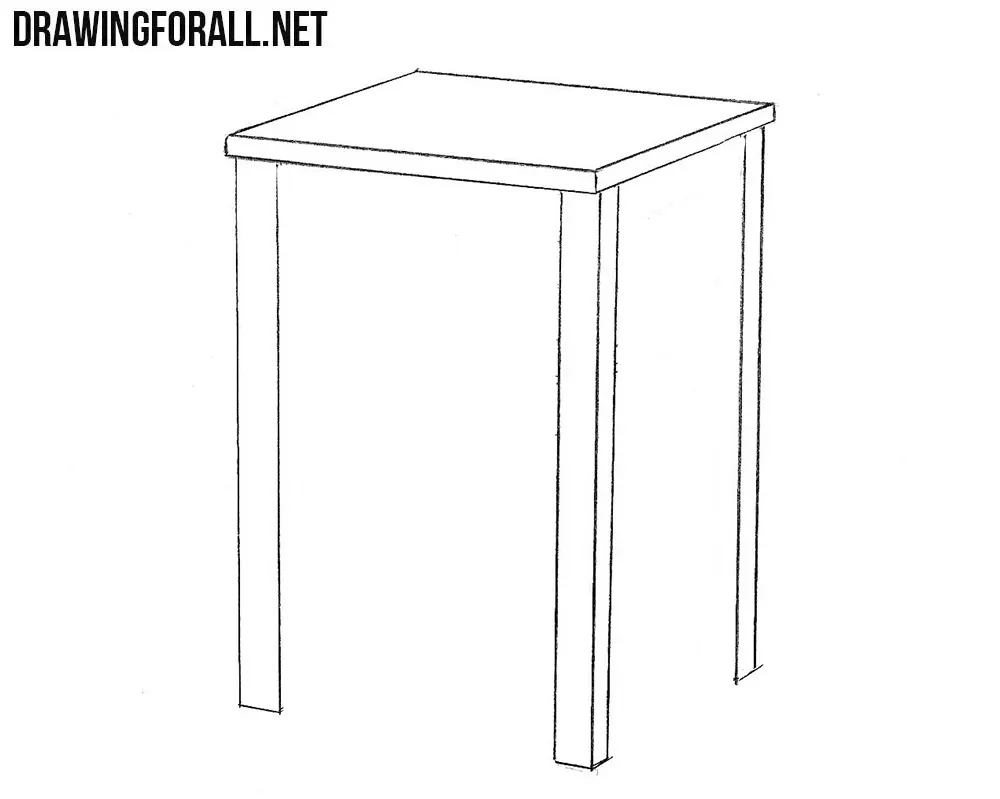
Step 5
A very simple step in which we will need to draw the apron between the legs of the stool.
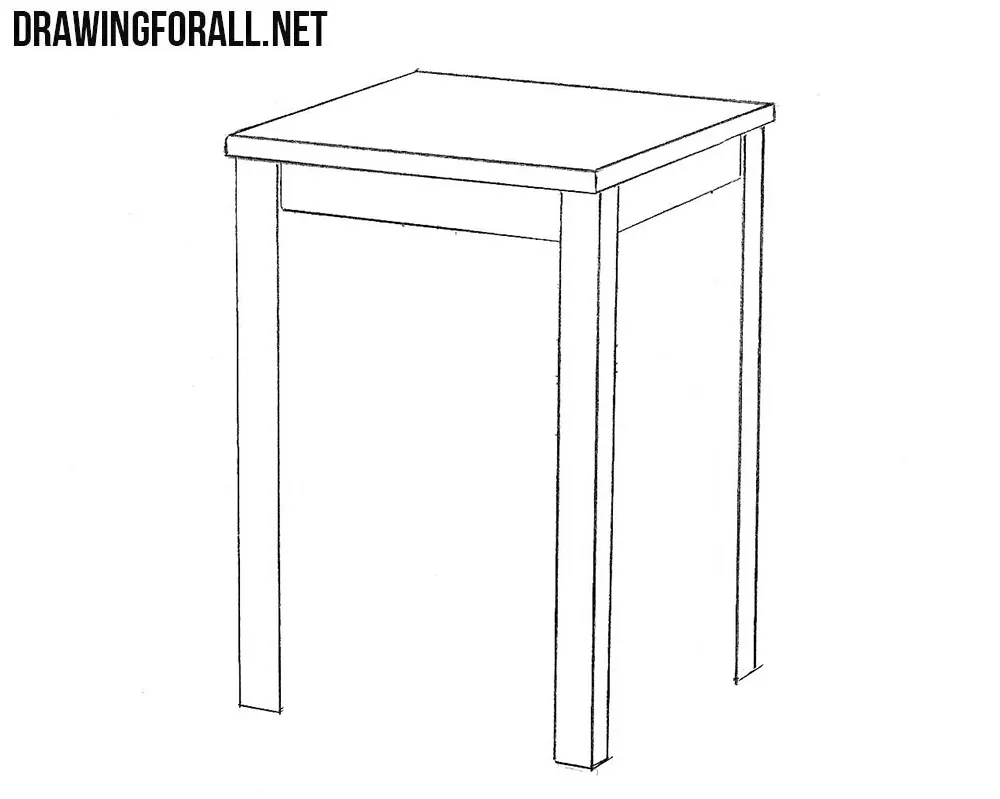
Step 6
A little below draw two more boards between the legs of the stool, as shown in our example.
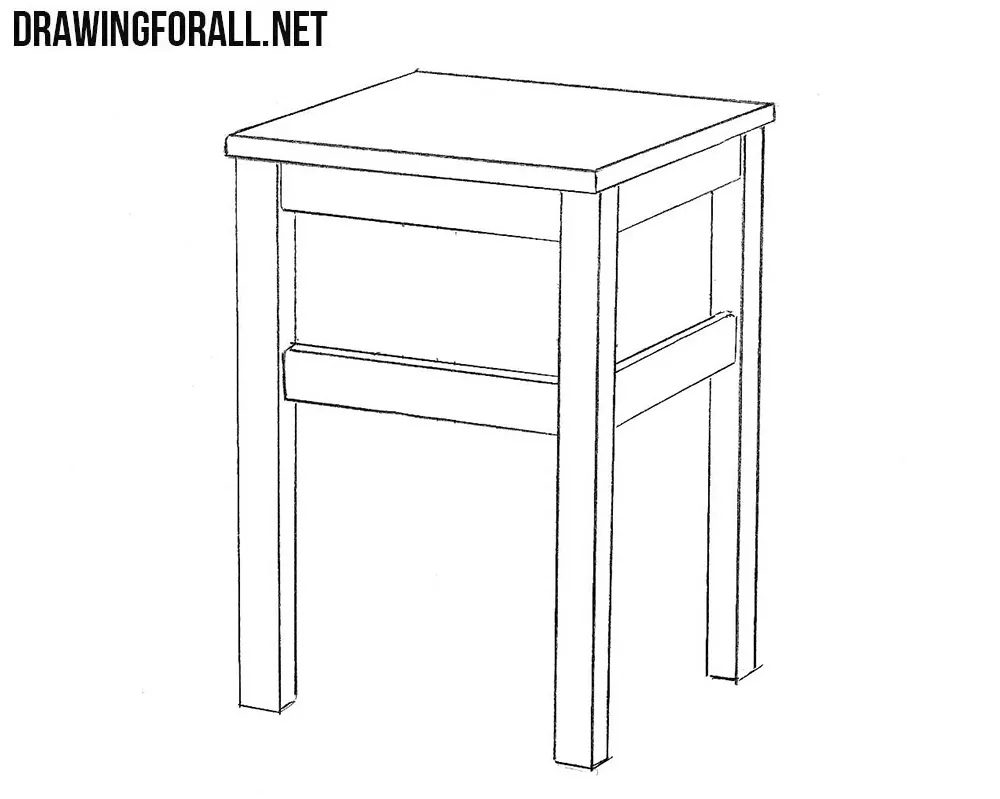
Step 7
The step seems complicated, but in fact it is not. Here we need to draw continuation of the boards from the previous step.
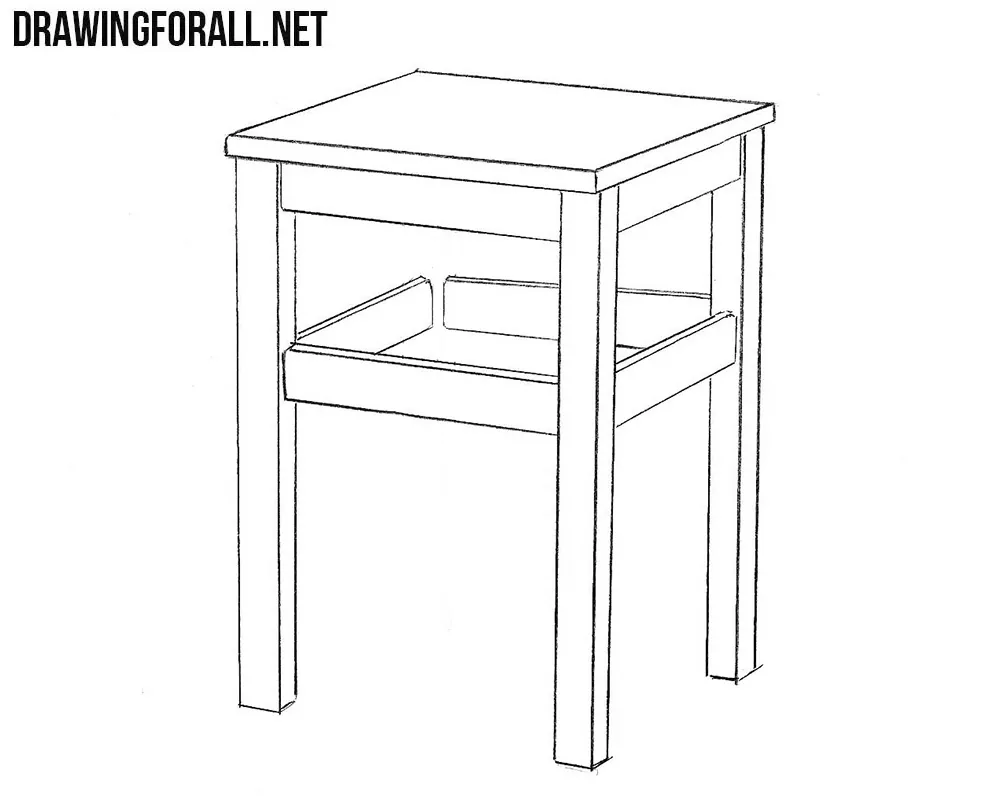
Step 8
Following the example of the previous steps, draw out the very back leg of our stool.

Step 9
Now, let’s add some shadows, in order to make our stool drawing more three-dimensional.

So, in this lesson we showed you how to draw a stool. We did this in a rather unusual way, unlike lessons about a chair or armchair. Write what you think about this way of drawing in the comments to this article or in our pages in social networks.





That’s amazing.
I’m novice and your website are good for me.
Thanks a lot
Thanks this really helps