How to Draw a Jug
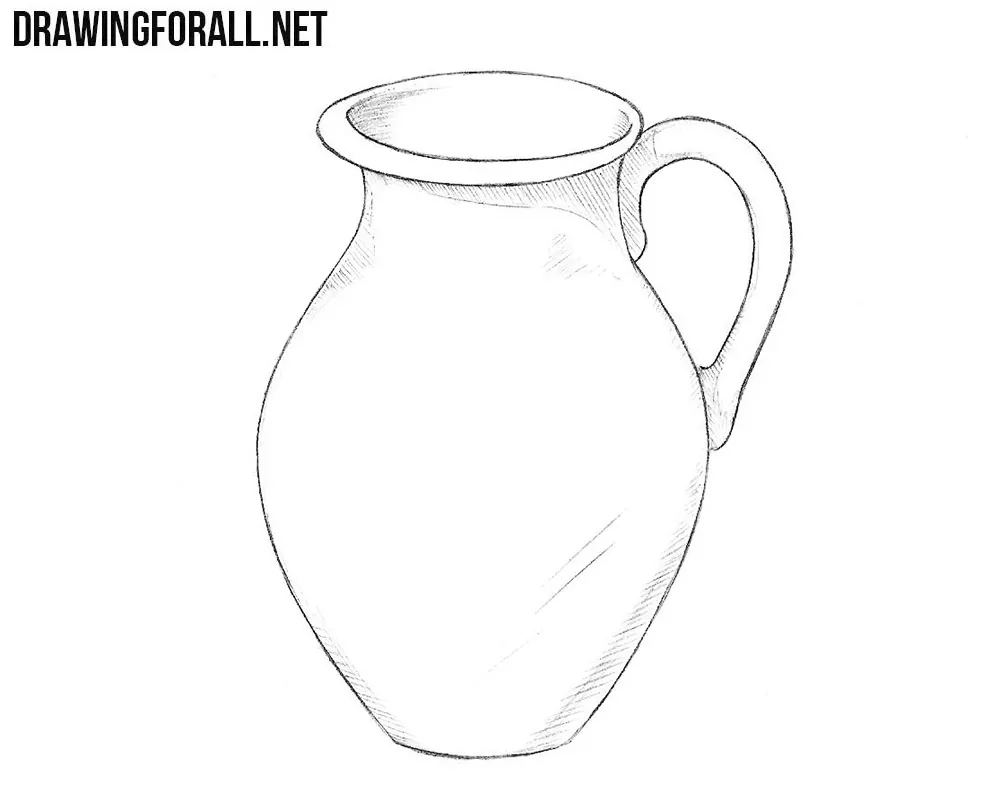
Hello dear artists. In any art school, the first thing you learn is the basics of drawing. And after the students are taught to draw circles, triangles and squares, they are taught to draw such everyday things as vases and jugs. So, we already drew a vase, and in this lesson we will show you how to draw a jug.
Step 1
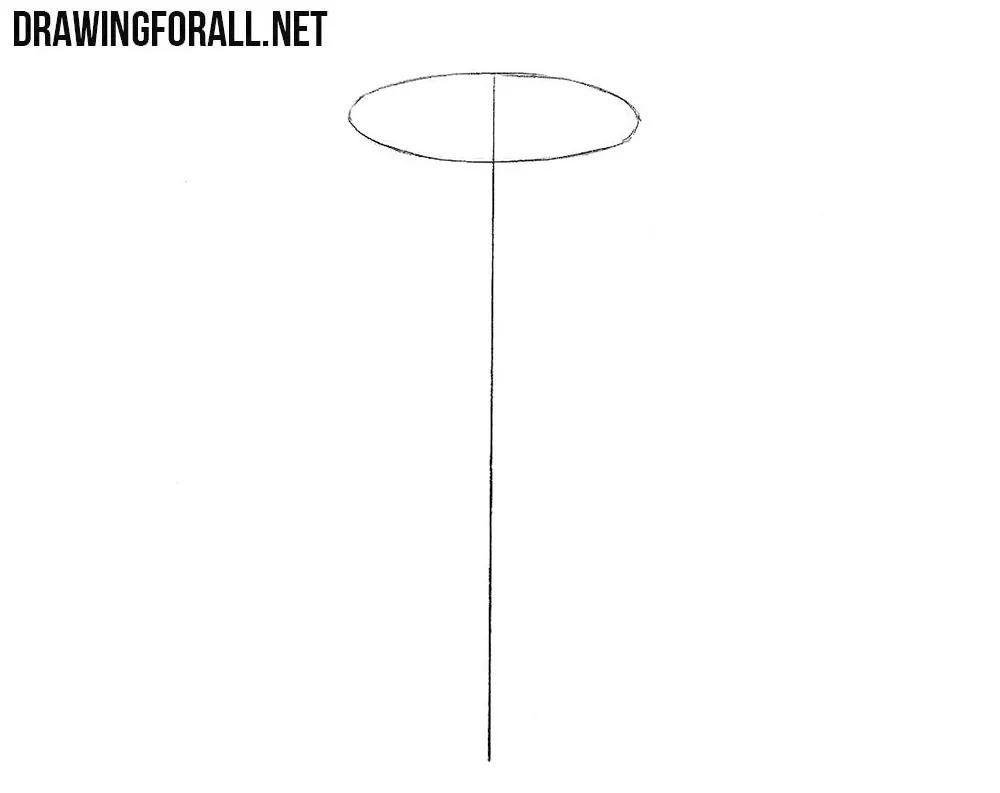
The vase should be smooth and symmetrical. In order to achieve this, we draw a long vertical line.

Step 2
At the top of the vertical line draw an oval – this is the top edge (the so-called “mouth”) of the jug.
Step 3
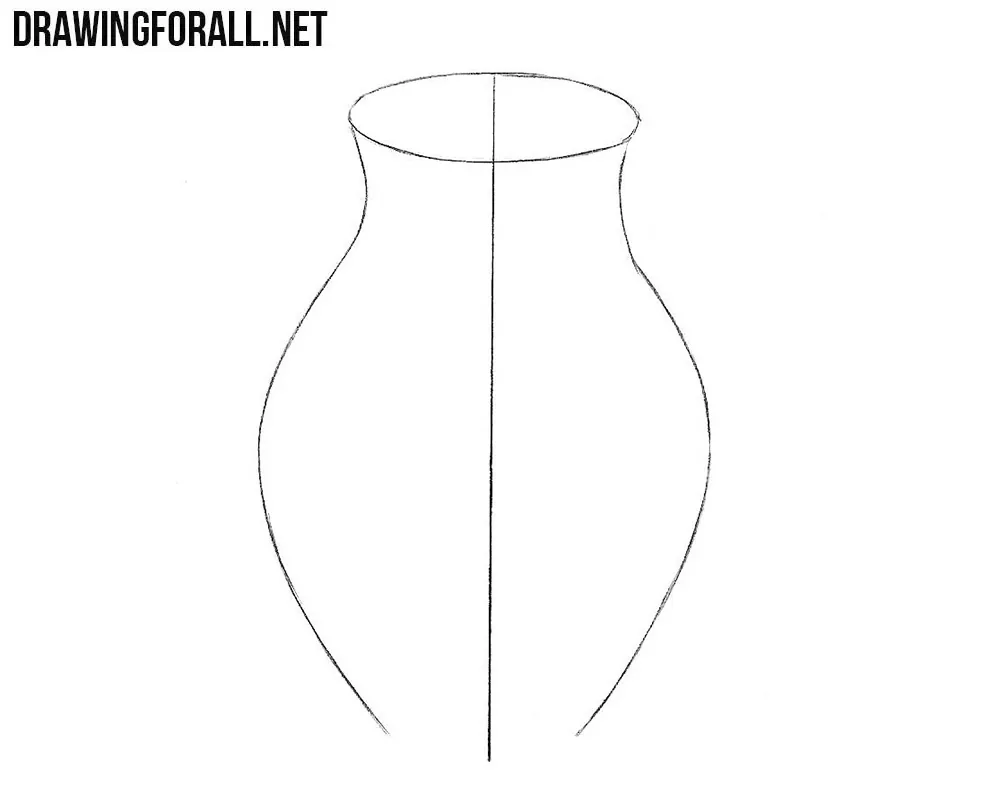
Now with the help of two curved lines draw the body of the jug. Note that the left and right sides should be the same.
Step 4
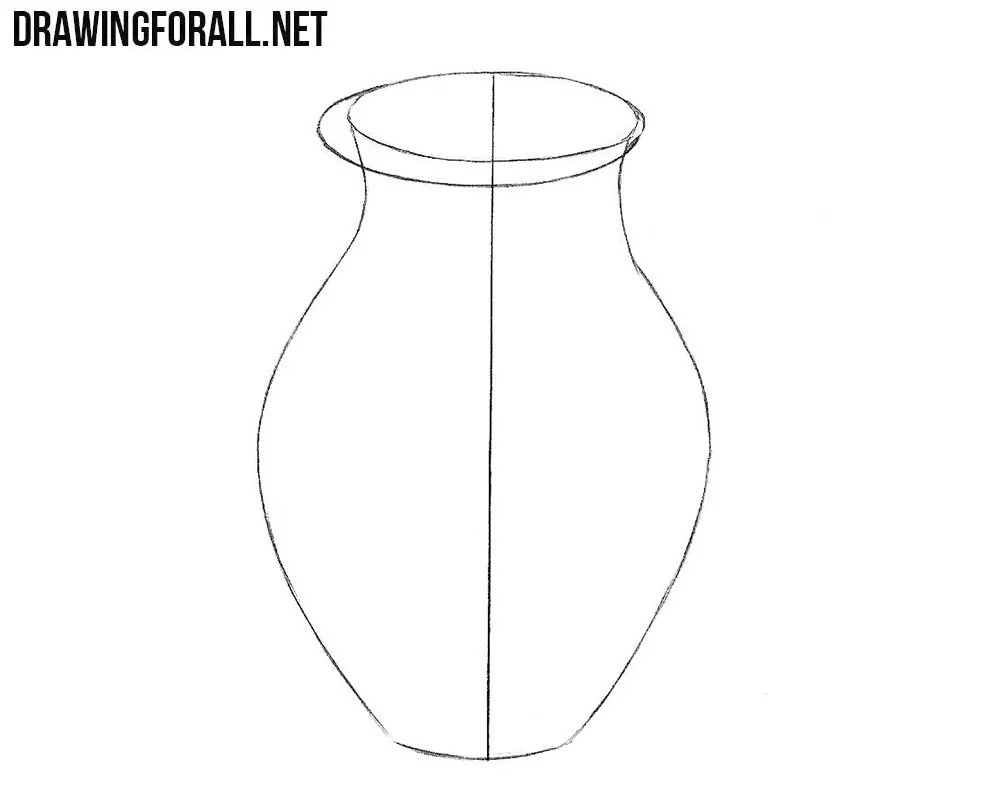
Connect these two lines with a slightly curved line and create the bottom of the jug. At the top we draw the “lips” of the jug.
Step 5
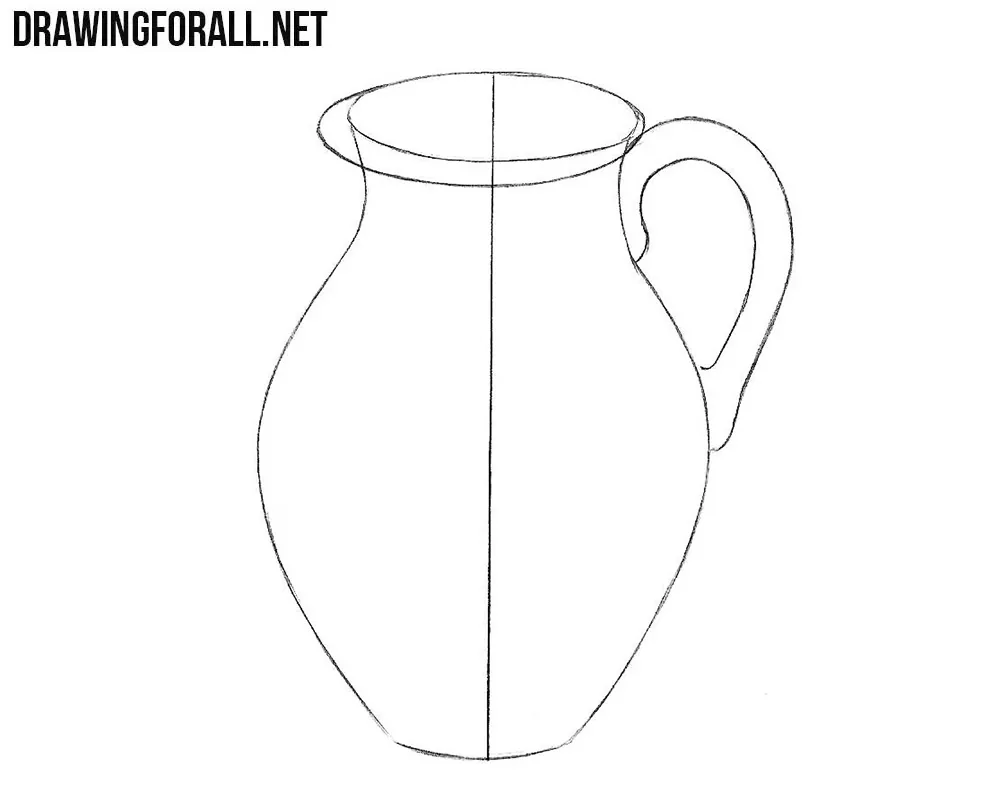
Now with the help of two curved lines draw the handle. Note that the handle of the jug is somewhat like the ear of a human.
Step 6
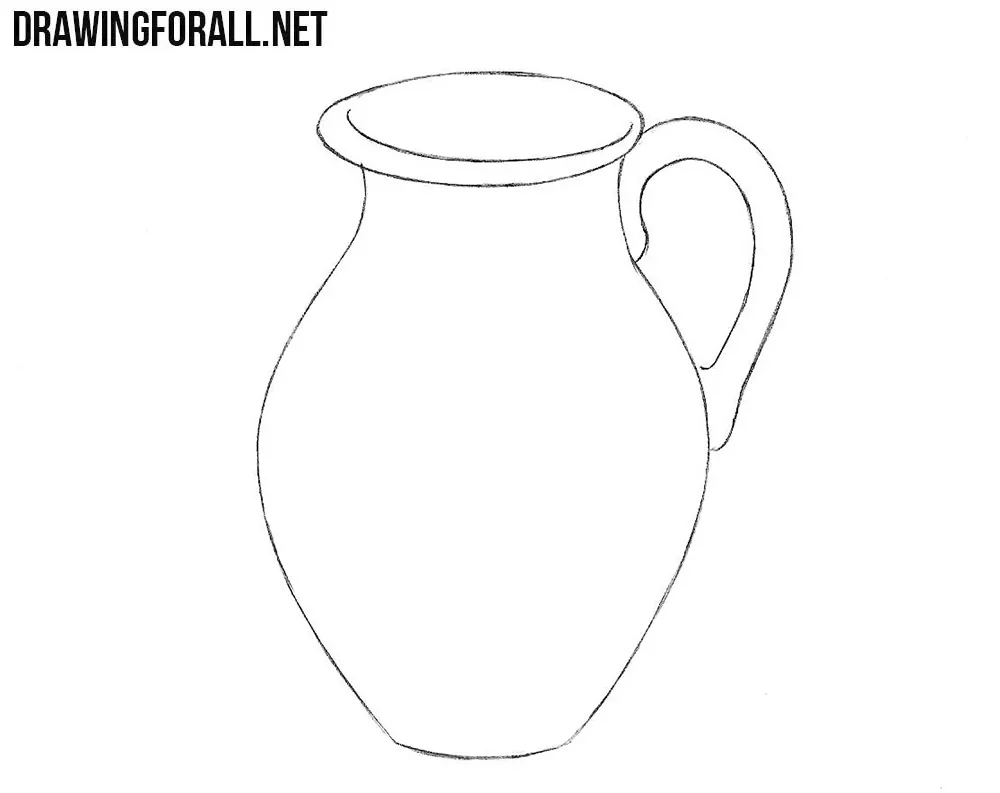
Now take the eraser and remove all the auxiliary lines from our jug drawing.
Step 7
Let’s give the jug a more three-dimensional appearance, drawing shadows. First, imagine where the light comes from, and then add shadows to those areas where the light does not fall.

So, today we taught you how to draw a jug. This lesson is the basic lesson, and we believe that it is very important to be able to draw such simple and everyday things.


