

How to Draw a Kettle
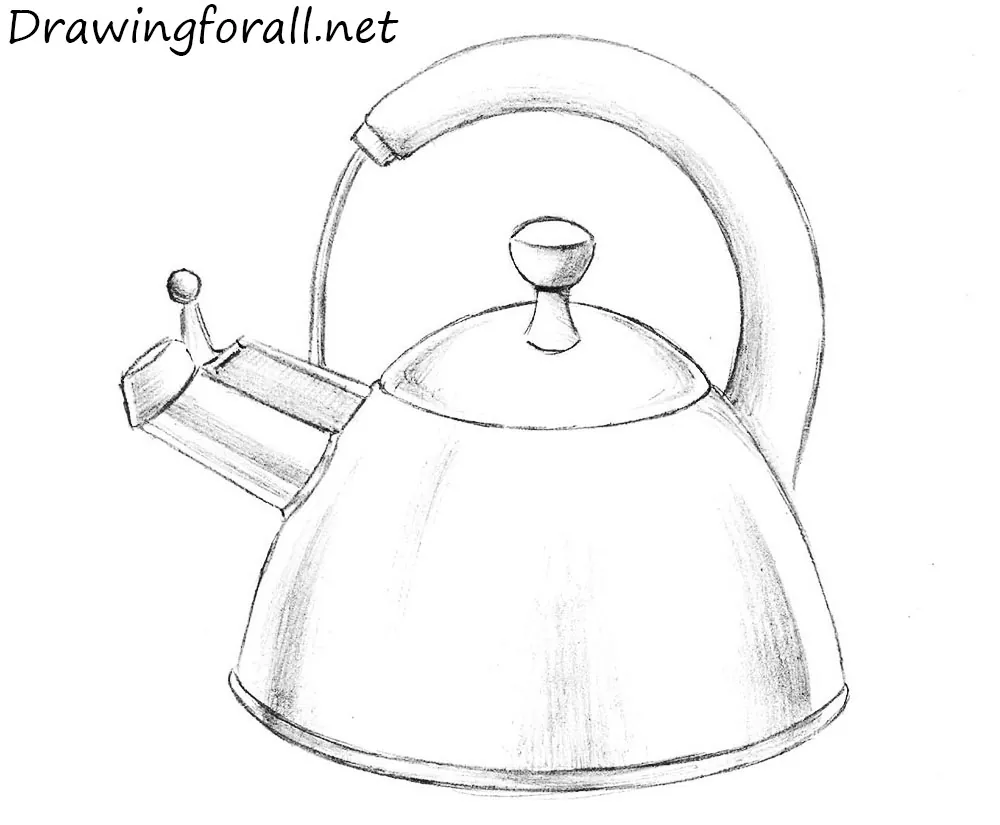
This tutorial will show you how to draw a kettle step by step and create the realistic look of polished metal with simple pencil shading.
How to draw a kettle step by step
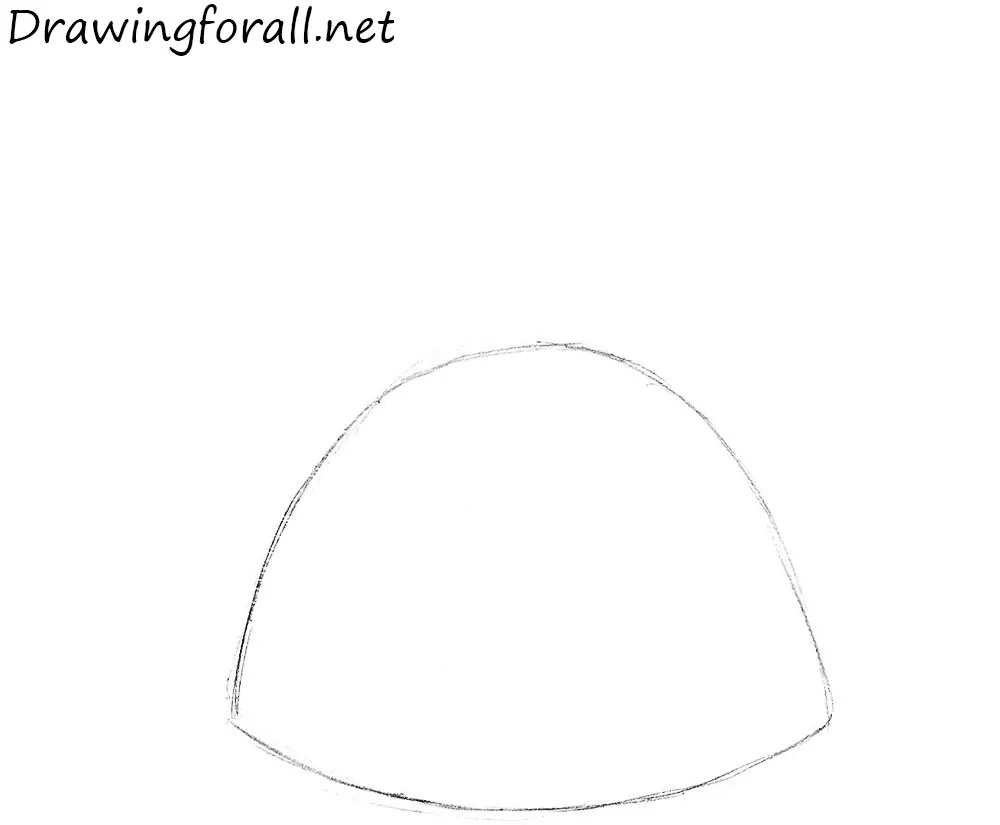
Step 1: Outline the kettle body
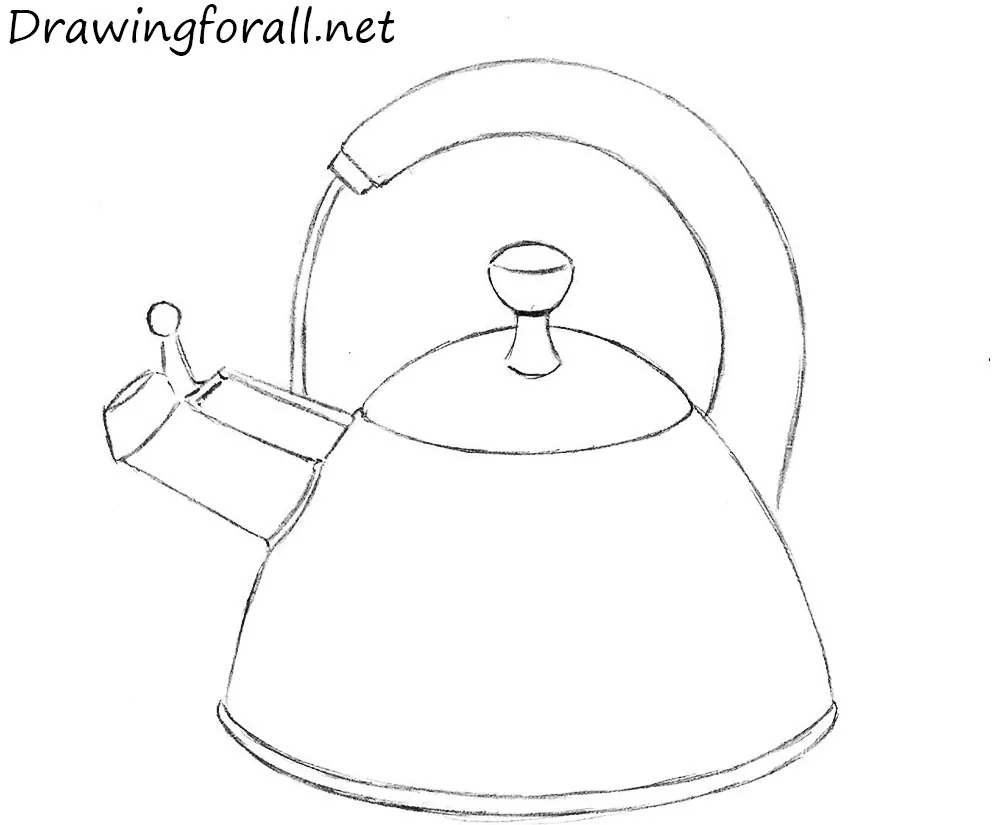
First, draw the outline of the kettle. Start with the lower edge, using a lightly rounded shape, then draw the upper edge with a more pronounced curve. This part consists of just a few gently curved lines.
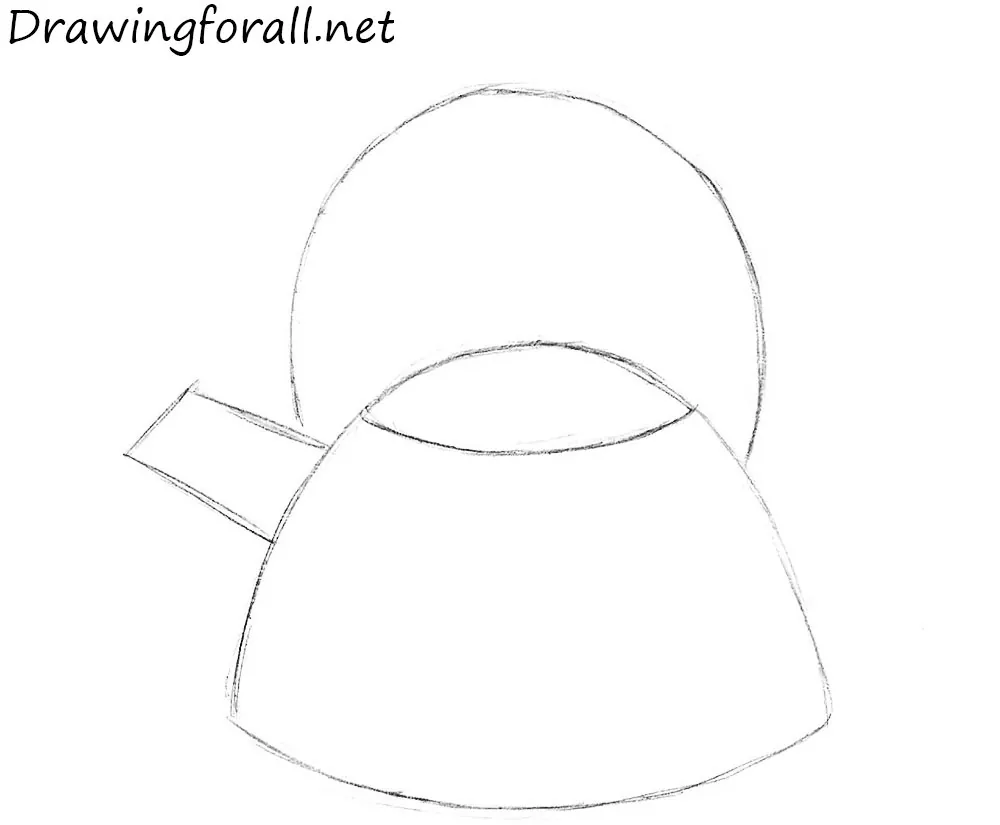
Step 2: Add the handle and spout
Now, draw the kettle spout using a pair of angular lines. Next, draw the handle with an elongated curved line. Then draw the lid, which sits at the very top of the main shape.
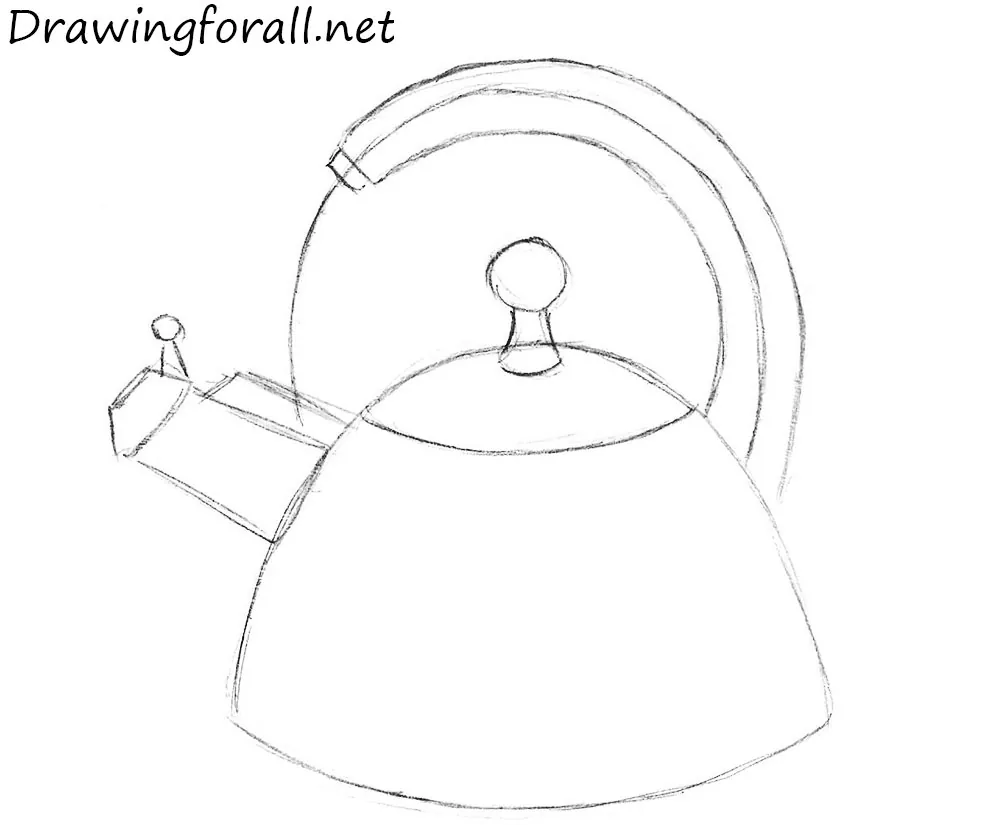
Step 3: Detail the lid and whistle
Now add the details. Draw the two-part handle on top of the lid. Refine the large arched handle of the kettle, then outline the whistle on the end of the spout.
Step 4: Refine the kettle outlines
Erase the unnecessary guidelines from the previous steps. Outline the lower edge near the base of the spout, then add a few short lines to the spout and lid.
Step 5: Add shadows and texture
Add shadows using hatching with different levels of pressure to create the appearance of metal. The metallic effect is created by the strong contrast between highlights and shadows. Start with the darkest areas, then add the halftones.
This tutorial showed you how to draw a kettle. If you would like to continue practicing everyday household objects, try drawing a teapot, another classic kitchen item with smooth curved shapes.
You can also sketch a cup to create a matching set and practice simple cylindrical forms.
Our site includes many other object drawing tutorials as well. Continue by illustrating a spoon, or try drawing a coffee mug. These simple subjects are a good way to practice smooth contours, symmetry, and clean line work.



It was so beautiful I also tried it was same like this kettle you made💖
Well l love your kettle it’s very beautiful