How to Draw a Skeleton Warrior
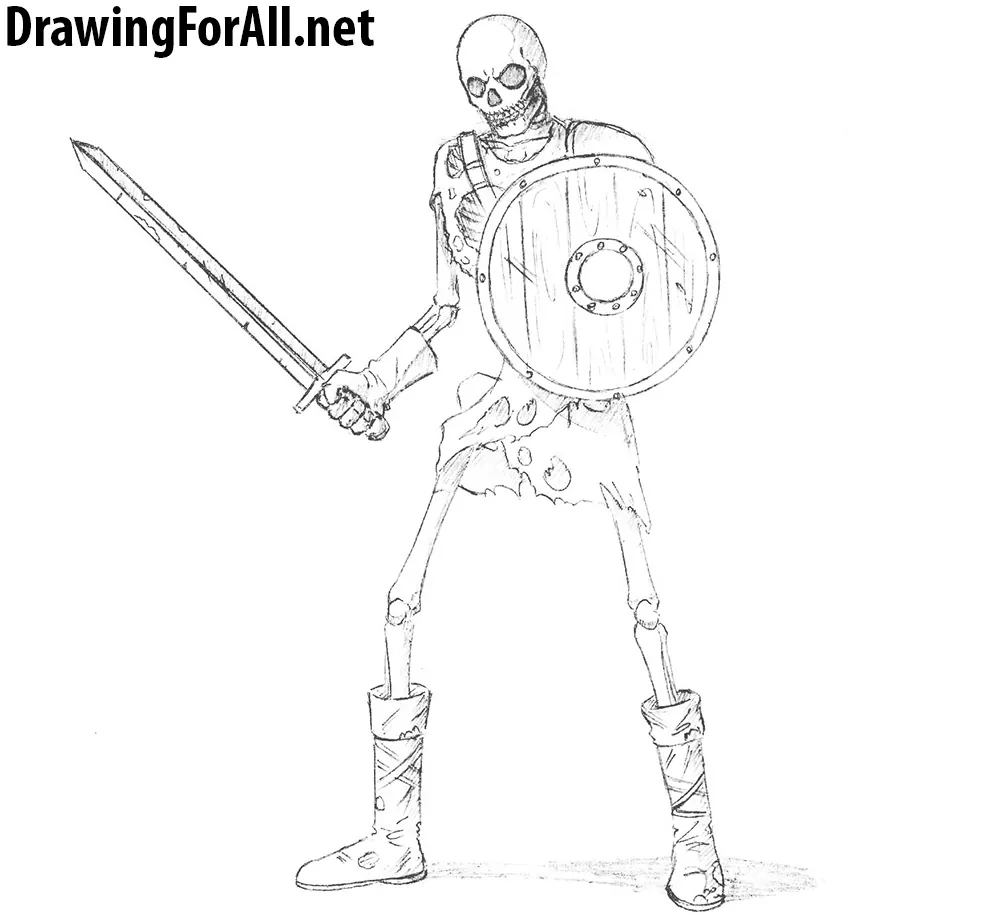
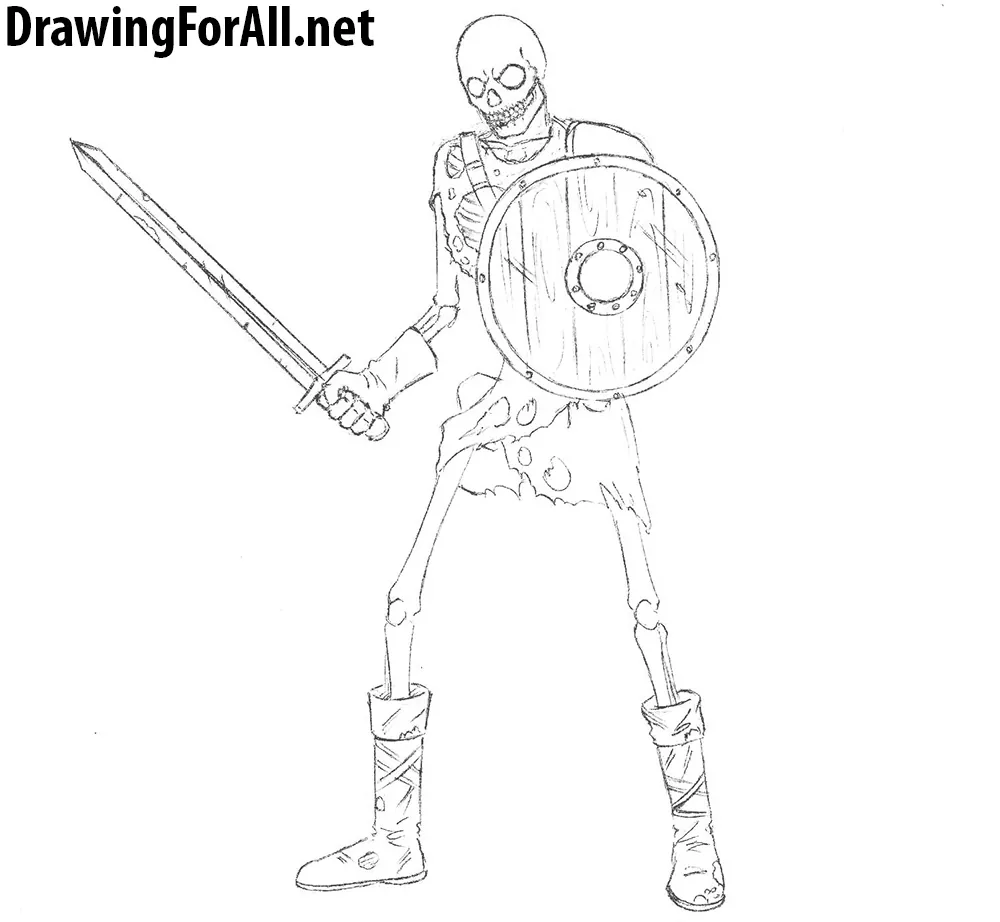
Hello dear artists and adventurers! In today’s drawing lesson we are going to show you how to draw a skeleton warrior. Many of you have met such undead skeleton while traveling through the caves of computer RPG, movies or books. Today we will teach you how to draw a classic warrior skeleton. He is wearing a ragged cloth, gloves, boots and will have a long sword and a round wooden shield. But of course you can choose any other clothes and weapon.
Step 1
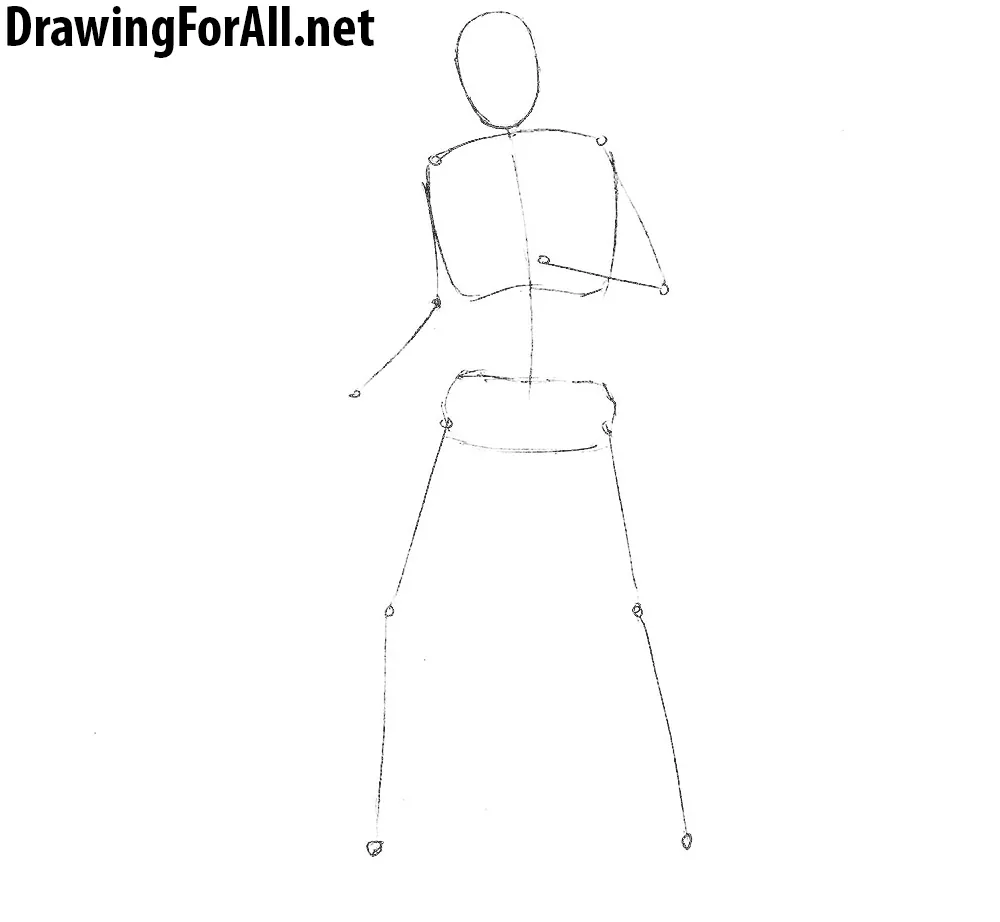
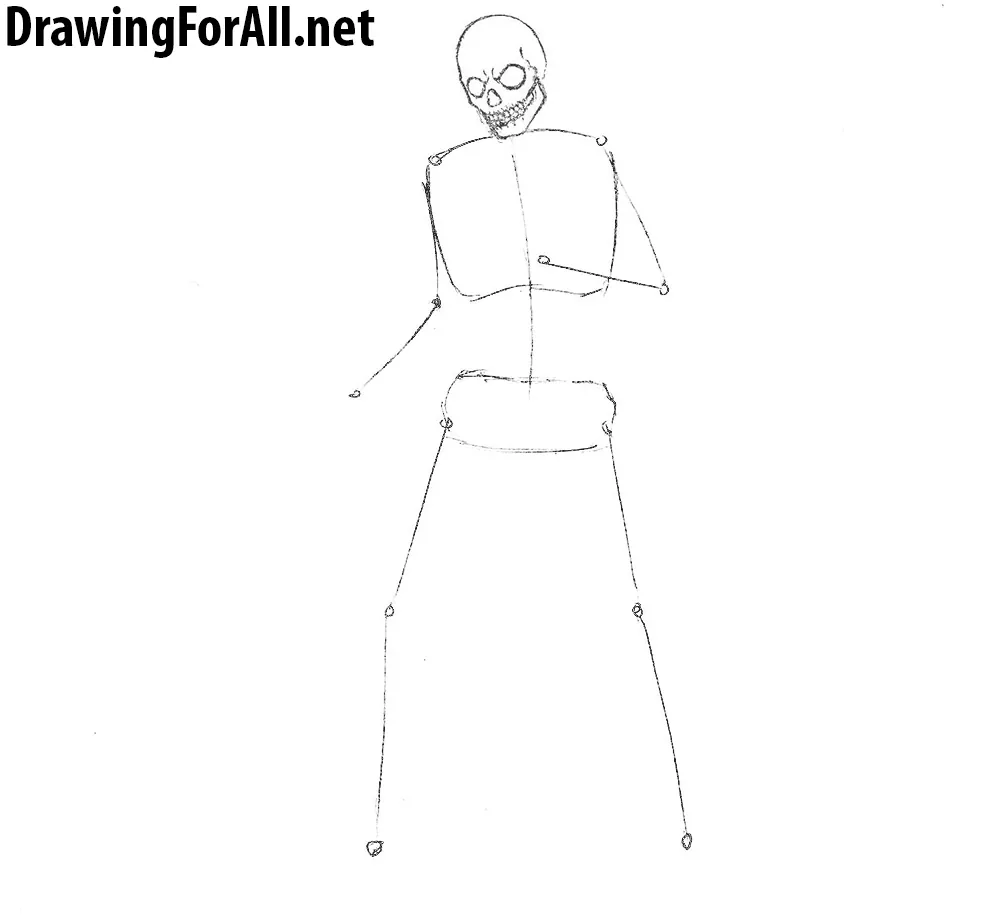
In the first step we always draw the skeleton of future figure. So start with the head, drawing it in the shape of an oval. Then draw the spine, chest and pelvis. Then sketch out the arms and legs. But unlike other drawing lessons were we drew alive people the skeleton will not be much thicker in the next steps (because he is a skeleton, obviously).
Step 2
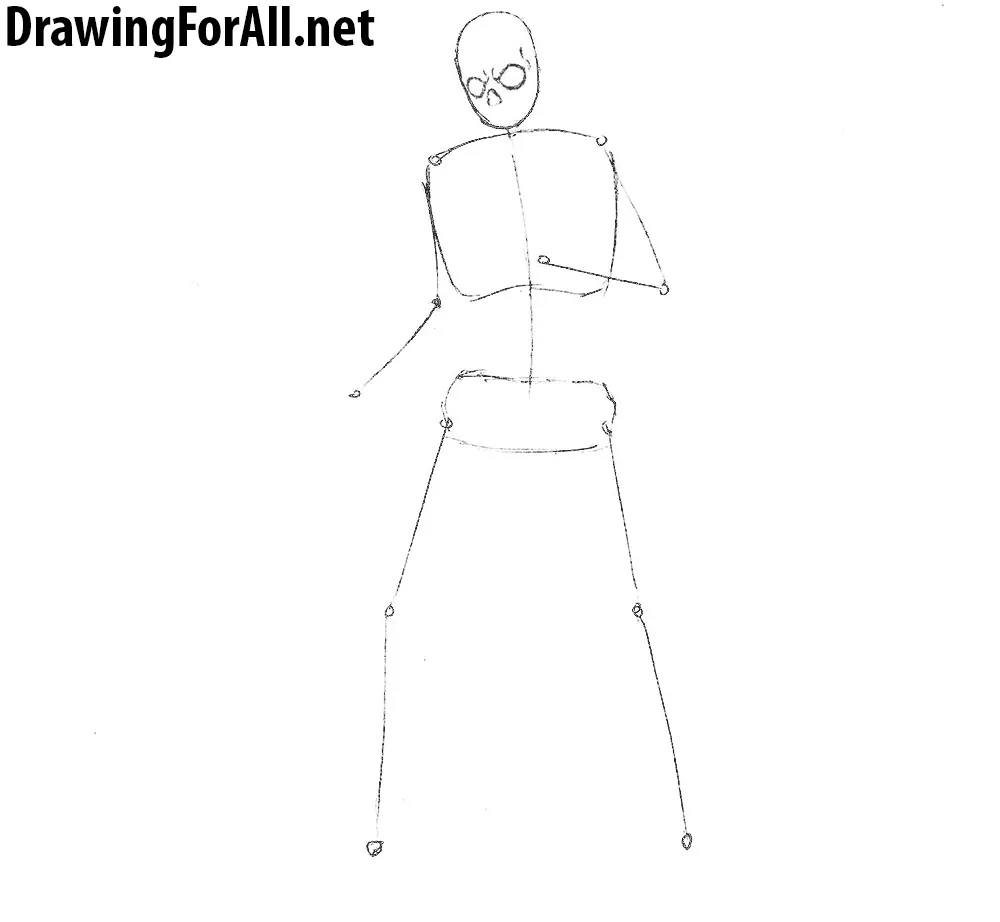
Let’s start adding details. We always start adding details from top down, and this drawing lesson will not be exception. First draw the eye sockets. Make them a little more angry than eye sockets of a normal skeleton. Next draw the nose and and lines of the bones on the forehead.
Step 3
Here we finish drawing the skull of our skeleton warrior. Draw the jaw and teeth. Don’t forget to draw out the shape of the skull, making it more realistic. By the way, we draw the warrior without a helmet or any other headdress, but you can draw a knight helmet for example.
Step 4
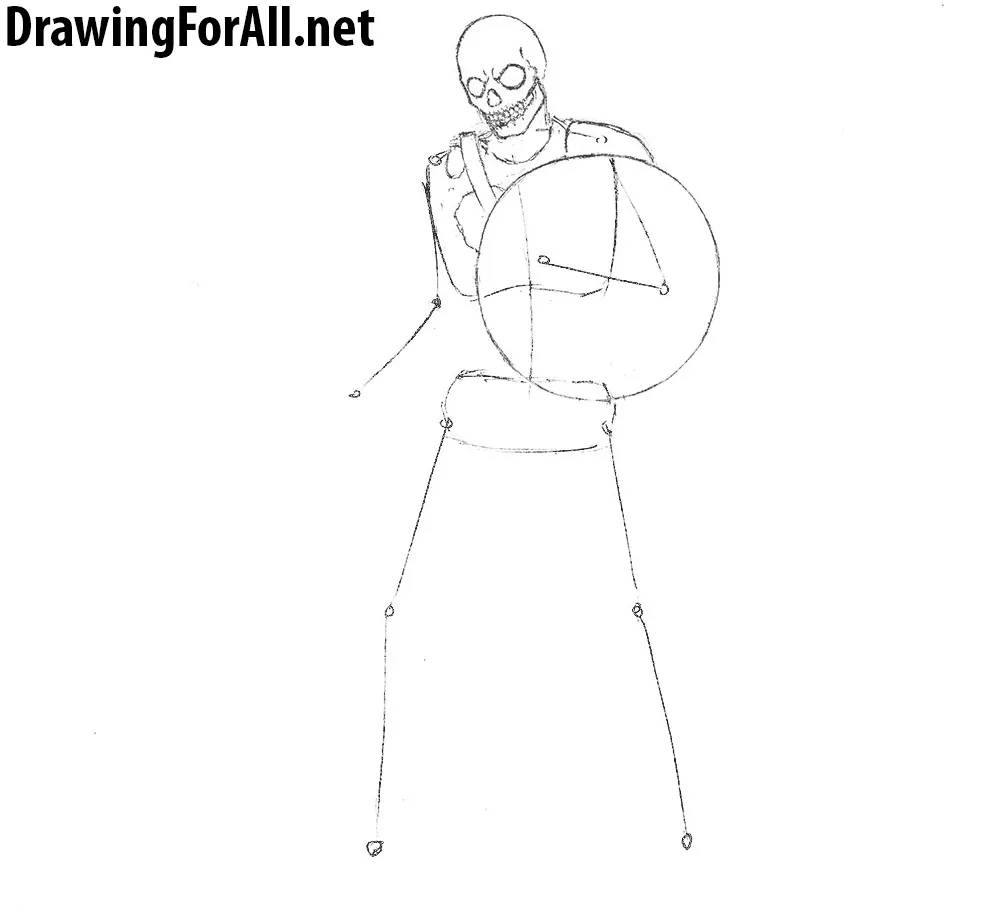
Continue drawing the skeleton warrior. Using a large circle draw the outlines of the shield. Add some details to the chest, such as a strap, ragged fabric and gardbrace, as in our example. But of course you can put the skeleton in full plate armor.
Step 5
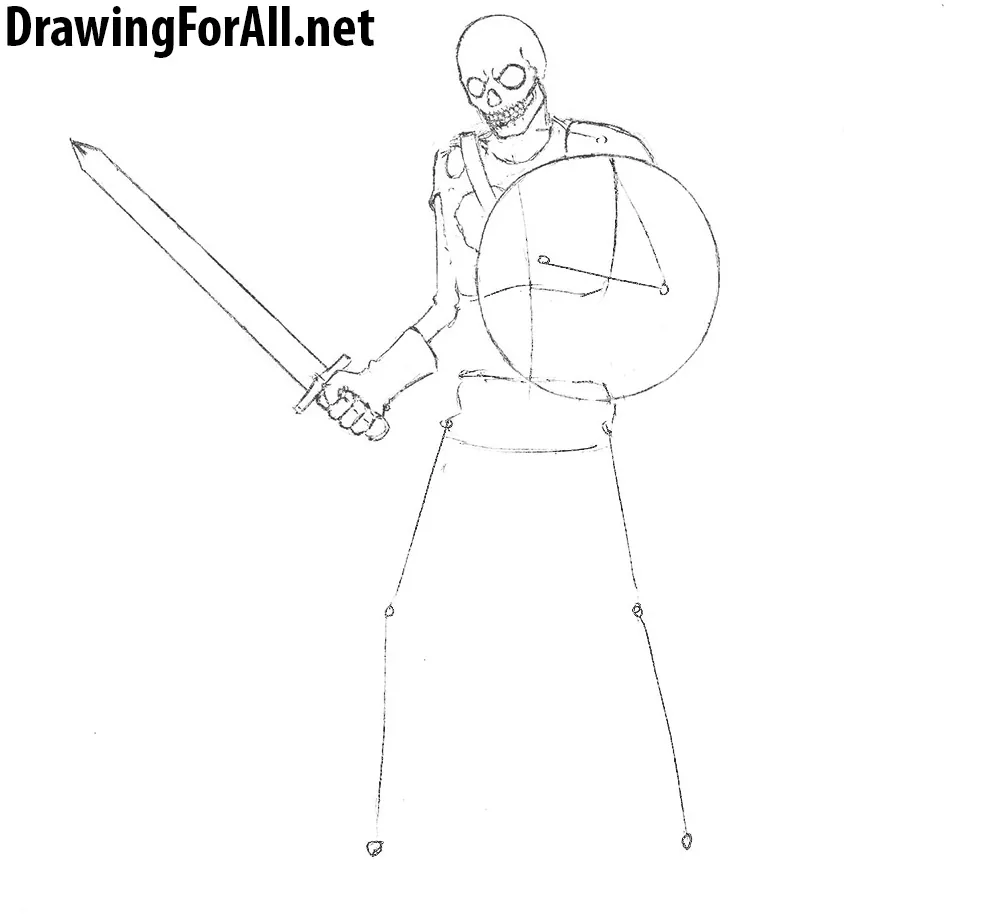
Here is a very short step. Add some volume to the arm of our skeleton warrior. Sketch out the glove. Draw the sword clutched in the hand.
Step 6
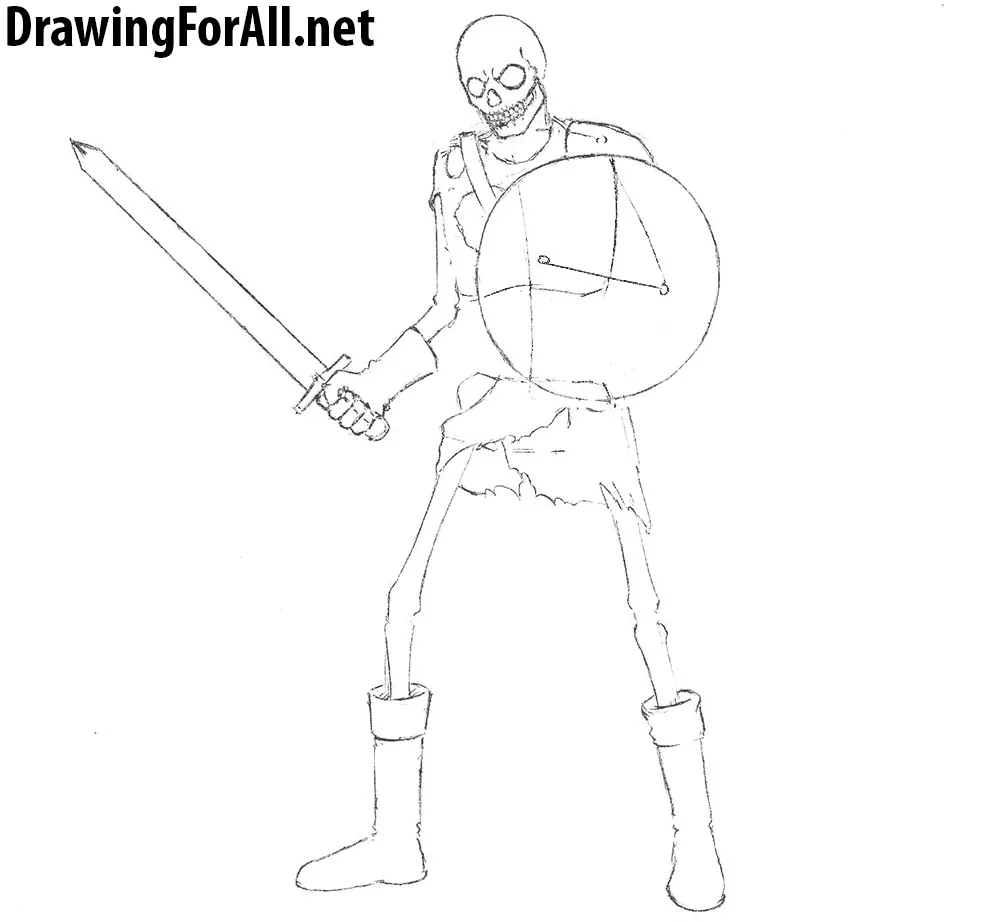
Here do similar actions as in the previous step. Add some volume to the legs and sketch out the boots. Draw ragged clothing in the area of pelvis.
Step 7
In this penultimate step of the lesson on how to draw a skeleton warrior we add finishing details. Draw out the fabric, add some holes. Then draw the ribs, wooden boards and rivets on the shield. Next add details to the bones, glove, boots and sword. Note, that all clothing must look very old and worn.
Step 8
Here we add some shadows to the undead warrior. As we said in other lessons, first we need to determine where from comes the light. Then using hatching and crosshatching add shadows to these areas where the light doesn’t fall.

Don’t forget to share this lesson and subscribe to our social networks, if you enjoyed. If you like fantasy world, visit the lessons about zombie warrior, ogre and dwarf warrior.


