How to Draw a Liquid Soap Dispenser
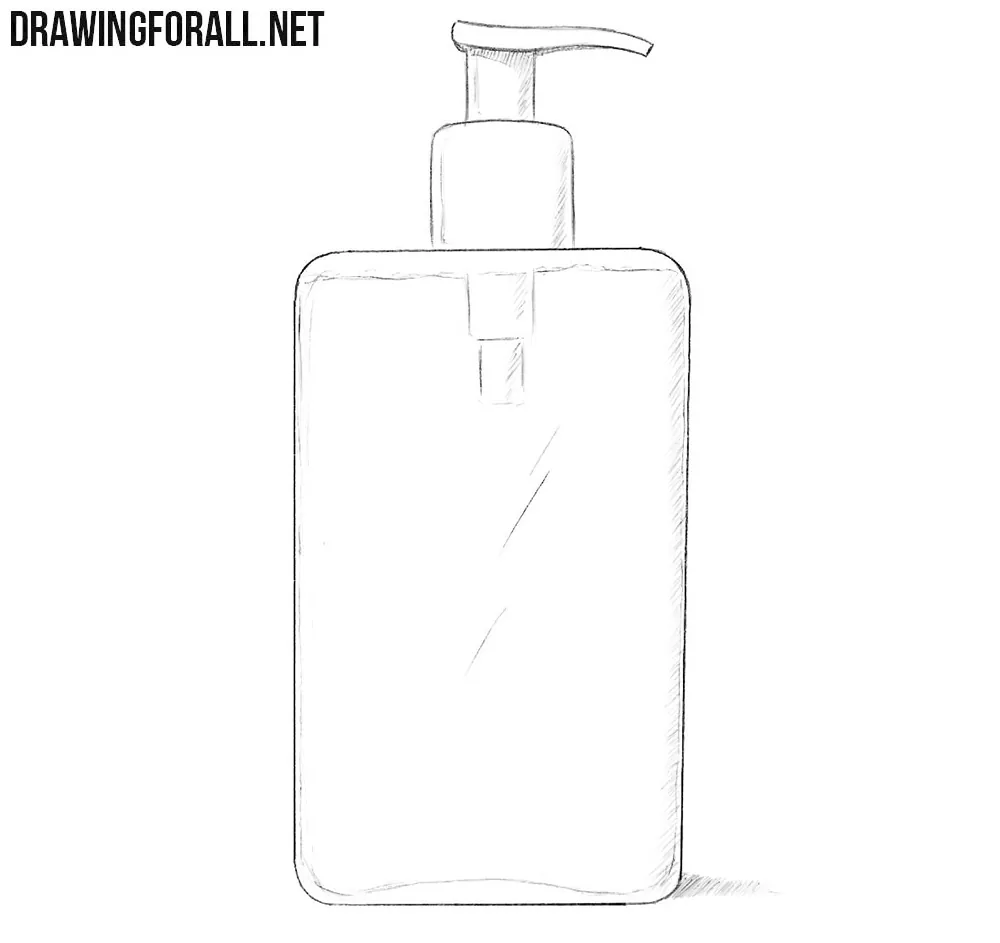
A liquid soap dispenser is basically a rectangular form with the mass of the pump on top. This step-by-step tutorial will show you how to draw a liquid soap dispenser, indicate these main elements correctly, and achieve a three-dimensional result using simple methods.
The first thing to remember is that there are many different variations of such dispensers, but these two volumes remain the basic foundation, while the specific contours are only secondary.
So, whatever shape of liquid soap dispenser you want to draw, start with the same basic forms and only then give them the specific contours you need.
How to draw liquid soap dispenser step by step
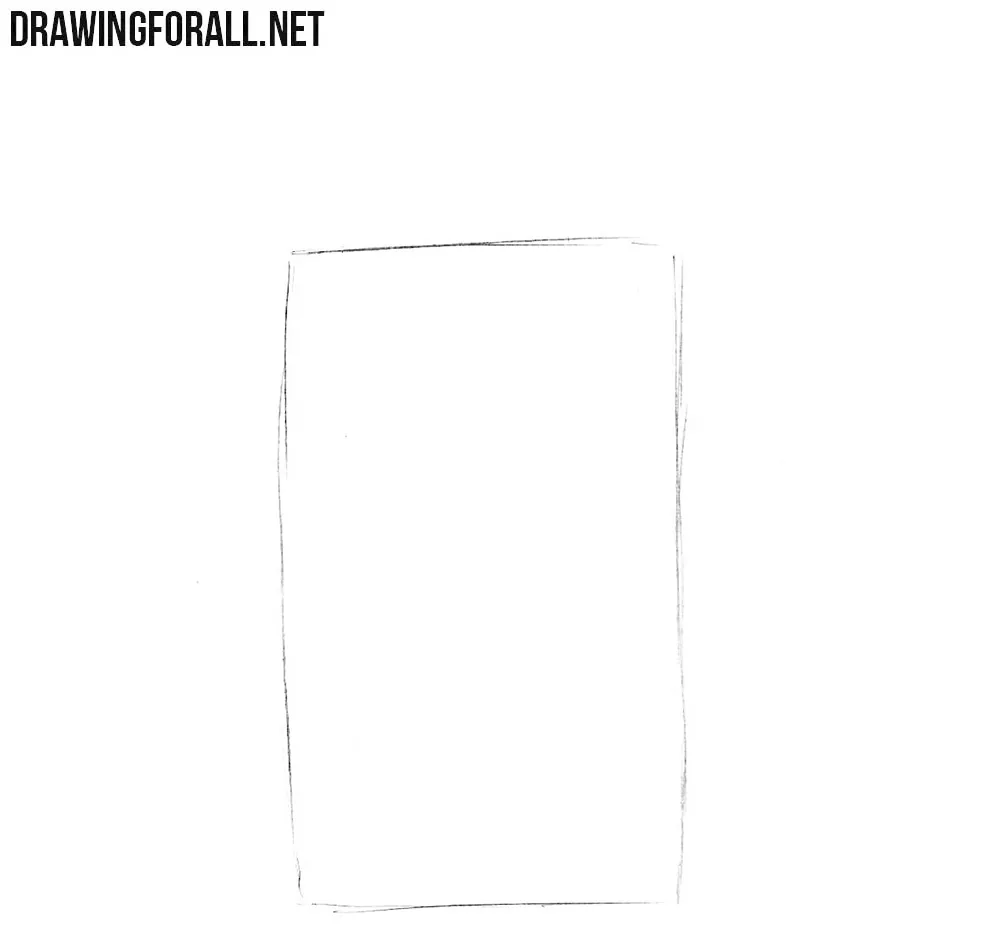
Step 1: Sketch the soap container outline
First, sketch the outline of the liquid soap container. Use light lines for this task. Do not try to make the outline perfectly even at this stage, because you will refine it and erase unnecessary lines later. Make the body a tall rectangle with nearly parallel sides.
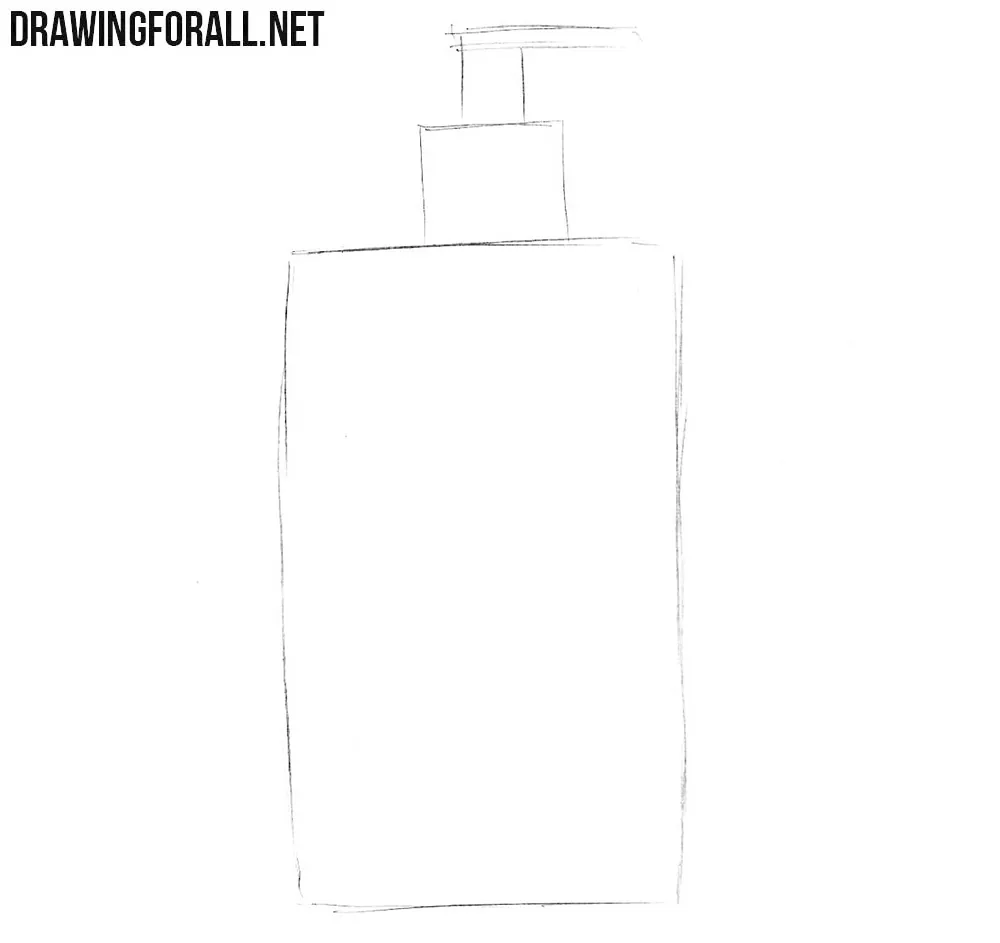
Step 2: Outline the soap dispenser pump
At the top of the liquid soap container, sketch the pump using light lines. By the way, you can slightly change the shape of the container and pump at this stage. Center a short, wide collar above the body, then add a narrower stem above it. Sketch the pump head as a thin horizontal shape extending farther to the right to form the spout.
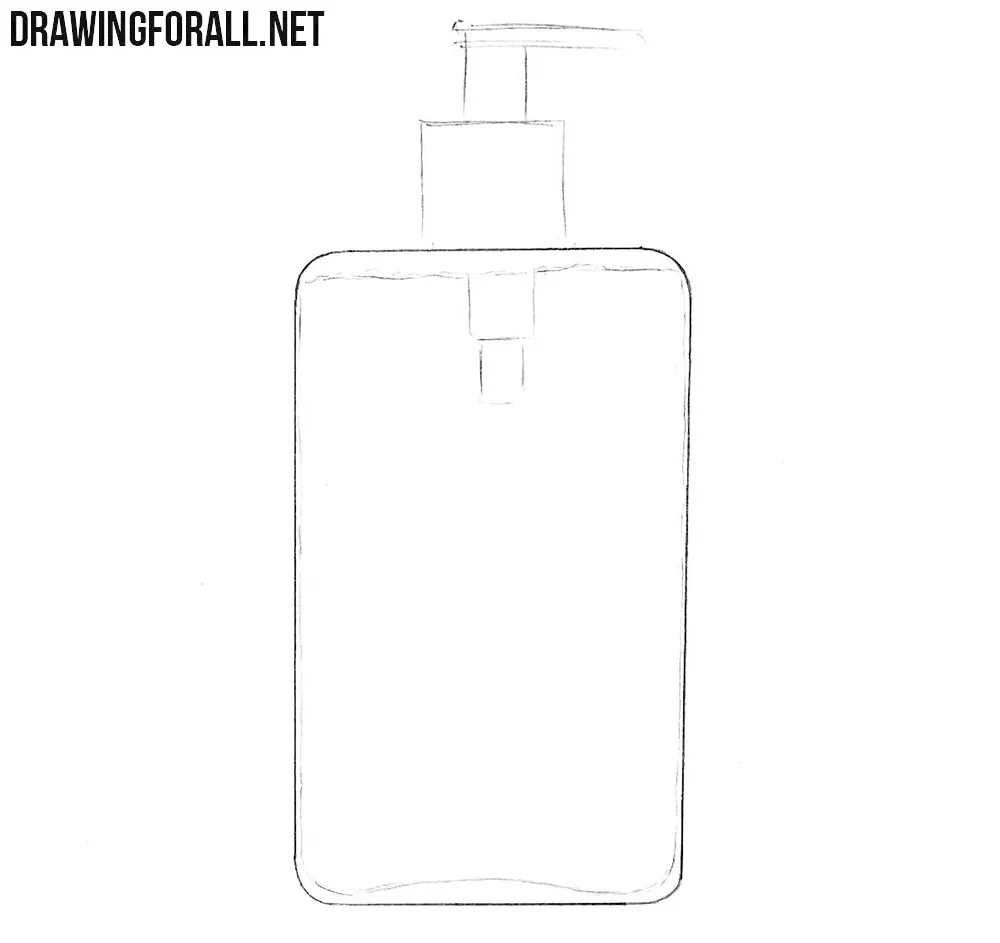
Step 3: Refine the container and contents
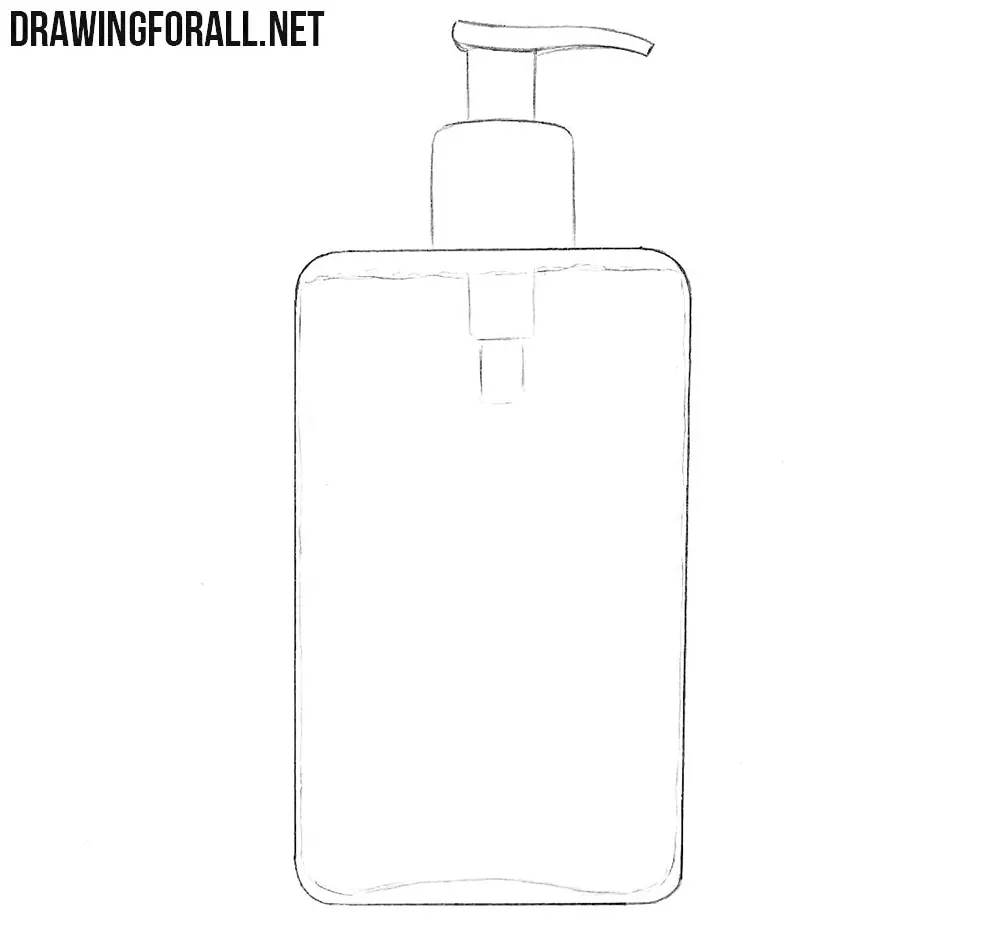
Let’s work on the details of the liquid soap container. Using dark lines, trace the container and outline the soap inside. By the way, you can draw bubbles or foam inside the container. Round the bottle’s corners and mark the liquid level with a slightly uneven line just below the top. Add the short, stepped pump mechanism visible inside the bottle.
Step 4: Refine the pump and outlines
Now do the same with the pump: trace its outlines with darker, clearer lines. Then clean up the drawing by erasing all unnecessary guidelines. Make the upper edge of the collar smoother. Give the pump head gently curved upper and lower edges.
Step 5: Shade the liquid soap dispenser
The liquid soap drawing is not complete until we add shadows. Use dense, even hatching to shade it. Also, indicate highlights on the container’s surface to give the drawing a more three-dimensional appearance. Shade the right edges of the bottle, collar, and stem, and beneath the pump head. Add a small cast shadow to the right of the base and a few light diagonal reflection marks across the front.
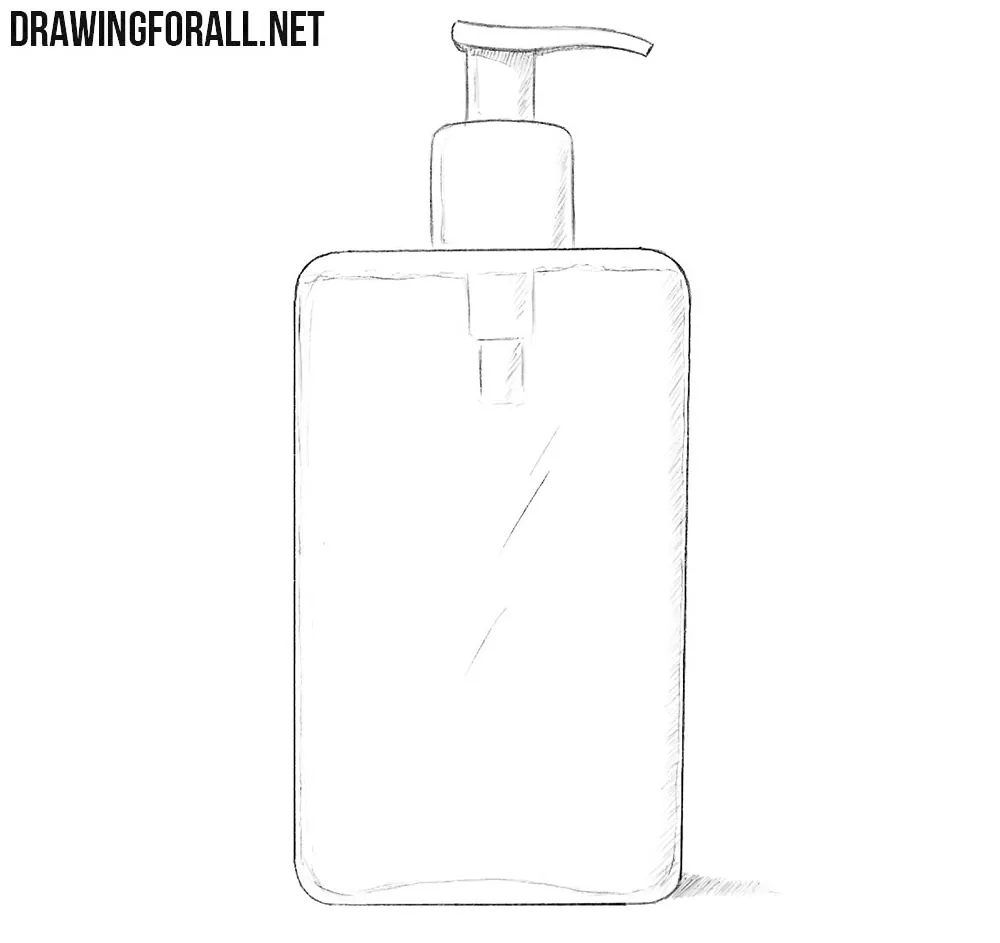
The shape of a liquid soap dispenser does not have to be exactly the same as in our example, since manufacturers create containers in many different variations. You can make your version taller, shorter, wider, narrower, more curved, or more rectangular.
The basic sequence of steps should remain the same: first indicate the container and pump with simple overall masses, then give them a more finished and detailed appearance, and at the end erase all unnecessary construction lines and add hatching and highlights.
You can also add logos, lettering, bubbles inside the container, and other details as you like. By placing a real liquid soap dispenser in front of you, you can also try drawing it from life, from different angles and under different lighting. You can also create a more detailed composition by drawing a bar of soap next to it using our step-by-step tutorial.