

How to Draw a Screwdriver
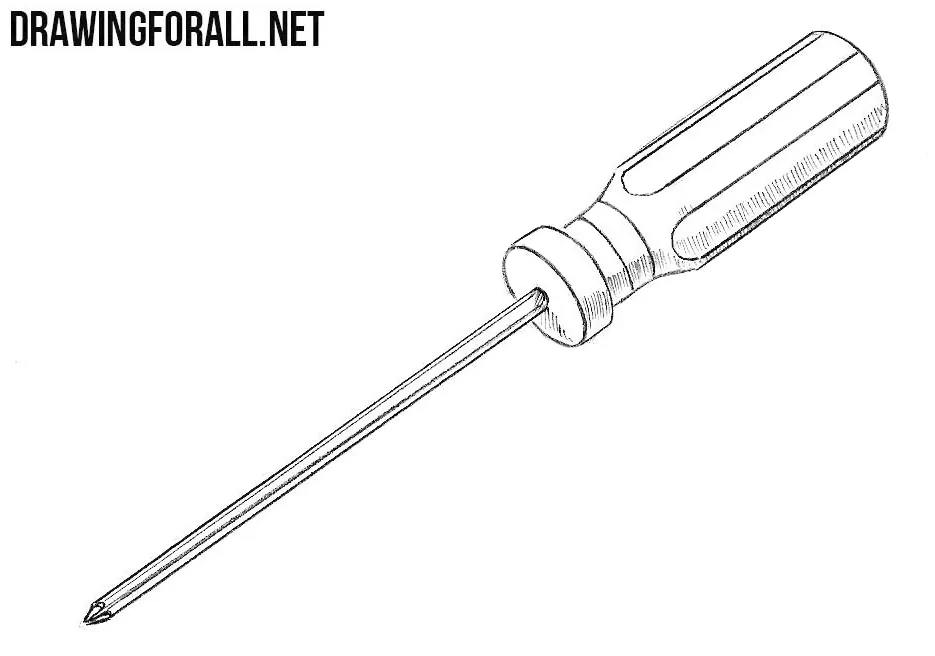
In one of our previous tutorials, we showed you how to draw a screw. Continuing this theme, here we will show you how to draw a screwdriver.
How to draw a screwdriver step by step
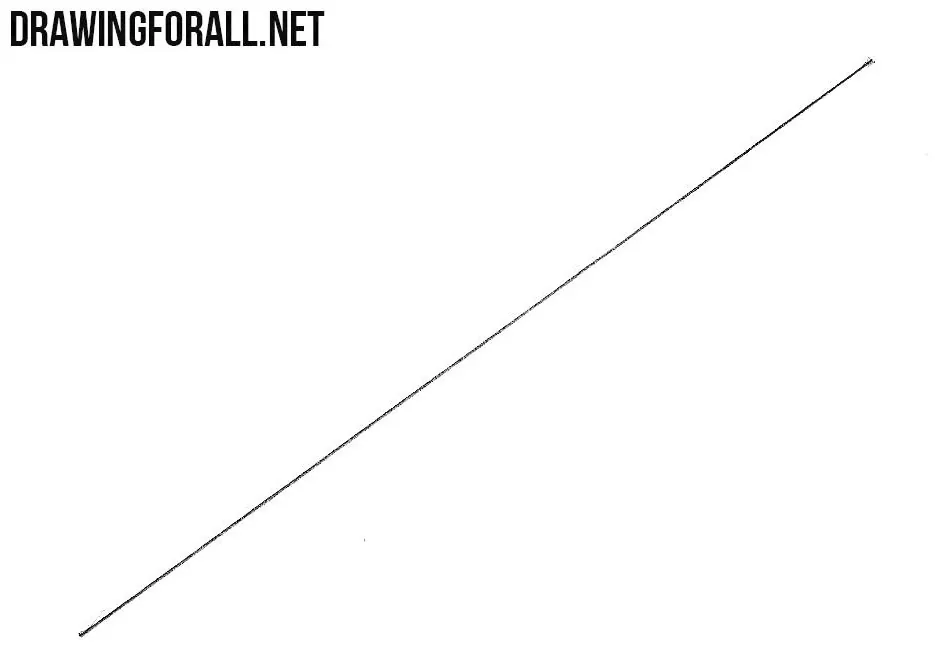
Step 1: Mark the screwdriver axis
Start by drawing a long straight line to set the direction and overall length of the screwdriver. This guideline will run through the center of the tool and help keep the shaft and handle symmetrical. Make the line light so it will be easy to erase later.
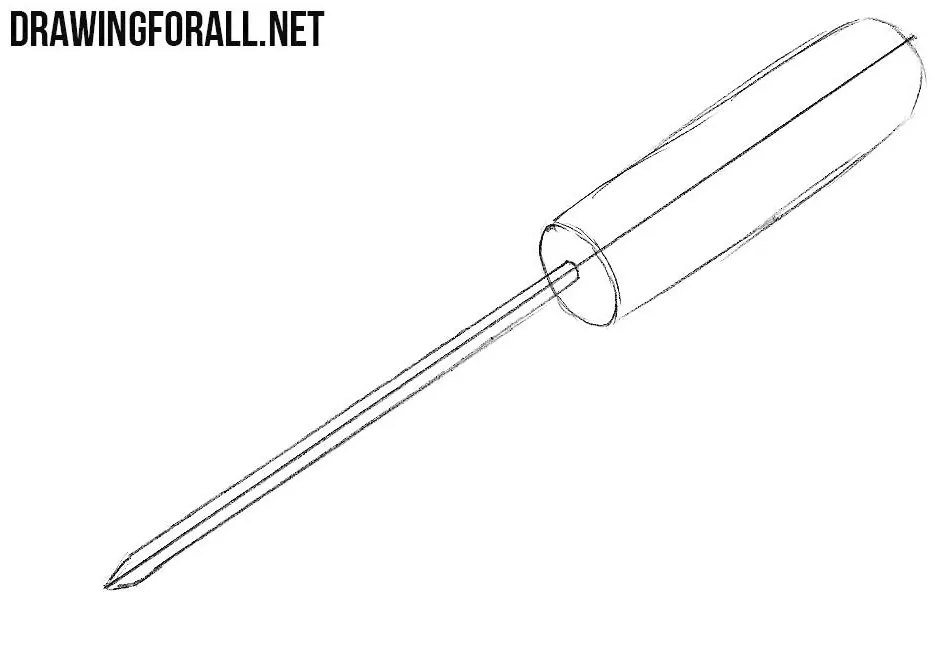
Step 2: Build the shaft and handle
Now draw the long metal shaft around the lower part of the guideline. Above it, outline the handle as an elongated cylindrical form. Keep both parts centered on the original line and use light contours at this stage.
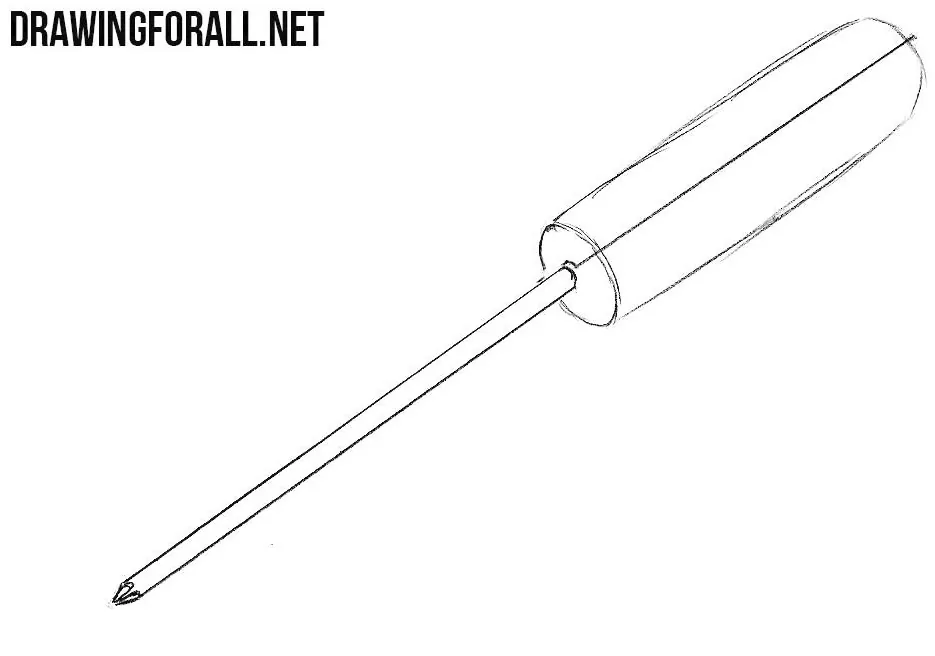
Step 3: Shape the metal tip
Erase the unnecessary part of the central guideline from the shaft. Then refine the lower end of the screwdriver and carefully draw the shape of the tip. Keep the metal edges symmetrical relative to the center line.
Step 4: Refine the handle contours
Move to the upper part of the screwdriver drawing and refine the handle. Make its sides smoother. Erase the remaining construction lines so the screwdriver has a complete outer contour.
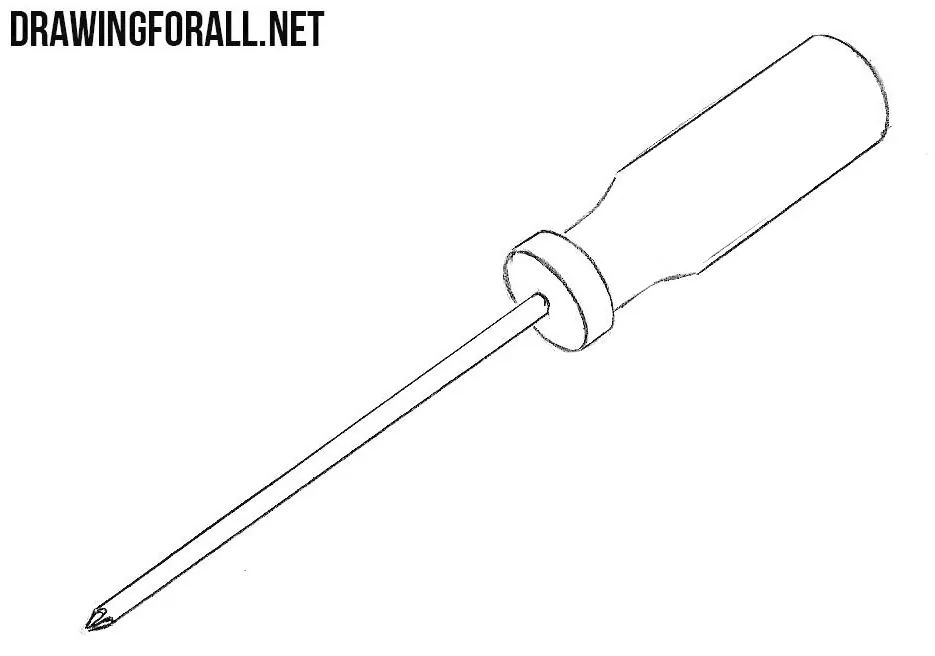
Step 5: Add the grip texture
Screwdriver handles are rarely completely smooth, so add a textured grip. Draw a series of simple recessed or raised sections along the handle, following its curved form. Try to make the pattern even.
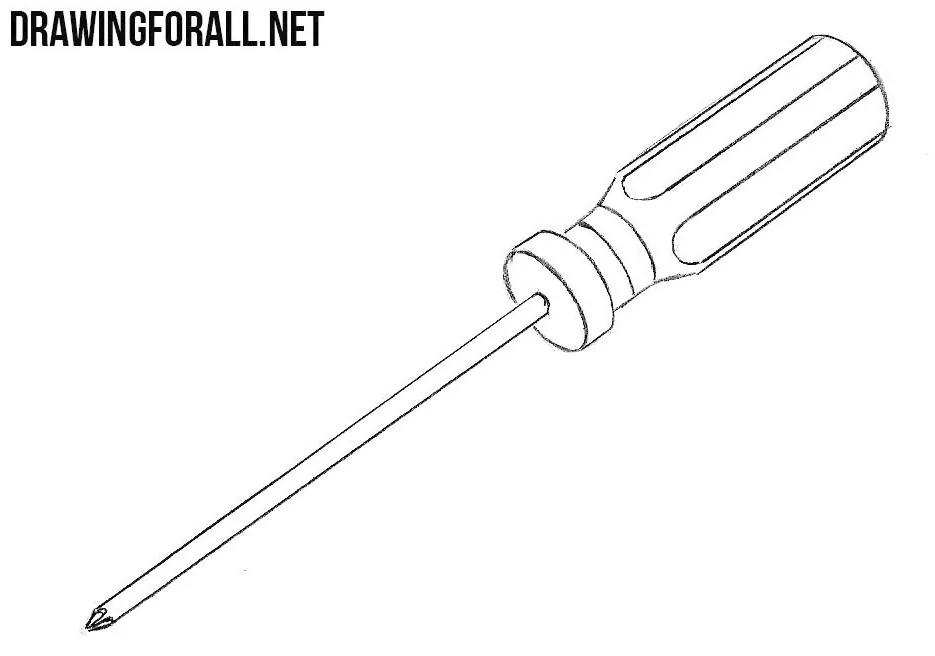
Step 6: Shade the finished screwdriver
Finally, add shadows to give the screwdriver drawing more volume. If the light comes from above, place the darker areas mainly along the opposite sides of the shaft and handle. Use light, even hatching and deepen the shadows in the recessed parts of the grip.
This was our tutorial on how to draw a screwdriver. Keep in mind that screwdriver tips come in many different shapes, so you can use the same basic drawing process for other types.
If you want to ink the finished drawing, trace the main contours with a liner or pen after erasing the unnecessary pencil lines.



Thanks for the step by step it is a great help for a learning artist.
I can’t believe that i can finally draw. You have really amazed people. Great job 😁😀😌❤Keep doing great and awesome sweetheart.
Thank you 😙❤
I love it 😍💓
Very good ,,,also be in play store
Be in playstore…awesome help it is…
thankyou
thank you i couldent have done it
It was very nice 👍👍👍
YES
It very good 👍 now l can draw easy and fast