How to Draw a Realistic Face
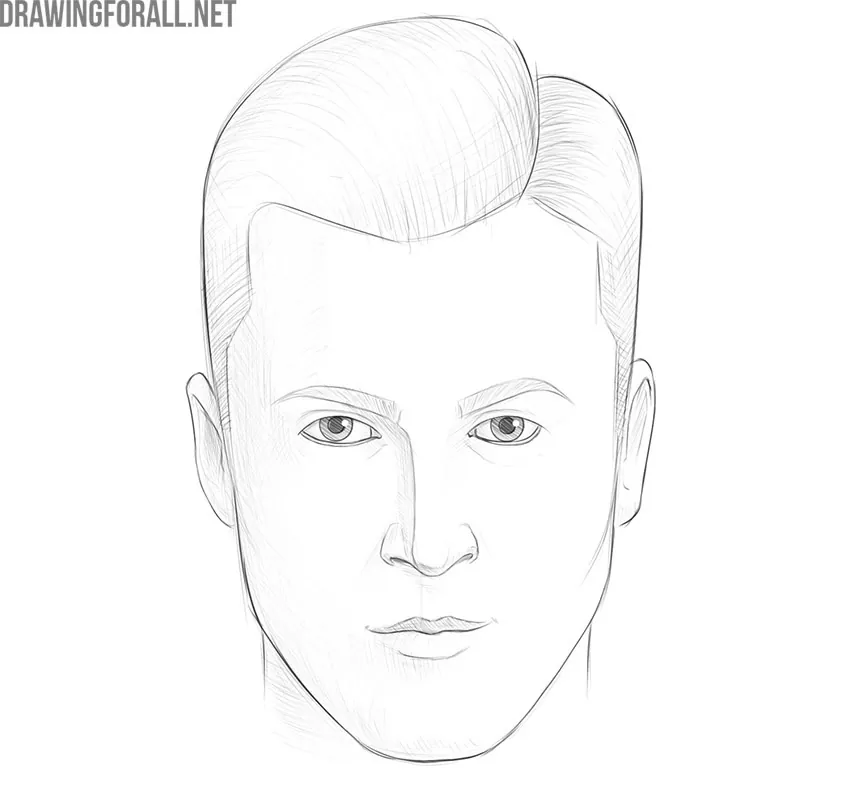
Today we will show you how to draw a realistic face. This is a simple basic tutorial that will help you draw a beautiful portrait. We offer not exact actions, but a sequence of steps.
You can change the facial features and appearance of your character at any stage. Use your imagination to create your own drawing. We are sure that you can draw it much better than us!
Step 1
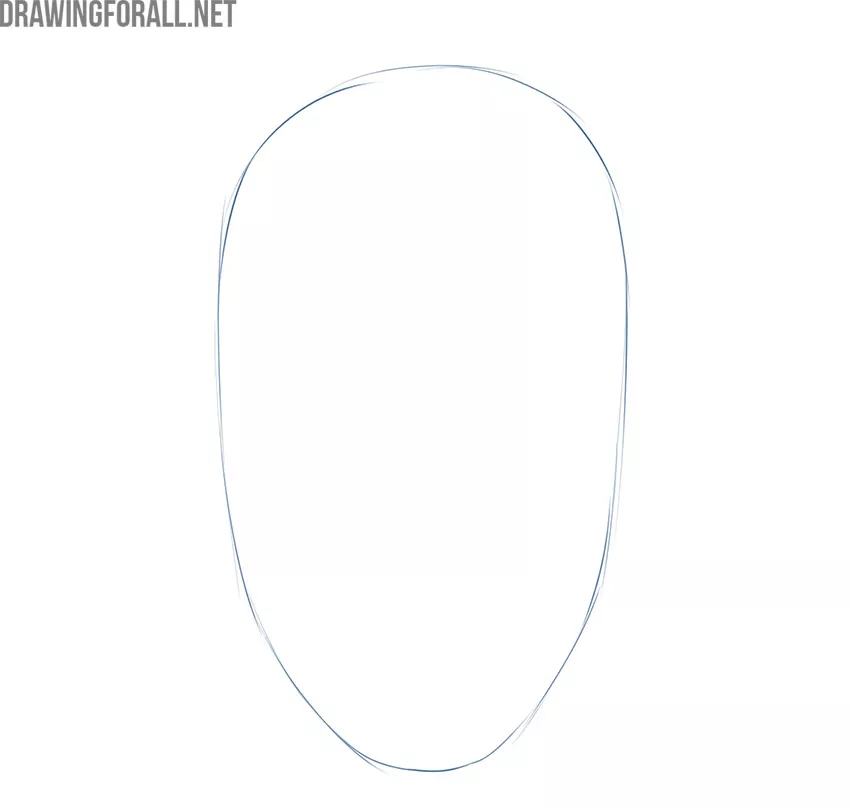
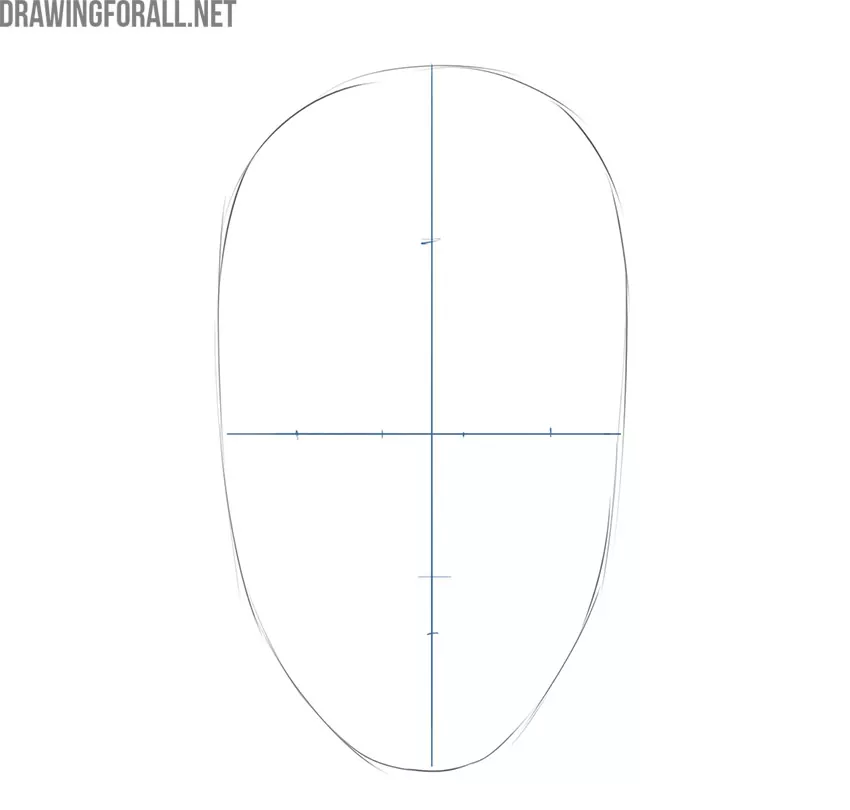
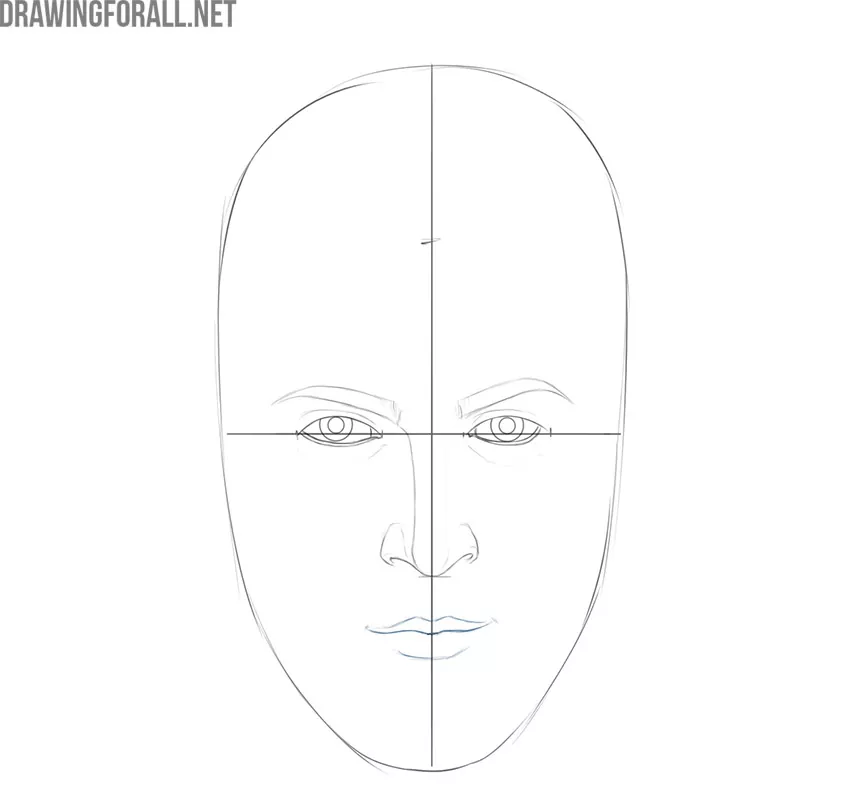
Firstly, draw a rough outline of this character’s face. You can choose different face contour shapes. In our case, this is a long elongated oval.
Step 2
Secondly, make a little markup. Using short strokes, mark the location of the eyes, hair, nose, and lips. This is a very important step. Try to evaluate and calculate all segments correctly.
Step 3
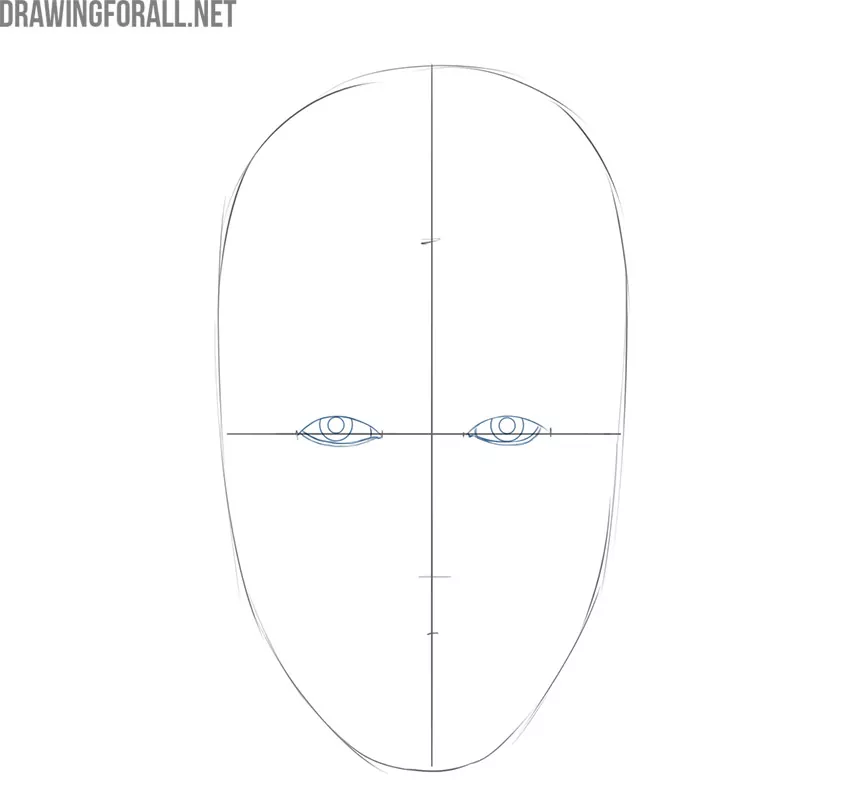
Draw the outlines of the eyes. Use the lines from the previous step as a guide. By the way, don’t forget to watch our tutorials about eye anatomy and the basic principles of eye drawing.
Step 4
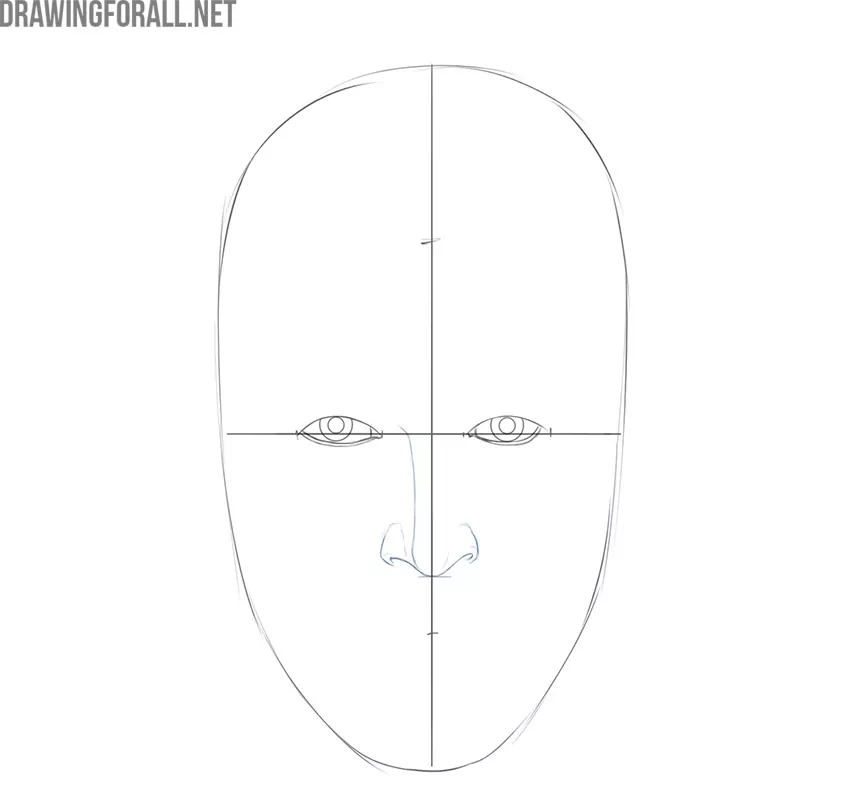
Using the markings from the second step, draw the basic outlines of the nose. First, draw the outlines of the nostrils and the tip of the nose. Then add a smooth vertical line.
Step 5
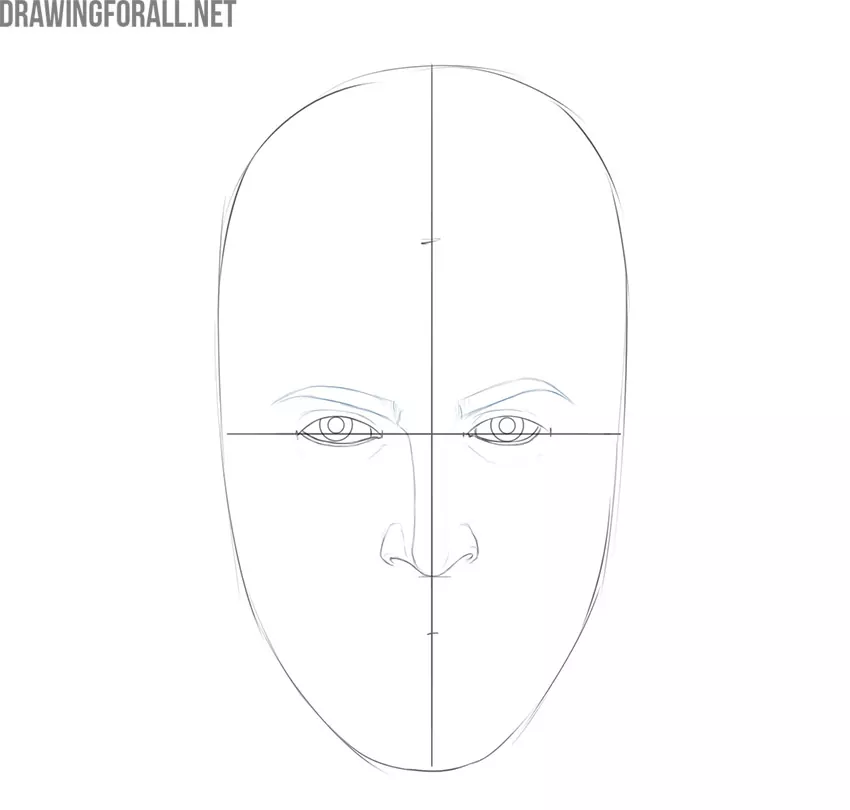
Now draw the eyebrows. You can choose any shape you like, but remember that the shape and location of the eyebrows can create a special atmosphere for the whole drawing. In our case, this is a typical shape of the eyebrows with a pronounced narrowing to the lateral side.
Step 6
So we continue the guide on how to draw a realistic face. Now, depict the contours of the lips. As you can see, we draw the upper lip with a full outline, but the lower lip is only indicated by a small smooth line.
Step 7
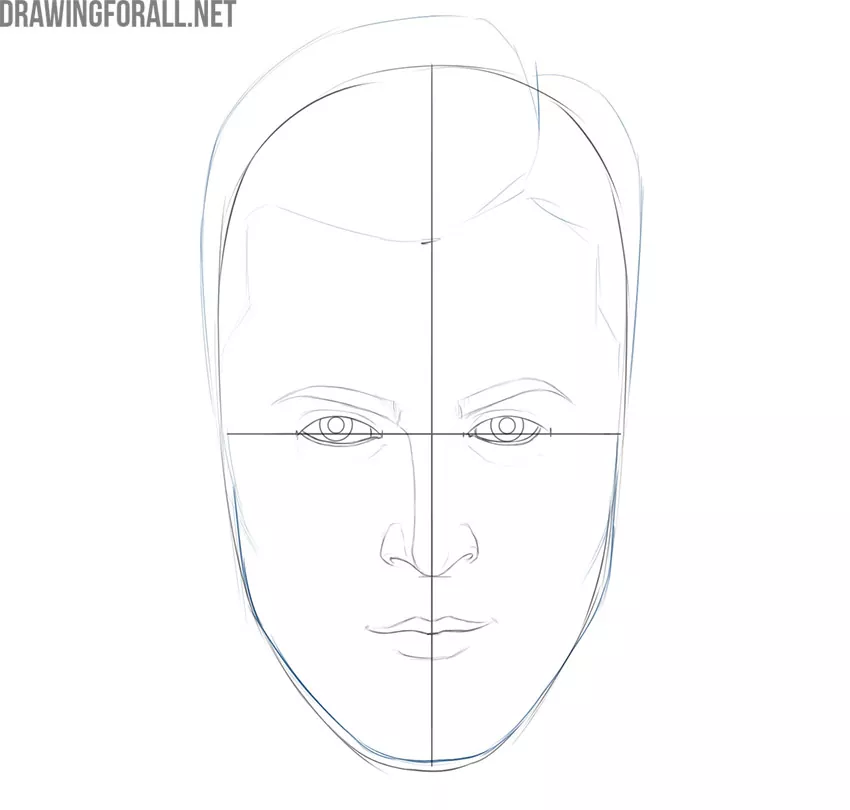
We have done almost everything that is needed inside the contour of the face. Now we can draw the outlines of the hair and beard if it suits your original idea. We decided to avoid drawing the beard and just outlined the classic male hairstyle.
Step 8
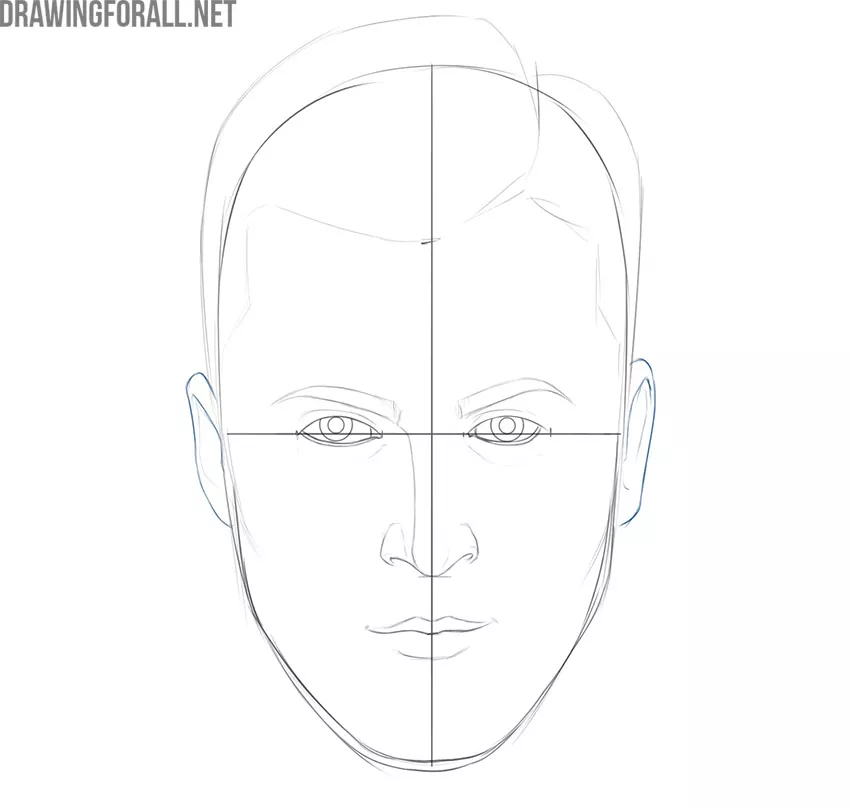
The man in the picture leans forward a little. And, we created this effect by drawing the ears a little higher. Most often, the upper edge of the ears coincides with the eyebrows, and the lower edges of the ears coincide with the tip of the nose. If the ears are a little higher, you create a tilt effect.
Step 9
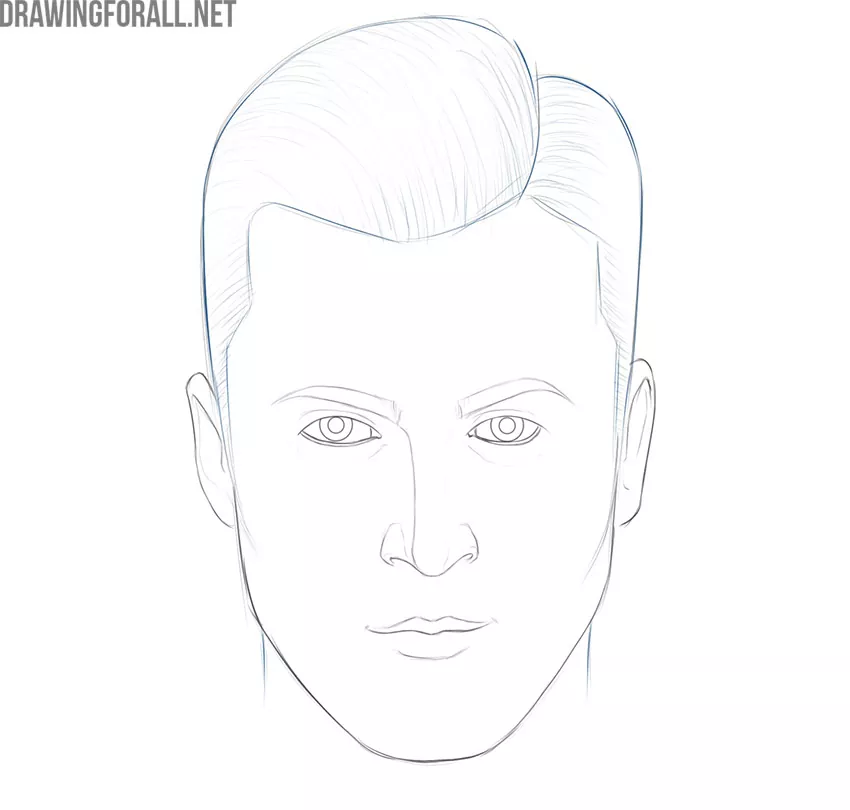
Add the outlines of the hair. Avoid excessive detail even if you are drawing a very realistic image. A few smooth lines, as in our sample, are enough. Here you can add the contours of the neck.
Step 10
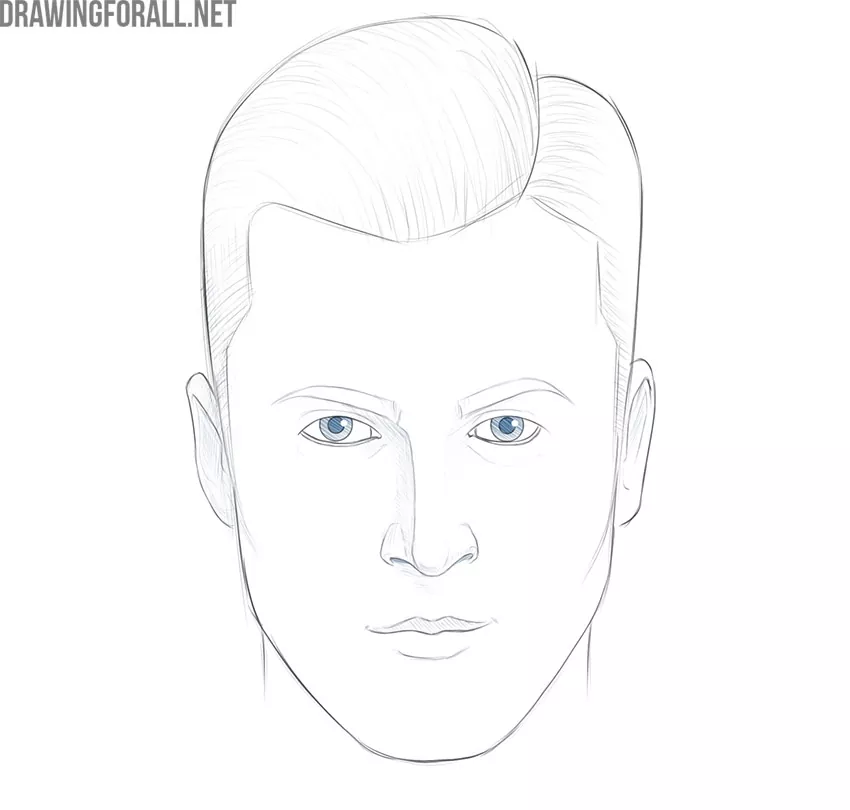
Color in the pupils. Note the round unpainted highlight within the outline of each eye. Such small details enliven the picture.
Step 11
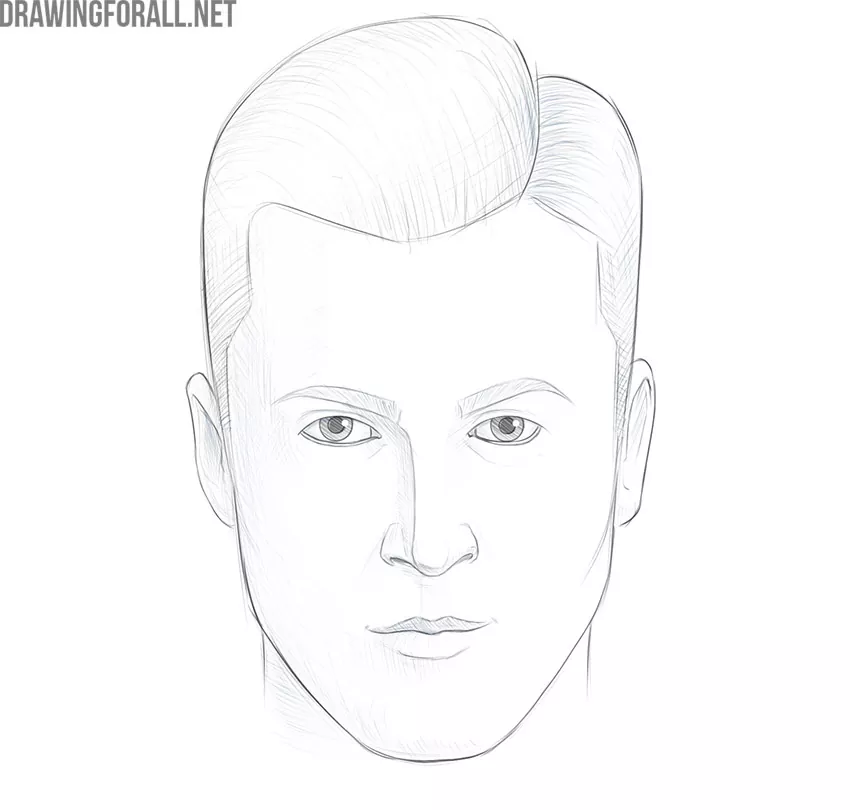
Add shadows. Avoid overly contrasting shadows unless you want to create a comic-style drawing. One layer of light hatching is exactly what you need.
Step 12
So, this is the end of the whole drawing lesson. In the last step, you can remove some extra lines from the last steps and check the correctness of the whole drawing again.

We complete this lesson on how to draw a realistic face. We hope this was really helpful for you. Do not forget to write in the comments what other lessons you would like to see on our site.


