How to Draw a Person Face
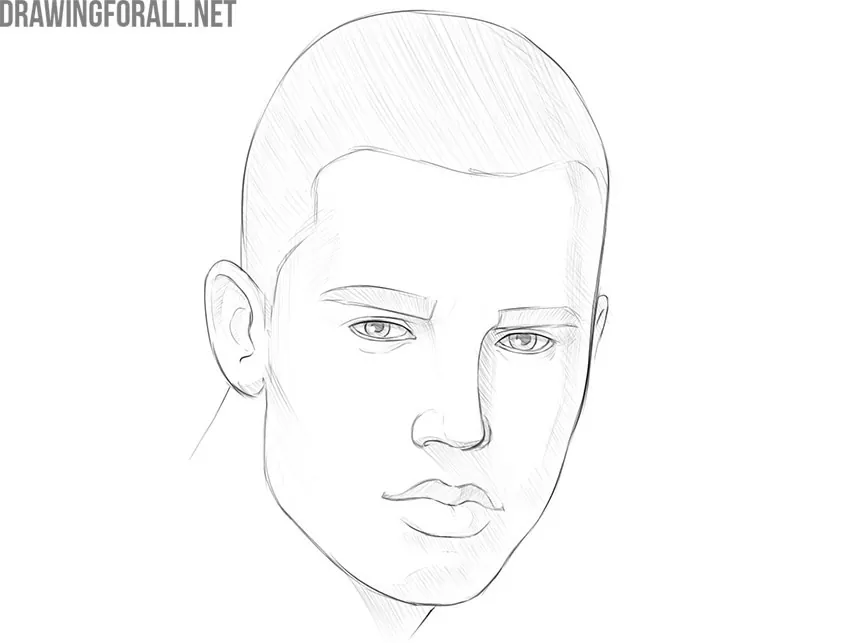
So, today we will learn how to draw a person’s face. We have already done quite a few portrait drawing tutorials, however, in the comments we read that this is a very interesting and useful topic for you.
In this article, we simply show the basic principles of drawing portraits and the correct sequence of steps. You can change any facial features to your taste. We are sure that you will get even more realistic than ours.
Step 1
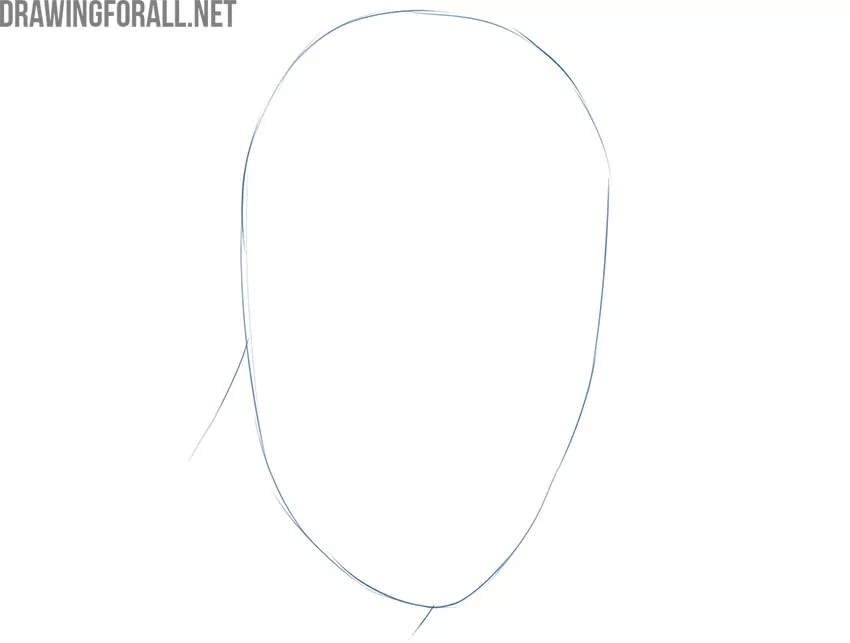
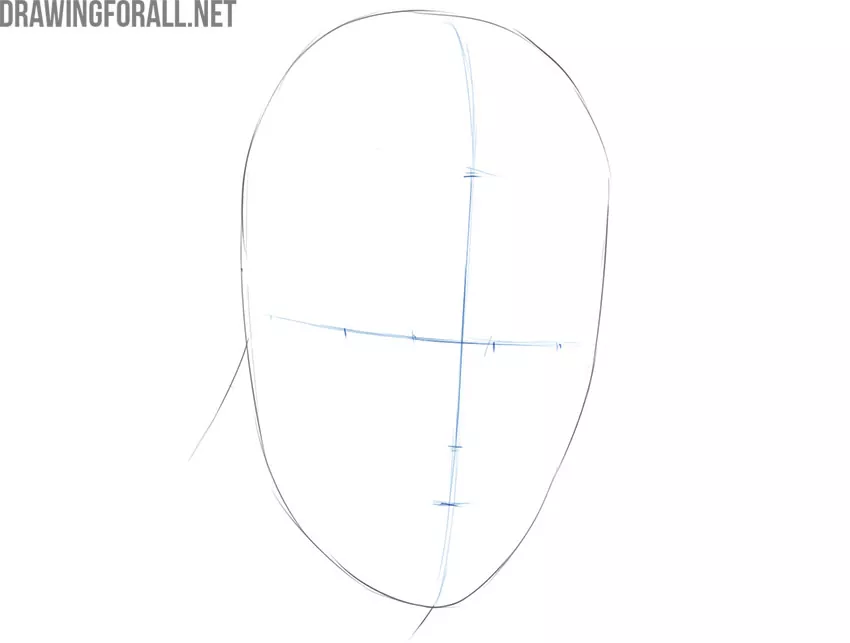
Firstly, form the approximate contour of the face and neck. In our case, this is the face of a thin person, so we have long elongated contours. You can create any contours to your taste.
Step 2
Secondly, make basic markup. First, draw the crossing lines of vertical symmetry and eye level. Then use short strokes to define the facial features.
Step 3
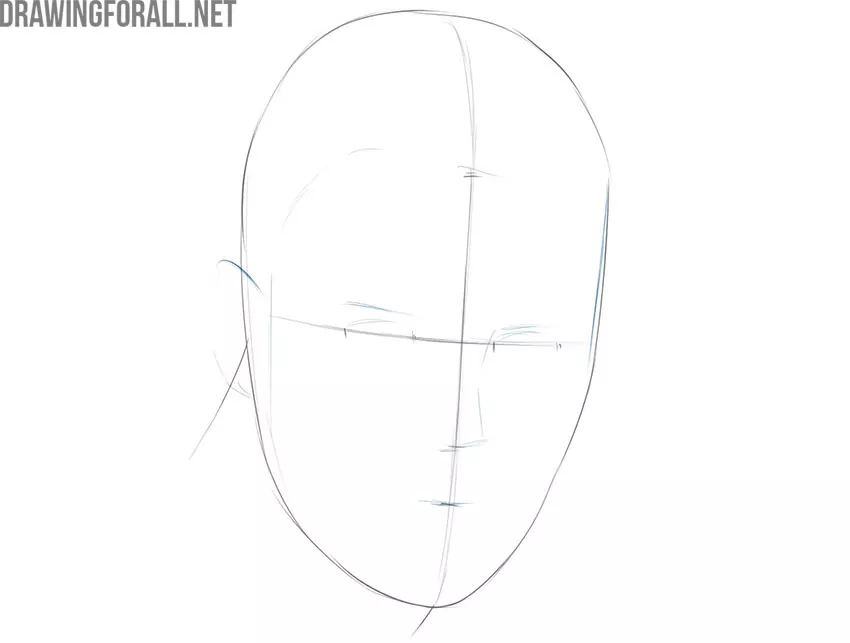
With the help of light lines draw the approximate contours of the ear and nose. Use rough horizontal lines to outline the eyes and brows.
Step 4
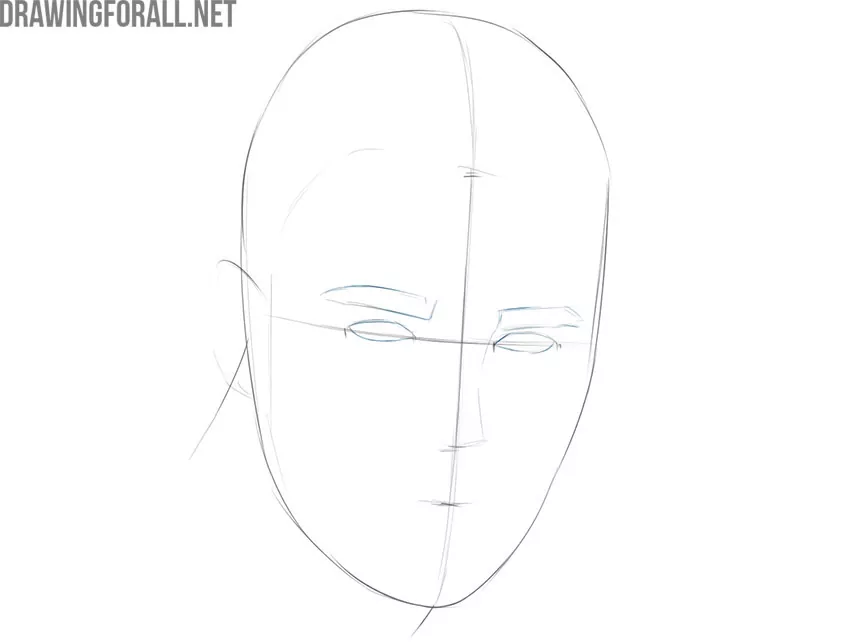
Turn the baselines from the last step into volumetric contours of the eyebrows and eyes, as in our sample. Use the outline of the ear and the lines from the second step as a guide.
Step 5
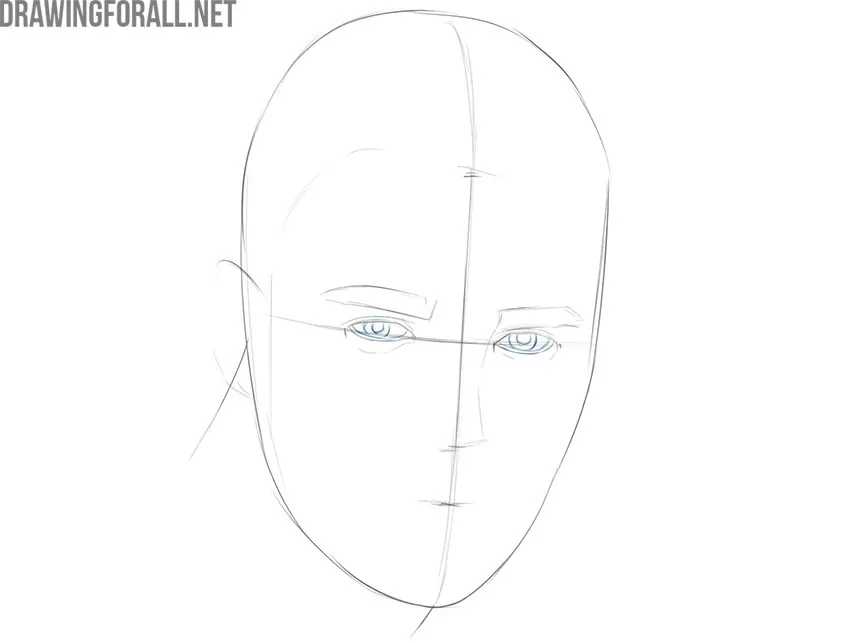
Draw the eyes as well as the thin outlines of the upper and lower eyelids. By the way, we also have separate tutorials about eye anatomy and eye drawing.
Step 6
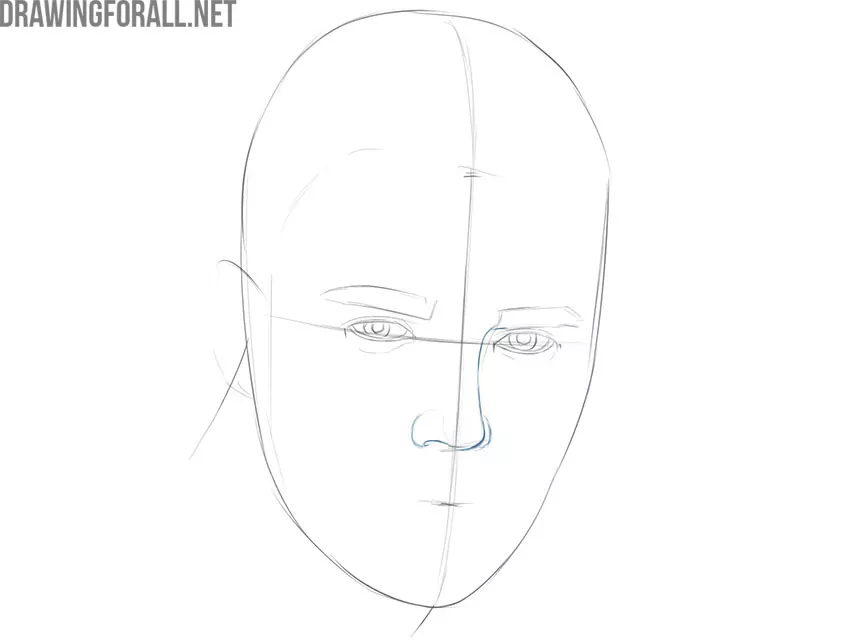
Depict the contours of the nose. The nose can be of any shape and size. In our case, the lower tip of the nose is just below the lower tips of the ears.
Step 7
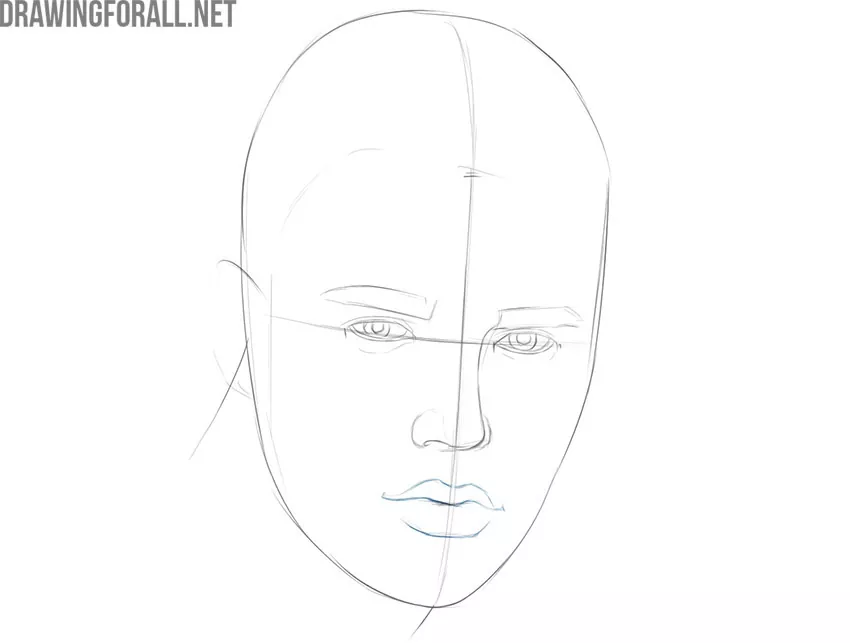
Draw the contours of the lips. Choose any shape you like. We decided to draw a typical lip shape where the upper lip is slightly smaller than the lower lip.
Step 8
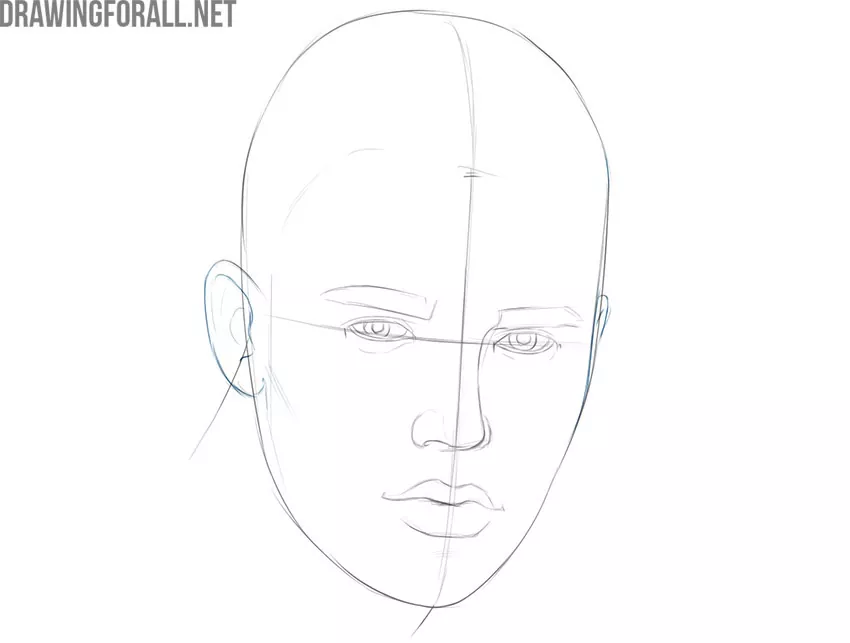
Finally, draw the final outlines of the ears. It will be much easier for you to draw if you first study the anatomy of the ear with the help of our article.
Step 9
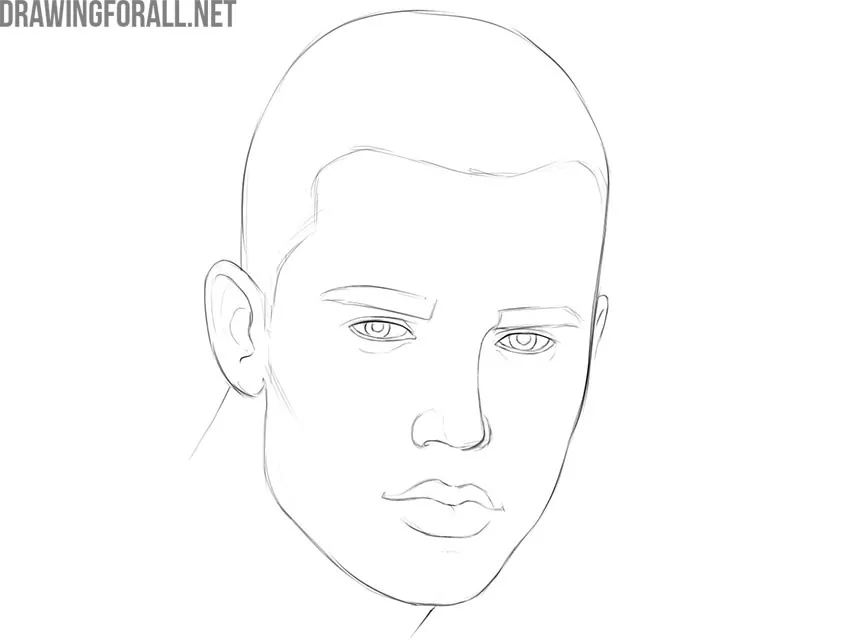
So, we continue the lesson on how to draw a person’s face. Erase extra lines from the entire drawing. Compare your result with our example. Correct mistakes and inaccuracies if you find them.
Step 10
Add some shadows to make this drawing more alive and realistic. Shadows look like areas covered with single-layer hatching or double-layer hatching with crossed layers. For a thicker shadow, increase the number of layers.
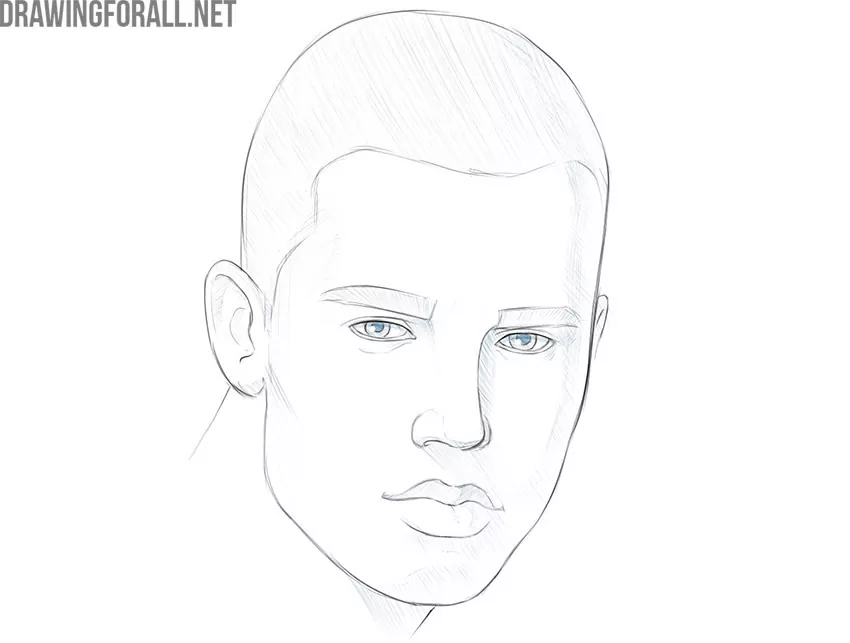
Step 11
In sum, if you correctly followed the sequence of all steps and proportions, you will get something like this result.

We hope that you enjoyed working on our drawing lesson. As a rule, most mistakes are made in the first four steps, so if you are not sure about your result, check this first.


