How to Draw a Nintendo GameCube
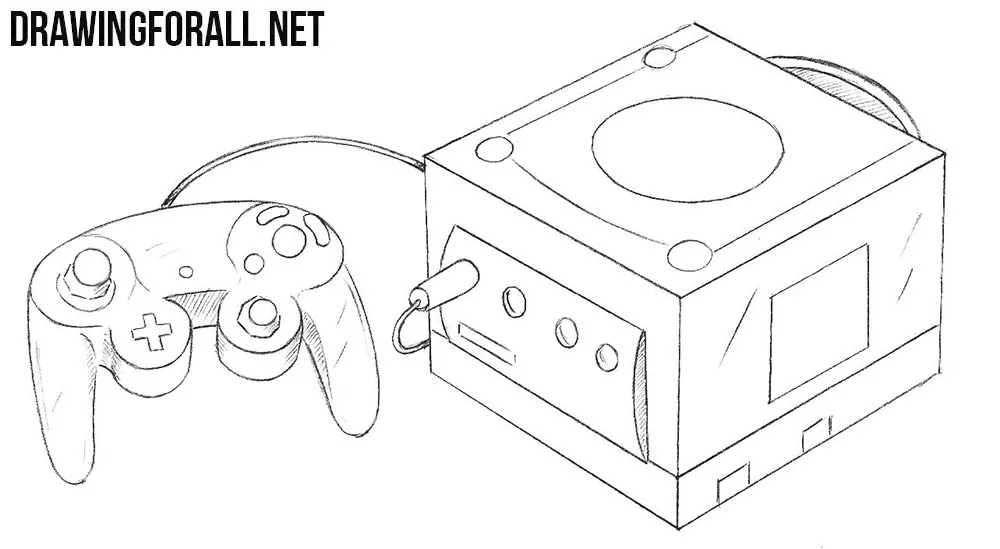
If you often visit our site, then perhaps you already know that our artists are great fans of video games. For these very video games, we even have a whole category on the site. But apart from the characters from the games, we also draw something without which it would be impossible to play these games – consoles and computers. We already drew a Sega, SNES, and today we show you how to draw a Nintendo GameCube – a gaming console of sixth generation.
Step 1
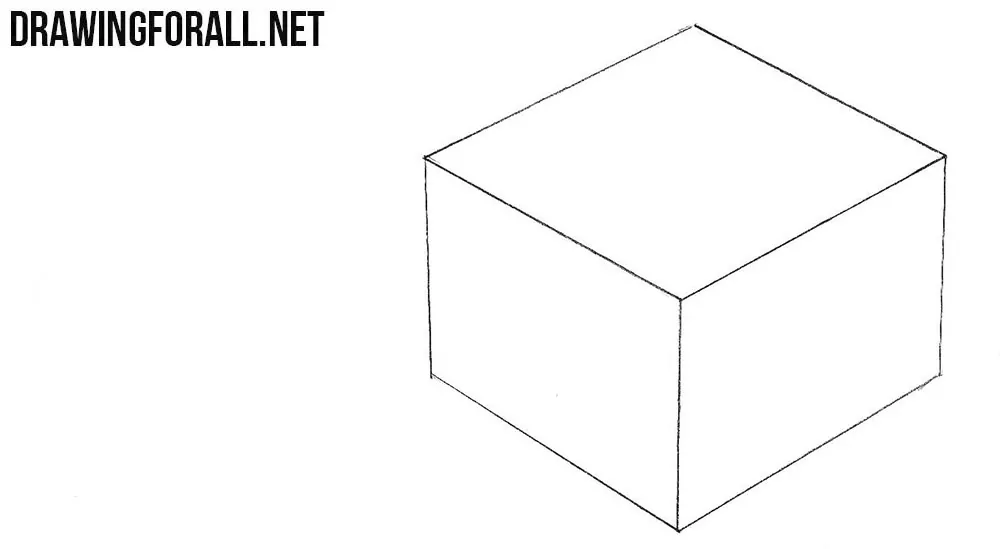
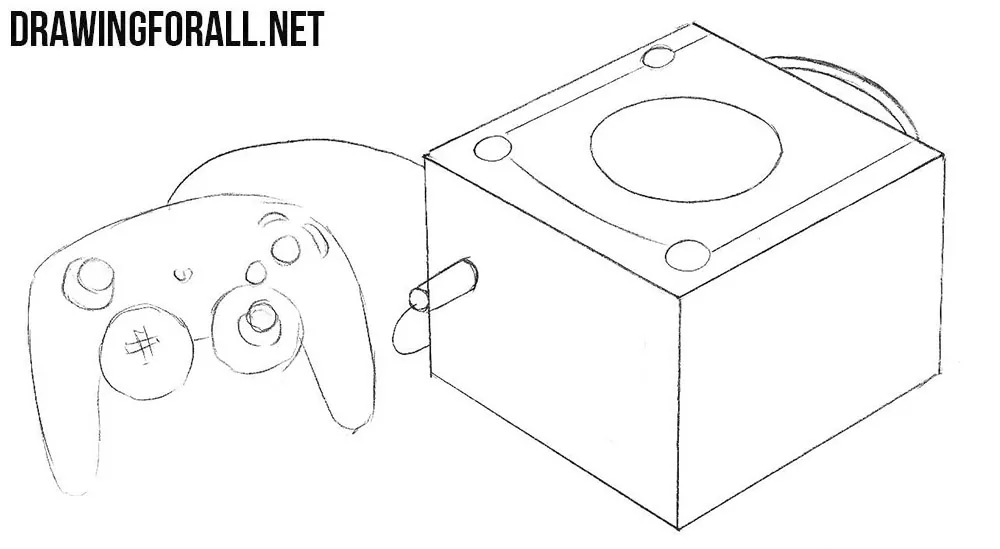
Nintendo GameCube is not in vain called that way – it’s a real cube (but to be honest, it’s a parallelepiped). So in the first step we will need to draw a normal cube.
Step 2
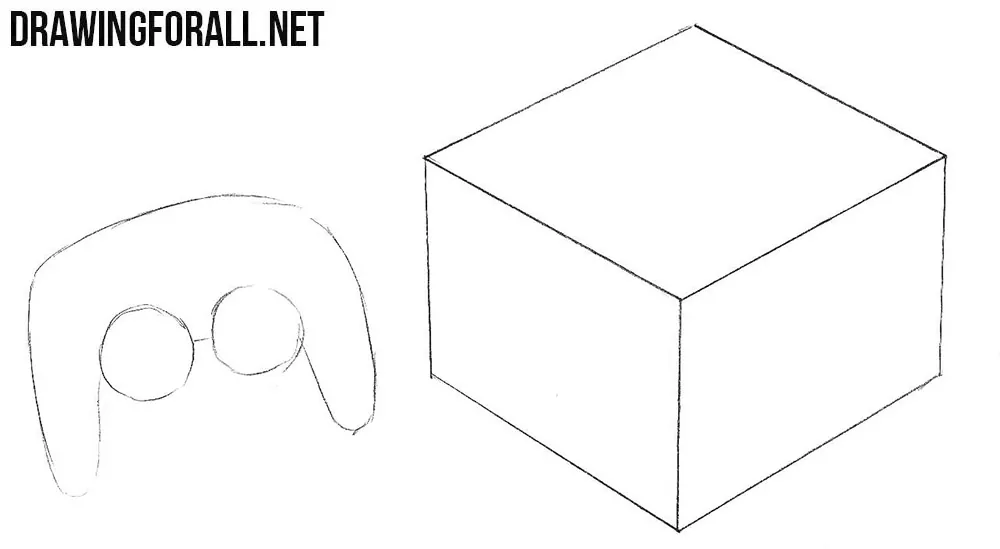
Now sketch the outline of an unusual gamepad. Note that, despite its unusual shape, the controller of the Nintendo GameCube is quite handy.
Step 3
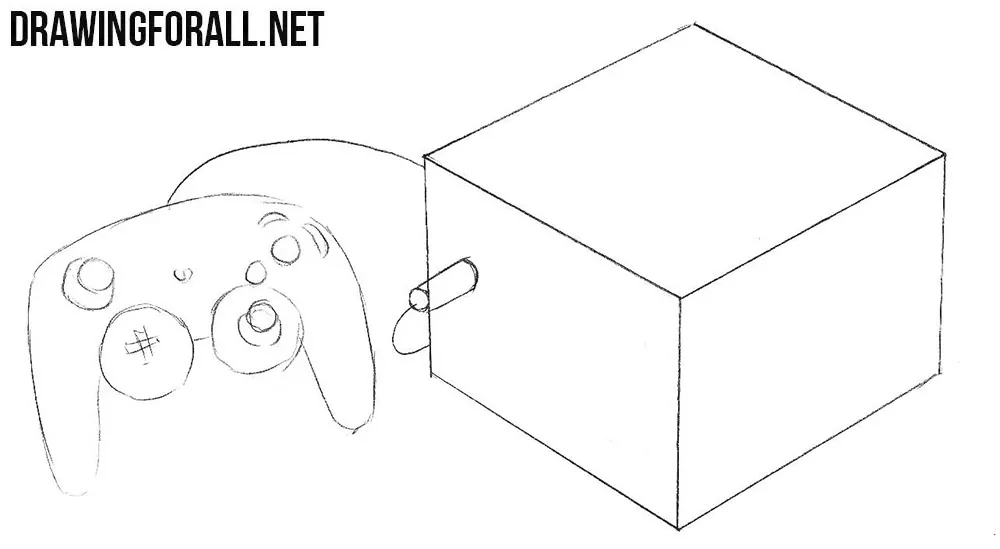
Draw the wire connecting the controller and the console itself. On the controller sketch out the sticks, d-pad and other buttons.
Step 4
Let’s move on to the details of the GameCube’s body, draw the top cover, buttons and the curved handle in the back.
Step 5
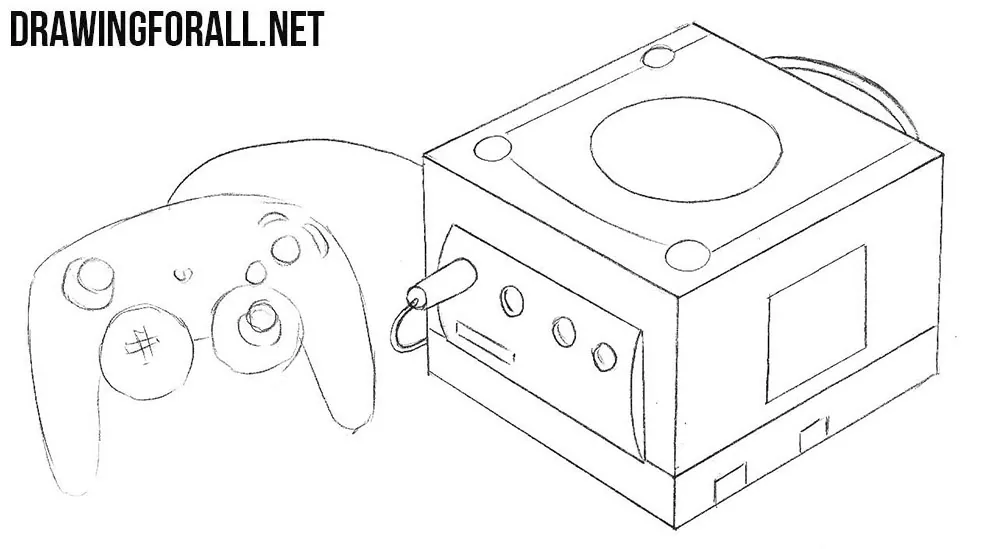
We pass to the lateral surfaces of the GameCube, drawing such details as the connectors for the controllers (there are four of them here), the memory card slots and the cooling grille.
Step 6
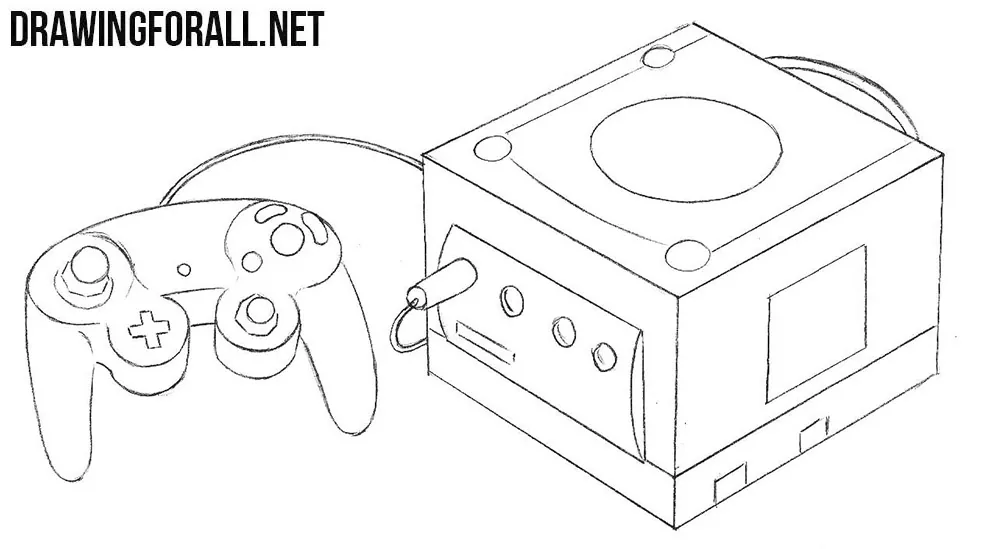
Now accurately draw out the details on the controller. First of all, draw the outline of the controller, then draw sticks, d-pad and very unusual buttons.
Step 7
So we got to the last step in the tutorial about how to draw a Nintendo GameCube. Here we need to add some glare and shadows with the help of a hatching.

Perhaps this article will not be very popular, because the console itself, unfortunately, did not have very high sales. But this is not very important, because we really like games, and if you like games too, then share this lesson and subscribe to our social networks.


pretty easy