How to Draw a Ninja
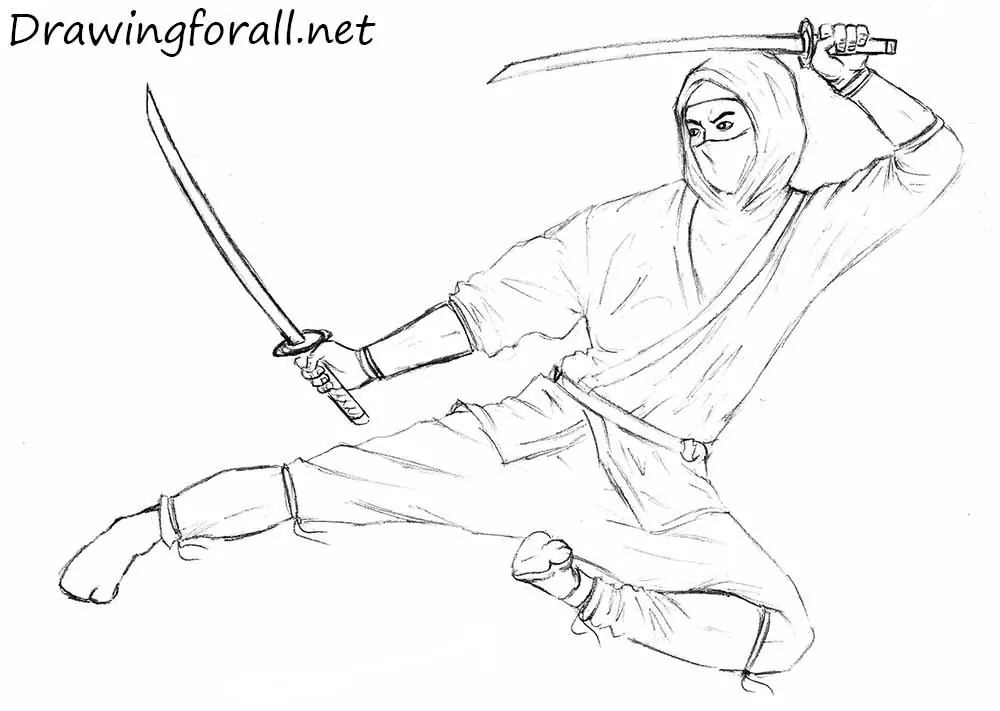
Hello! Our current drawing lesson will again be dedicated to the ninja. This warrior will be different from others – his posture more dynamic, and we need to try not to lose this dynamic in the process of drawing of the ninja. So let’s start the lesson on how to draw a ninja.
Step 1
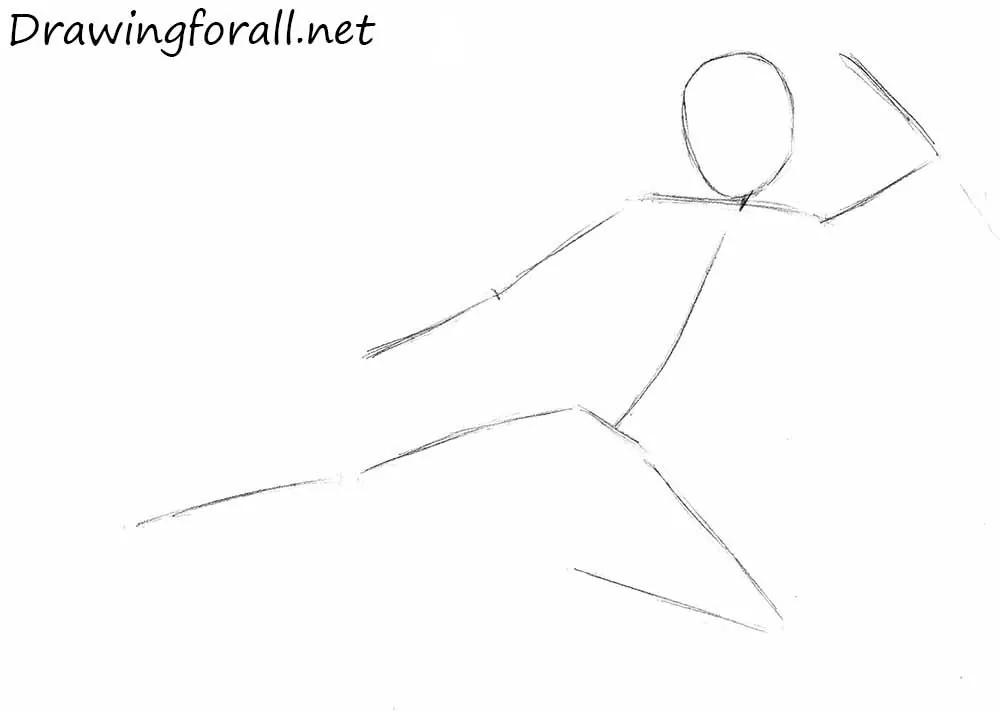
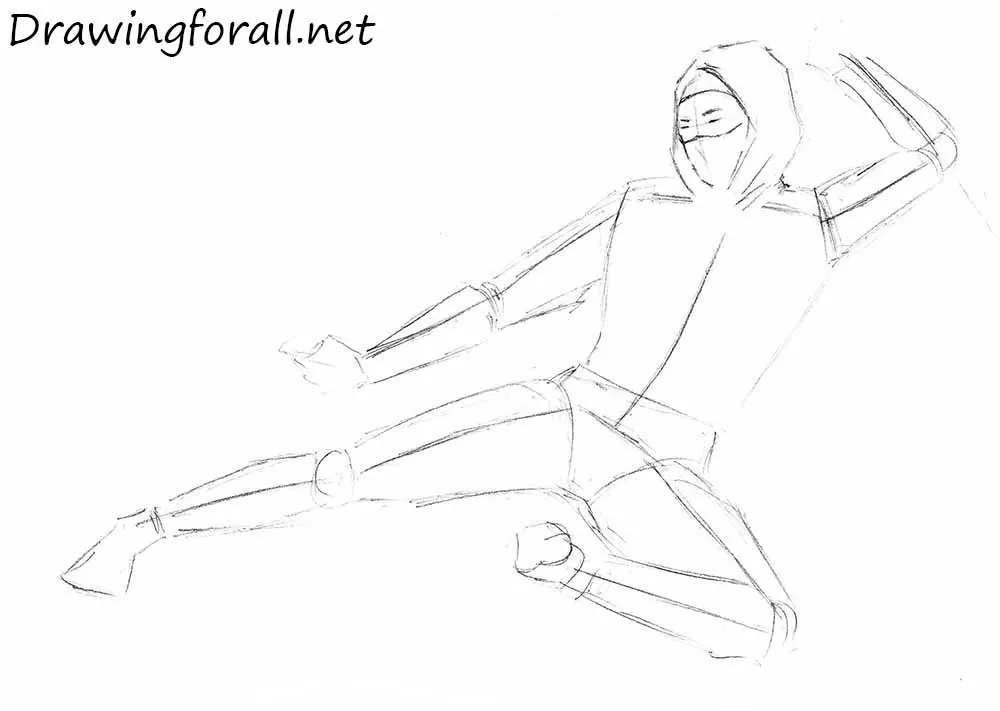
First draw stickman of our ninja. Stickman – a man made of sticks and circles, which need to outline the figure of the character, its proportions and the position on the paper. As in all other drawing lessons, we draw the oval as a guide for the head, and using simple lines sketch out the body.
Step 2
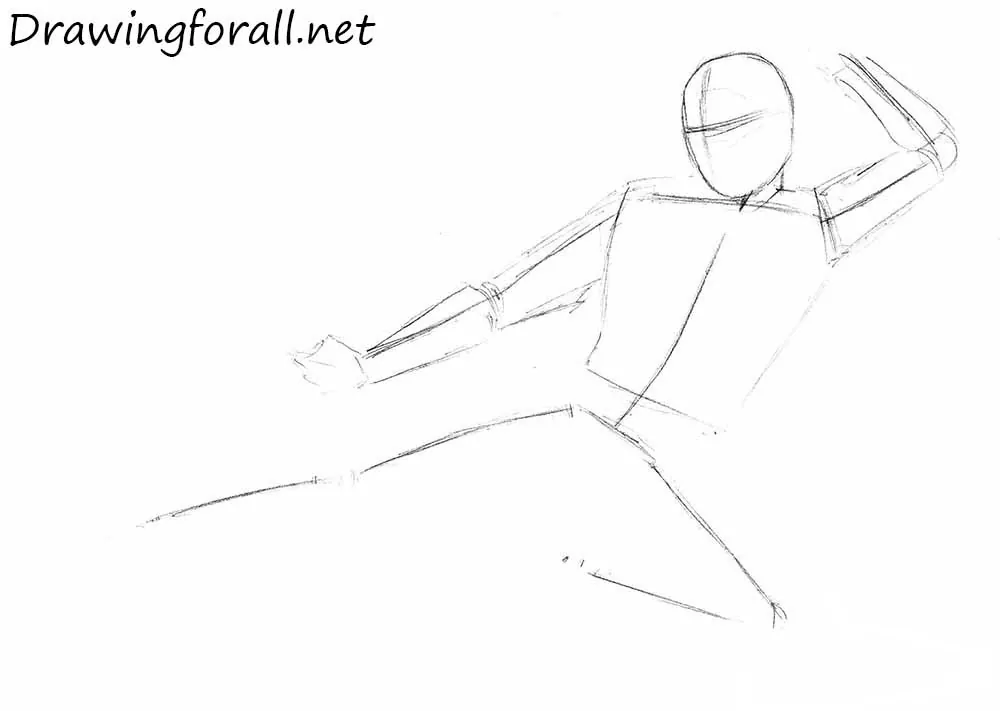
Mark up the head of our ninja, using two perpendicular lines (a right angle) – the vertical line that denote the facial symmetry, and the horizontal – line of the eyes. Then draw the arms, using long cylinders. Draw the contours of the torso, that tapers downward.
Step 3
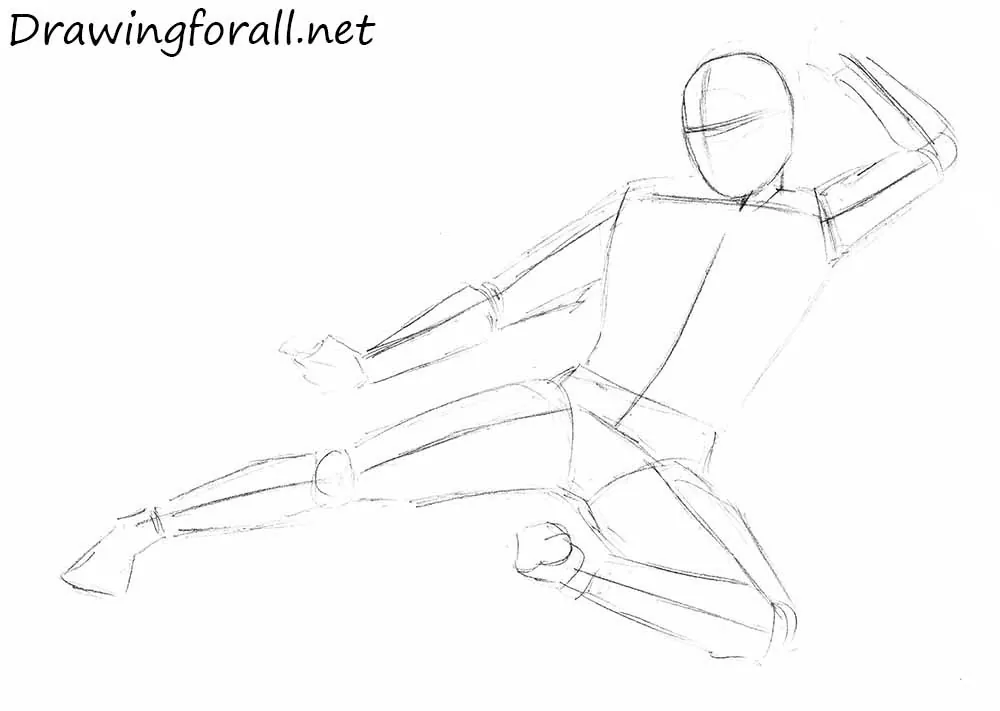
Do the same actions with the lower part of the figure of our ninja. At this stage it is better to imagine the parts of the body in shapes of simple geometric shapes. Groin area is similar to a triangle, femoral part of the legs look like a cylinder, but taper towards the knees. The shins have a characteristic bend, formed by the calf muscle. Here we outline the contours of the foot.
Step 4
Now, since the silhouette of the ninja is ready, we should begin to add details. We usually add details from the top downward, i.e. from the head to the feet and this drawing lesson will be no exception. Draw the hood and the mask covering the lower part of the face. In the same step outline the eye, focusing on facial markings from the second step. Incidentally, mask is also should be drawn using these lines.
Step 5
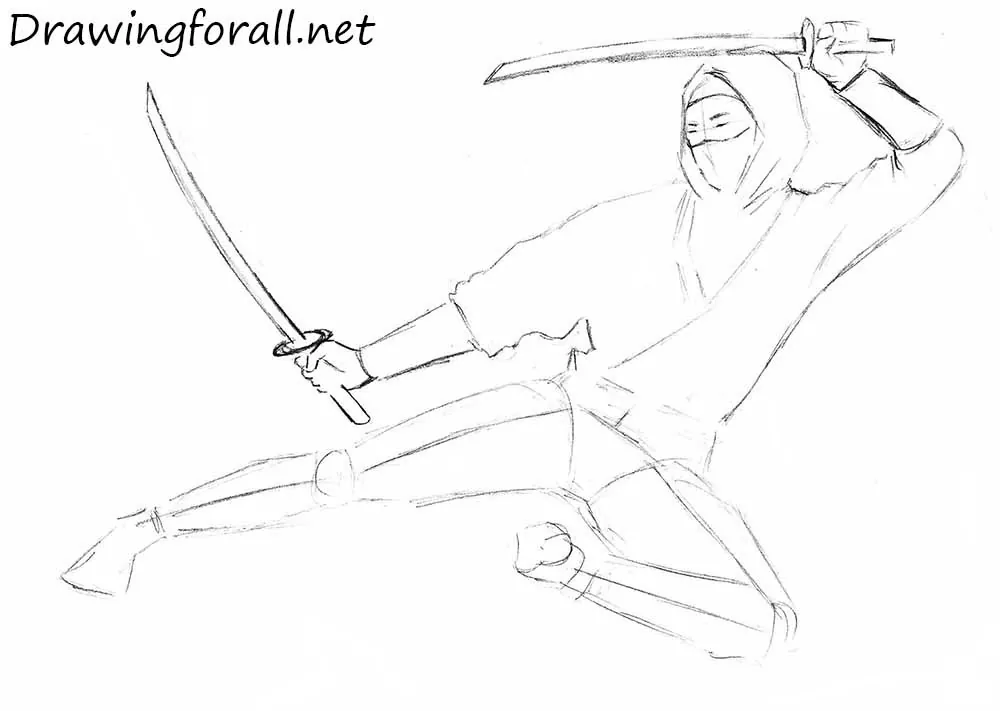
Draw the hands that hold the samurai sword. Note that here we draw samurai swords of medium length (wakizashi). Actually, it is not so difficult to draw a cold weapon, but the hands – very difficult.
Step 6
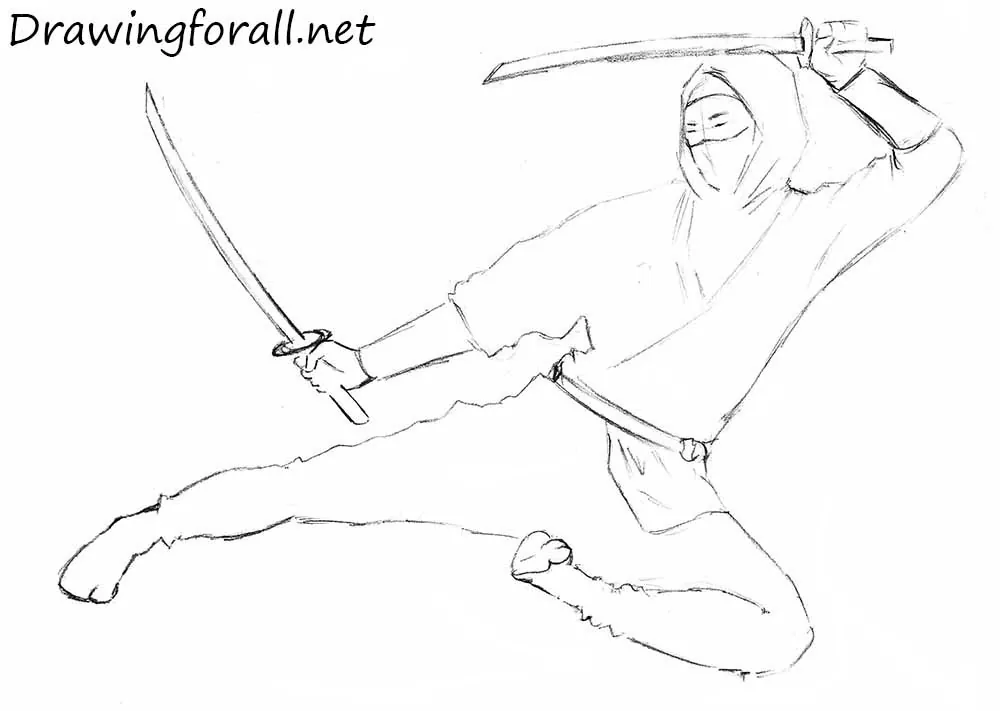
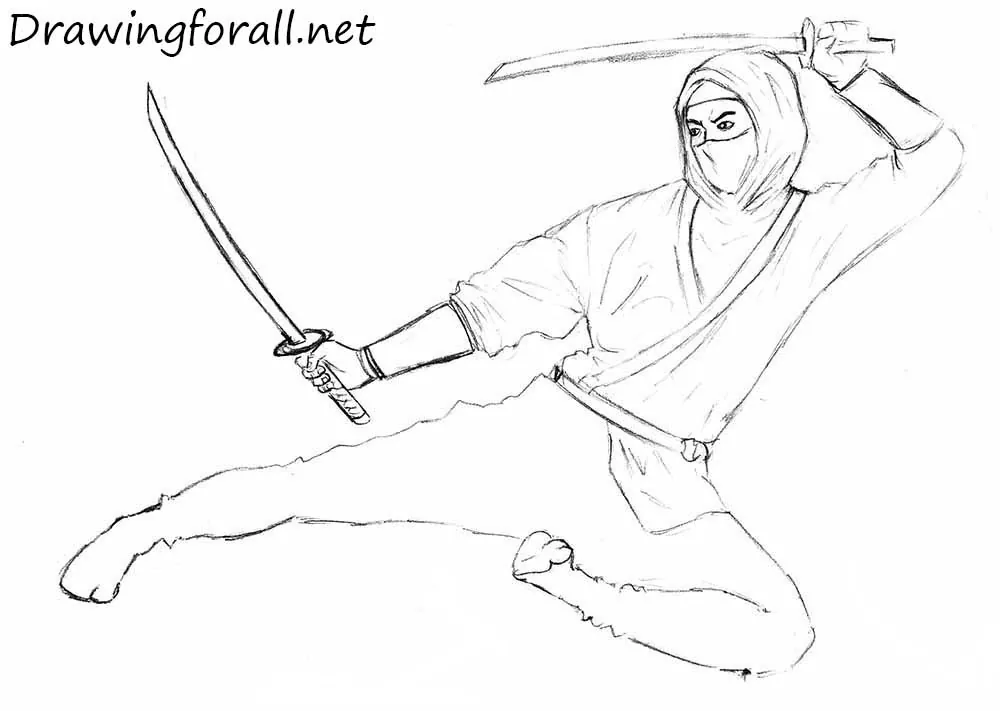
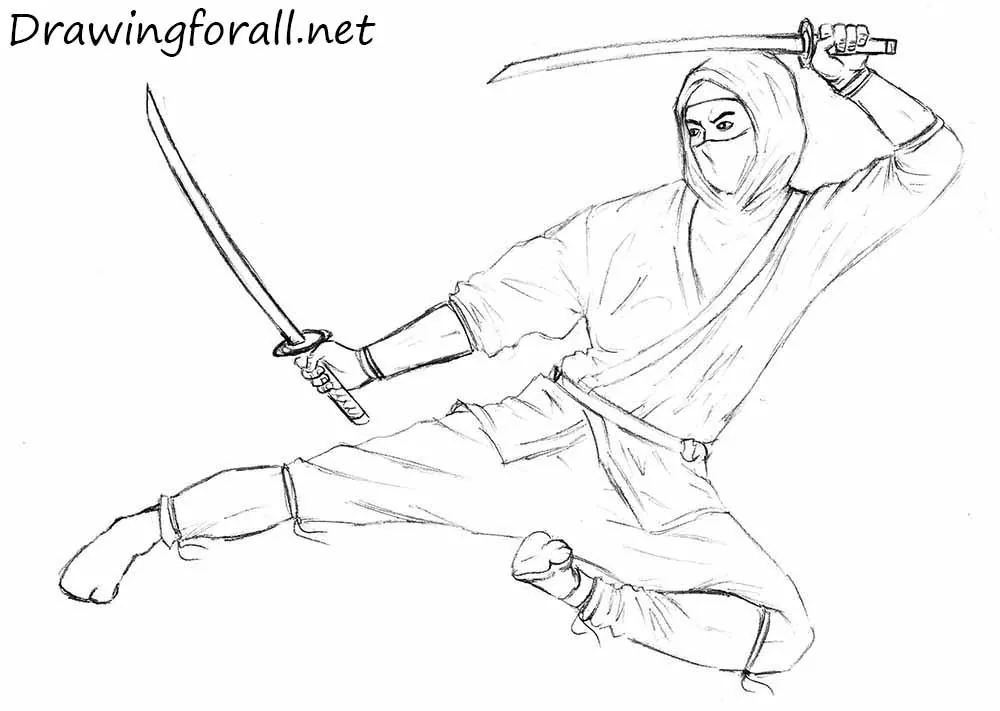
Circle the legs by wavy contours, as in our sample, which mark the fabric folds. Erase the extra guidelines from the previous steps, and draw the outer contours of the pants. Please note closer to the legs, the pants are becoming more fitting. Here we draw the belt and the lower part of the upper garment that hangs below the belt.
Step 7
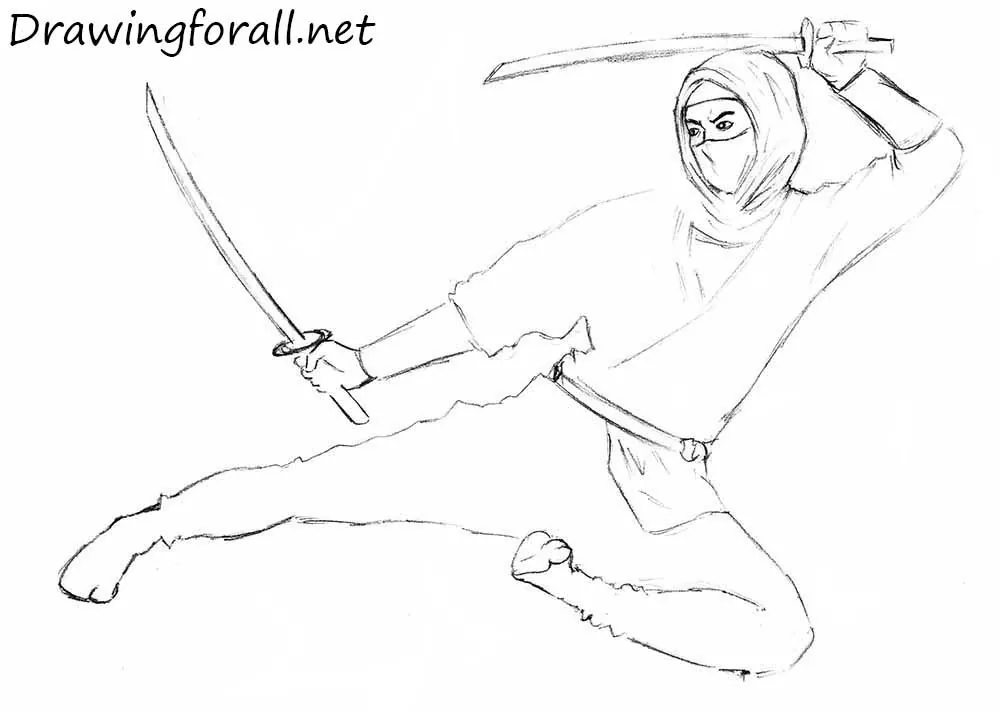
Draw the mask and facial features visible to us, and the folds of fabric on the hood. Erase the guidelines and circle the lines of the hood. Draw the contour of the nose below the mask. (Such contour you can see in the tutorial on how to draw Spider-Man’s head). Then draw the eyes (note the position of the pupils, they show the direction of gaze) and eyebrows. Now draw the folds on the hood.
Step 8
Let’s add details to the clothing of the ninja. Two flat strips that form the letter “y” denote collar. Using smooth strokes add the folds. Especially tight they are located on the right arm of the ninja, above the bracer and in the armpit area. Here draw the texture on the hilts of the swords.
Step 9
We are finalizing our drawing lesson on how to draw a ninja by adding folds to the pants and drawing the bandages in the shin areas. And don’t forget to draw remaining part of the upper clothing.
If the lesson how to draw a ninja was interesting for you, visit lessons about ninjas from Mortal Kombat, such as Scorpion, Sub-Zero, and Reptile.


cool ninja
Thanks
thanks
did you draw this your awsome
Nice!!😳😳
Cool ninja
Cool ninja