

How to Draw a Cezve
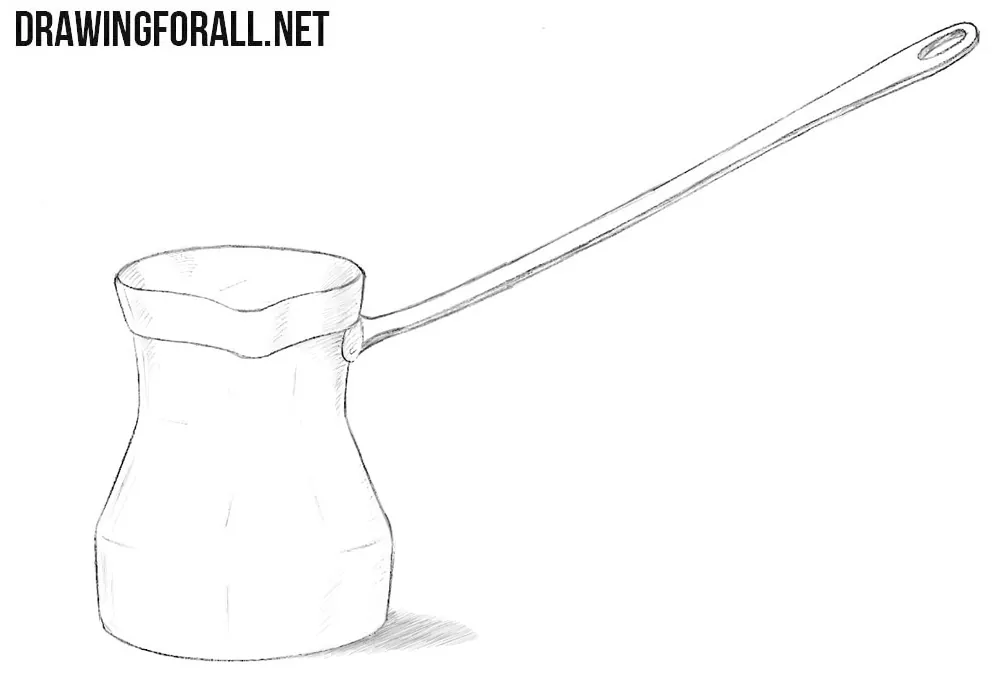
A cezve is not a complicated object to draw, but there are a few things worth paying attention to. Before drawing the details of a cezve, try to see its main form. The body is symmetrical, but it is not a simple cylinder: it gradually widens toward the bottom. With these points in mind, let’s see how to draw a cezve.
How to draw a cezve step by step
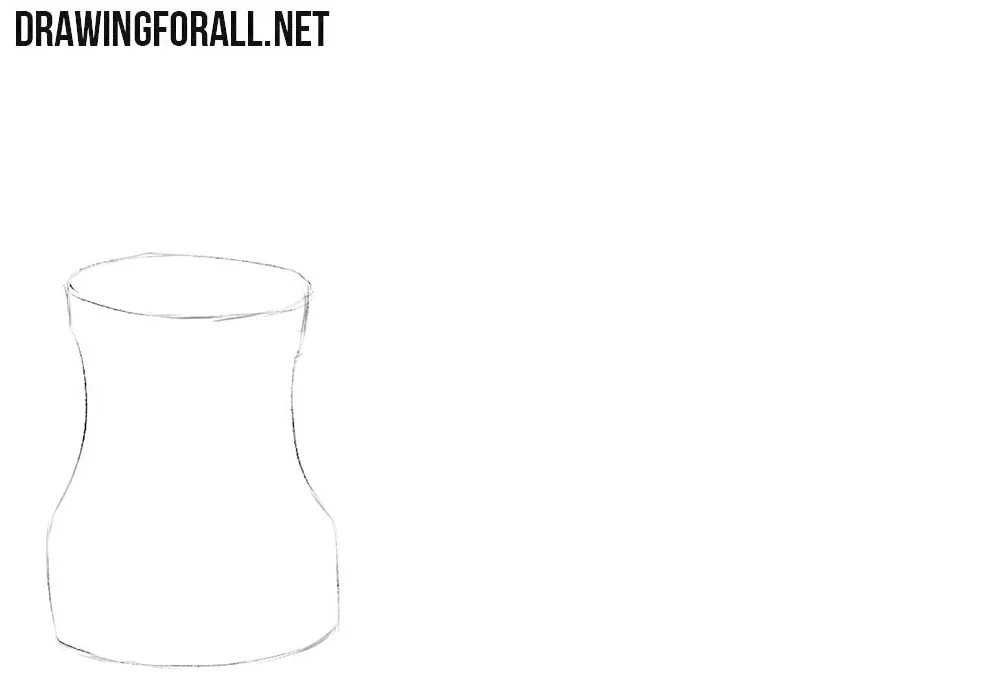
Step 1: Sketch the cezve body
You can choose its shape according to your preference. We decided to draw a body that gradually widens toward the bottom. Remember the principles of drawing a cylinder. Keep the left and right sides of the cezve symmetrical in relation to the central axis.
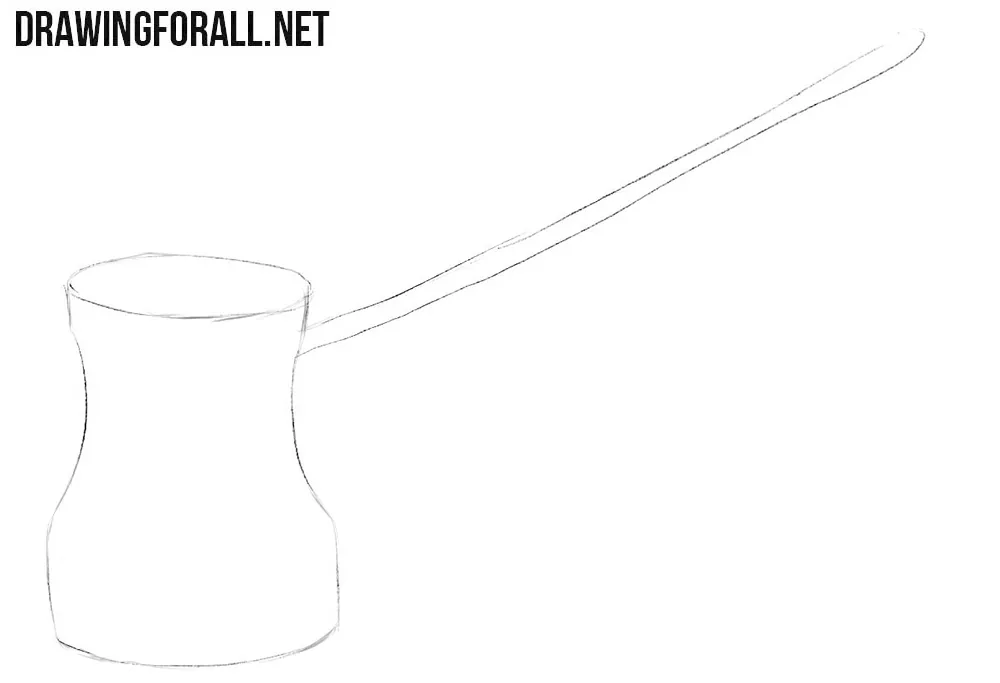
Step 2: Sketch the long handle
It is very important to make its contours even and symmetrical. Keep approximately the same distance between the upper and lower contours along the entire length of the handle. Try to draw it without a ruler.
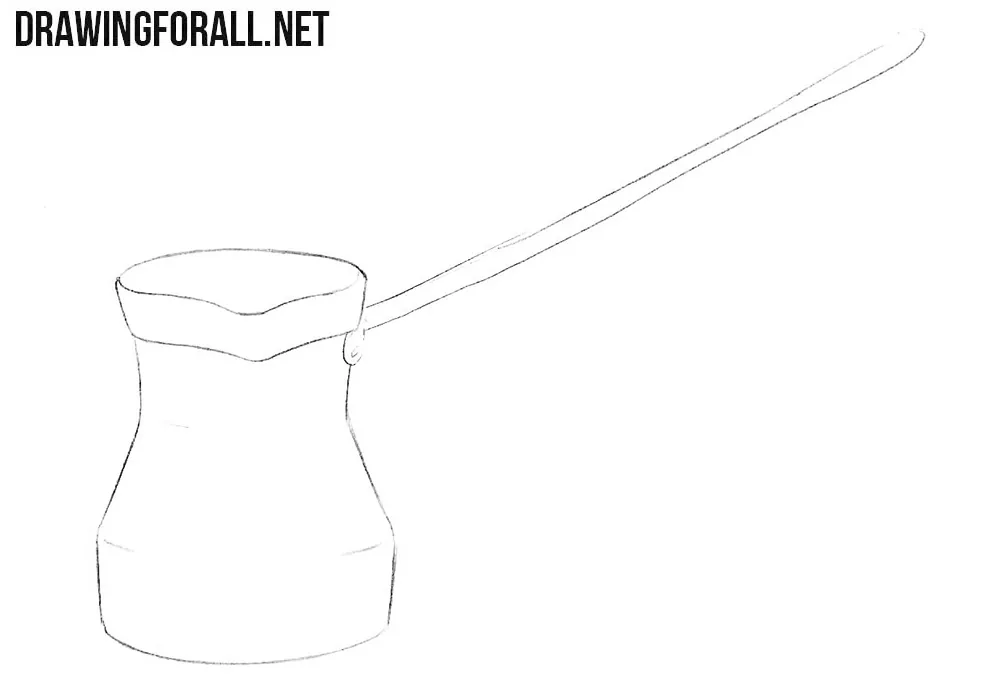
Step 3: Draw the cezve rim
It’s interesting, but when drawing various objects, we follow the same drawing process as when constructing people. That is, first we draw the general outline and then add details from top to bottom. Now follow the same approach with the cezve. Start adding details from the top and draw the rim of the cezve. Draw the opening as an ellipse to show its circular form in perspective, and use a second line to indicate the thickness of the rim.
Step 4: Add details to the handle
Using the construction lines from the previous steps, carefully draw the handle of the cezve, giving it clearer contours. With another long line, separate the side surface from the top. Draw a small hole at the end.
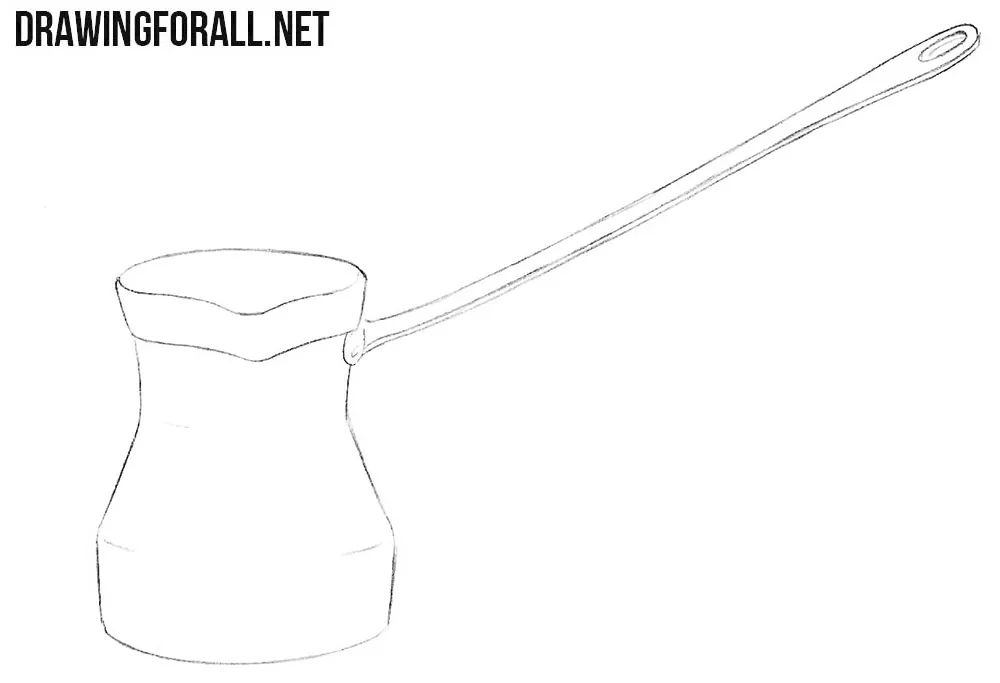
Step 5: Add shadows to the cezve
Draw simple shadows along the edges of the cezve body and on the long handle. Let the hatching follow the form of the body. Leave the central illuminated area lighter. After that, add darker and denser hatching to the cast shadow beneath the cezve.
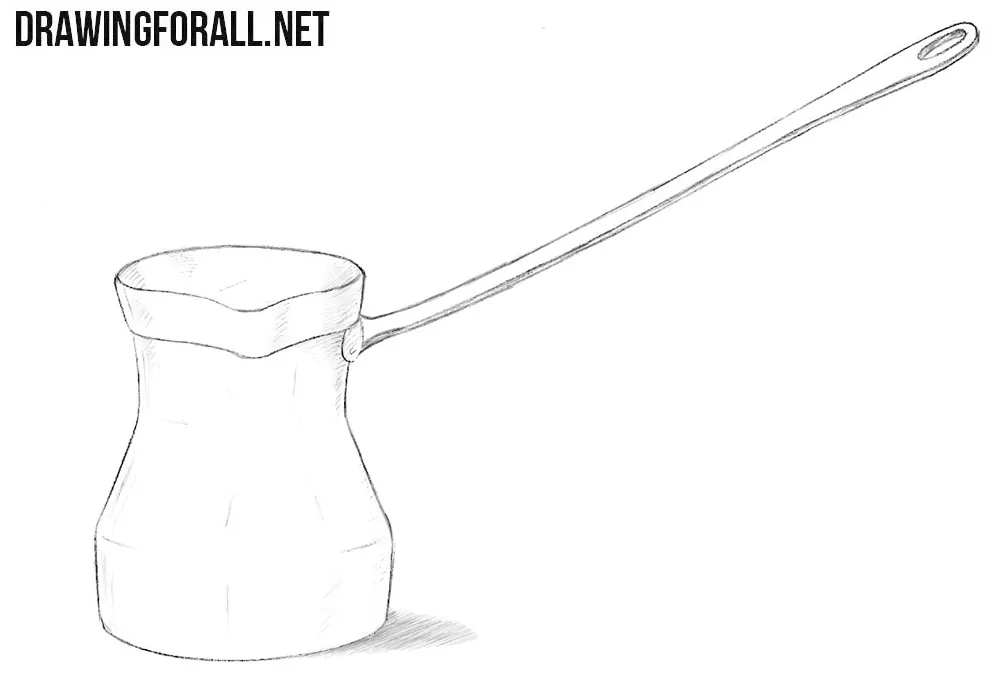
Drawing cezves of different shapes
We should probably take a break from drawing and have a cup of coffee, right? One of our next tutorials can be quite difficult, so a little extra energy from a cup of strong, bitter coffee certainly won’t hurt.
Cezves can look quite different from one another. Some have tall, narrow bodies, others are wider and have different details.
The handles also differ in length, shape, and material. Try drawing a few of these variations using the same basic technique.
Pay particular attention to the upper opening: as the position of the cezve changes, the shape of the ellipse changes as well.
And if one cup is not enough, you can continue the coffee theme and draw a coffee maker with a completely different shape and construction.




A Geshve Time for a coffee Thank you
Hope you enjoy your coffee and our drawing tutorial!