

How to Draw a Magic Mouse
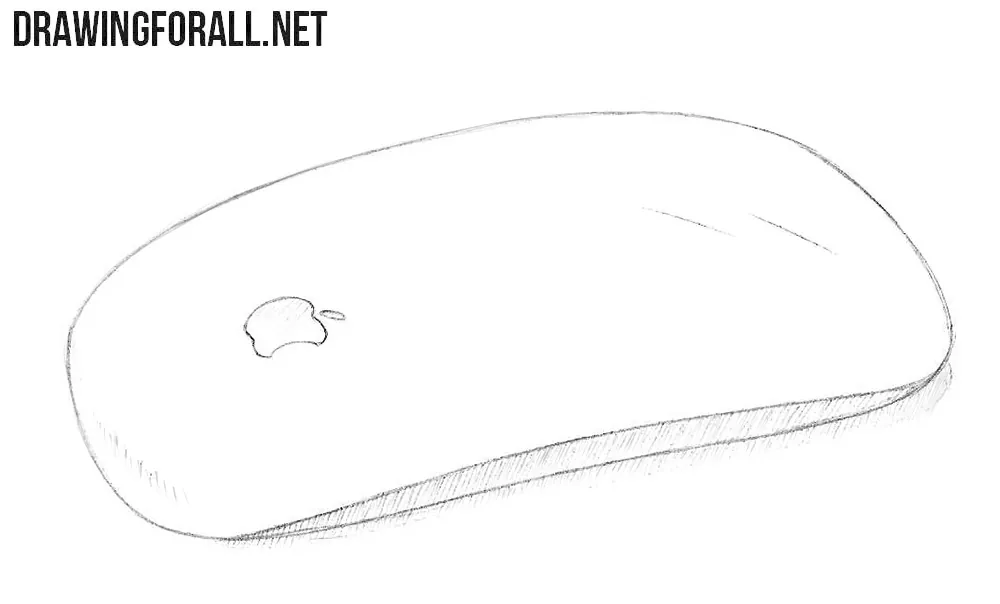
You can love Apple or you can hate it. However, you cannot deny that its electronics are very well designed. Here we will show you how to draw an Apple Magic Mouse, one of these well designed Apple products.
How to draw an Apple Magic Mouse step by step
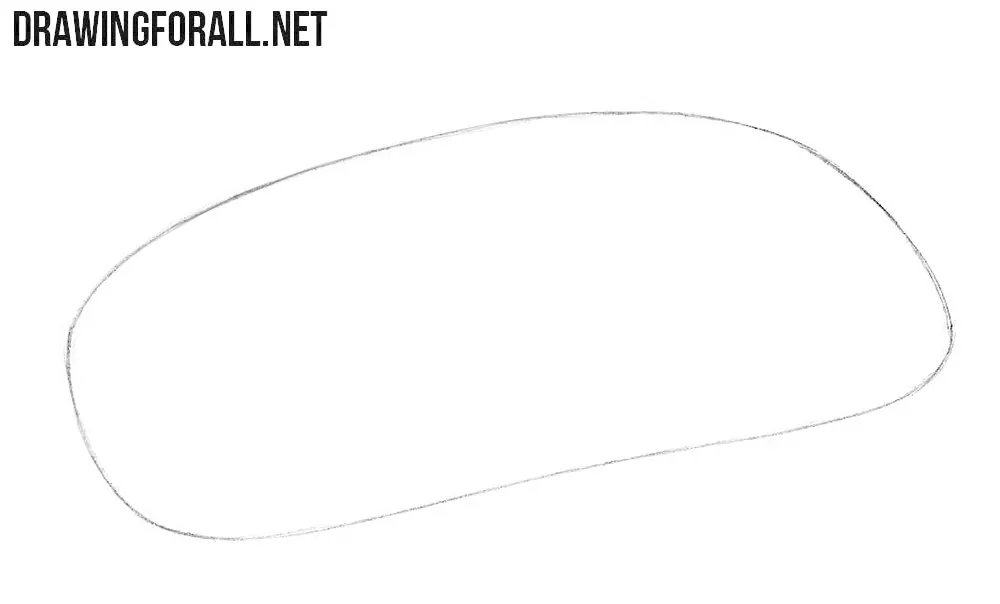
Step 1: Sketch the Magic Mouse body
You may notice a very clear distinctive feature of Apple design. We are talking about the almost complete absence of sharp angles. Note that the contour of the Apple mouse looks asymmetrical from this angle. The near edge appears wider, while the far edge is compressed by perspective.
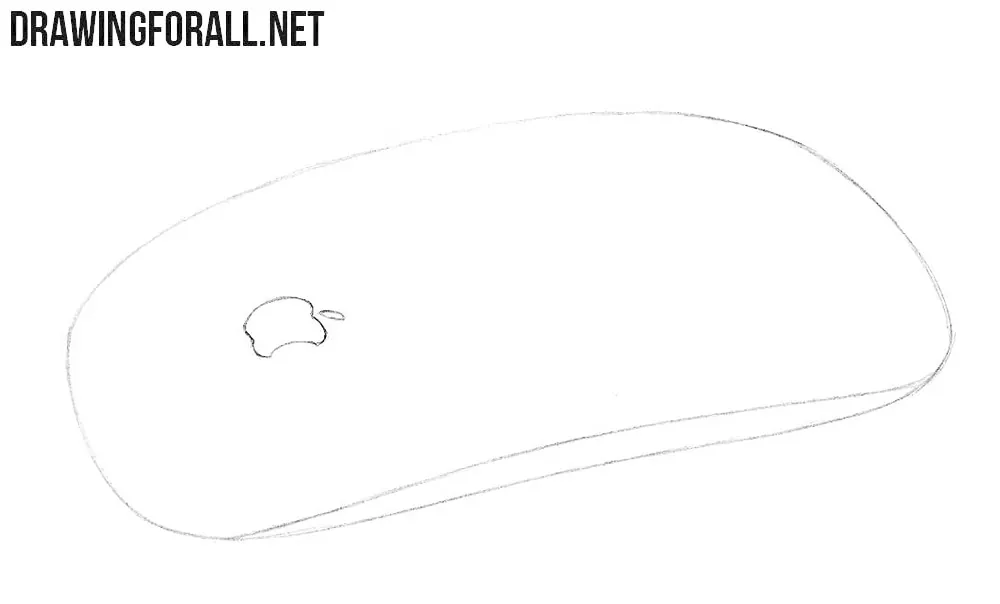
Step 2: Add the Apple logo and side
Draw a small but noticeable Apple logo on the left side of the Magic Mouse. In the same step, draw the side of the computer mouse. This lower contour shows the thickness of the body and separates the upper surface from the side plane. Again, you can see the smooth contours typical of the Magic Mouse.
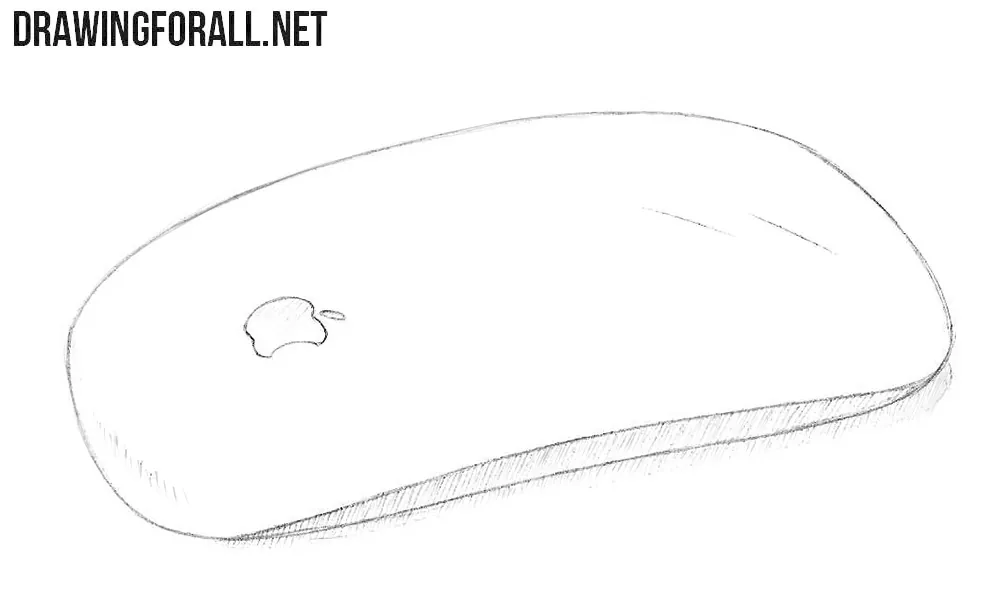
Step 3: Shade the Magic Mouse
As you can see, the shadows are located on the side drawn in the previous step, as well as on the surface of the table. The side plane of the mouse is turned away from the light. The cast shadow follows the lower edge of the Magic Mouse and becomes lighter as it moves away from the body. Apply light hatching in one direction and do not press the pencil too hard. To make the Apple mouse look more realistic, add some highlights using a few long strokes.
We love drawing Apple gadgets, and the Magic Mouse is one of them. One interesting feature of this mouse is how few details Apple needed to make its design recognizable.
This becomes especially noticeable when you compare it with a more traditional model, so try to draw a computer mouse and look at the differences in their shapes and details.
If you want to draw another Apple device, you can also visit our tutorial on how to draw an iPhone.





Easy to draw, thx 4 the tutorial.