

How to Draw a Corn Cob
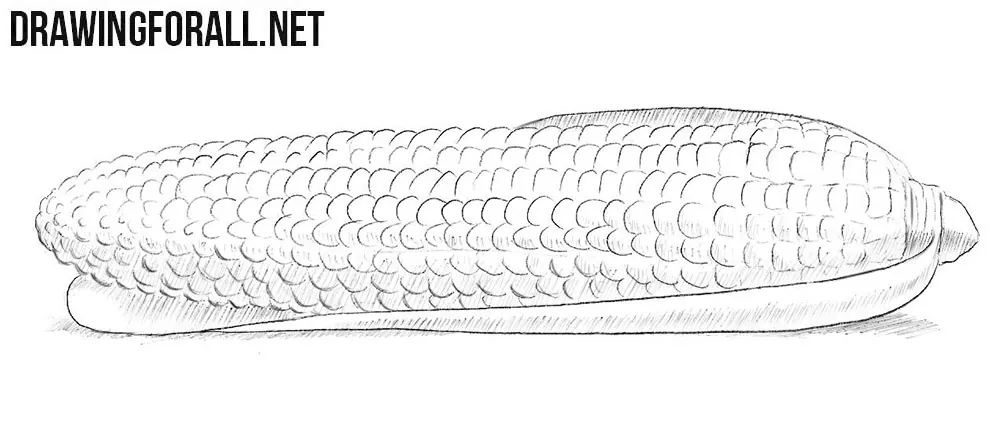
In this tutorial, we will show you how to draw a corn cob step by step. We chose to depict it in a horizontal position.
In fact, drawing corn is quite simple, and the main difficulty is depicting a large number of kernels. To make this process easier, we will first create a guiding grid and then use it to draw each kernel separately.
How to draw a corn cob step by step
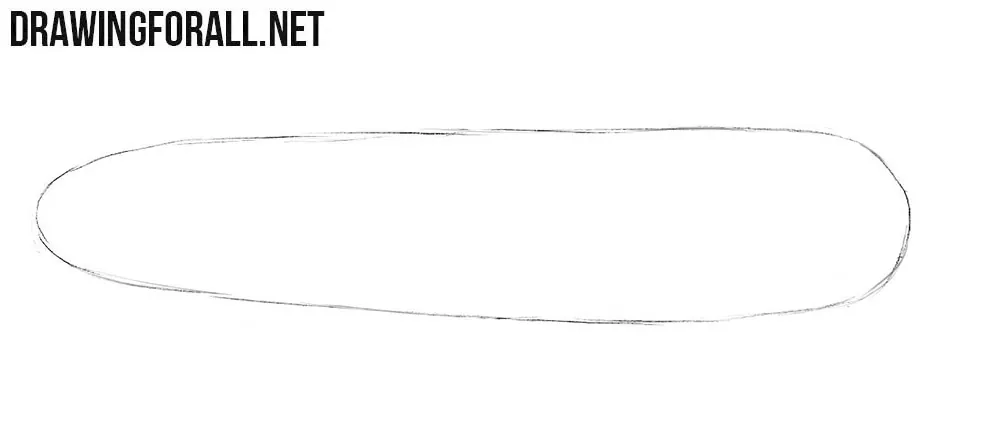
Step 1: Sketch the corn cob shape
Sketch a long, elongated oval shape. One end of this shape should be noticeably sharper than the other. Do not try to make the contours perfectly smooth at this stage. Draw them with very light lines so that you can easily correct the corn sketch later.
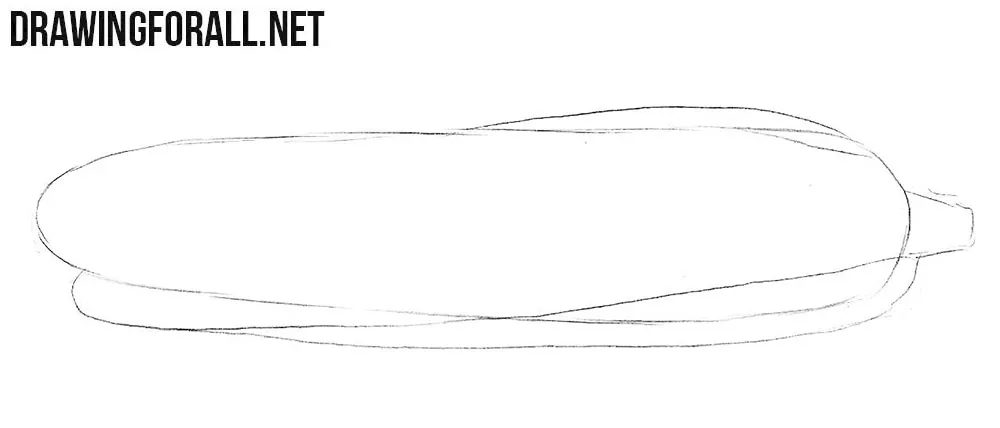
Step 2: Add the corn husk
Now make the sketch more similar to a corn cob. Draw the husk around its lower part using long and slightly curved lines. Then add the small cut stalk at the end of the corn.
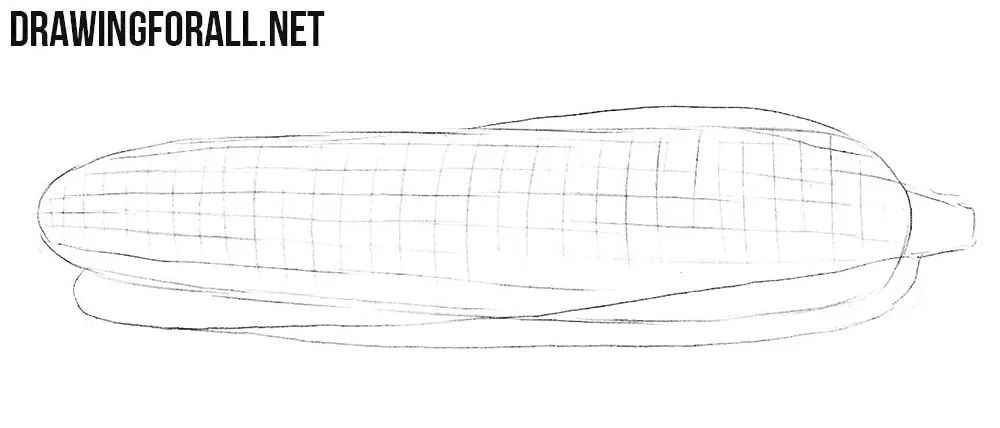
Step 3: Mark the kernel grid
To correctly draw the corn kernels, create a guiding grid over the surface of the cob. Draw a series of intersecting curved lines that follow its overall form. Notice that the sections of this grid gradually become smaller as they approach the pointed end of the corn.
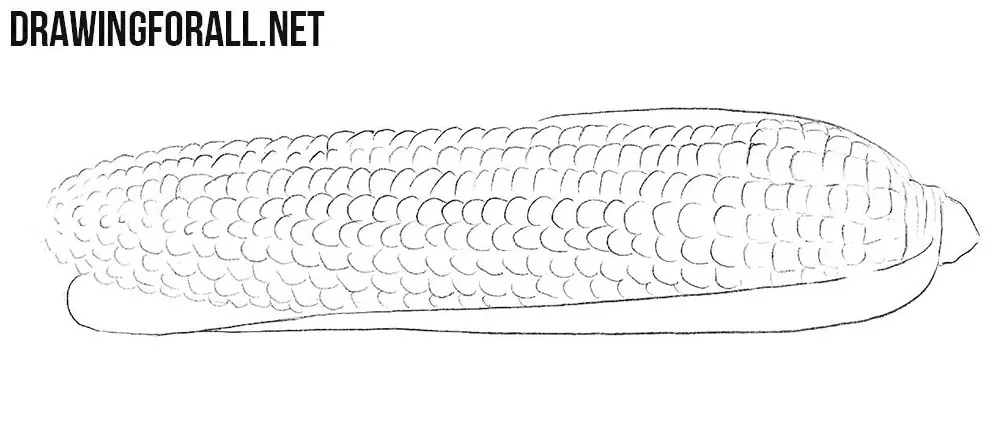
Step 4: Draw the corn kernels
This stage may take a little more time because you need to draw a large number of similar details. Using the grid from the previous step, round the corners of each section to form the individual corn kernels. Their size should gradually decrease toward the pointed end of the cob.
Step 5: Add shadows to the corn
Using hatching, add shadows to the lower part of the corn and the inner surfaces of the husk. Then draw a cast shadow beneath the cob so that it does not appear to be floating in the air. You can also slightly darken the areas between some of the kernels to make their shapes more noticeable.
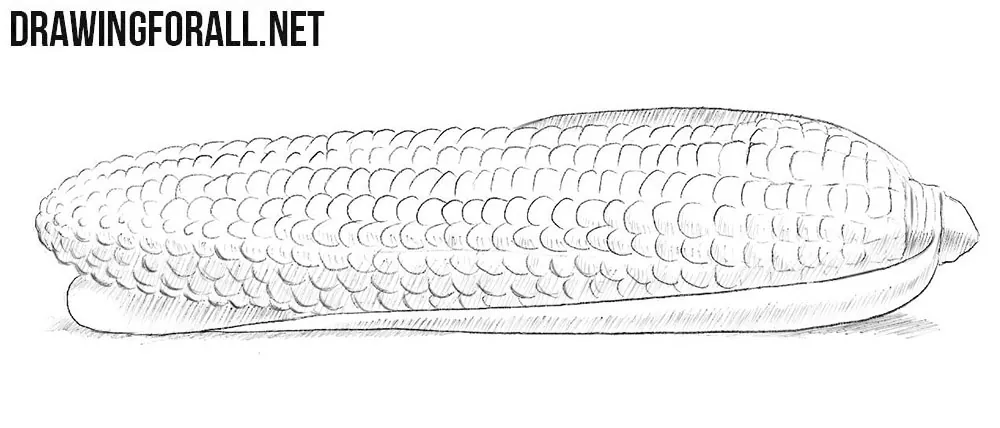
The most time-consuming part of this corn drawing is the large number of kernels. The guiding grid makes this task much easier and helps arrange them across the curved surface of the cob.
Try drawing another corn cob in a different position or with the husk covering a larger part of the kernels. You can also use our tutorial on drawing a vegetable to practice another subject of this type.



Nice