

How to Draw a Cookie
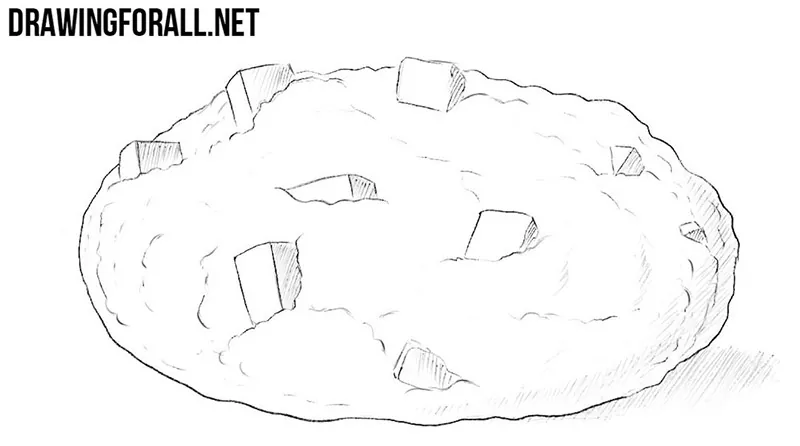
A cookie is one of those objects that can be drawn using a very simple basic shape. In this tutorial, we will show you how to draw a cookie step by step and explain a few important details along the way.
For example, to make the drawing look more realistic, we will add pieces of chocolate, small cracks, and slight irregularities to the surface. Then we will use simple hatching and shadows to show the thickness and volume of the cookie.
We’ll explain all of this in more detail as we move through the steps, so let’s get started.
How to draw a cookie step by step
Step 1: Sketch the cookie form
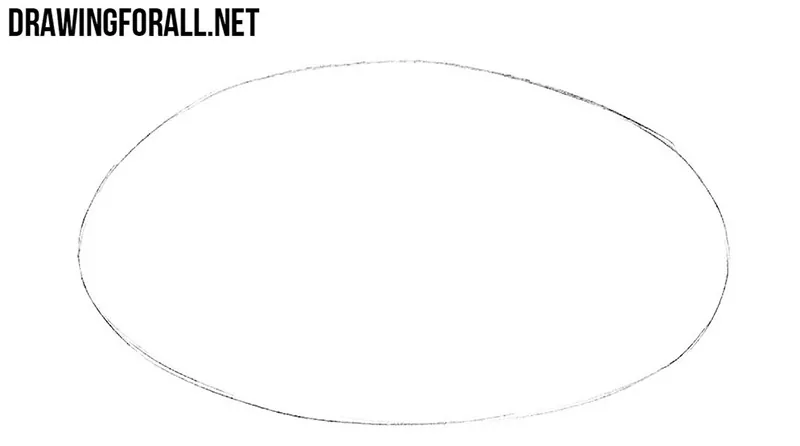
First, sketch the general form of the cookie as a simple flat oval. Use very light pencil lines at this stage. The outer contour does not need to be perfectly smooth, since a slight irregularity will make the cookie look more natural later.
Step 2: Add the chocolate pieces
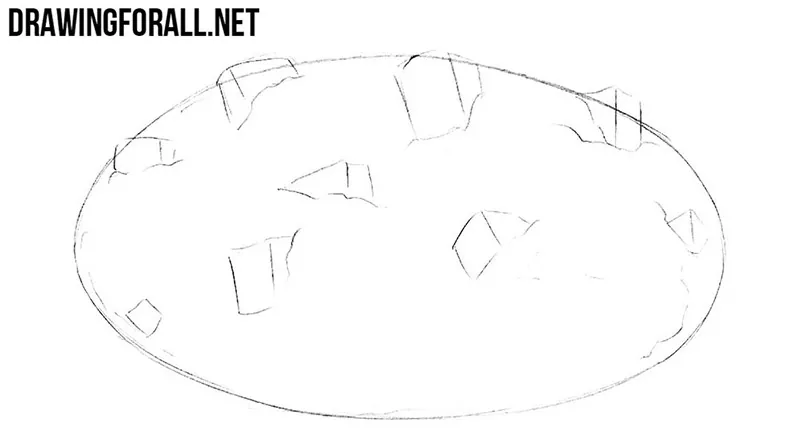
Now add the chocolate pieces across the upper plane of the cookie. Mark them with short, light lines and vary their size, angle, and shape. Don’t arrange them evenly.
Step 3: Refine the cookie texture
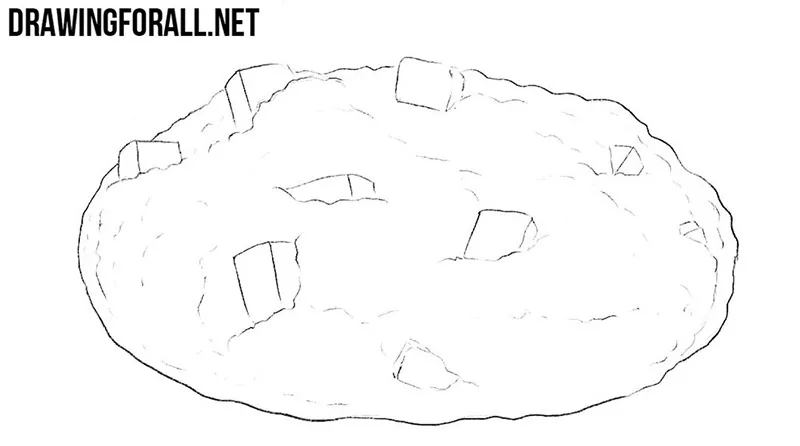
Trace the outer contour of the cookie with clear and uneven lines. Refine the chocolate pieces and add several short winding cracks across the surface. These breaks in the contour help move the drawing away from a perfectly geometric oval and give the cookie a more natural appearance. Then erase the construction lines.
Step 4: Add shadows with hatching
Now add shadows to create volume on the cookie drawing. Apply hatching along the lower side plane and darken the lower and side edges of some chocolate pieces. Add a cast shadow beneath the cookie. You can make the area closest to the lower edge slightly darker as a contact shadow.
This was a fairly simple cookie drawing tutorial, but the same basic form can produce many different results.
Try drawing another cookie and change the outer contour, the size and placement of the chocolate pieces, and the pattern of the cracks.
You can also change the light source and see how the cast shadow and shaded side plane change with it. We explain how light falls on convex objects in more detail in our tutorial on drawing a sphere.
If you want to continue practicing with similar subjects, try to draw a chocolate bar or draw a donut.


Thanks! really helped!
CUTIE
wow, do you still use this? (2026 btw !!)
Thank you so mujch
I am taking a 1000 level art class and having to draw a “surreal” picture. I drew this cookie and added a Salvador Dali type mustache to make a sun. I also used your forks as trees and your muffin and doughnut for shrubs. I like (and appreciate) your step by step tutorials…I like to doodle, but I am not an artist. These are easy to follow and understand. Thanks!