

How to Draw a Chainsaw
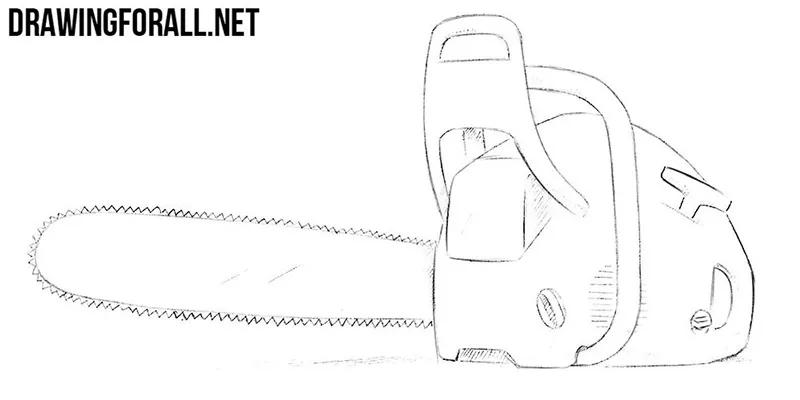
Here we will show how to draw a chain saw, a tool that has become not only a familiar companion of woodcutters but also a common object in horror movies.
A chain saw has many small parts that can be quite difficult to draw. We have tried to present the process in a simple way so that you can work through these details gradually.
How to draw a chain saw step by step
Step 1: Sketch the chainsaw body
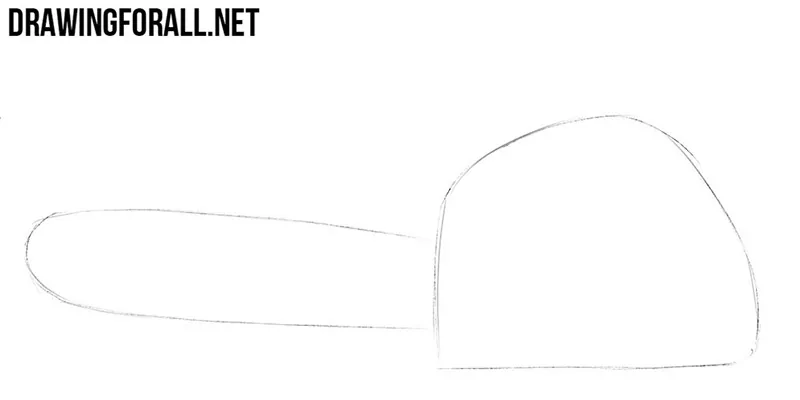
Start by outlining the housing of the chain saw and the guide bar. At this stage, these parts resemble an irregular semicircular shape and a long rounded form. Use very light lines so that you can easily erase these guidelines later.
Step 2: Add handles and housing details
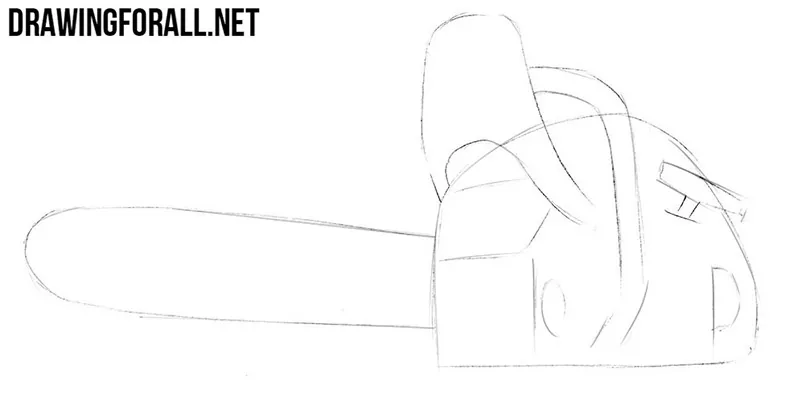
Now add some details to the housing of the chain saw. First, draw a few lines across the front surface to give the body more volume. Next, outline the front handle, hand guard, and starter handle. Finish by sketching the oil cap and rear handle.
Step 3: Refine the chainsaw contours
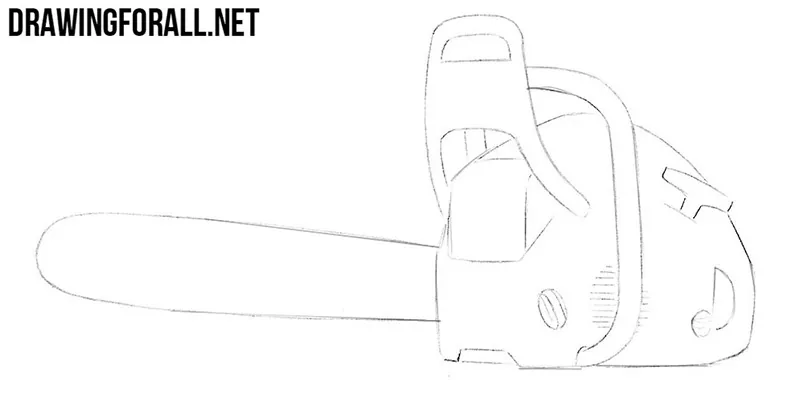
Now use darker, cleaner lines to refine the main parts of the chain saw. Erase all unnecessary guidelines and add smaller details such as the fuel cap and air intake.
Step 4: Draw the chain and shadows
To give the chain saw drawing a more complete look, first draw the teeth of the cutting chain along the guide bar. Next, use hatching to add shadows to the housing and a couple of long strokes to indicate highlights on the guide bar.
As we mentioned above, a chain saw is a fairly common tool, so you can draw it separately or in the hands of a woodcutter or while drawing chibi Jason Voorhees.
We hope this tutorial was useful to you. If you had any difficulties while drawing the chain saw, let us know in the comments.



Great website
pls dis website is GREAT!!!