How to Draw a Wrench
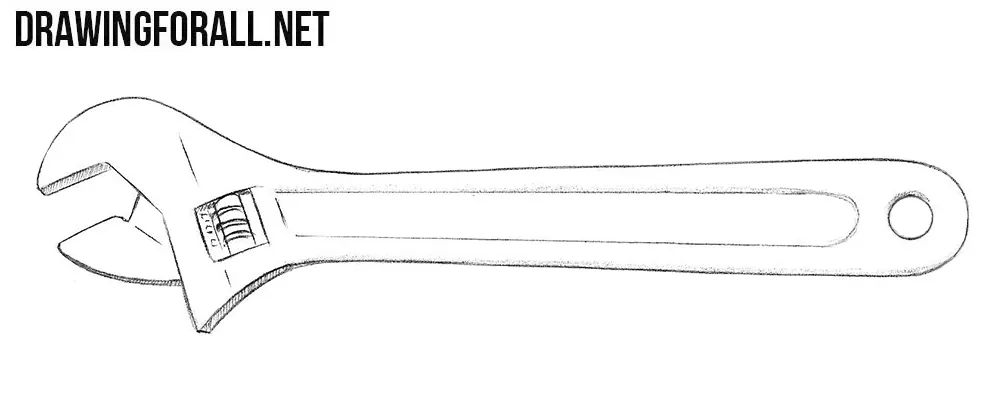
Working tools are great subjects for practicing your drawing skills, so now we will show you how to draw a wrench in a few simple steps.
Despite the simplicity of these steps, in the end you will get a three-dimensional and fairly realistic drawing with shadows.
How to draw a wrench step by step
Step 1: Lay out the wrench outline
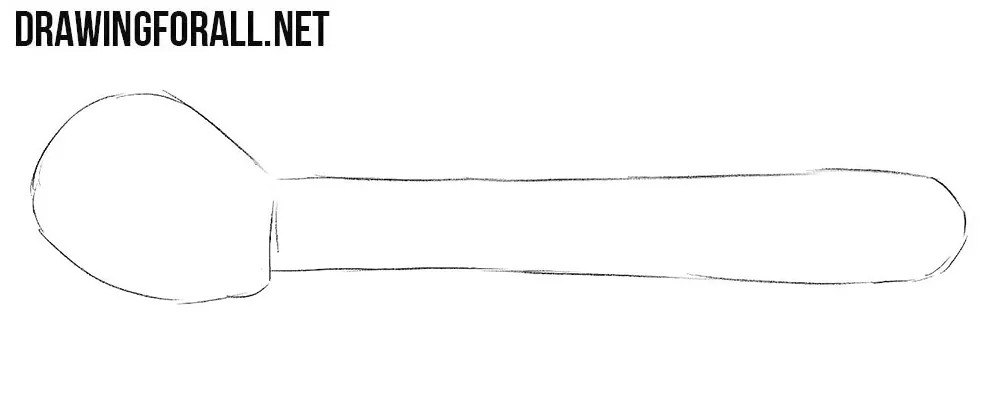
Sketch the head and long handle of the wrench using very light lines. Keep the main parts aligned and pay attention to the overall length of the tool. At this stage, use only very large shapes and do not add small details yet.
Step 2: Mark the adjustable mechanism
Continue using light lines and add the fixed and movable jaws at the head of the wrench. Between them, sketch the worm screw that controls the opening. At the opposite end, draw the small hole in the handle. Keep these details simple because we will refine them in the next steps.
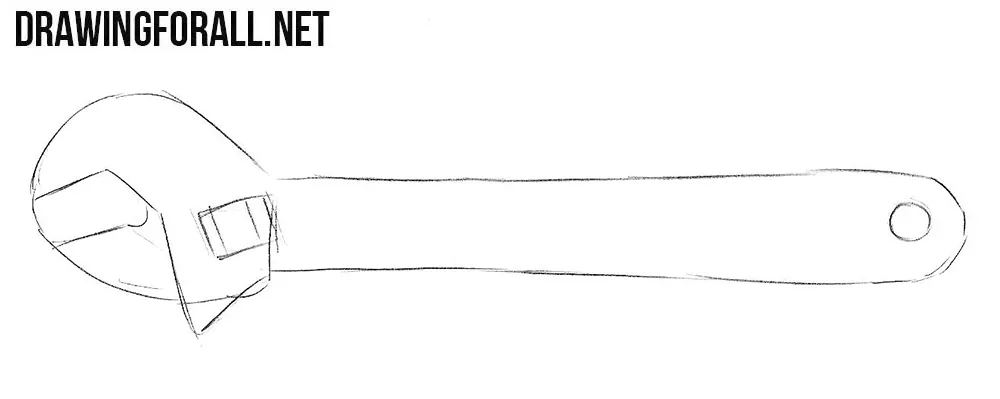
Step 3: Define the wrench head
Now refine the head of the wrench with clear, dark lines. Carefully draw the contours of both jaws and the adjustable mechanism between them. Clarify the shape of the worm screw and erase any construction lines that are no longer needed in this area.
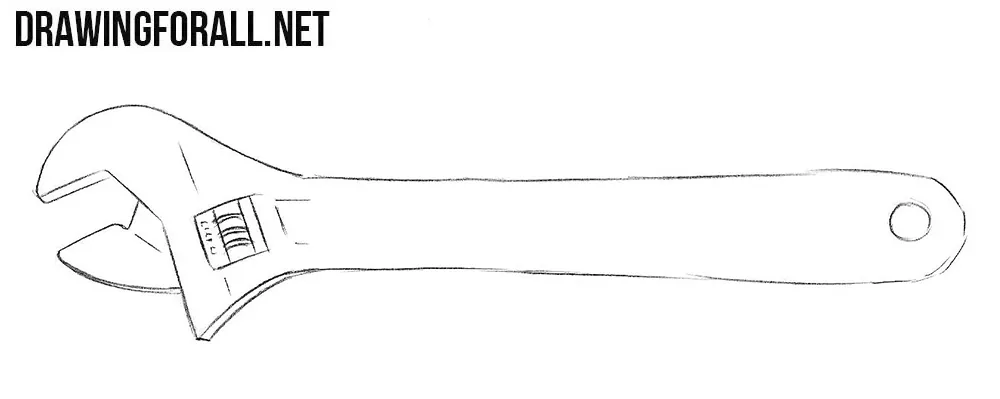
Step 4: Clean up the handle
Move to the handle and refine its outer contours with the same clean, dark lines. Make the sides smooth and keep the handle wider toward the end. Carefully draw the opening of the wrench at the tip and erase the remaining unnecessary guidelines.
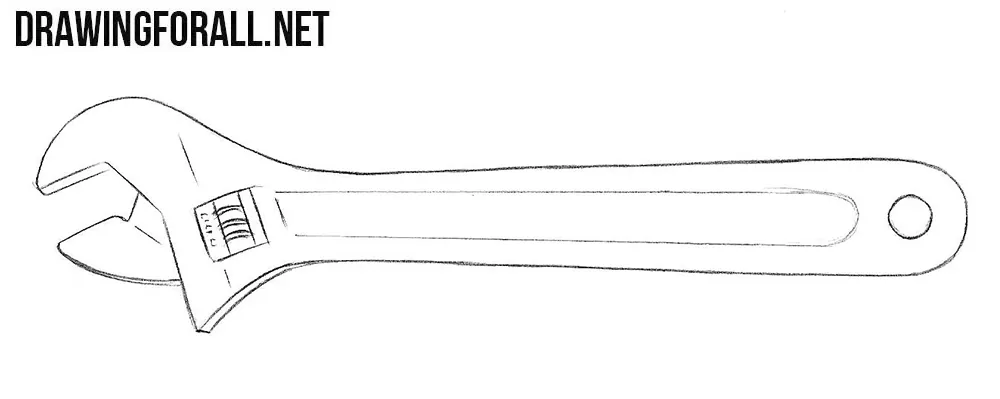
Step 5: Shade the metal surfaces
Finally, add shadows to give the wrench drawing more dimension. Use simple hatching along the darker sides of the head and handle.
Here we showed you how to draw a wrench. This simple tool is useful for practicing straight lines, clean contours, and small mechanical details.
You can use the same basic approach when drawing other hand tools with simple geometric forms.
For further practice, try drawing a hand saw, an even simpler-looking tool consisting of a handle and a blade. Or draw a hoe, which also consists of two simple elements.
Both of these drawings will also look three-dimensional in the end despite the simplicity of the steps.