How to Draw Pliers
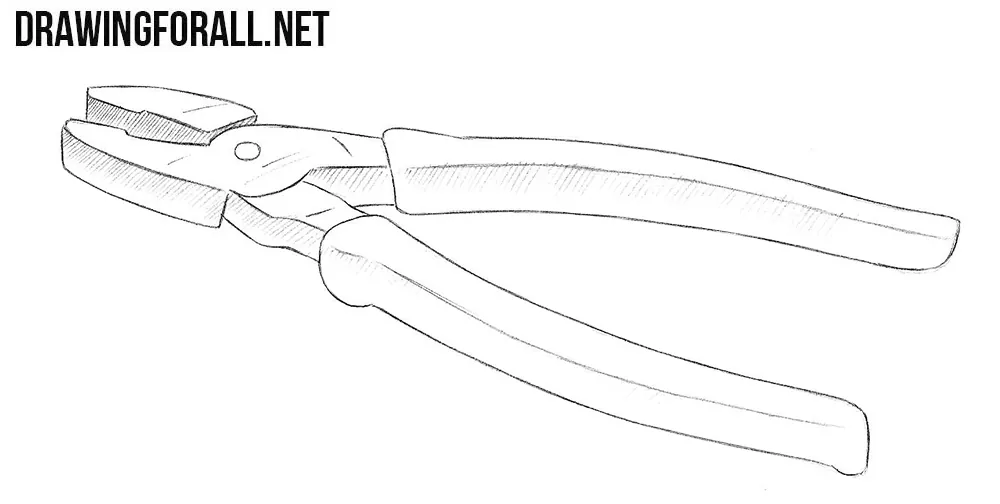
It is hard to imagine a toolbox without pliers. With this simple tool, you can grip, bend, and twist different objects. And now, you will learn how to draw pliers using a few simple shapes.
How to draw pliers step by step
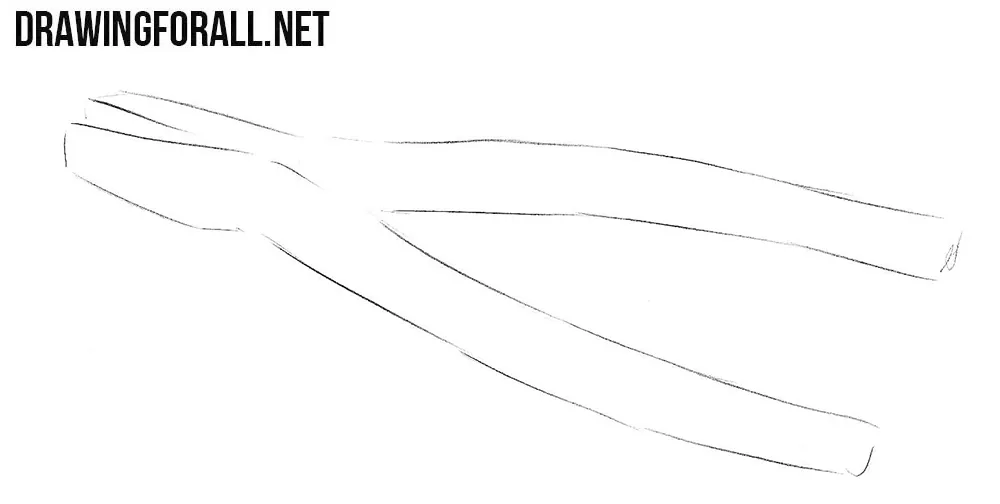
Step 1: Map out the basic shape
Start by sketching the pliers as two connected parts using very light geometric shapes. Outline the long handles and the shorter upper parts that will form the jaws.
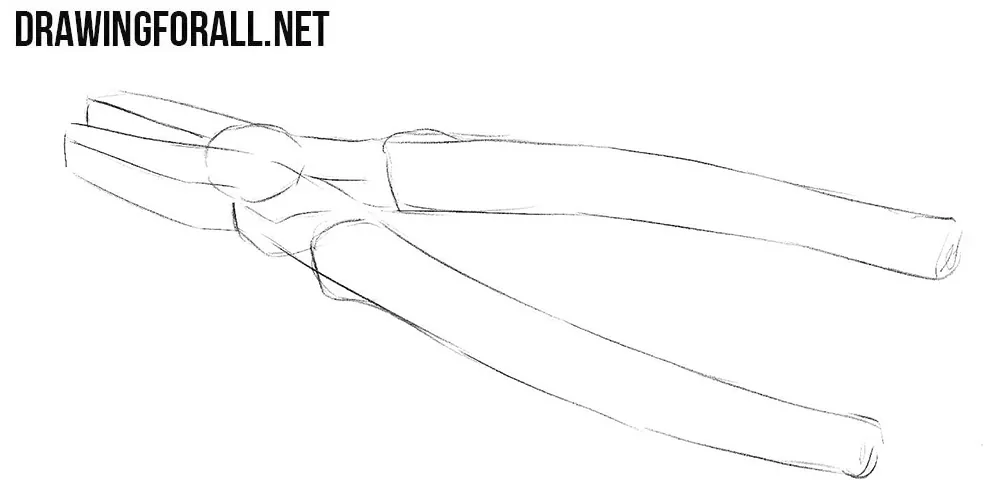
Step 2: Add the joint and grips
Draw the round joint where the two parts of the pliers connect. Then outline the grips along both handles. Make them slightly wider than the basic forms from the previous step. Use very light lines because we will refine them later.
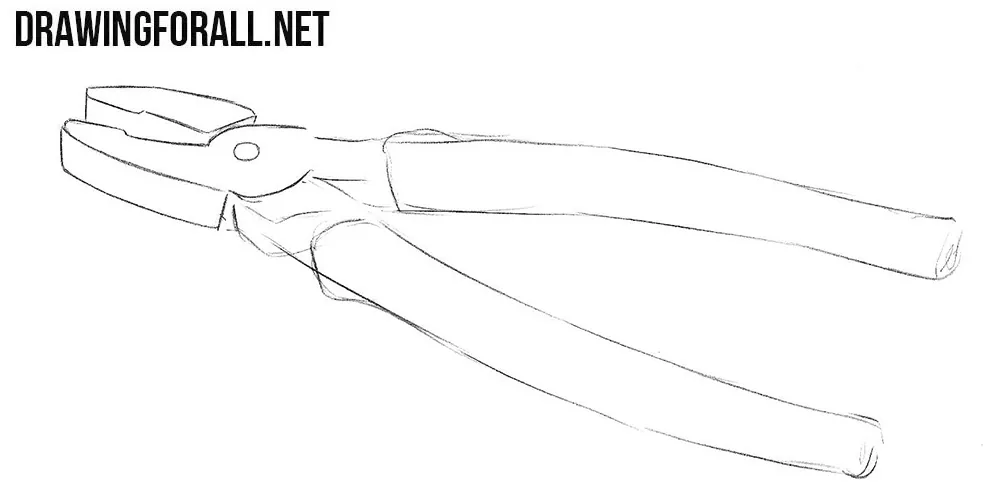
Step 3: Define the metal jaws
Using clear, dark lines, carefully refine the metal part of the pliers. Draw the final contours of both jaws of the pliers and the area around the round joint. As you work, gradually erase the unnecessary guidelines from this part of the drawing.
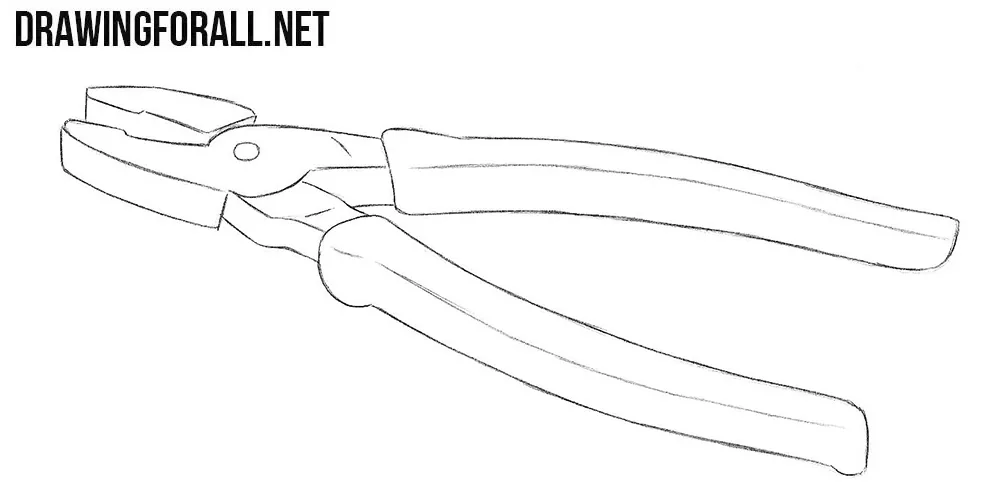
Step 4: Finish the handle contours
Now refine both handles with the same clear, dark lines. Draw the grips of the pliers with smooth contours, following the construction from the previous steps. Erase the remaining unnecessary guidelines.
Step 5: Give the pliers volume
Finally, add light shadows along the sides of the pliers to give the tool more volume. Use simple hatching and make the lower and side areas darker than the top surface. Do not make the shadows too strong or add unnecessary details.
As you can see, it is quite easy to learn how to draw pliers. Using the same basic principles, you can also draw cable cutters, clippers, or vise grips.
If you have ideas for other tools or objects you would like us to draw, let us know in the comments.