How to Draw a Cantaloupe
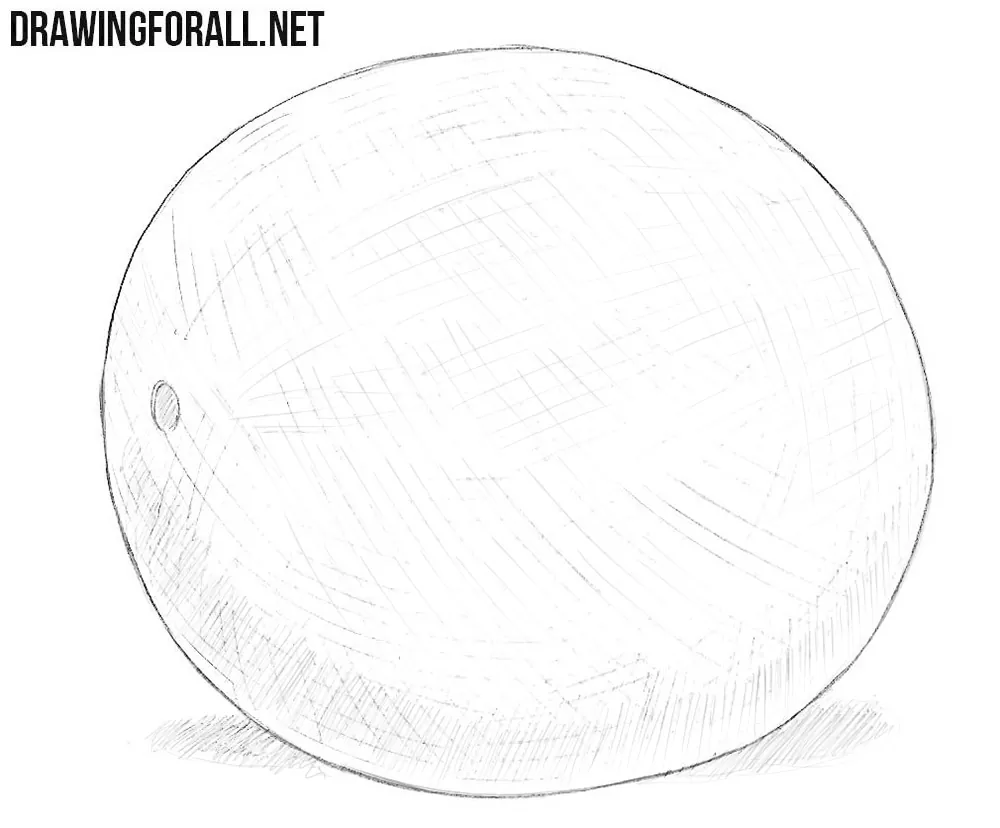
Melons, watermelons, cantaloupes, and many other similar fruits are drawn in a very similar way, but they have extremely important differences. In this tutorial, we will show you how to draw a cantaloupe and convey its characteristic texture to create volume and prevent the viewer from confusing it with other similar fruits.
How to draw a cantaloupe step by step
Step 1: Sketch the cantaloupe outline
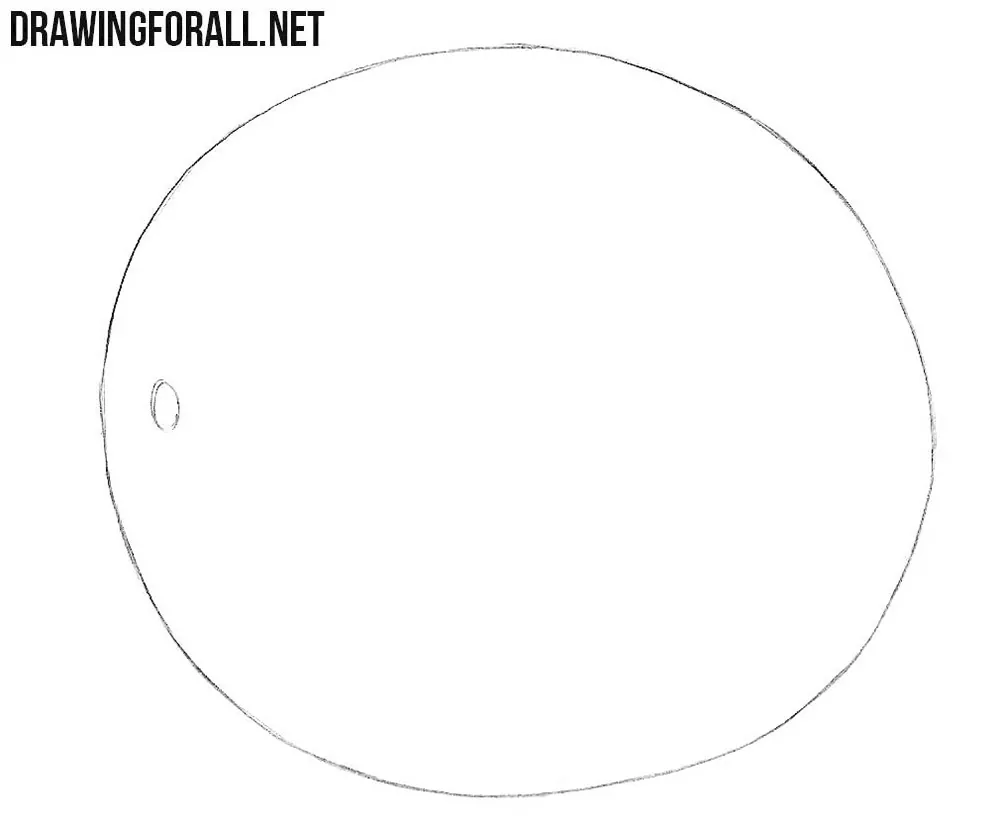
As in the melon tutorial, first sketch the outline in the shape of a simple oval. Using a smaller oval, mark the location of the stem. Try to make the outline as even and clean as possible so that you do not have to correct it later.
Step 2: Draw the cantaloupe texture
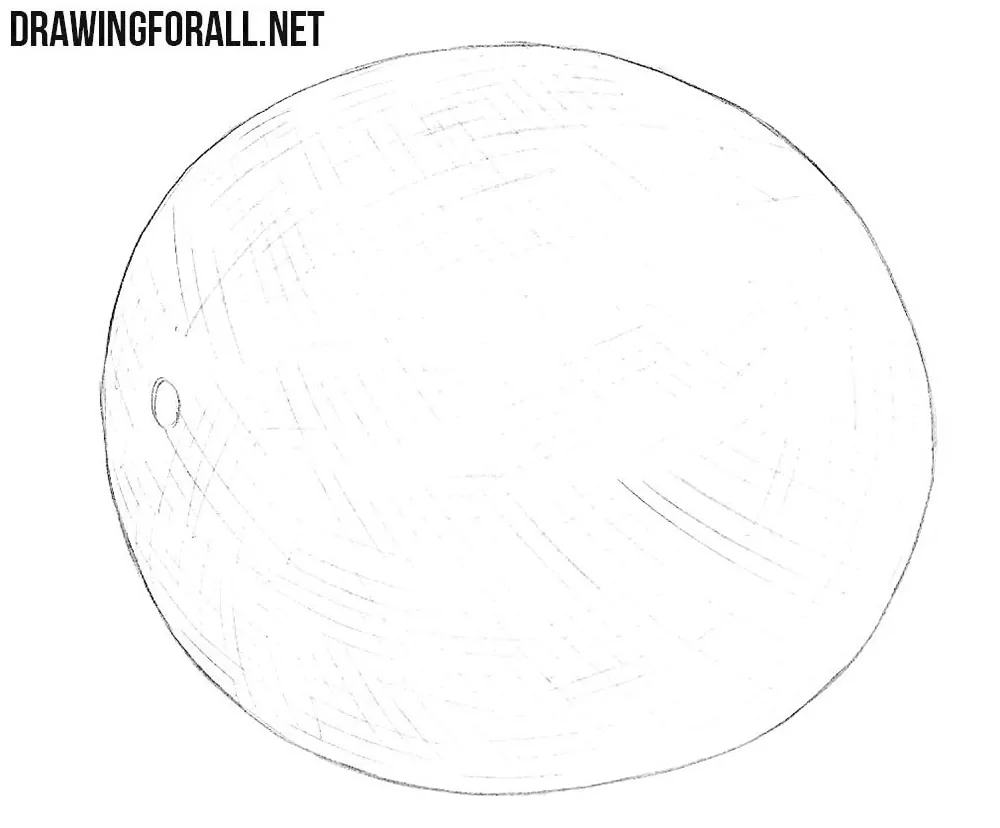
Now, using many simple lines arranged randomly, draw the texture of the cantaloupe. All these lines should be very light, almost imperceptible. The lines should be rounded and wrap around the form of the fruit rather than lie across it in straight bands. Build the netted rind from broken lines that cross at different angles. Near the outer edges of the cantaloupe, place these marks a little closer together.
Step 3: Add shadows to the cantaloupe
With the help of dense hatching, draw the shadows along the bottom of the cantaloupe. Also darken the small stem mark on the side of the cantaloupe. Next, draw the cast shadow on the surface beneath the fruit. Follow the principles of drawing a sphere and adding shadows to forms like this.
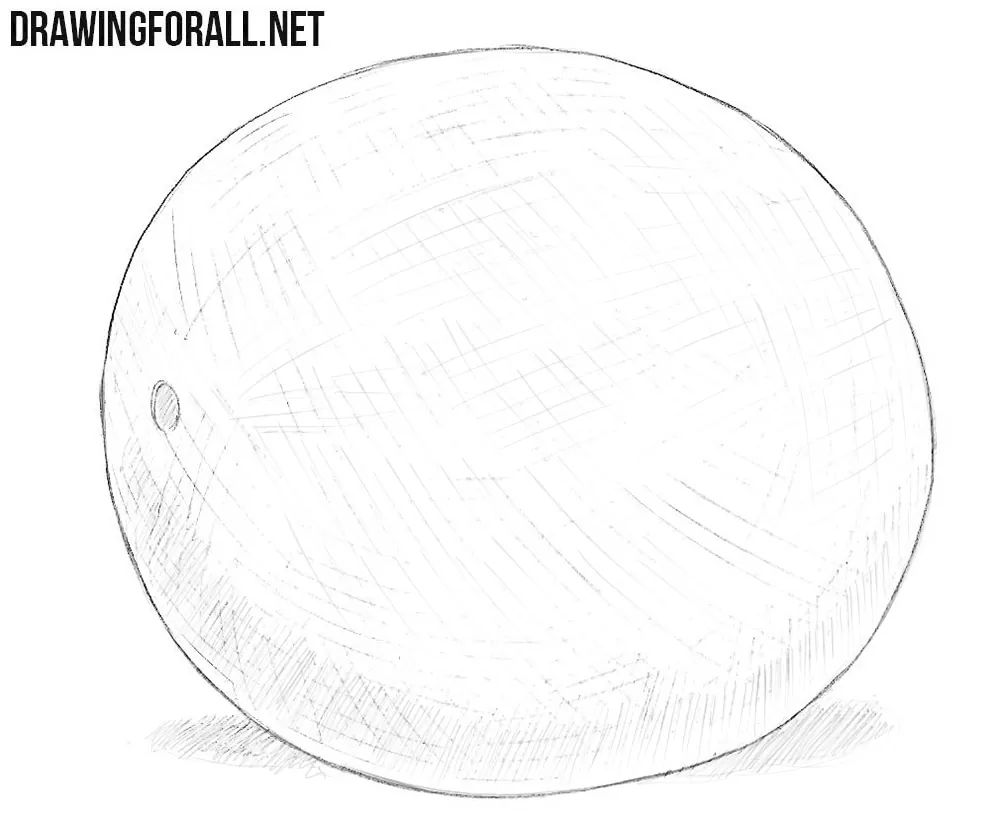
The main distinguishing features of this fruit are its texture and shape. Above, we showed you how to convey them correctly. This is exactly what distinguishes it from other similar fruits.
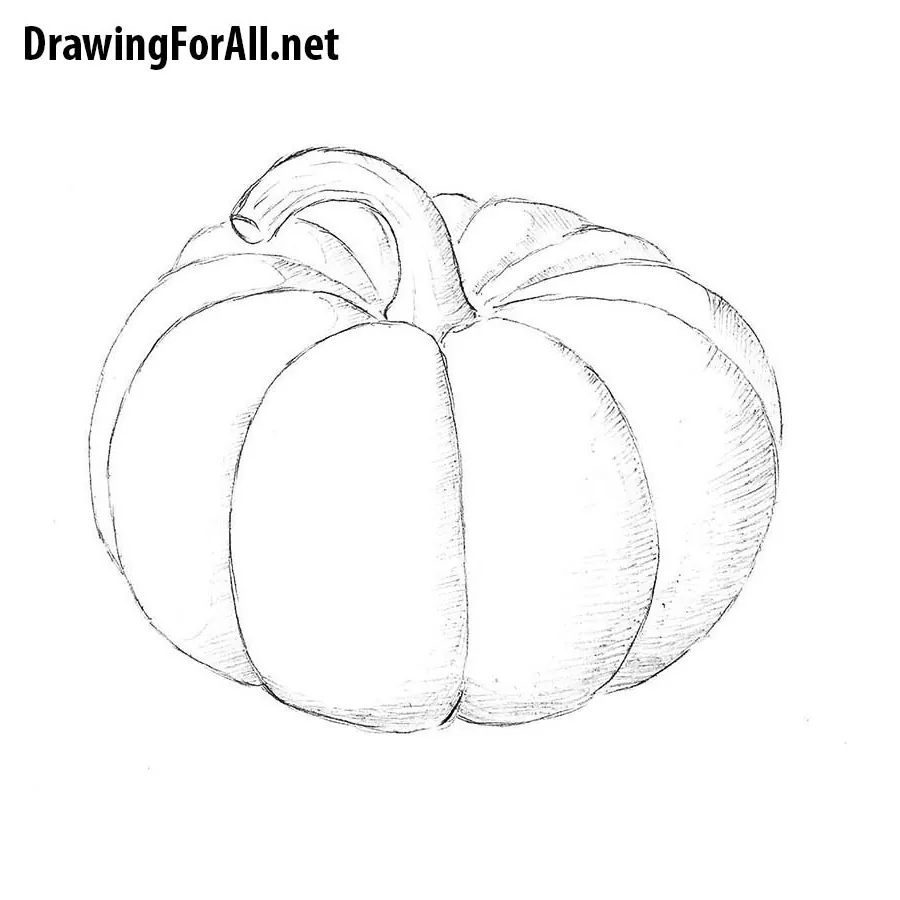
At the same time, both when constructing this fruit and when drawing a melon, as well as drawing a pumpkin or other similar fruits and vegetables, remember that they can look three-dimensional only if you correctly convey the texture. You should correctly draw it according to the form, as well as the shadows. Both of these elements should emphasize the curved surface.