

How to Draw a Melon
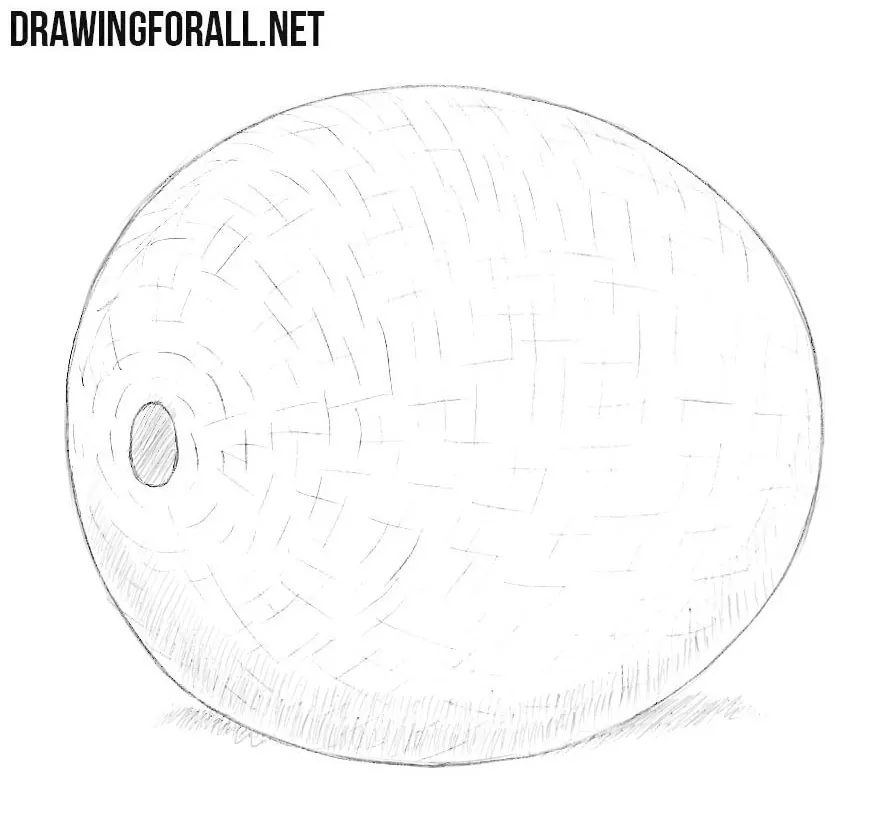
A melon is a very simple subject to draw, consisting of a simple flattened or spherical three-dimensional form with a rough texture. In this tutorial, we will show you how to draw a melon, how to convey this texture while taking the volume into account, and how to give the fruit a three-dimensional form.
The first and most important thing to keep in mind throughout the drawing process is that this is a spherical geometric form, not a flat circle. All the elements will lie on the melon accordingly.
How to draw a melon step by step
Step 1: Sketch the melon and stem scar
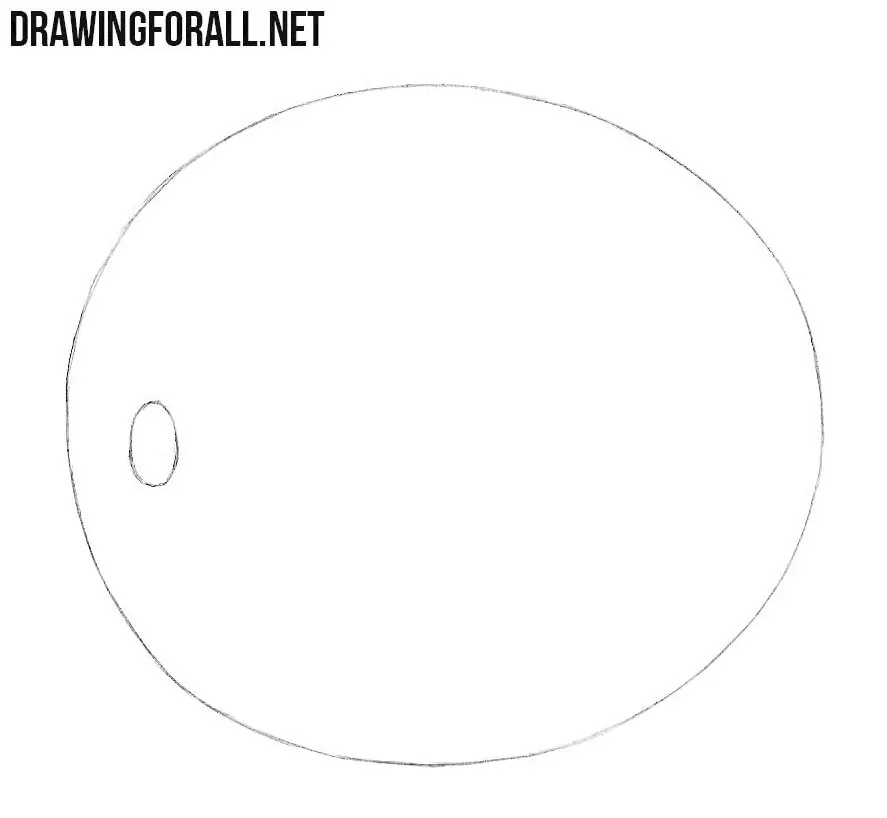
So, let’s begin our melon drawing with the basic shape of the fruit. Sketch a regular oval, as in the example below. Then, with the help of a small oval, mark the stem scar on the melon. Remember that you are drawing a spherical form, so the shape of the stem should follow it accordingly and appear oval rather than circular.
Step 2: Draw the melon rind texture
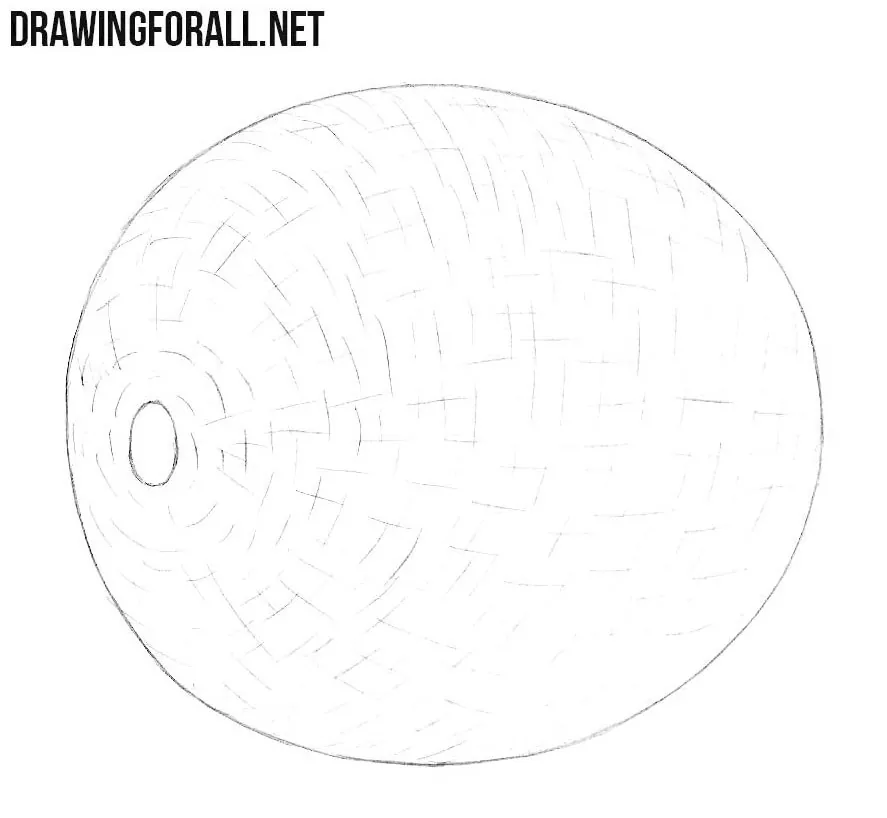
To do this, add short longitudinal and transverse lines, as in the example below. These lines should be arranged randomly. Around the small stem scar, turn the short lines around it in loose arcs. As you move farther across the melon, gradually change their direction. Keep the spherical form of the melon in mind so that you apply the texture in a way that follows the form rather than simply drawing straight little lines across it.
Step 3: Shade the melon and cast shadow
Add the shadows with dense hatching at the bottom of the melon. Keep this hatching close to the underside of the fruit. Shade the small oval stem scar more strongly than the rind around it. Also, use dense hatching to draw the cast shadow under the melon. The spherical form of the melon also plays an important role here. The shadows should follow this form in order to create volume.
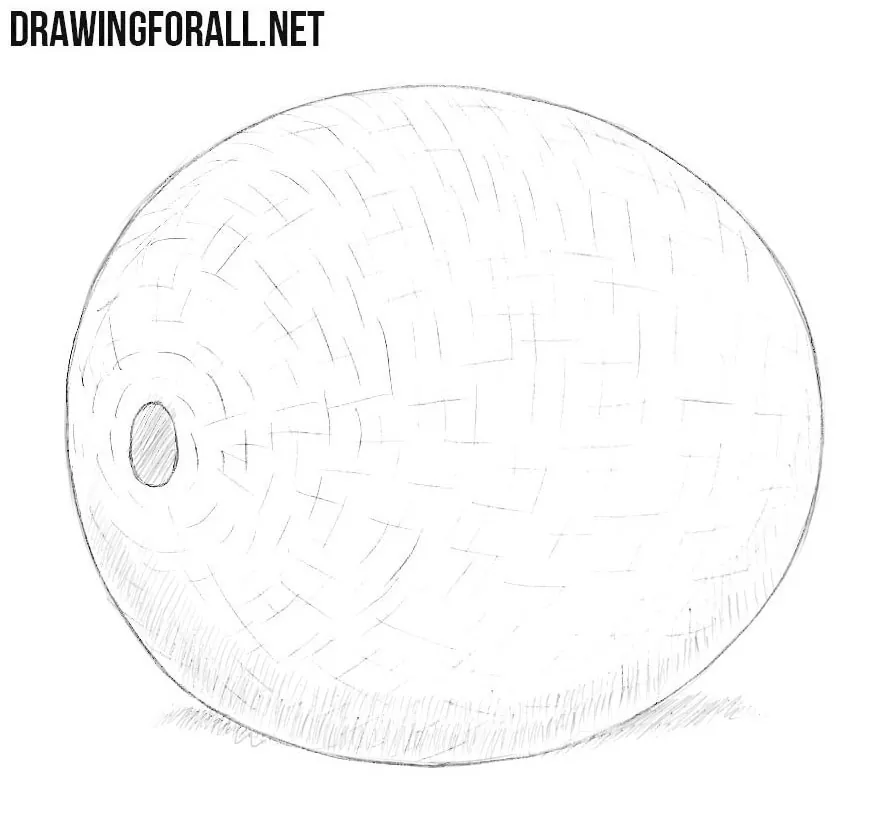
So, let’s go over the most important aspects of drawing a melon once again, since they remain the same. You are drawing a flattened spherical form, with the texture following this form and the shadows emphasizing it. This simple principle remains the same regardless of the position in which you draw the fruit.
Therefore, try using real references or photographs from the internet and draw different melons from different angles. They can be rounder or more elongated and can have different textures.
Also try drawing a cantaloupe and notice how similar the sequence of steps is. Our watermelon drawing tutorial also shows that fruits with similar forms are drawn in much the same way, with the main difference being their texture.


