How to Draw Mickey Mouse

Here you will learn how to draw Mickey Mouse – a Disney cartoon character known to people all over the planet.
Since his first appearance in 1928, Mickey has changed a lot. Of course, he has now become more detailed. Today he has shadows, highlights, improved animations, and his movements have become more realistic and natural.
We will try to convey the drawing method as accurately as possible so that this character is reproduced in a way that is authentic and close to the original cartoon style.
Over more than a century, Mickey Mouse has been drawn in many different ways and has had numerous variations. By using the approach presented in this lesson, you will be able to depict any of these versions on paper.
How to draw Mickey Mouse step by step
Step 1: Sketch the cartoon head circle
Let’s start by drawing a simple circle; it should be placed at the top of the page. This will serve as the guide for Mickey Mouse’s head. Note that in the first steps you should not press too hard with the pencil. Draw the circle lightly and gradually refine it until you achieve a clean, symmetrical shape.

Step 2: Mark the head’s symmetry axes
To draw the features of a cartoon character correctly and symmetrically, it is essential to outline symmetry lines. Start with a vertical line placed in the center of the face. Then draw a horizontal symmetry line intersecting the vertical one in the middle. These two lines create reference points that will help you draw the eyes, nose, and mouth symmetrically.

Step 3: Draw the ears of Mickey Mouse
Now move to the upper part of the head and outline two circles or ovals to indicate Mickey Mouse’s ears. The placement of these two circles, along with the tilt of the symmetry lines from the previous step, will determine the angle of the Disney cartoon mouse’s head.

Step 4: Sketch the elongated torso shape
Now, right under the head, outline Mickey Mouse’s torso in the form of an elongated pear shape. The upper part of this shape should be very narrow to indicate the thin neck of the cartoon mouse. At this stage, you can set the tilt and rotation of the torso as you prefer.

Step 5: Sketch the cartoon arms and gloves
Begin outlining the limbs of the Disney cartoon character using very light, rough lines. Traditionally, start with the upper limbs by sketching the outlines of the arms as two elongated cylinders or rectangles. Next, outline the shapes of the iconic cartoon gloves.

Step 6: Add the legs and cartoon shoes
Now use the exact same method for Mickey’s lower limbs. Just as with the arms, first outline the shapes of the legs as two elongated cylinders or rectangles. Next, outline the large cartoon shoes as two ovals or shapes similar to beans.

Step 7: Outline the cartoon face shape
Starting from this step, begin gradually refining the details and finishing your drawing of Mickey Mouse. Return to the head and using the guidelines draw the outline of the face, where the upper part resembles an elongated, rounded letter “M.” Sketch the rounded, symmetrical cheeks and the chin of the cartoon mouse.

Step 8: Draw the face of Mickey Mouse
Now, using the auxiliary lines, draw the oval cartoon eyes. Next, below the horizontal line and centered on the vertical line, draw a horizontally oval nose. After that, outline the character’s wide cartoon smile under the nose. For a stronger cartoon effect, sketch short curved lines at the corners of the mouth to emphasize the smile.

Step 9: Sketch the pupils and detail the nose
Now let’s add a few small elements to make the drawing of Mickey Mouse more interesting. Inside the eye ovals, draw small rounded pupils. Next, sketch a short arched line above the nose to add detail to this area.

Step 10: Finalize the head of Mickey Mouse
Erase all unnecessary guidelines from Mickey Mouse’s face, then draw the tongue and a line under the eyes. At this step, we will finish working on Mickey Mouse’s face. Darken all the lines of the head as shown in our example. The lines of Mickey Mouse’s head should be as clean and complete as possible.

Step 11: Sketch the shorts and mouse tail
Now begin adding the basic outlines of the details, using very light, soft lines for further refinement in the next steps. Start with the shorts by drawing their outline and sketching the oval buttons on the front. Next, mark the fingers on the hands and depict the long, thin mouse tail with a couple of smooth lines.

Step 12: Draw the arms of Mickey Mouse in detail
Now, using smoother and clearer lines, darken and outline Mickey Mouse’s arms. Next, outline the contours of the gloves, carefully drawing all the fingers. As you refine and draw the final lines, erase all the auxiliary sketches from your Mickey Mouse drawing.

Step 13: Outline the mouse tail and lower body
Continuing the lines from the previous step, outline the torso of the cartoon mouse, then trace the shorts and give the buttons a smoother, more finished appearance. Next, in the same manner, outline the contours of the legs and the cartoon shoes. Finish by outlining the long mouse tail and giving it a clean, completed look.

Step 14: Check proportions and add shading
Check the symmetry and proportions of your Mickey Mouse drawing. If all unnecessary lines are erased and the contours of the drawing look correct, begin coloring or shading the character. Fill the upper part of the head along with the ears, the torso, the arms, and the legs with a solid black color. Then, using even hatching, darken the areas hidden from direct light and shade the inside of the mouth.

In this tutorial, we used only simple shadows, but you can color your drawing of Mickey Mouse to give it an even more authentic look.
Leaving the drawing in black and white, however, gives it a more classic appearance, similar to how this character was originally created.
But if you want to color Mickey, then in addition to black and white, use red for the shorts while keeping the buttons white.
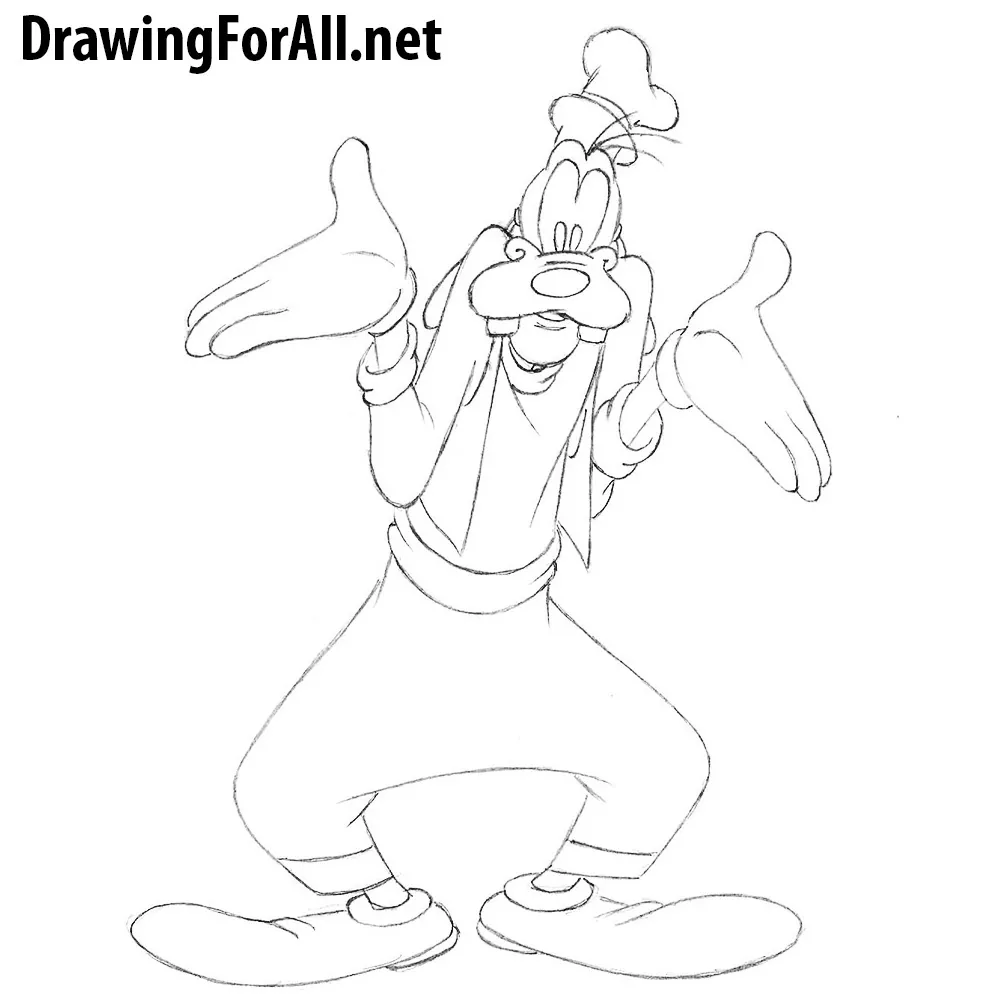
Similar bright color choices were used for many Disney characters. You can also look at our lesson on drawing Pluto and color him with the recognizable color palette, or draw Goofy and use his color palette for maximum authenticity.
And to explore all the characters we have created over the years on our website, be sure to visit our Cartoons category, where in addition to Disney you will find many other universes to study.


Thanks.I drew it. It was simple 🙂
Wow it was great 🤩😄🤩😄🤩🤩
Beautiful 🌹🌹🌹
Thank you, I appreciate it a lot.
Glad the tutorial worked well for you, thanks for drawing it.
Very Easy
Happy to hear the guide was easy to follow.
I am a big fan of Mickey and I love it🥲🥲 beings me memory’s.
Thanks for sharing, glad you enjoyed the Mickey theme.
It was so easy, it helped me improved my drawing skill
Great to know it helped you practice your drawing skills.
Very difficult tricks
We’ve updated the Mickey Mouse drawing tutorial and added extra steps and explanations, making it much easier to learn.
I have to use this for my project…
We are very glad that our work is useful for your projects.