How to Draw a Sumo Ninja

In this lesson, we will draw a very unusual character that combines several recognizable Japanese archetypes – a sumo ninja.
For reference and inspiration, we chose characters from the distant 1990s and tried to combine them into a very unusual and interesting character.
Here you can see the powerful build of a sumo wrestler combined with a ninja mask and a katana. This lesson will follow the classic approach to drawing a male figure, but it will also include its own unique features.
At the end, we will use a distinct comic-style method of outlining and shading to complete a sumo ninja drawing.
How to draw a sumo ninja step by step
Step 1: Sketch the basic stick figure of the sumo ninja
As always, begin with a stickman – a figure made of simple lines and circles. This stage is very simple but also very important. Before you start drawing, keep in mind that in the first steps you should not press too hard with your pencil. First, draw an oval as a guide for the head of the sumo ninja. Add the lines of facial symmetry: the horizontal line divides the face into two parts and helps you locate the center of the head, while the vertical line divides the face in half and helps you place the eyes. Then, using light lines, sketch the spine, arms, and legs.

Step 2: Sketch the large torso and arms
Sumo wrestlers are extremely powerful athletes, arguably among the strongest in all combat sports, and this should be reflected in their body structure. Begin adding volume to the sumo ninja by drawing a large, powerful torso. Then, using simple cylinders and very light lines, outline the arms, which are crossed in front of the chest in a characteristic motion. Do not add too many details at this stage – just indicate the general contours.

Step 3: Sketch the massive legs
Now, using the same principles, move on to the lower part of the body and outline the massive, powerful legs of the sumo ninja. As in the previous step, avoid adding details or using dark lines – just indicate the general contours so you can gradually refine the shapes and details as you proceed through the steps.

Step 4: Draw the eyes of sumo ninja
From this step, begin gradually adding details to the sumo ninja drawing. As always, start with the upper part of the head: draw the eyes using the guidelines created in the very first step. Then, with thick curved lines, draw the eyebrows above the eyes and add a few folds around the eyes along with the outline of the visible part of the sumo ninja’s nose. Use smooth lines to define the openings of the ninja mask.

Step 5: Start detailing the torso and arms
Now move on to the torso of the sumo ninja and begin adding details to his powerful arms and shoulders. Start by outlining the shoulders, tracing the previously sketched shapes with darker, cleaner lines. Define the deltoids, then work down to the biceps, triceps, and forearms, gradually refining the forms and checking the symmetry as you draw the left and right sides in turn. In the same step, outline the straps on the shoulders and draw the combat bracers on the forearms.

Step 6: Draw the sumo ninja mask in detail
Now it’s time to finish the head of the sumo ninja and refine the mask in detail. As in our ninja drawing lesson, carefully outline the shapes by tracing the previously sketched contours and adding multiple folds while maintaining symmetry. Then mark the headband on the forehead and draw the strips of fabric of the tied knot visible behind the head.

Step 7: Draw the sumo loincloth and pants
Now move on to the lower part of the figure and begin adding details. First, using confident, clean lines, draw the loincloth – one of the most recognizable and important elements of a sumo wrestler’s clothing. Then, with clear lines, outline the pants, remembering to add the fabric folds.

Step 8: Refine the muscles, straps and bracers
Now let’s add the final details to the upper part of the sumo ninja. First, refine the muscles and add veins where needed, then erase all remaining construction lines. Next, detail the shoulder straps and the combat bracers. Carefully draw the hands in detail, adding the fingernails and small folds. After that, finish the belt, giving it the look of a handmade braided rope.

Step 9: Sketch the sandals and complete the legs
Finish detailing the lower body of the character by adding all the final elements to this part of the body. First, refine the loincloth, adding small features and decorative details. Then finalize the pants by outlining them where needed and erasing all unnecessary construction lines. After that, move on to the feet of the sumo ninja and draw the toes and the characteristic sandals.

Step 7: Draw the sumo ninja katana
Now, using clean, confident lines, draw the katana on the ninja’s back. Show the visible end of the scabbard in the lower part and the handle at the top. Add the characteristic braided pattern on the grip. Finally, check the symmetry of your sumo ninja drawing and see whether the proportions and overall look appear natural. If you notice any mistakes, erase them and try correcting those areas again.

Step 11: Add shadows using comic shading
As mentioned at the very beginning of this sumo ninja drawing lesson, we will use classic comic-style shading, the same approach applied in our other comic drawing tutorials. First, outline the shadow areas in the necessary places. Then fill them with solid black. For the transitions between light and shadow, you can use clean, even hatching, just as traditional comic artists did.

This character combines a number of different styles and themes related to drawing and character design. First, we brought together the traits of a ninja – one of the most recognizable archetypes of the 1980s and 1990s, appearing across various forms of media, including films, games, and comics.
The second component is the sumo wrestler, one of the strongest and most iconic figures in Japanese culture, also found in many games, such as Street Fighter. These elements are presented here in a classic comic-book style.
A similar principle was used in the drawing of the Teenage Mutant Ninja Turtles, where the authors combined different ideas into one concept and depicted it in a black-and-white comic format.
Comic-style drawing has a very distinctive approach, and practicing it consistently is an effective way to develop your artistic skills, whether you are drawing well-known characters or creating your own.
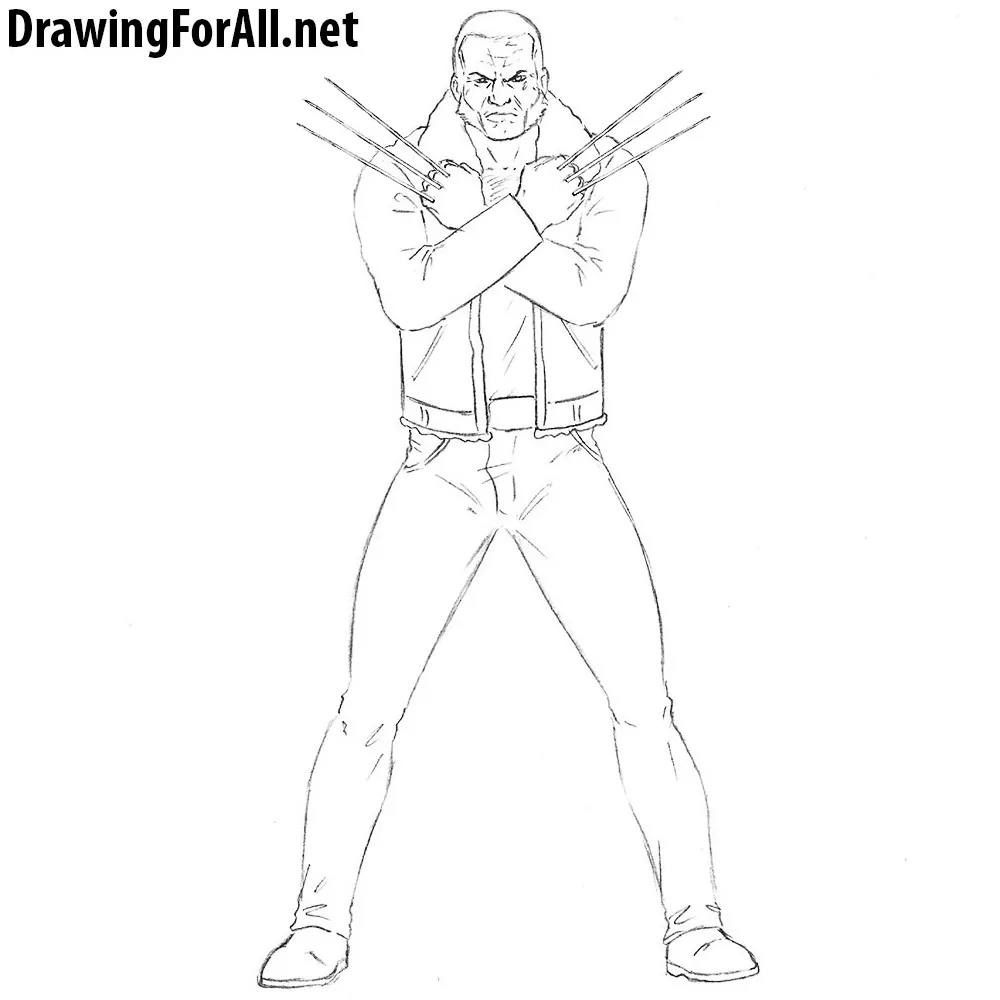
Using the same method, we previously drew Wolverine in one of our comic lessons and learned how to draw Ben Reilly, the clone of Spider-Man. Be sure to check those tutorials as well, along with the other lessons in our Comics category.


Thanks i can draw it now
Thank you so much!