How to Draw a Bracer
How about drawing warrior armor elements? We have already created quite a few drawing lessons about warriors of various times. We learned to draw Roman legionnaires, medieval knights and video game heroes. And today we will tell you about how to draw a bracer. It is an element of armor that you might have noticed with a realistic knight or with Sub Zero from Mortal Kombat.
Step 1
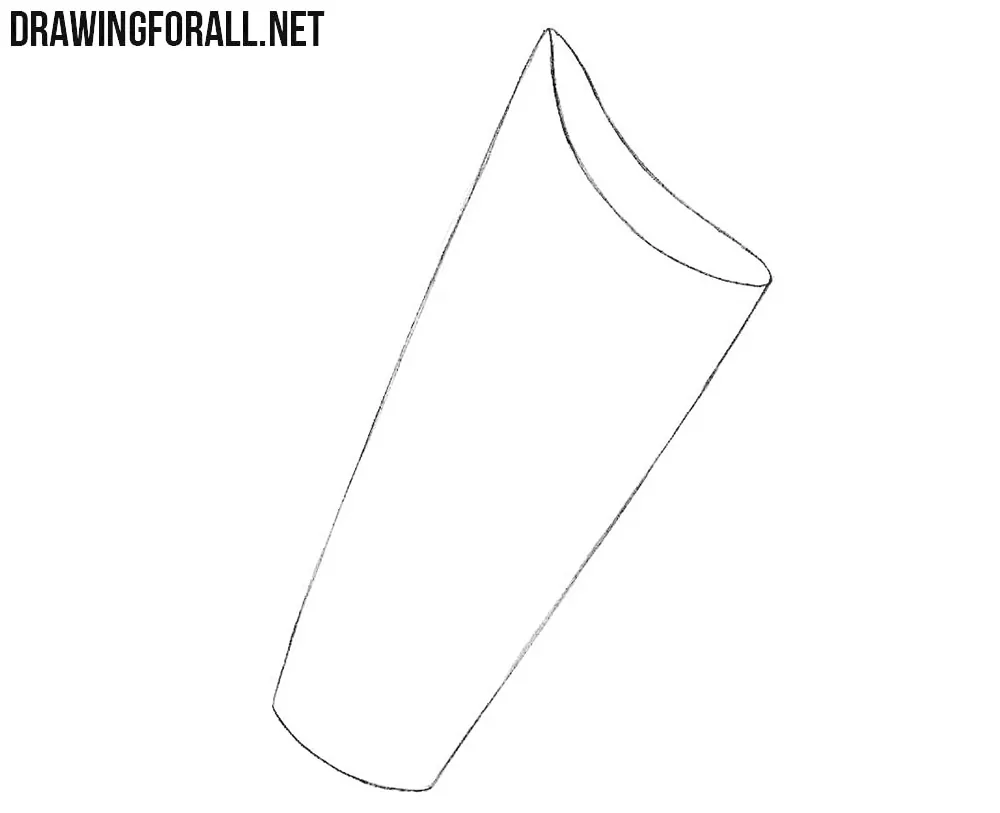
First we draw a shape that looks like a cone truncated from both sides. You can position the cone completely horizontally or completely vertically if you prefer.
Step 2
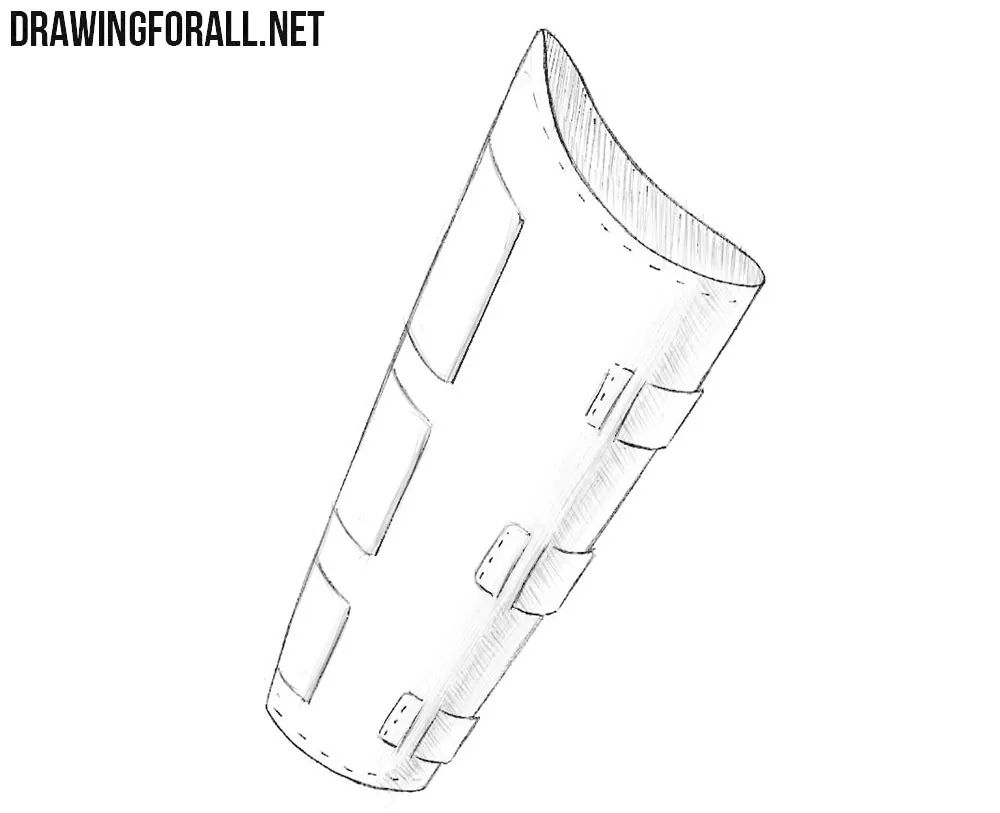
Let’s draw the clasps on our bracer. First draw the transverse short lines. After that we draw rectangles that are slightly rounded towards the edge. Note that short transverse lines have no vertical borders.
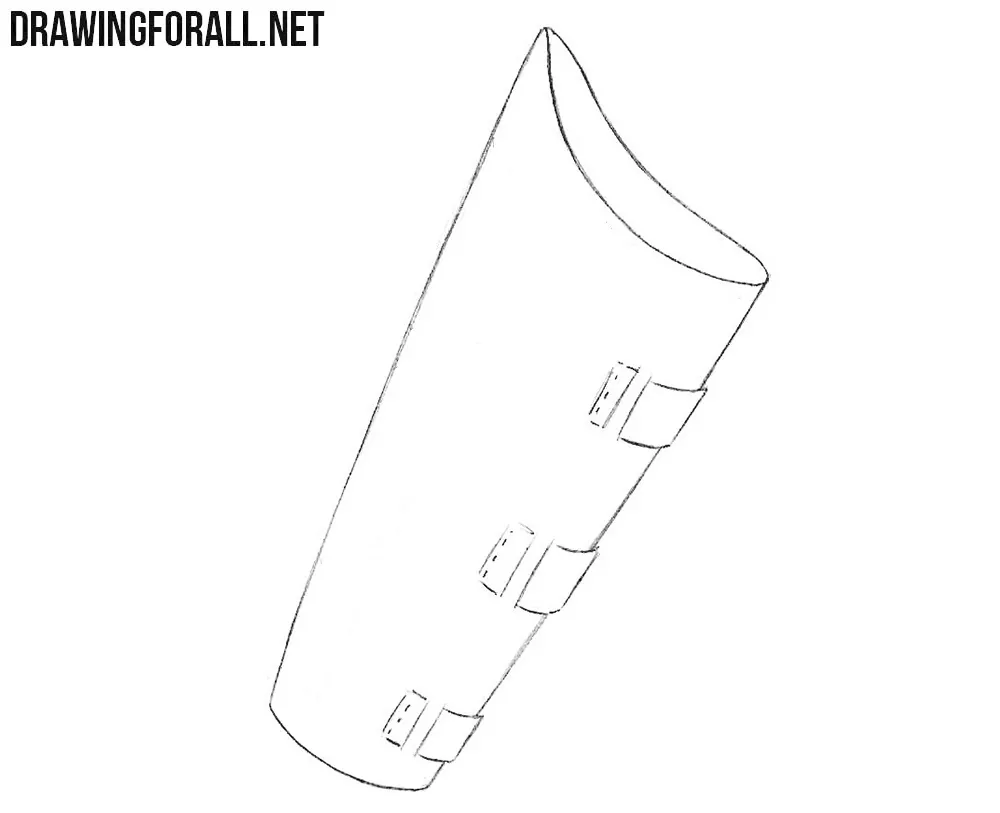
Step 3
In this step, we only need to draw three rectangular plates that are located on the left edge of the armor. Pay attention to how the size of the plates. The largest plate is at the top, the smallest is at the bottom.
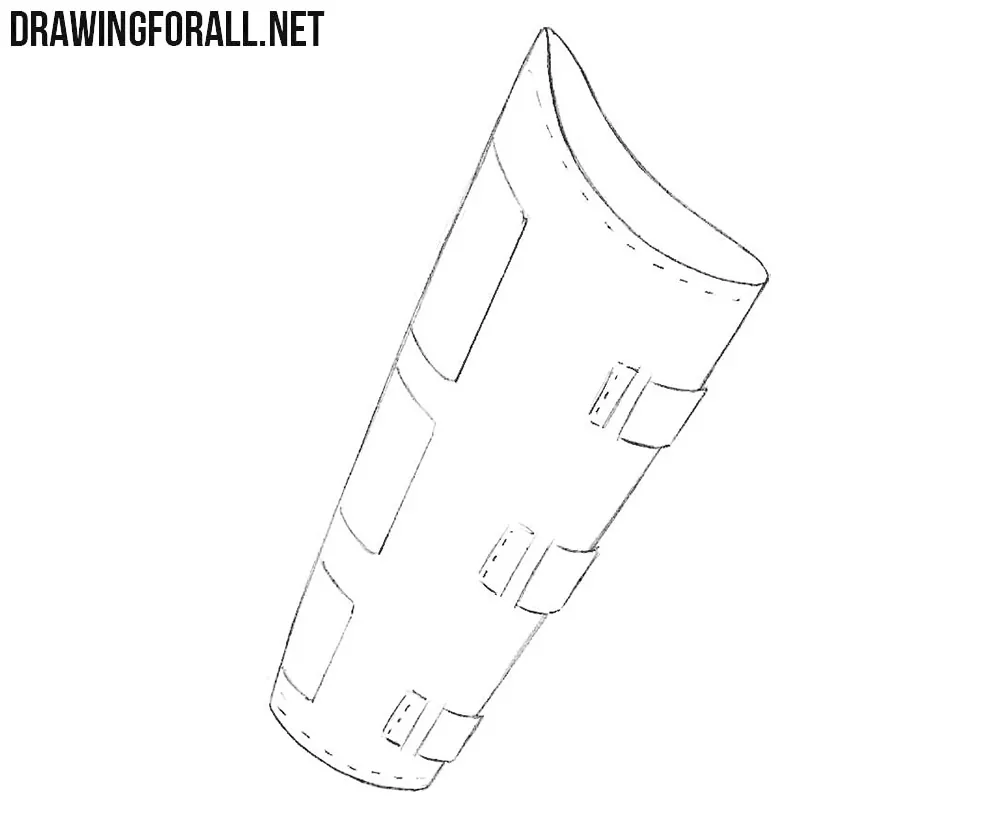
Step 4
When we drew this armor in the drawing class of an armed warrior, we could sketch some shadows. In this drawing lesson we need to work more closely with the shadows on the bracer. On the inside of the armor, we draw large and amplitude strokes. On the right edge, we need to place a light shading. Pencil should be pressed very lightly.

This is our small experiment actually. We often drew various people in armor, but for the first time we decided to draw a part of armor. If you like this idea, please write about it in the comments. In this case, we will draw a few more lessons on this topic. Do not forget to come to us for new articles!