How to Draw a Gnome
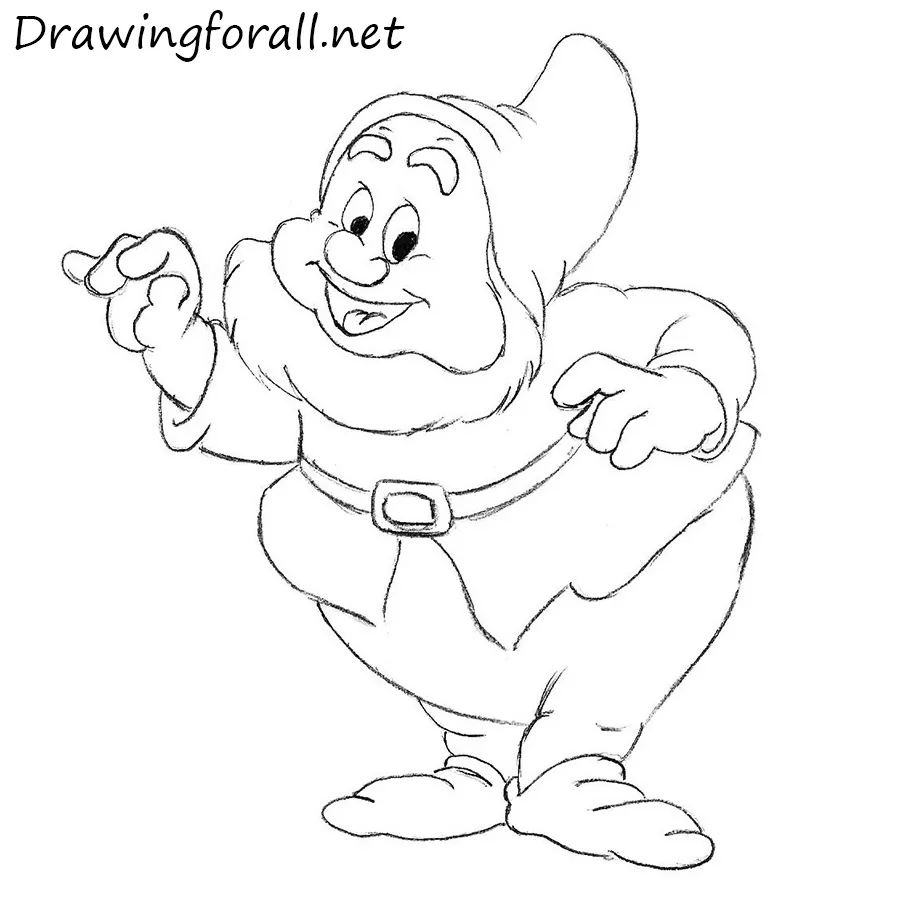
In this tutorial, we’ll show you how to draw a gnome inspired by Disney, using a much simpler design than a traditional gnome.
You may have seen this kind of gnome in well-known cartoons and illustrations for fairy tales. In this tutorial, we’ll show you how to recreate this familiar character step by step using very simple drawing techniques.
How to draw a gnome step by step
Step 1: Sketch the gnome’s stick figure
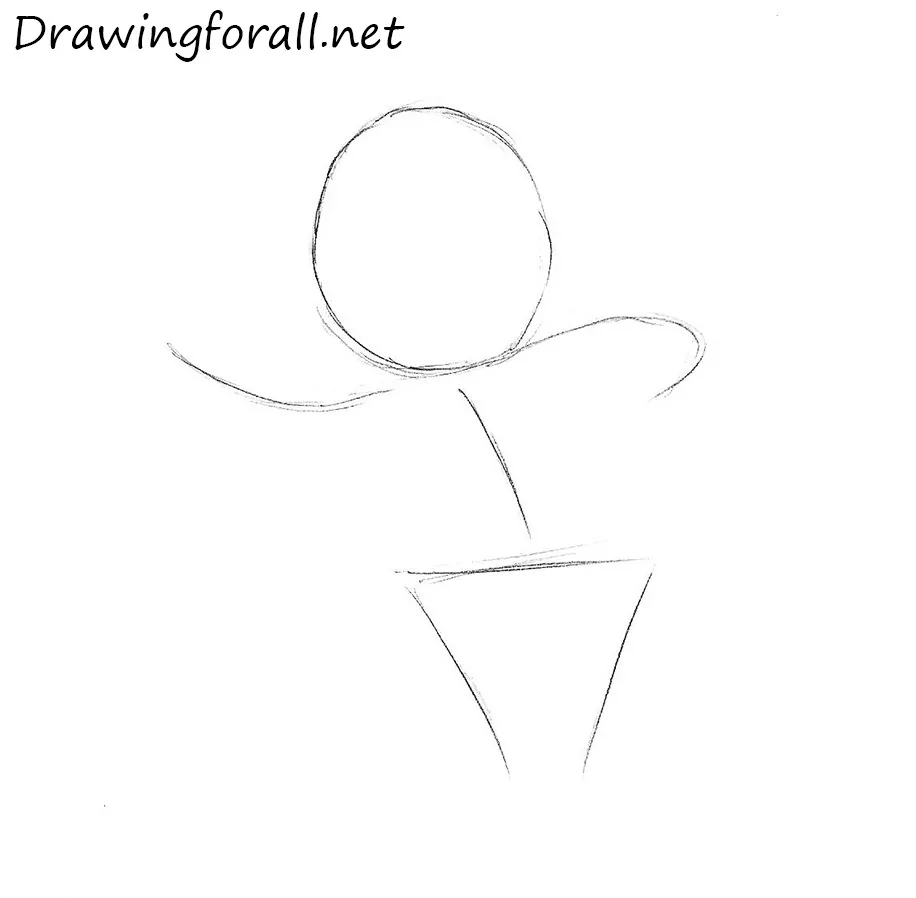
Start with a stick figure made of lines and circles. This framework will establish the basic structure of the gnome, as well as his position on the paper.
Naturally, the gnome’s body differs significantly from that of an average human. The height of an adult is usually equal to about seven and a half or eight head lengths, while this gnome is only about 2.3 head lengths tall. Do not make the body too long. Draw the head as a circle, then sketch the torso, arms, and legs with simple lines.
Step 2: Mark the head details and guidelines
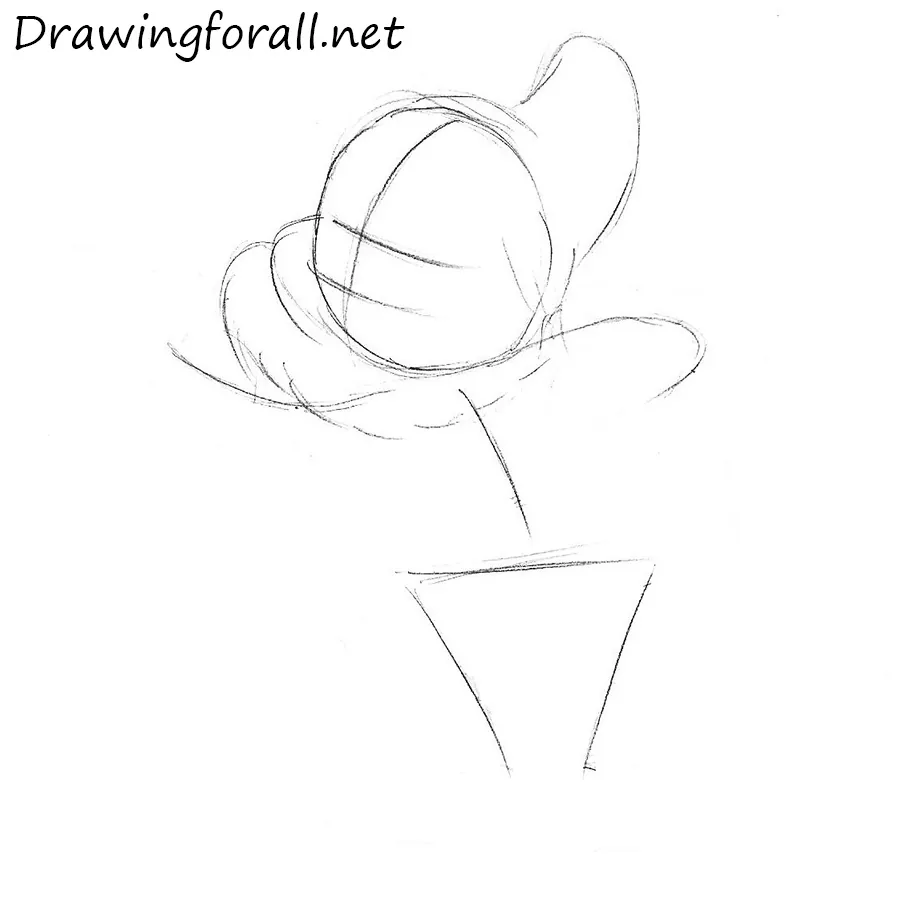
Now that the approximate body structure, pose, and position are established, begin adding volume. First, mark the head with a vertical facial symmetry line. It should curve and shift noticeably to the left of the visual center. Then draw the slightly curved horizontal lines for the eyes and mouth.
Outline the cap at the top of the head. In the same stage, lightly sketch the beard, which runs almost parallel to the lower edge of the head.
Step 3: Build the body and limbs
With the head lightly marked, move to the gnome’s torso and limbs. Sketch the arms with cylinders, then add the thick fingers.
Use curved lines to draw the torso. The body flows smoothly into the short, thick legs. It first widens around the belly, then narrows toward the feet. Finish by sketching the shoes.
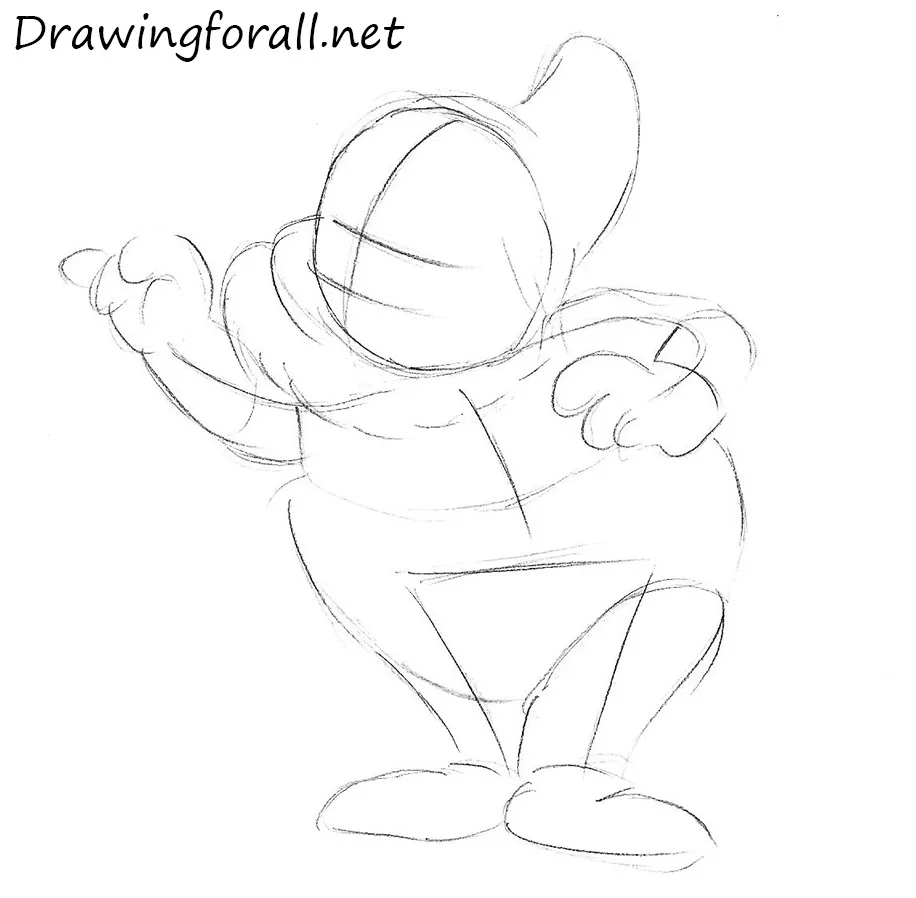
Step 4: Draw the gnome’s face
Use the guidelines from the second step to draw the gnome’s face. Add the oval eyes, a flattened potato-shaped nose, comma-like eyebrows, and a smiling mouth. Also outline the cheeks and lower lip.
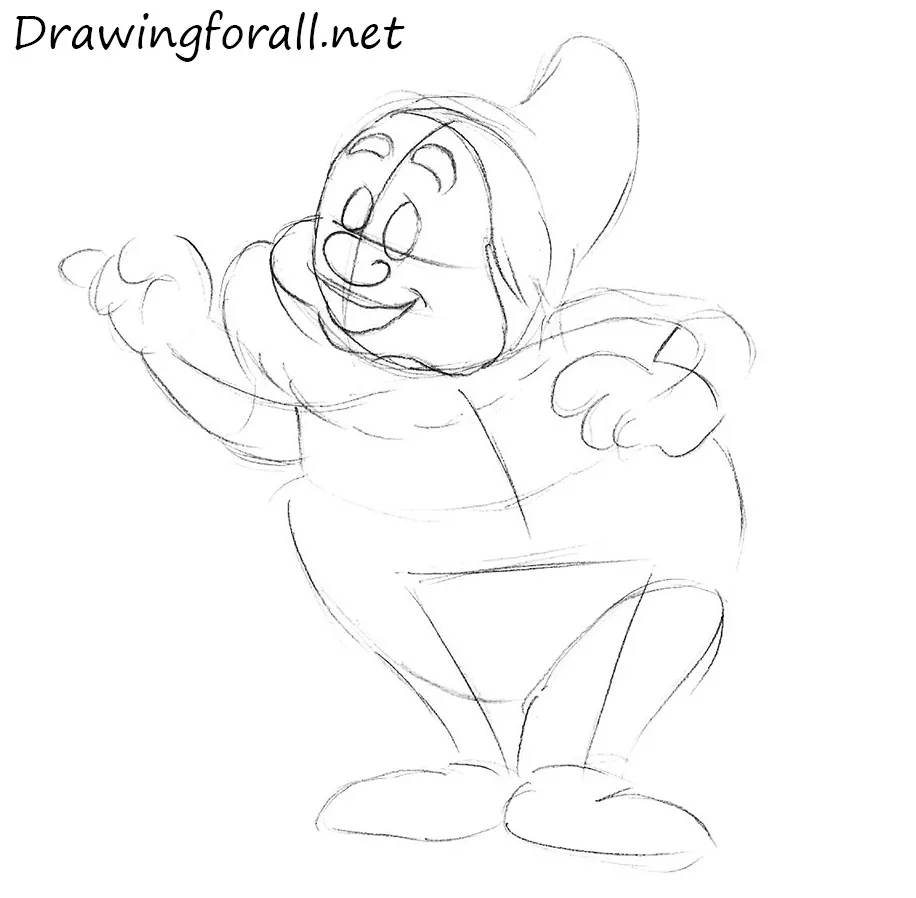
Step 5: Refine the face and beard
Carefully erase the unnecessary guidelines, refine the facial features, and add details such as folds on the cap and wrinkles beside the eyes. Do not forget to draw the beard of the gnome with a serrated lower edge.
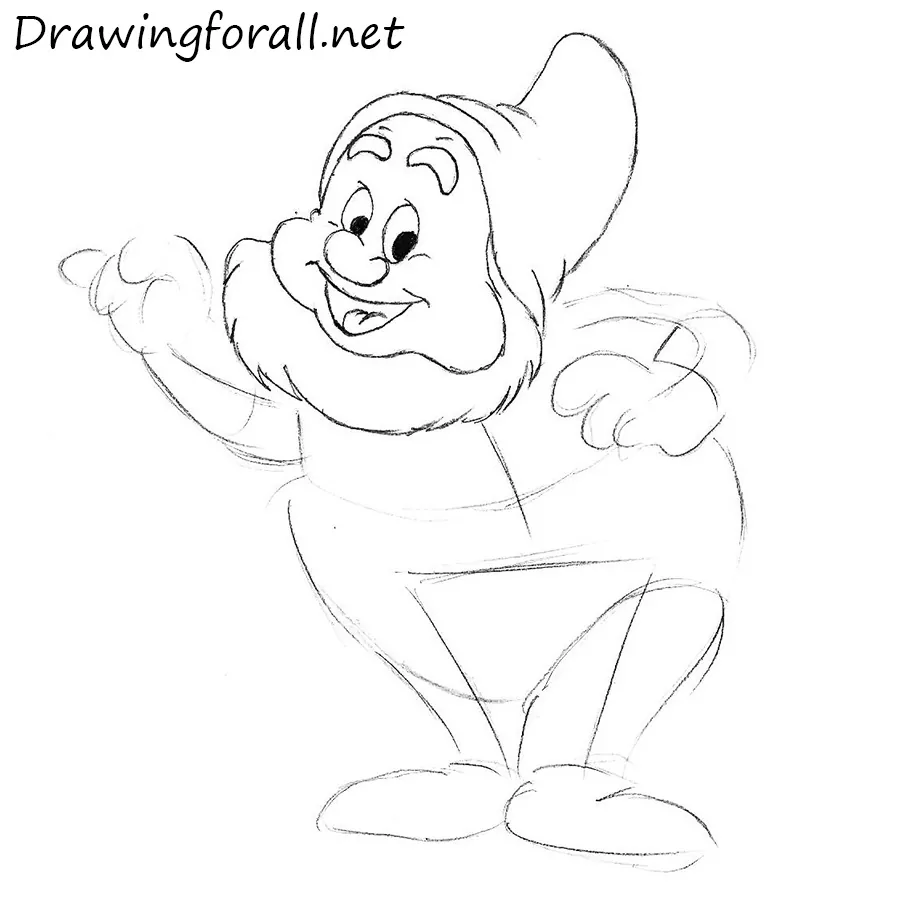
Step 6: Detail the arms and hands
Repeat the same process for the gnome’s arms. Erase the unnecessary guidelines and refine the contours. Draw the fingers on both hands, then outline the sleeves.
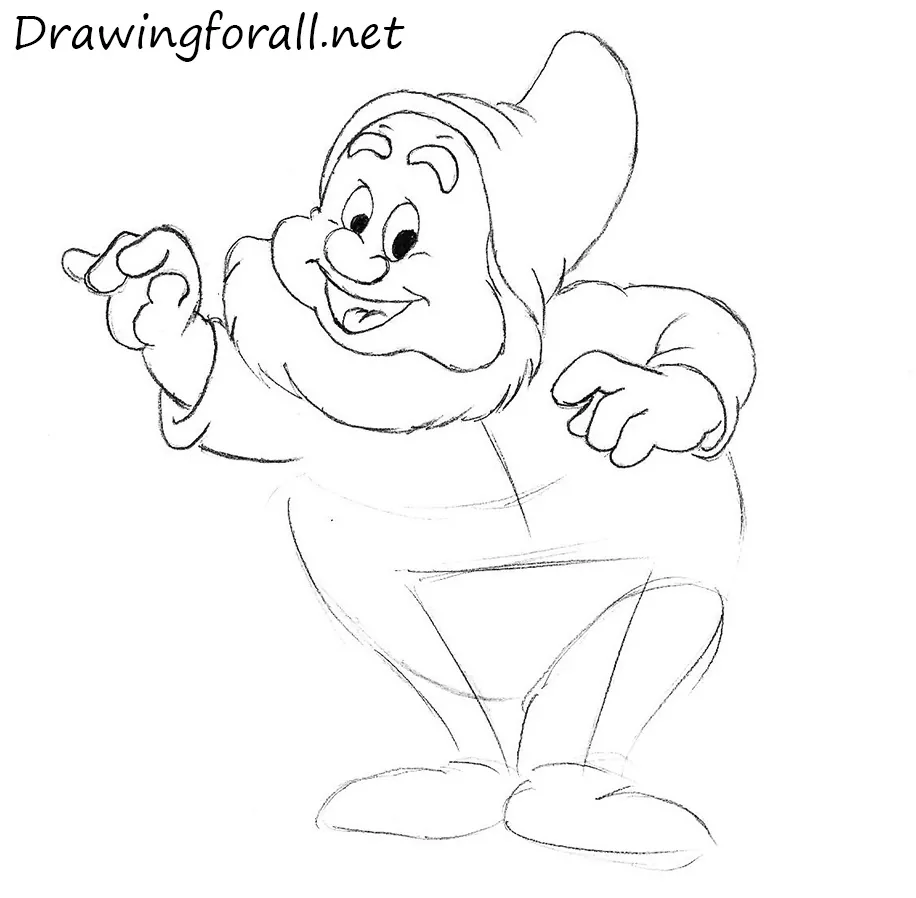
Step 7: Draw the clothing of the gnome
Proceed to the gnome’s torso. The belt should tighten the clothing around the body. First, draw the section of clothing across the chest, then add the belt and the lower edge of the garment.
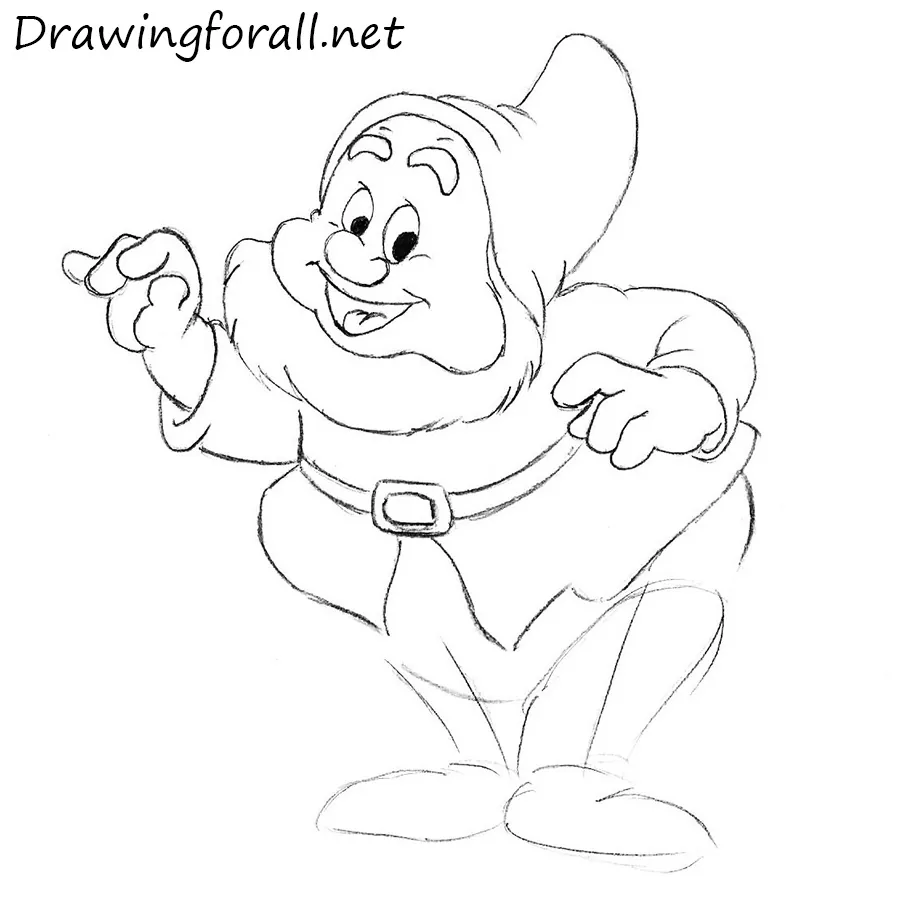
Step 8: Finish drawing the gnome’s legs
Complete the gnome by refining the lower torso and short legs. Add folds to the pants and wrinkles across the shoes.
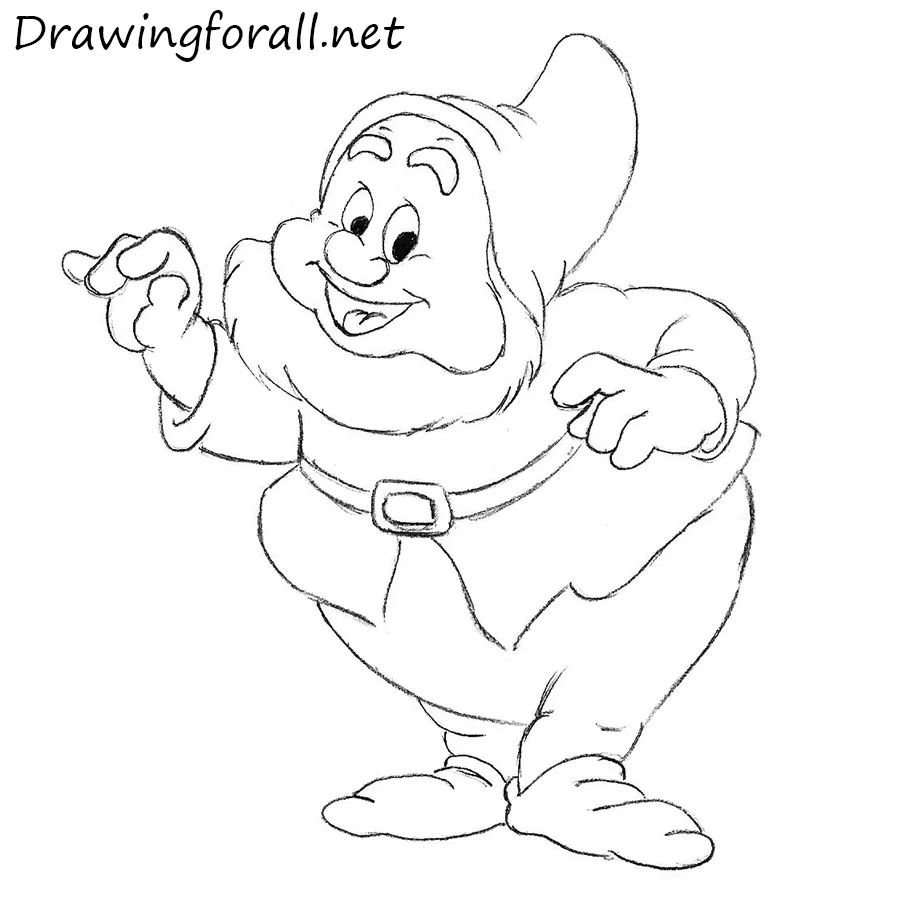
This tutorial on how to draw a gnome is now complete. Using similar principles, you can also practice drawing a dwarf warrior.
If you enjoy fairy-tale and fantasy characters, continue by drawing a cartoon wizard or drawing Mickey Mouse, if you like Disney cartoons.
These tutorials use the same simple cartoon and fantasy style and are a good way to practice drawing popular and recognizable characters.