How to Draw Darth Maul
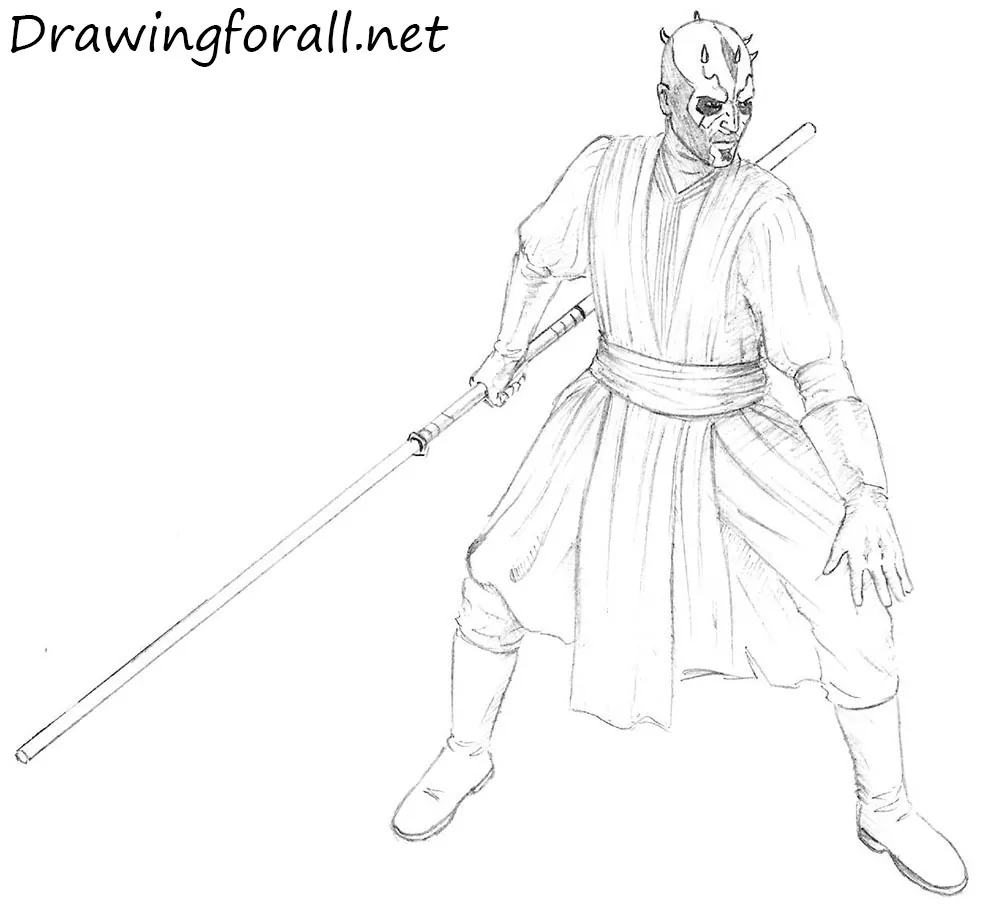
In this step-by-step tutorial, we will draw Darth Maul, one of the most memorable characters in Star Wars.
Darth Maul became a recognizable symbol of the saga after the release of the first episode, despite speaking only a few words during the film.
He looks very formidable. With his red lightsaber and frightening tattoos, he resembles the embodiment of evil. That is why we decided to create this Darth Maul drawing tutorial.
How to draw Darth Maul step by step
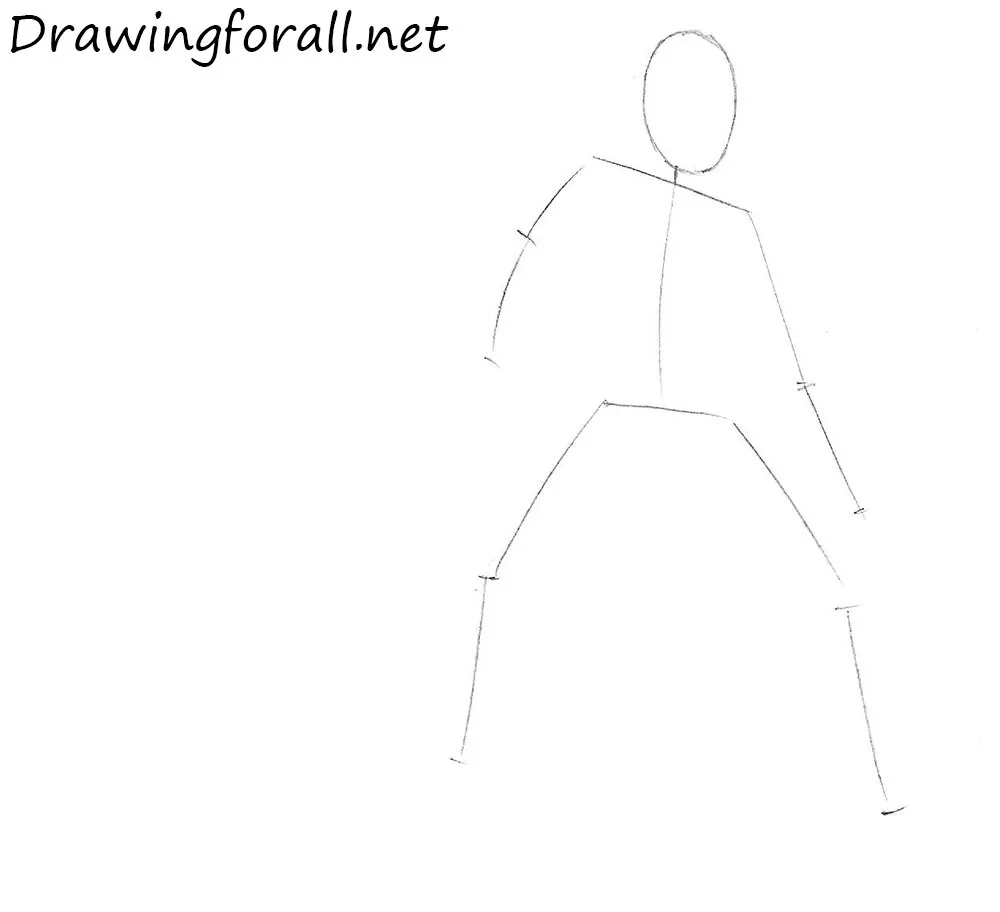
Step 1: Sketch the basic figure skeleton
First, sketch Darth Maul’s stick figure. It will establish the basic proportions and pose. Our character stands in a three-quarter view. Use an oval to outline the general shape of the head. Add a short line for the neck and another line below it for the spine. Use angled horizontal lines to mark the shoulders and pelvis. Sketch the arms and legs with simple lines.
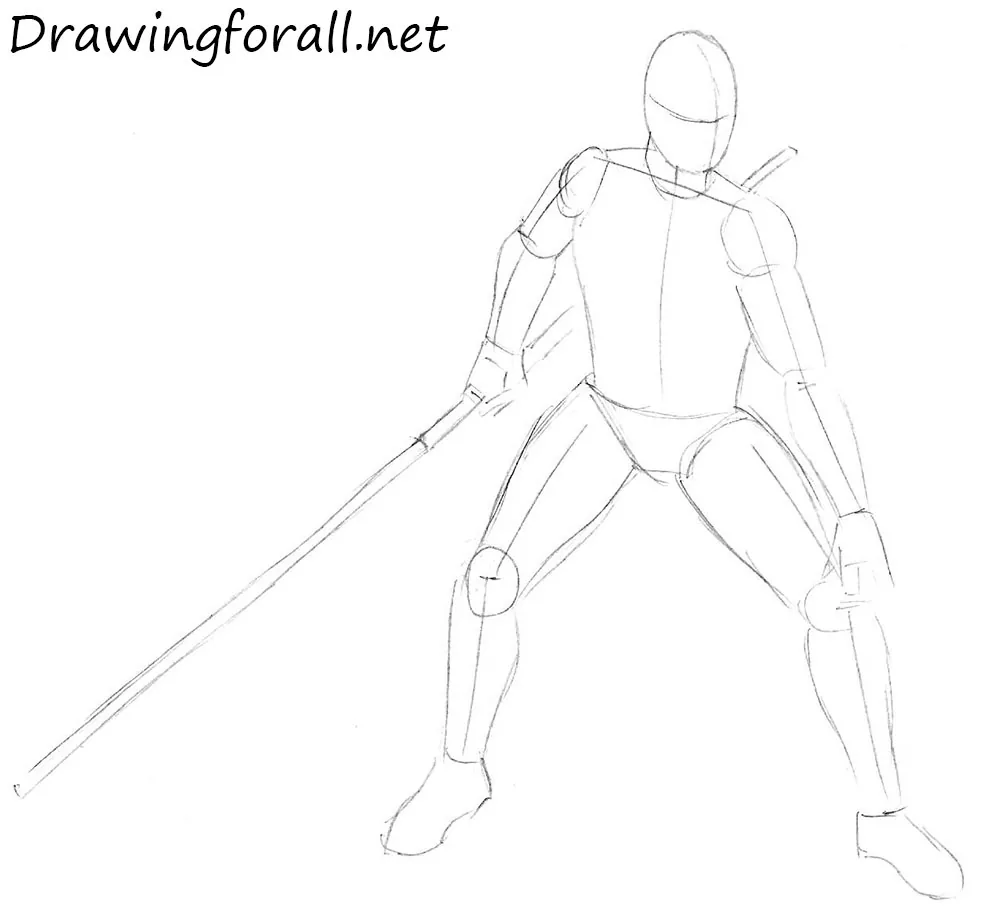
Step 2: Add volume to the body
Now, add volume to Darth Maul’s figure. First, mark the facial guidelines:
- the vertical line of facial symmetry;
- the horizontal line marking the position of the eyes.
Next, form the neck as a short cylinder and outline the general shape of the torso. Note that the torso narrows toward the waist. The pelvis resembles a rounded triangle. Use elongated cylinders to construct the arms and legs. Sketch the shapes of the hands and feet. Do not forget the lightsaber.
Step 3: Add the facial features
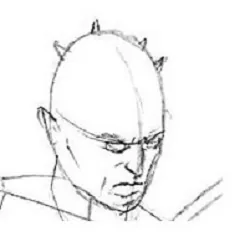
Use the facial guidelines to place the main features. The head is shown in a three-quarter view, but remember that a front-facing head is generally five eye-widths across, with one eye-width between the eyes. The upper edge of the ear should be nearly level with the eyebrows.
Here is a closer view of Darth Maul’s face:
Full figure:
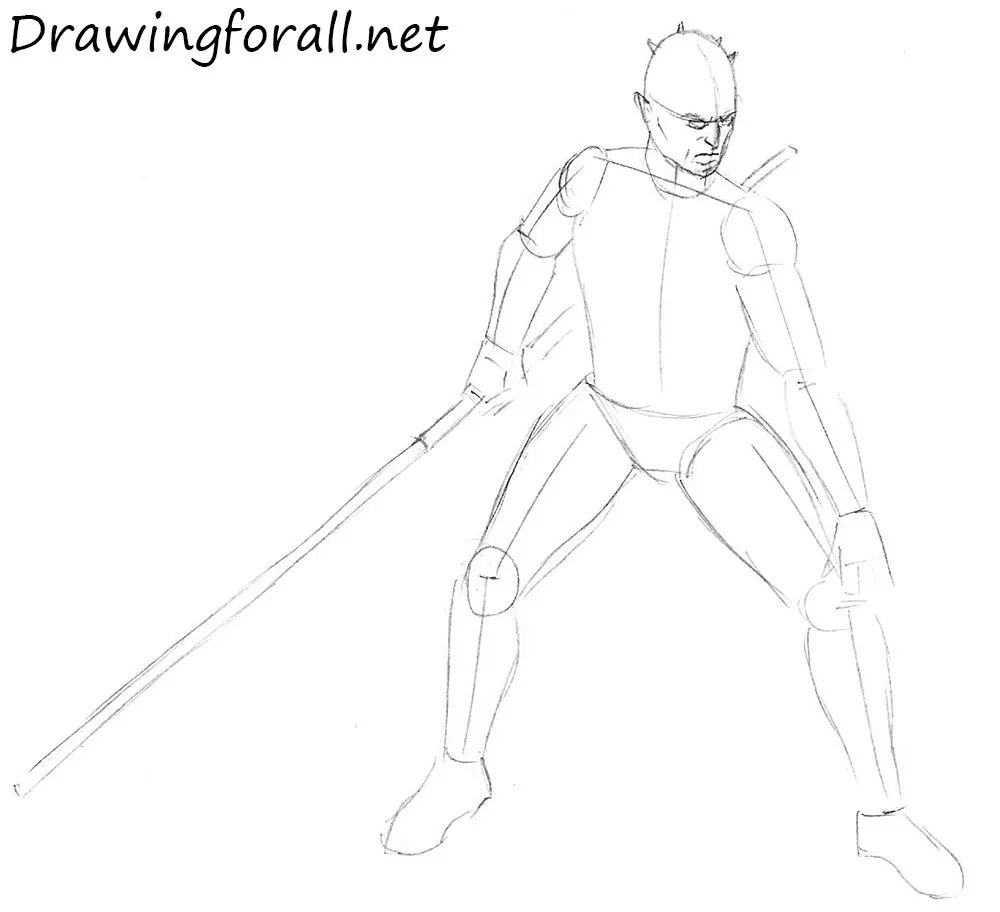
Step 4: Refine the face details
Refine the eyes, mouth, nose, and ears. Erase the unnecessary guidelines from the previous steps. For more detail on facial construction, review our tutorials on drawing eyes and drawing a nose.
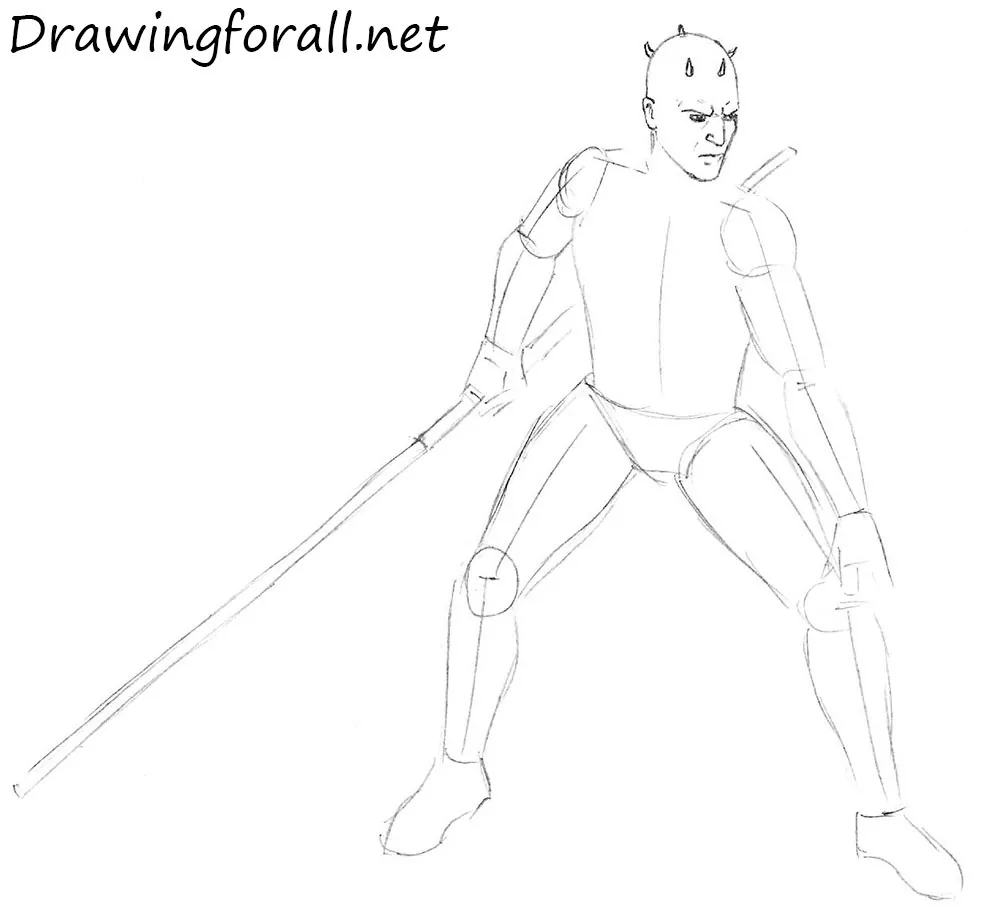
Step 5: Add the facial tattoos
Now, draw Darth Maul’s tattoos. They are an important part of his appearance. Applying these tattoos is an important ritual among the people of the planet Iridonia. First, outline the tattoos around the eyes. Then add the markings around the mouth with short, angular lines.
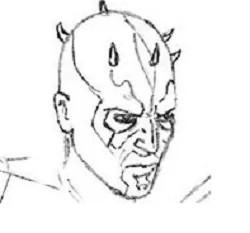
Darth Maul’s full figure:
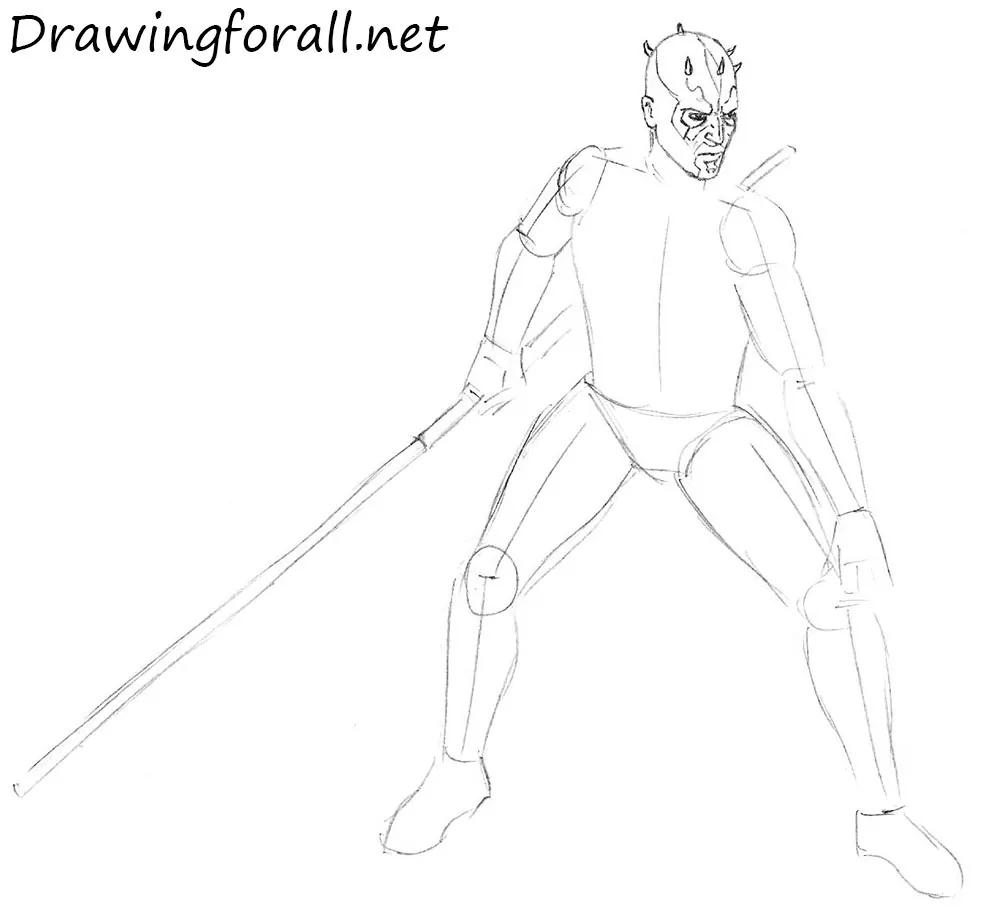
Step 6: Draw Darth Maul’s clothing
Use long, smooth vertical lines to outline the garments on the torso. Then sketch the belt as two horizontal lines. Below the belt, form the lower garment hanging loosely downward. Define the sleeves with curved lines.
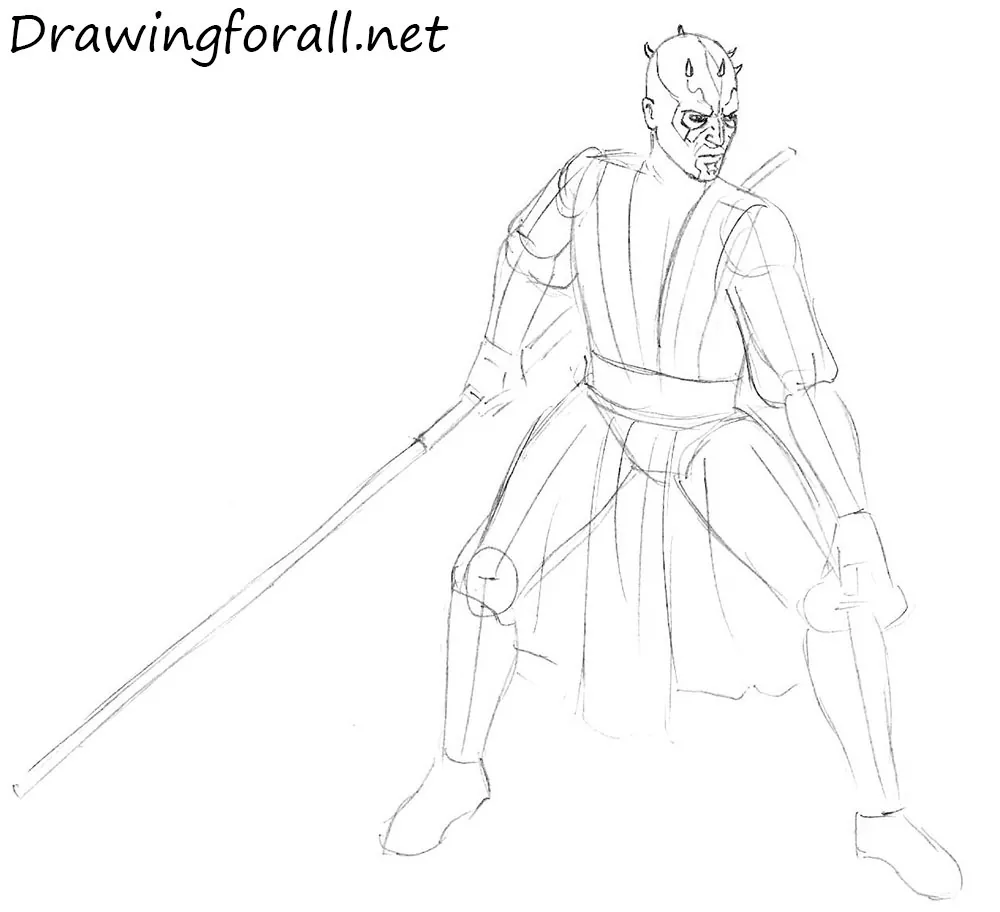
Step 7: Refine the torso and arms
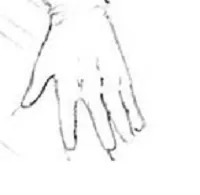
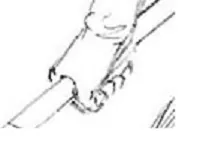
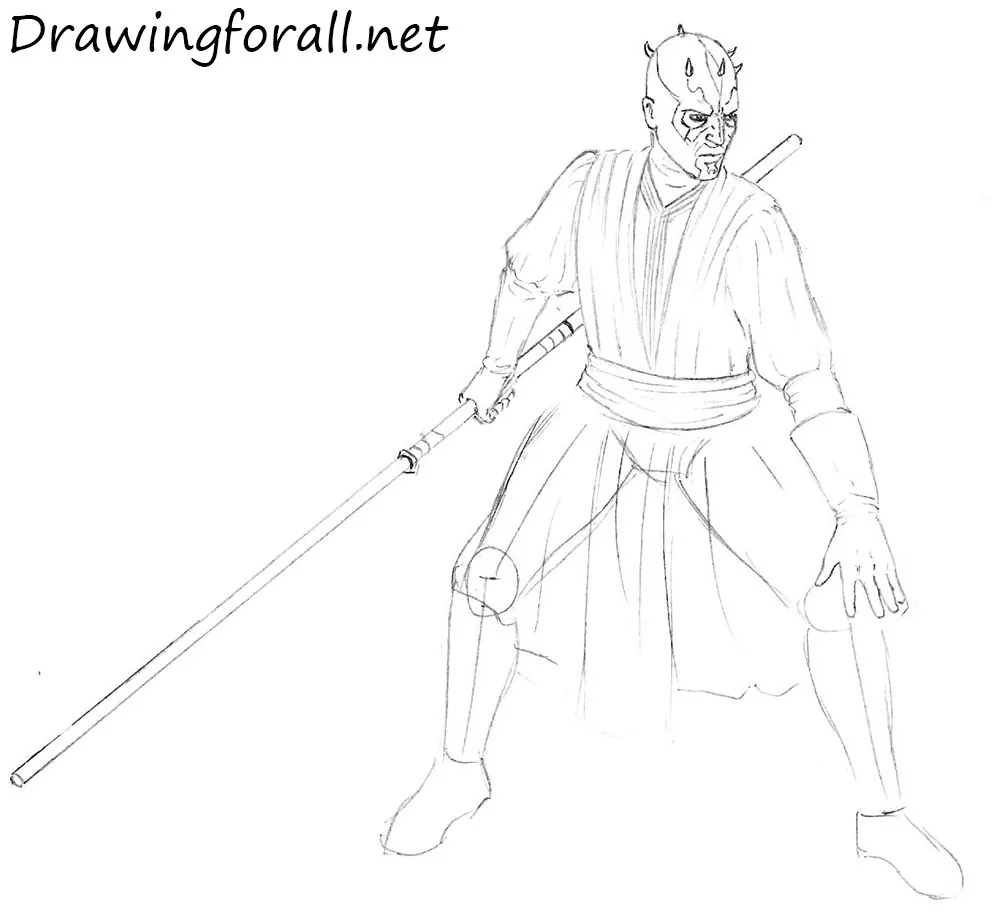
Erase the guidelines from the previous steps and refine the torso and drawing of the hands. Sketch the lightsaber hilt. Use short, curved lines to add folds to the fabric.
Full figure:
Step 8: Finish the lower clothing
Work on Darth Maul’s lower body. Erase the remaining unnecessary guidelines. Use long, curved lines to define the hanging fabric and add several folds. Finish the shoes and include the remaining details.
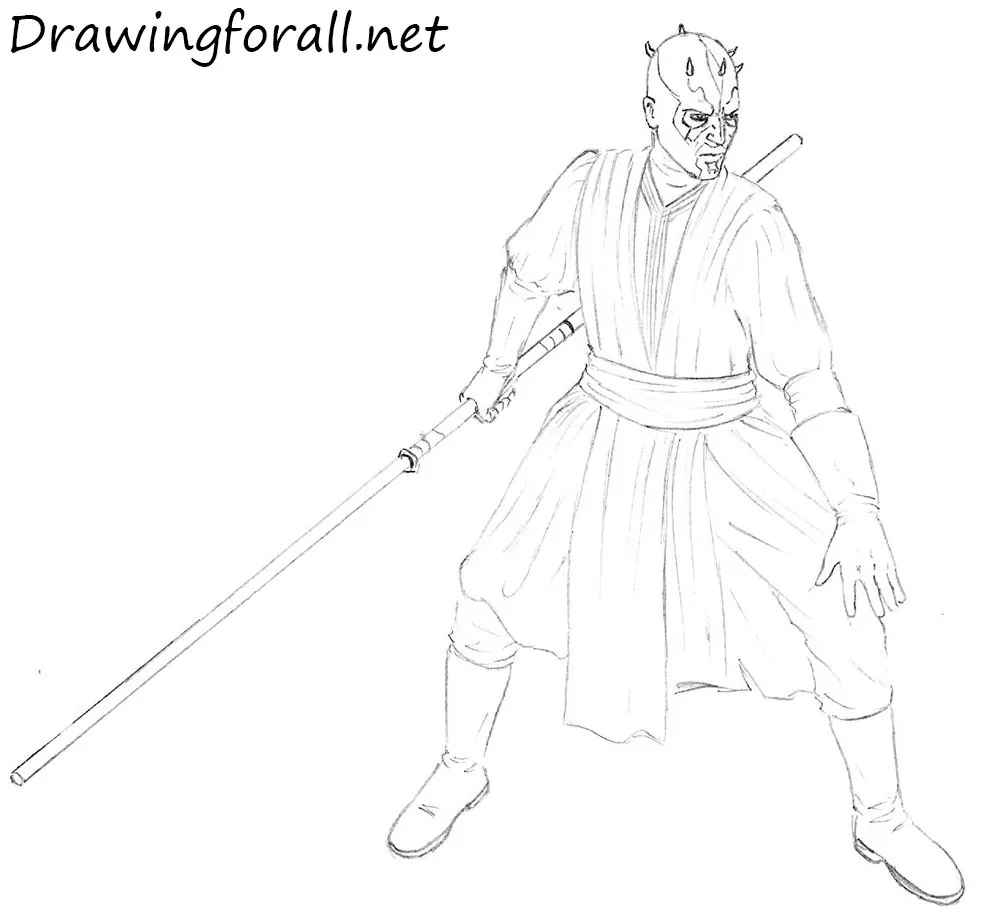
Step 9: Add the finishing shadows
Begin by filling in the dark areas of the face. Add shadows where the light does not reach. Use light, smooth hatching to create natural shading. Apply another layer of hatching to deepen the darkest areas.
This was a tutorial on how to draw Darth Maul step by step. We hope you created a formidable and impressive Sith. Visit our website for more drawing tutorials.