How to Draw Jango Fett
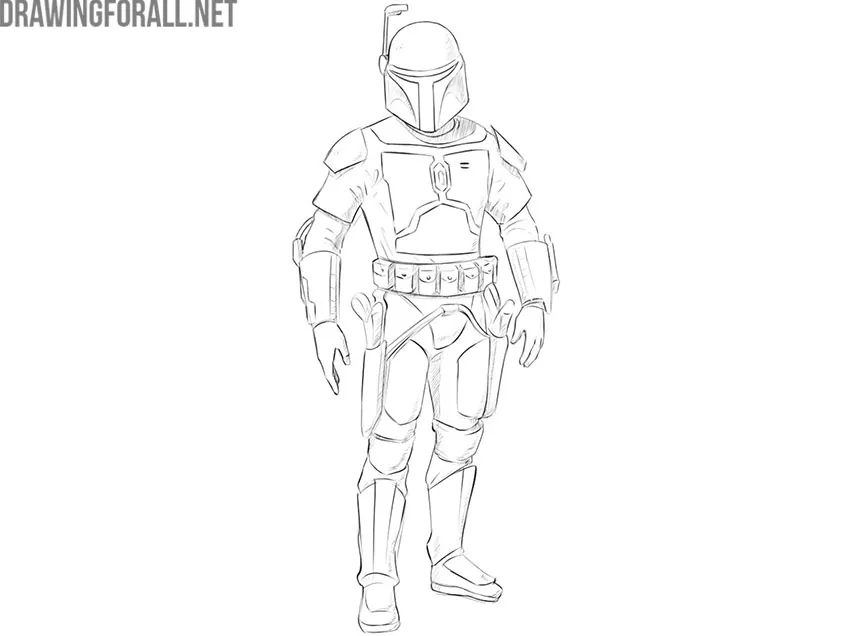
In this step-by-step guide, we will show you how to draw Jango Fett from Star Wars. Like his son Boba, Jango became a popular character even though he appeared on screen for a relatively short time.
How to draw Jango Fett step by step
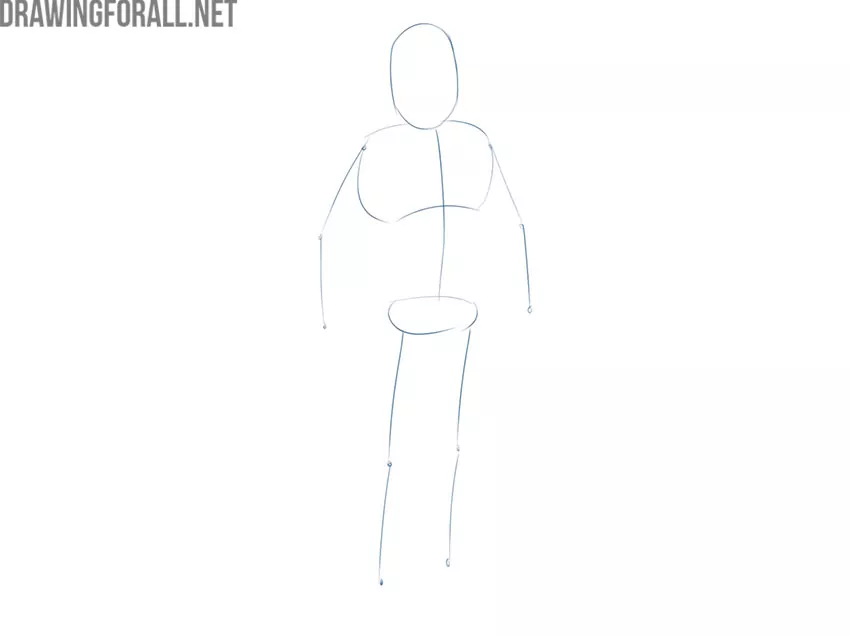
Step 1: Sketch the character’s skeleton
First, look at the figure and note its basic features. It’s best to use a stickman for this. We see a large head because of the helmet and a relatively compact figure. Jango Fett tilts his head slightly forward. This makes the figure appear even shorter. From this perspective, his height is about 5.5-6 head lengths. The chest is much wider than the pelvis. The arms form obtuse angles. The legs have minimal bends at the knees.
Step 2: Build the character’s torso
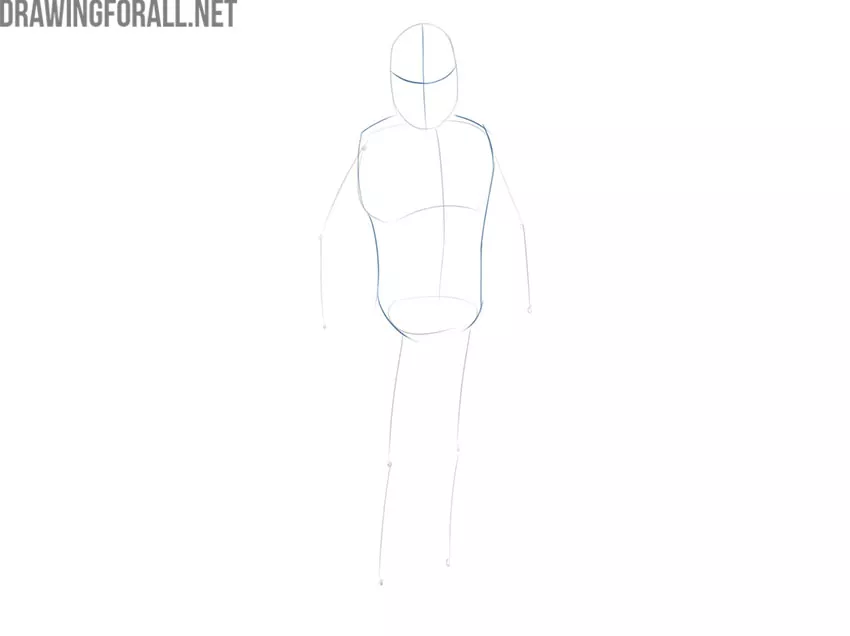
Connect the chest and pelvis using two smoothly curved lines. The torso should gradually taper toward the waist. After that, draw two intersecting guidelines on the head. The horizontal eye line is located just above the center and has a slight curve.
Step 3: Add volume to the arms
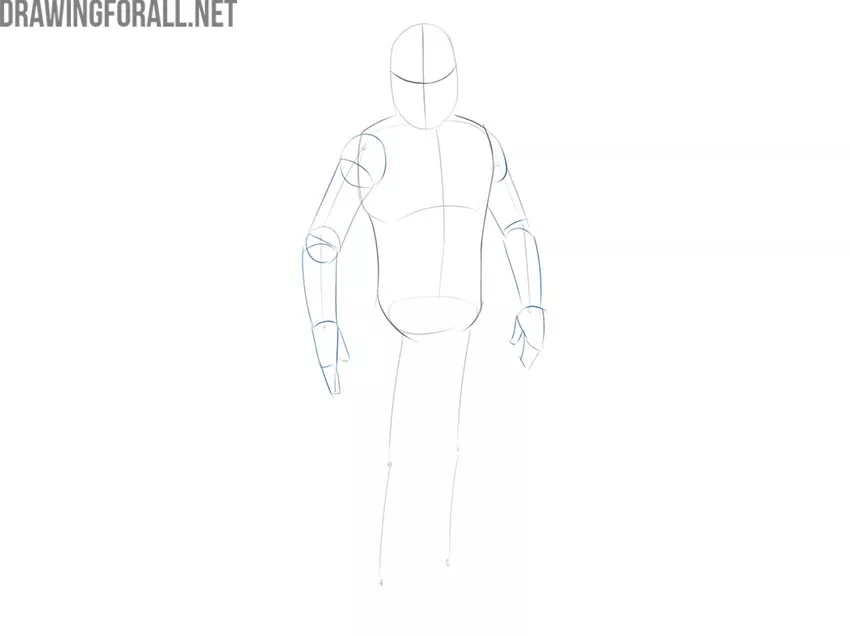
Now work on the contours of the arms. As in the previous tutorial about drawing Boba Fett, the costume hides most of the underlying muscle forms. Because of this, Jango Fett’s arms can be simplified into cylinders and rounded forms. The forearms narrow slightly toward the wrists. The hands are indicated with simple forms, with the thumbs positioned on opposite sides of the palms.
Step 4: Shape Jango Fett’s legs
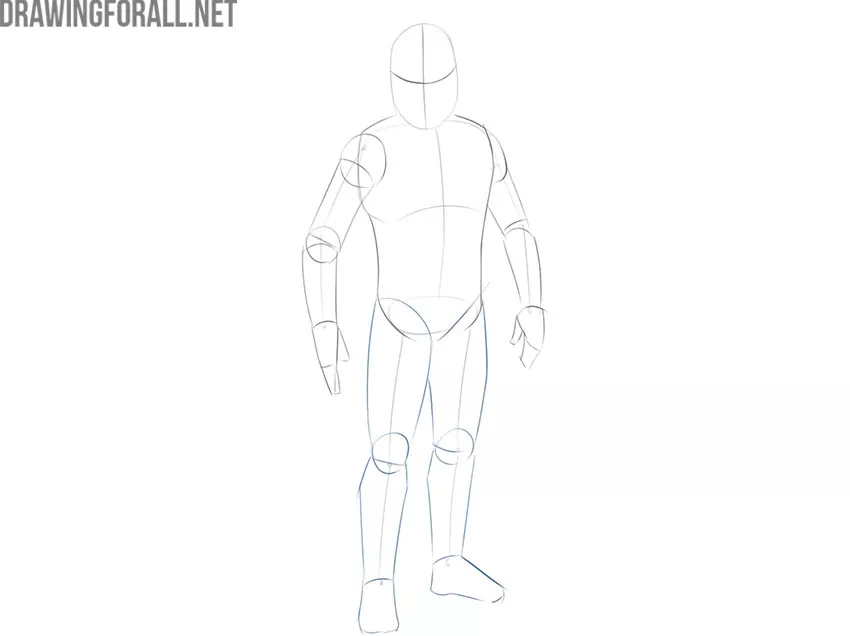
Now create the basic volume of the legs. The thighs taper smoothly toward the knees, which are indicated with rounded forms. The lower legs first widen slightly and then narrow sharply toward the ankles.
Step 5: Outline the movie character’s armor
Now we have a rough silhouette of Jango Fett. Next, outline the armor and helmet of our bounty hunter. Use the contours of the head to draw a helmet that widens toward the bottom and forms an obtuse angle. On Jango Fett’s shoulders and thighs, outline the armor plates. Add the lowered belt with a holster and blaster.
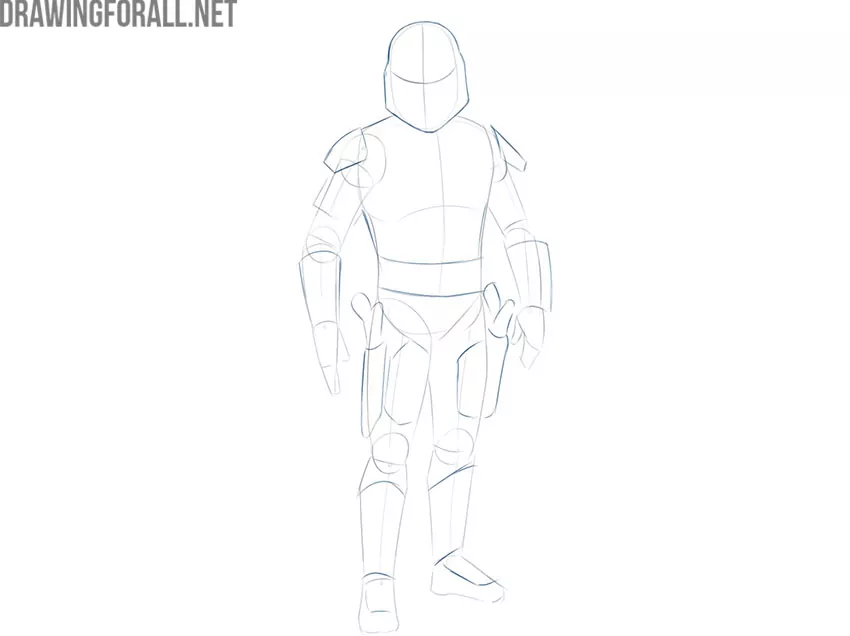
Step 6: Draw Jango Fett’s helmet
Draw the T-shaped visor on the helmet. Note that the horizontal section of the visor has sharply curved ends from this angle. Connect these ends to the lower section with smooth curved lines. Do not forget the small antenna on the helmet.
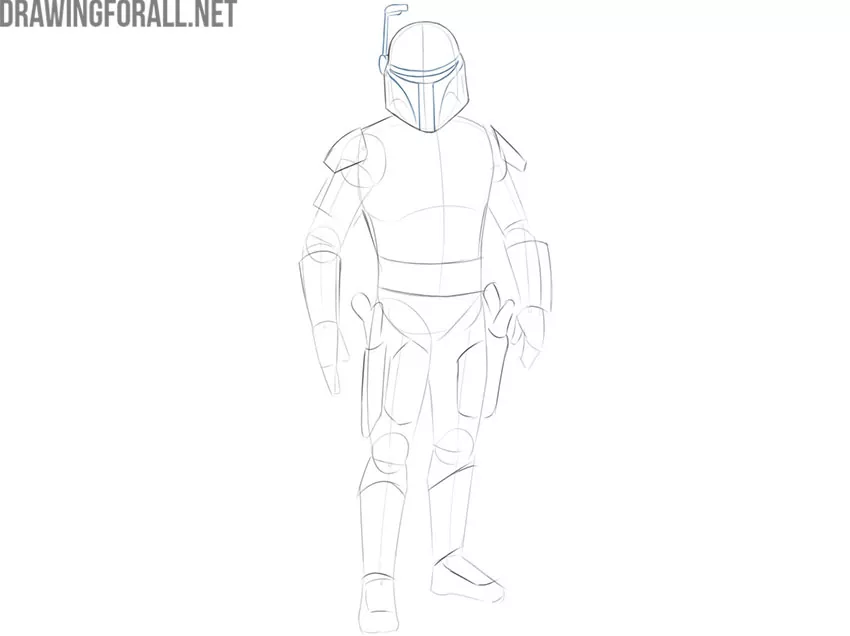
Step 7: Add the chest armor
Now draw the armor on Jango Fett’s torso. It consists of four plates separated by narrow gaps. At the point where the plates meet, add a small elongated hexagonal detail. Keep the outer edges of the plates smooth and follow the contours of the chest.
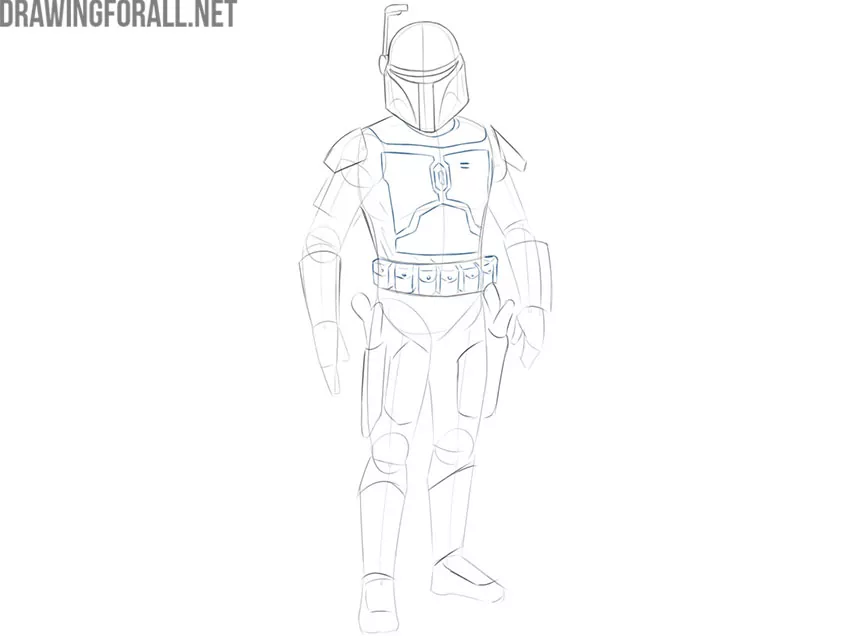
Step 8: Refine Jango Fett’s arms
The most difficult part here is drawing the fingers. We have a separate tutorial on drawing hands if you need more detail. Also draw the armor on the shoulders and forearms. Add fabric folds around the elbows. Refine the contours of the gloves and separate the fingers with short lines.
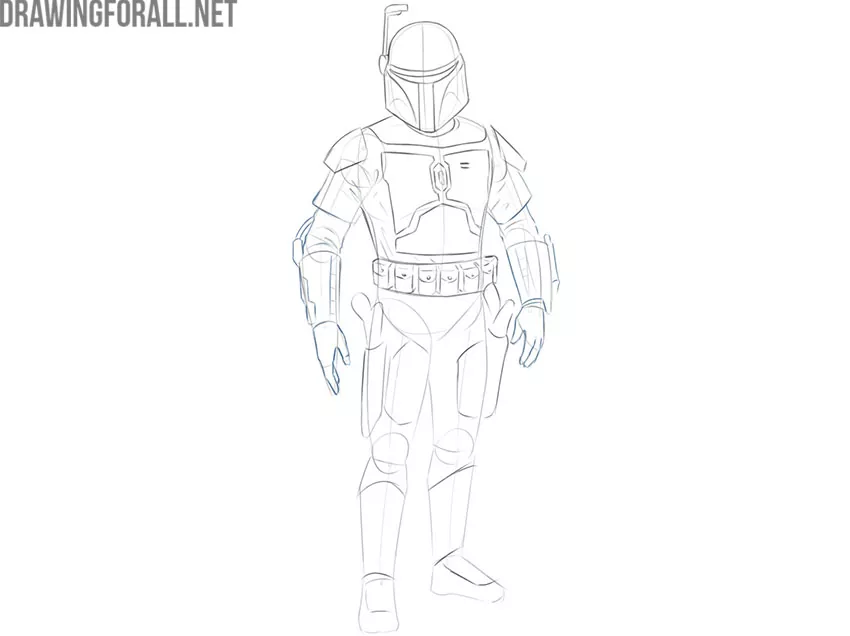
Step 9: Detail the lower body
In the pelvic area, draw the protective plate and the lowered belt with holsters hanging on both sides. Add the smaller armor elements on the thighs and lower legs. Do not forget details such as folds in the fabric and the edges of the boot soles. Refine the contours of the boots and erase any unnecessary guidelines from the previous steps.
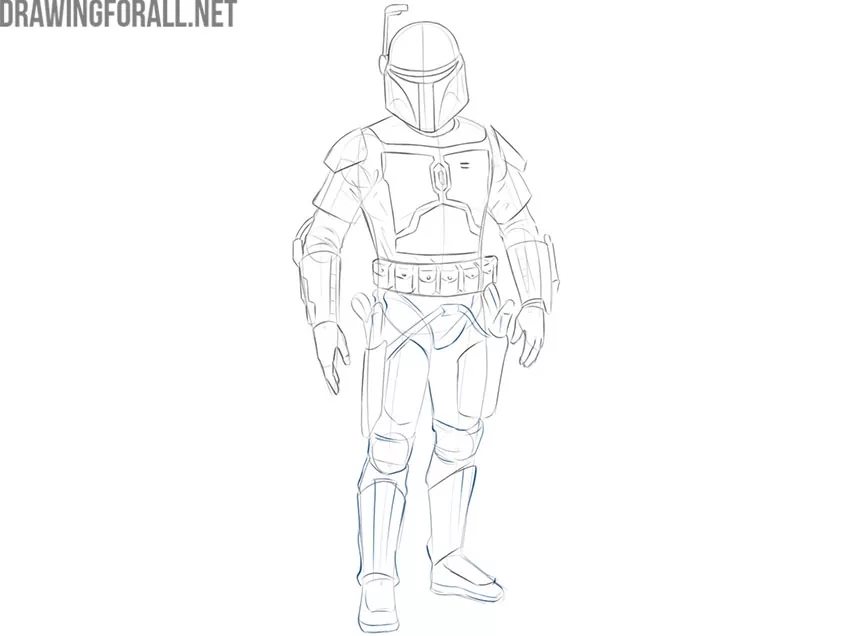
Step 10: Draw shadows on the character
Outline the areas you want to shade. After that, fill them with light single-layer hatching. Avoid very dark, contrasting shadows. They can make the drawing look more like a comic illustration. Add slightly darker hatching in the areas where the armor and clothing overlap.
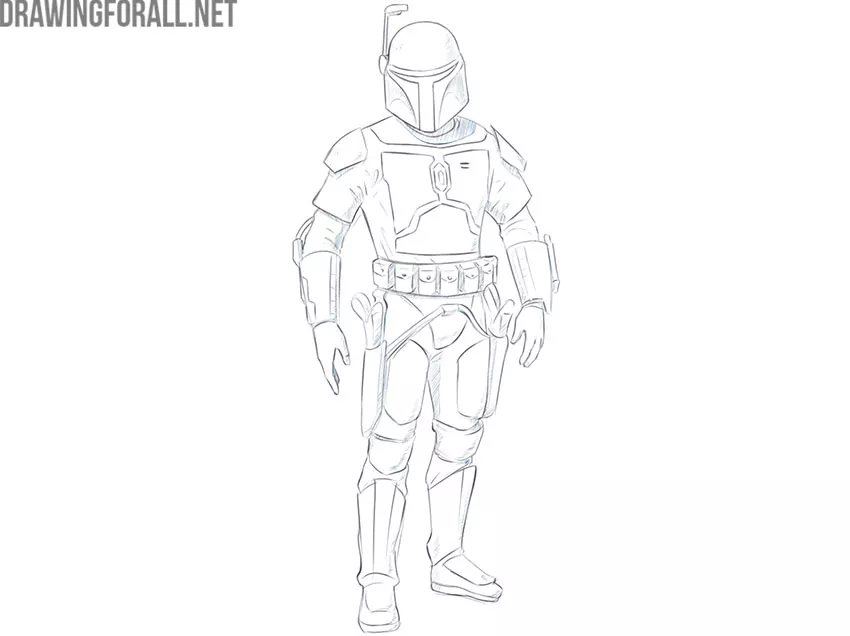
Step 11: Finish the Jango Fett drawing
This is the final result of our Jango Fett drawing. Check the main contours and details once again, and make any final corrections if necessary. Here you can make the drawing more contrasting or add more halftones and any details that were missed.
This was our drawing guide on how to draw Jango Fett from Star Wars. We have also prepared more tutorials for those who enjoy drawing characters from this famous space saga.