How to Draw a Tourist
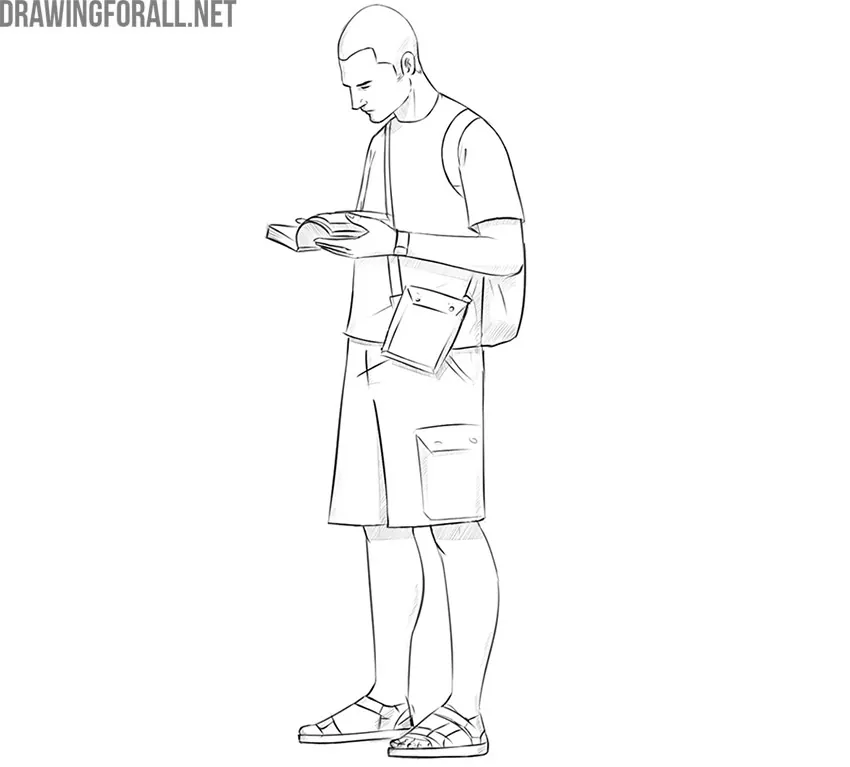
To learn how to draw a tourist, you need to keep the basics of drawing the human figure in mind. Here, we’ll go through these principles, show you how to construct a convincing human figure, add the clothing and necessary details, and create volume with shadows. In the end, you’ll have a finished drawing of a tourist carefully studying a book.
How to draw a tourist step by step
Step 1: Sketch the tourist’s pose
We have a character with a rather unusual pose. Let’s outline a stickman that will help establish the pose, basic proportions, and position of the character on the paper. By the way, we created a useful guide on human body proportions. Be sure to read this guide before drawing a stickman. Our character has his arms bent at the elbows and his head tilted. This is a typical posture for someone reading something on the screen of a gadget or in a newspaper.
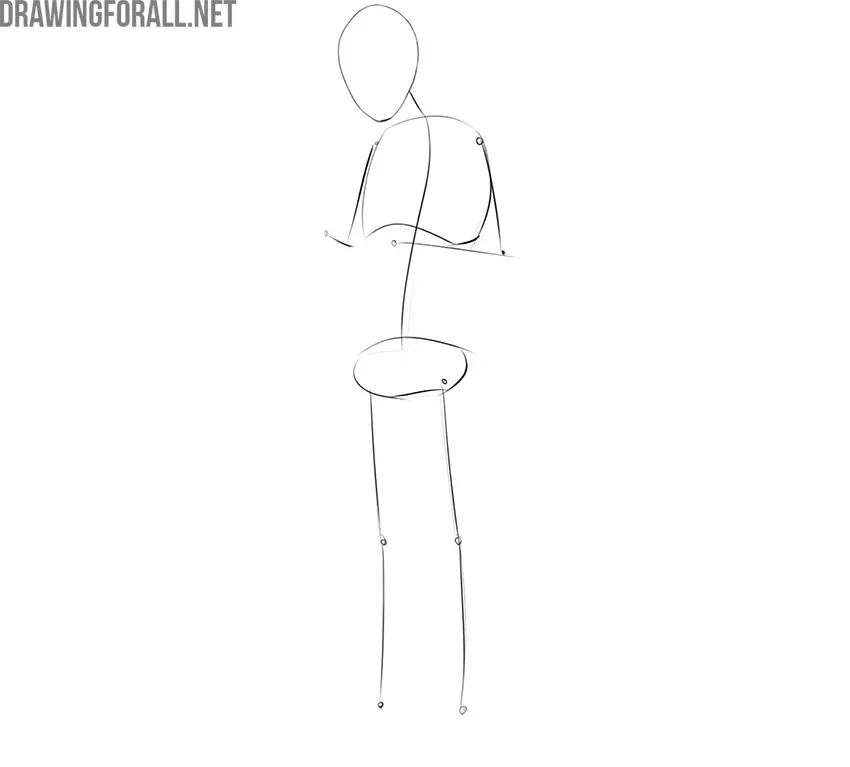
Step 2: Outline the torso
In the previous step, we outlined three rounded shapes – the head, chest, and pelvis. Now we will connect these shapes to form the contours of the body. First, connect the head and chest with a truncated cylinder to form the neck as the head tilts forward. Then connect the chest and pelvis with a pair of smooth lines. These are the contours of the abdomen. At the end of this step, outline two intersecting lines on the face to indicate the location of the eyes, nose, and mouth.
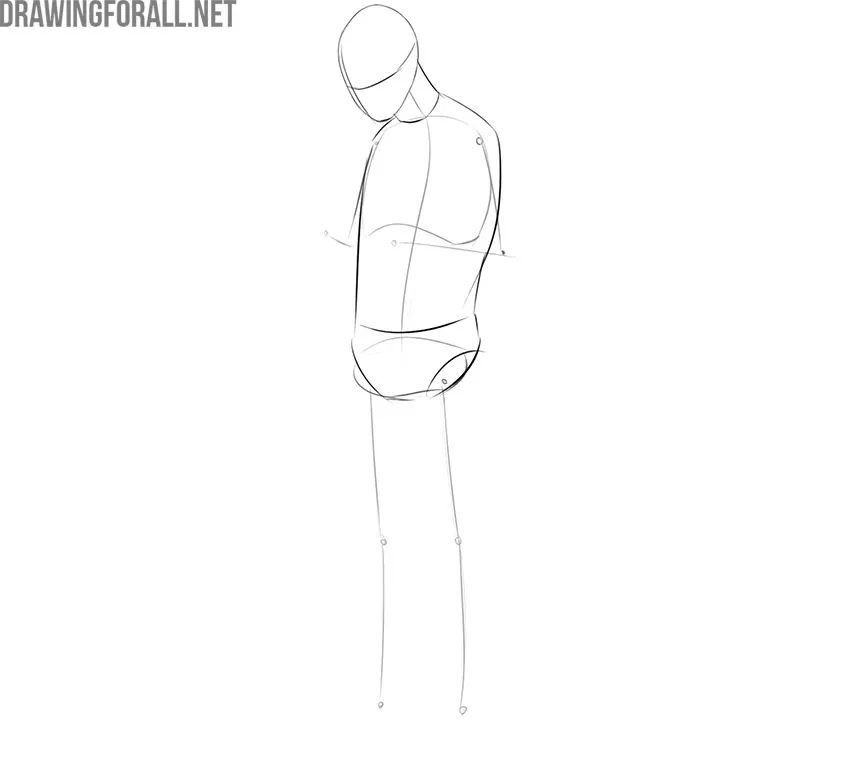
Step 3: Build the tourist’s limbs
Now we will do something similar with the limbs of our character. To outline the arms and legs, use cylinders with smooth bends toward the hands and feet. Draw the large joints as ball-like shapes between the cylinders. Avoid making the limbs too wide or bending them too sharply. The hands and feet look like small polygons. You can draw any item in the hands of your character. For example, it can be a city map or a gadget.
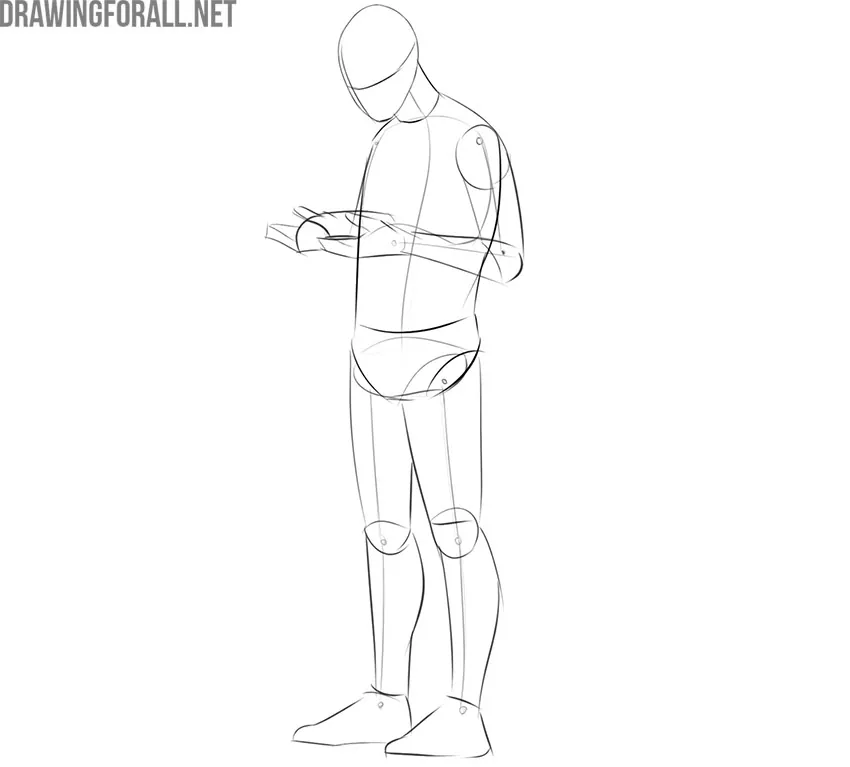
Step 4: Add clothes and features
Now that we have finished working on the body contours, we can draw the tourist’s clothes. You can choose any clothes you like. If you want to make the tourist look like this one, outline the long shorts and shirt. Pay attention to how the fabric follows the lines of the body. Also, outline the eyes, nose, ears, and mouth. Be sure to check out our guide on human head proportions before working on the facial features. This will help you place them more accurately.

Step 5: Refine the tourist’s face
Now draw the face of the tourist in detail, completing the facial features. As you can see, there is no need for excessive detail. A few correctly placed short strokes are enough to show the character’s expression and the angle of the head.
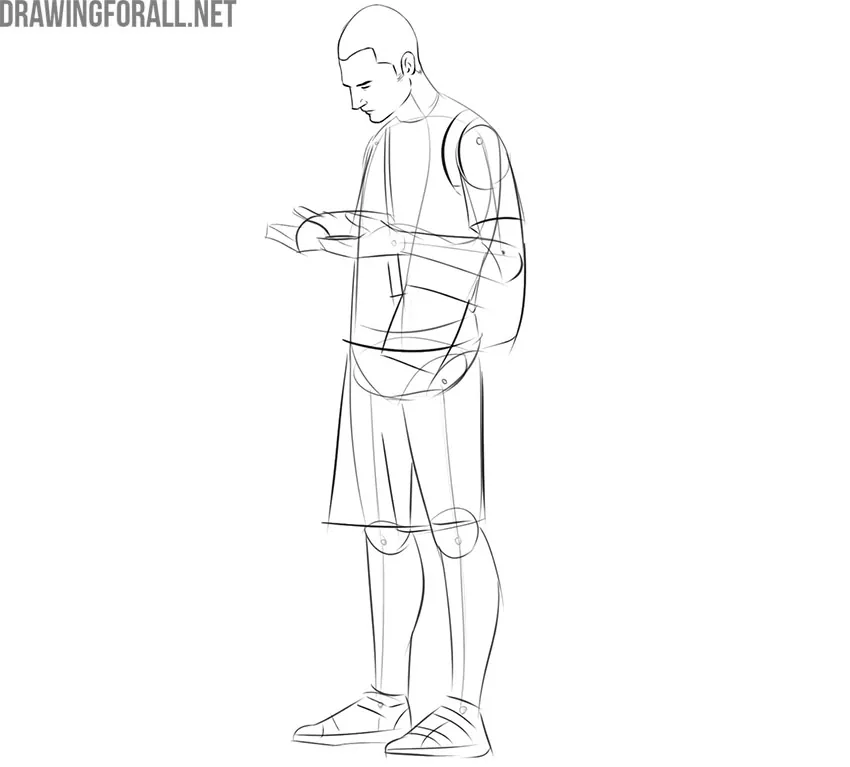
Step 6: Draw the hands
We are already near the finish line. Remove the extra guidelines from the tourist’s hands. Before that, refine the contours of the hands and accessories – in our case, a wristwatch. When drawing the fingers, pay attention to their size and shape, as well as the position of each finger relative to the others. Check out our special tutorial on drawing hands to make this step even easier.
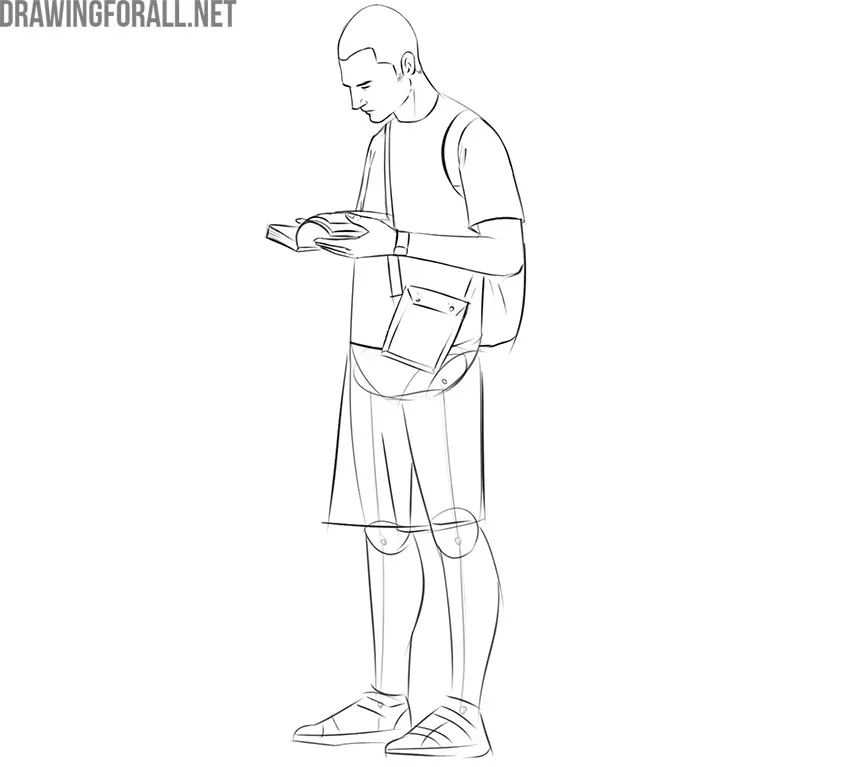
Step 7: Finish the legs
Erase the extra lines from the tourist’s legs. Draw the shorts and sandals. You can choose other shoes – for example, sneakers or gym shoes. In any case, try not to forget small details such as folds in the shorts, pockets, and sandal straps.
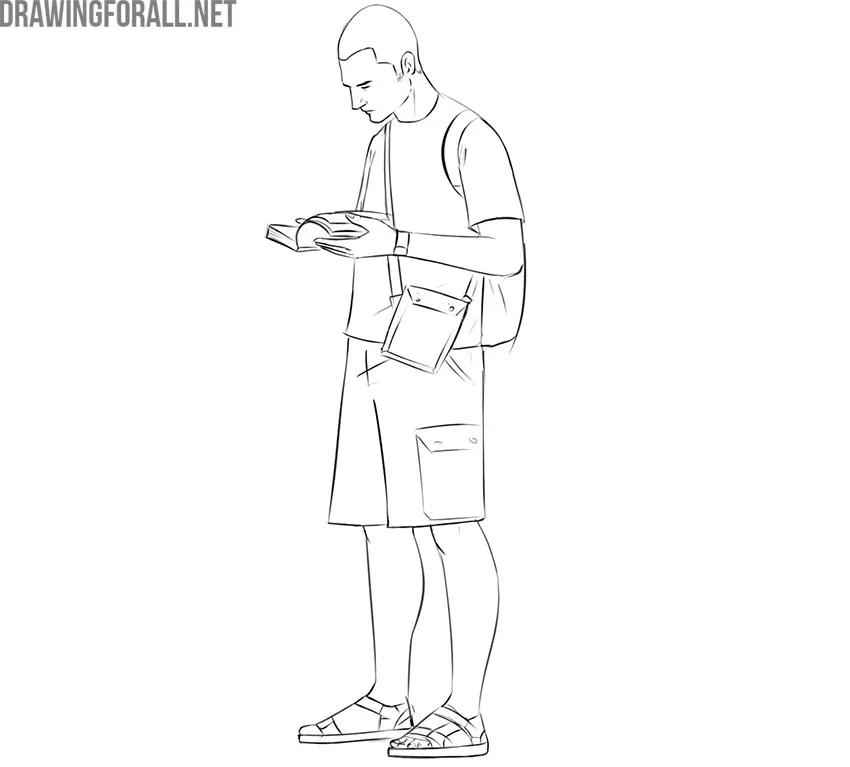
Step 8: Add the final shadows
Let’s add some shadows to finish the drawing. Here, the shadows are kept very simple, using small areas of single-layer hatching. You can make this task easier by first outlining the shaded areas and then filling them with a single layer of hatching. You can also practice creating more complex shadows in our tutorial about light and shadow.
We hope this tutorial was helpful for you. Do not forget to leave your comments under this tutorial and on our social networks. We are looking forward to your feedback!