

How to Draw a Chibi Anime Character
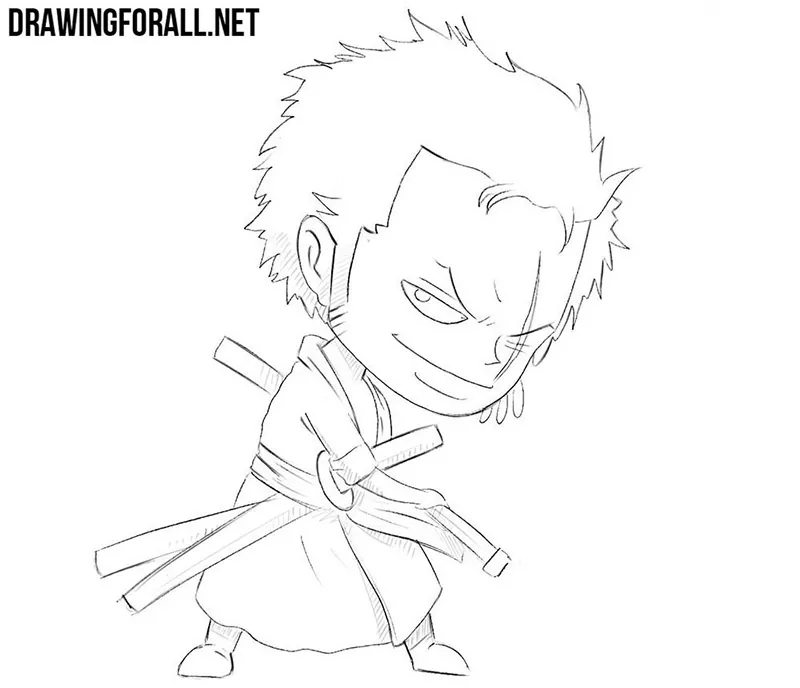
Chibi is a style in which characters from famous anime, comics, games, and other works of popular culture are drawn in an exaggeratedly cute and childlike form. In this tutorial, we will show how to draw a chibi anime character using chibi Zoro as an example.
The purpose of this tutorial is to show you how to take a well-known anime or manga character and turn them into a chibi using the characteristic principles of this style. We will use our chibi drawing tutorial as a basis and apply its principles to a well-known character.
How to draw a chibi anime character step by step
Step 1: Establish the chibi proportions
Start with the chibi character’s head, sketching it as a large oval. Next, mark a small torso that is approximately the same size as the head. Compared to a regular anime character, the head here should occupy a much larger part of the entire figure. This is one of the main features that turns an ordinary anime character into a chibi.
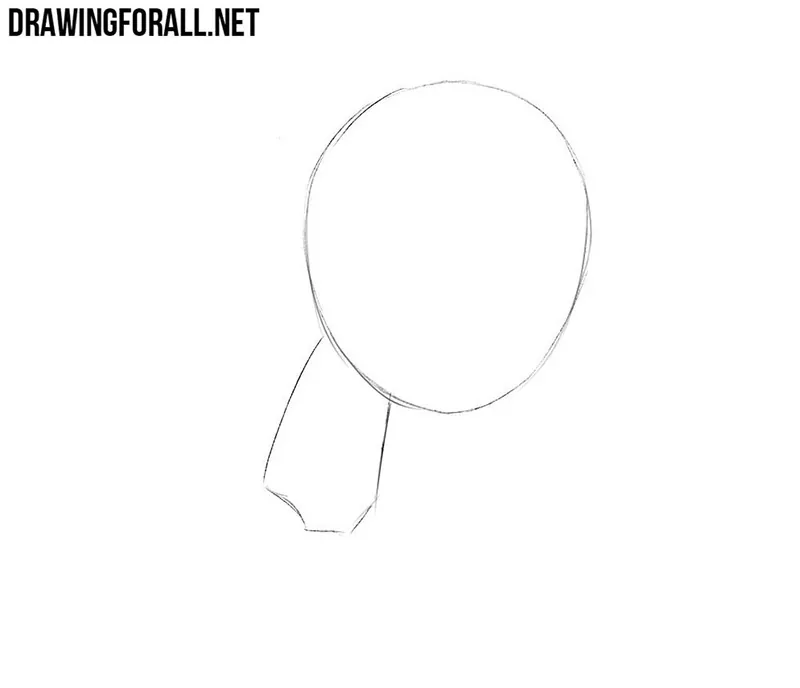
Step 2: Mark the short limbs
Now outline the limbs, which should also be small and slightly childlike. Draw all the lines at this early stage very lightly. Do not try to preserve the realistic or usual anime body proportions here. The purpose is exactly the opposite: shorten the body and exaggerate the size of the head. In a regular anime character, the limbs can be quite long and close to realistic human proportions. In chibi, shorten them noticeably.
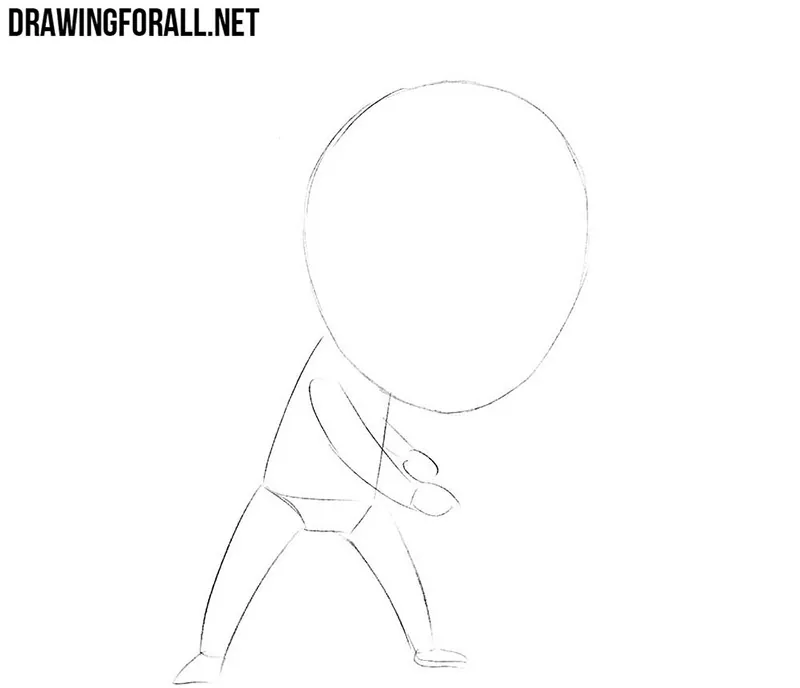
Step 3: Add Zoro’s main details
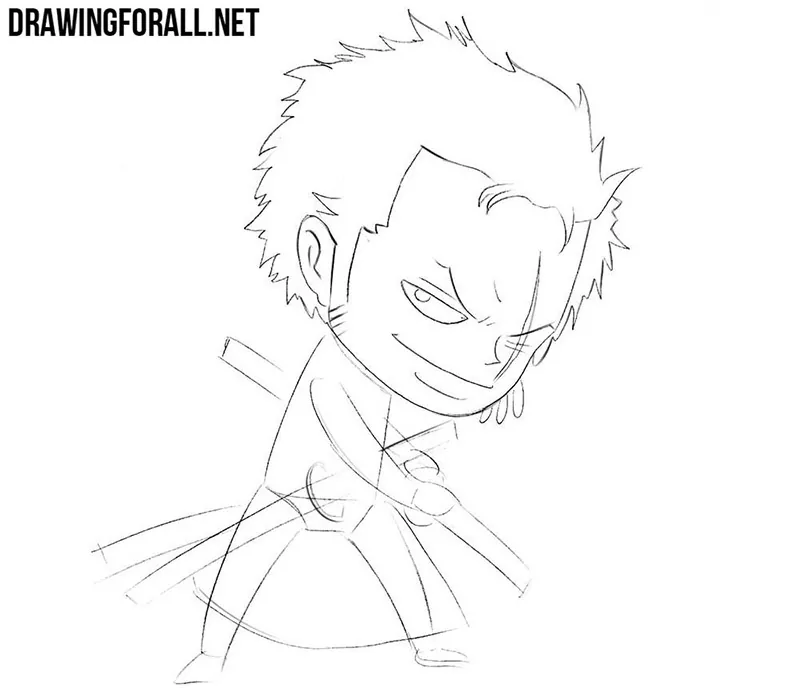
Now add the basic details to the chibi Zoro drawing. On the head, mark the facial features and draw the anime hairstyle. Then move to the torso and outline the clothing and swords. Here, the principle is the same: preserve the elements that make the character recognizable, but simplify their shapes and reduce the number of small details.
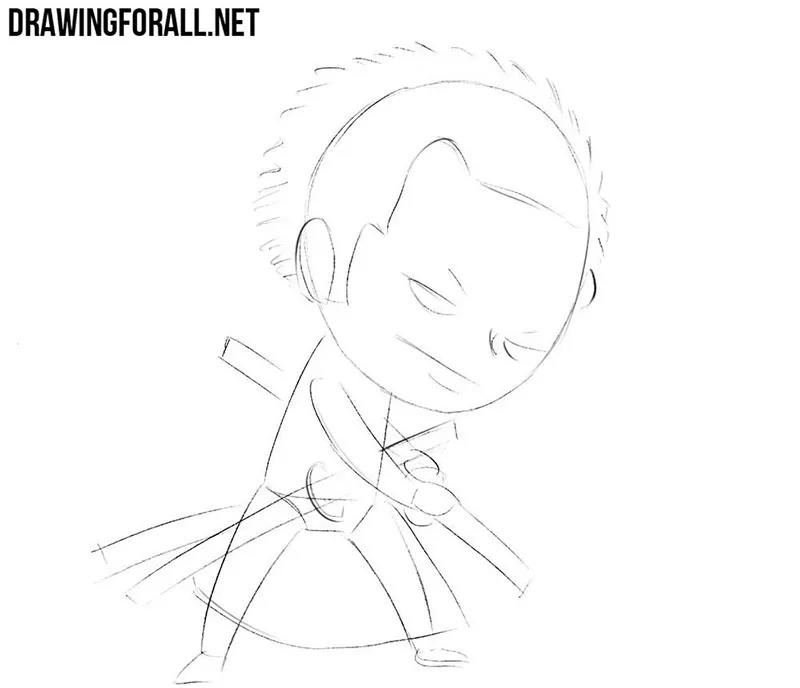
Step 4: Refine the chibi head
Now work on the details, starting with the head. Carefully refine the facial features and hair with clean lines. Make the eyes larger and more expressive than in the original version of the character. At the same time, simplify the nose and mouth, using very short and simple lines. If you want to practice this feature separately, try drawing chibi eyes. Complete the hairstyle, using simple shapes.
Step 5: Finish the body outlines
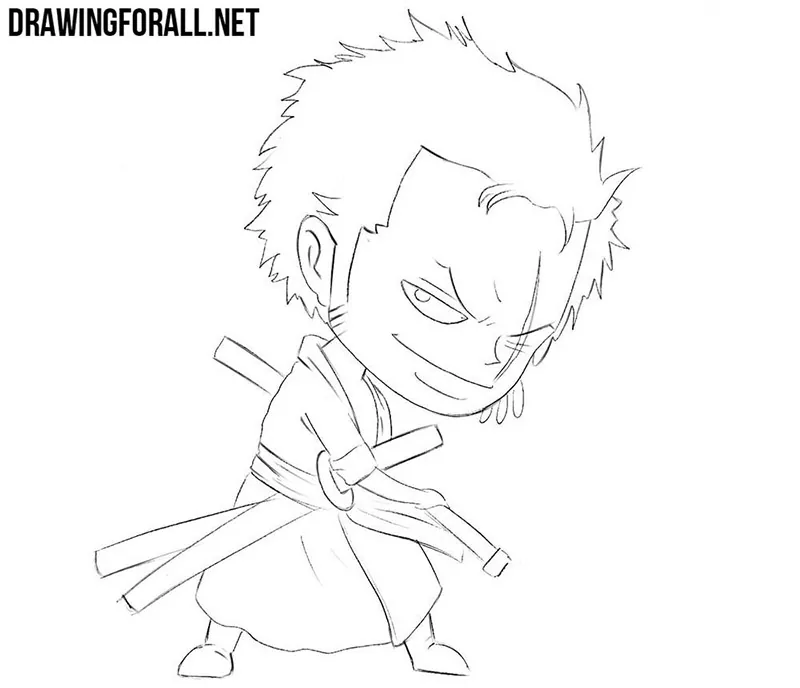
Now work on the body of the chibi anime character. Refine the torso, limbs, clothing, and swords with clear, dark lines. Then erase the unnecessary guidelines to clean up the chibi Zoro drawing. Do not try to reproduce all the folds, seams, and small elements of the clothing. Leave only the most characteristic details. The same applies to the swords and other accessories.
Step 6: Shade the chibi character
Finally, add shadows to make the chibi anime character drawing look more complete. Apply light, even hatching to the shaded areas. You can add another layer of hatching where you want the shadows to appear darker. In a regular anime drawing, shadows can be more complex and follow the anatomy and clothing in detail. In chibi, they should look much simpler.
Look at the original appearance of this character and compare it with how we simplified and changed his features. Then try taking another character and applying the same principles.
In our chibi character drawing tutorial, we cover all the important details you need to create characters in this style.
For example, you can open our tutorial on how to draw Naruto and our Chibi Naruto drawing tutorial at the same time.
Place them next to each other and see how the characteristic anime features are transformed into chibi features. Then try to redraw the chibi version following the sequence of steps.
After that, you can try to do the same from memory with another character of your choice.



EEEK! Chibi zoro is cute TwT
Thank you very much.
looooooooollllllllllllll
hahahahahahahaha 😠