How to Draw a Router
Our website team includes not only people but also devices that have already become an important part of our work.
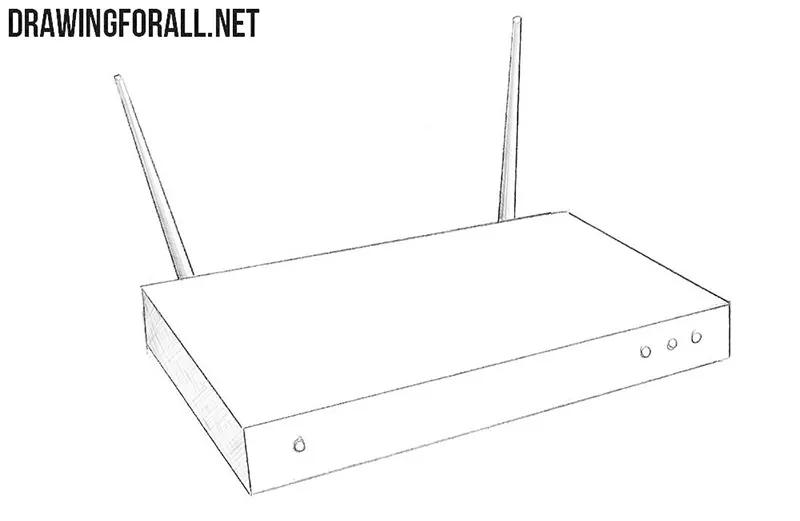
One of them is, of course, the router, without which these articles would hardly have appeared. In this tutorial, we will show you how to draw a router consisting of a simple flattened cubic base and a pair of antennas.
How to draw a router step by step
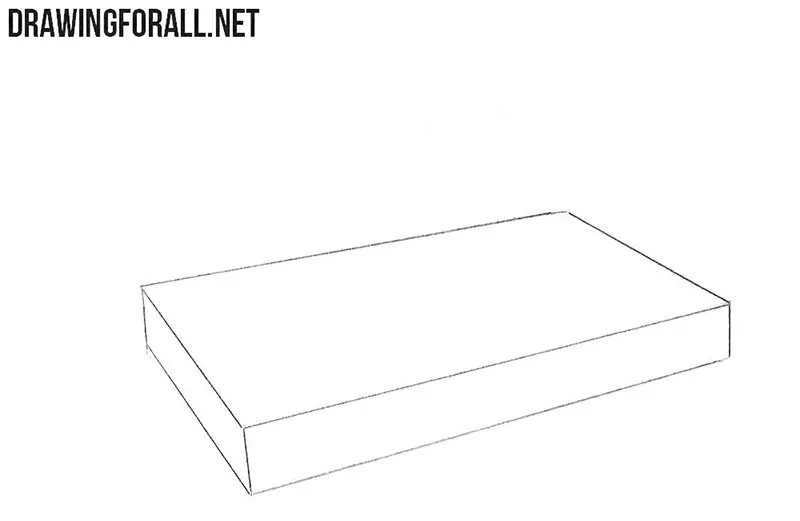
Step 1: Draw the router body
Sketch a regular rectangular parallelepiped. It is much easier to draw than to pronounce, isn’t it? This simple geometric shape will form the body of the router. It will be especially good if you draw the contours without the help of a ruler or other auxiliary tools for drawing straight lines. Keep an eye on the lines to make sure they follow the rules of linear perspective correctly.
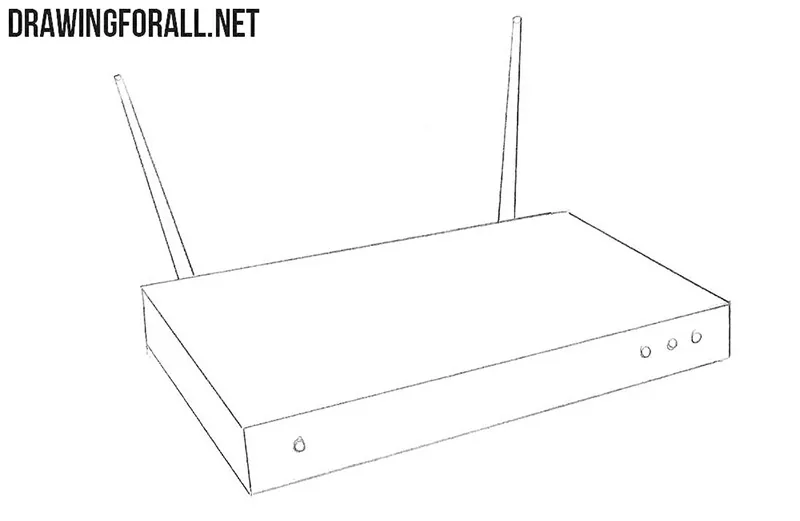
Step 2: Add antennas and indicators
There are many different forms and designs of routers. However, we decided to draw a regular router that is familiar to most people. As a rule, such a router looks like a small box with two antennas and a few glowing indicators. Draw these antennas and indicators in this step.
Step 3: Add the final shadows
Now we just need to work a bit with the shadows. Shadows are especially important when drawing devices because they help the subject look more realistic. Using ordinary hatching, draw the shadows on the sides that receive less light. You can also add a small cast shadow under the router to make the drawing look complete.
As you can see, drawing a router is quite simple because its construction consists of only a few basic forms. You can change the shape and size of the body, add more antennas, or change their position. Just follow the same sequence of steps.
For further practice, try to draw a printer, another electronic device consisting mostly of simple geometric forms. Or draw a phone, which has an even simpler shape.