

How to Draw a Printer
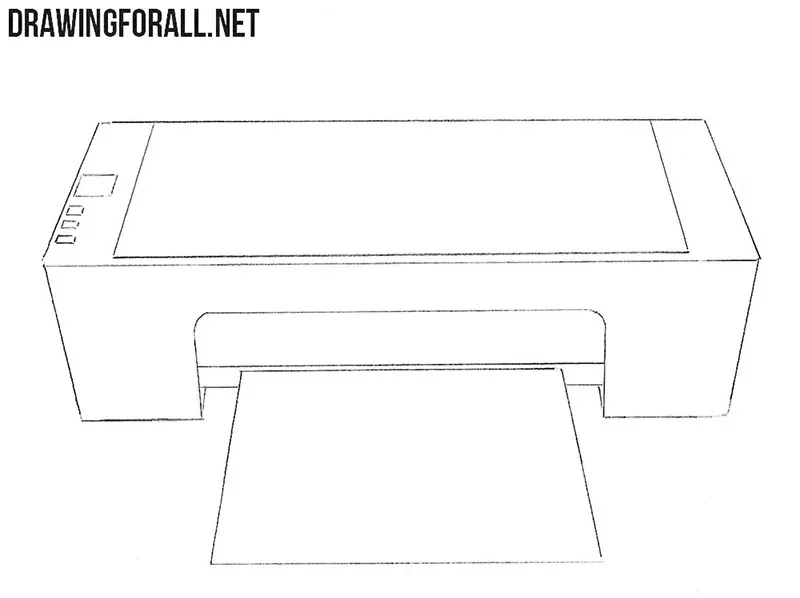
Home electronics are usually quite simple to draw because most devices are based on simple geometric forms. In this tutorial, we will show you how to draw a printer using mainly straight lines.
The “Electronics” category on our website is gaining more and more popularity, and our readers are already asking us to show how to draw new items related to this category.
The essence of this section is simple: here we create very simple tutorials consisting mainly of basic lines. Like all the other drawings from the above category, the printer drawing will consist of the basic shapes.
How to draw a printer step by step
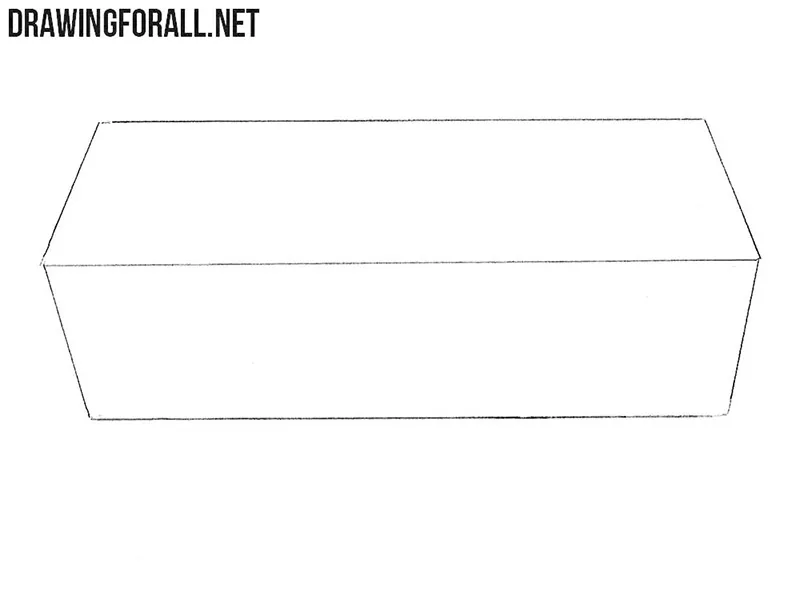
Step 1: Sketch the printer body
As we have said in our basic drawing course, an artist should see all objects as simple geometric shapes. In this example, the printer in the first stage will be represented as a long box. Draw its upper and front surfaces using simple straight lines. You can draw the printer either with a ruler or without it if you want to practice drawing straight lines.
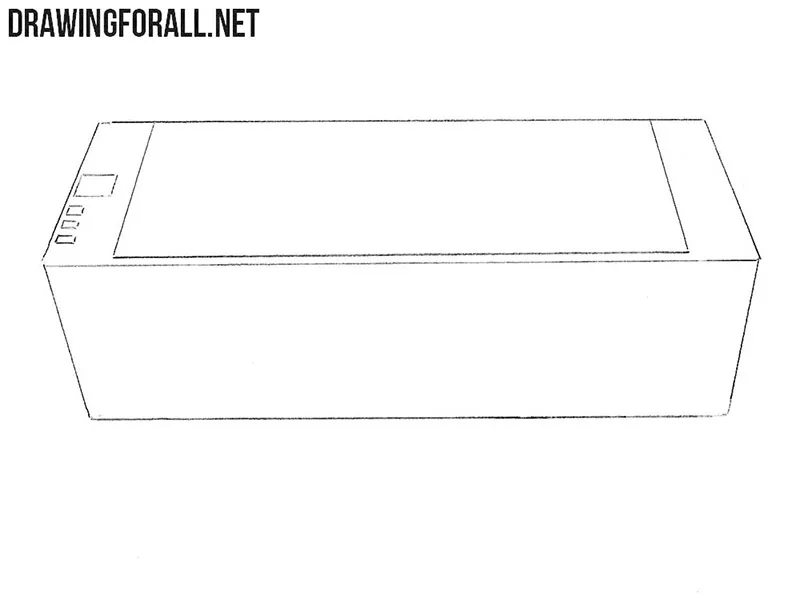
Step 2: Add the cover and controls
In the second stage, add the most basic and important parts to the printer sketch. First, create a cover on the upper surface of the device. Next, depict several buttons and a control panel on the side. As you can see, all the details in this stage are also created using simple straight lines.
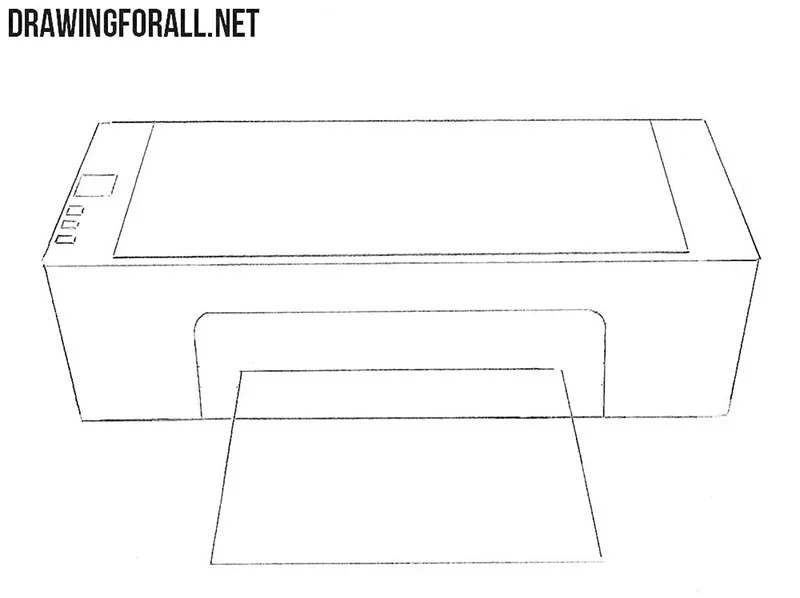
Step 3: Draw the opening and paper
Now let’s turn the long box with buttons into something more like a printer. First of all, depict a wide opening in the front part of the device. Next, draw a sheet of paper protruding from this opening. Keep in mind that the sheet should become wider toward the viewer to convey linear perspective correctly.
Step 4: Add the final shading to the printer
Now take an eraser and clean the entire printer drawing of unnecessary auxiliary lines. You can also add shading to make the printer look more dimensional and interesting. In addition, you can add some extra details to the multifunction printer drawing.
As you can see, a printer is quite easy to draw because its basic construction is very simple. Printers can have very different outlines, so try changing the shape of the body or individual details.
You can find many other simple devices in our electronics tutorials. For further practice, draw a router, which also has a simple box-like base. Or draw a scanner, another device very close to the printer both in its purpose and basic shape.




please draw the miles morales ps5 all suits
You really tryed for the drawing i love your drawing and you can use your drawing to become an artist