How to Draw a Juicer
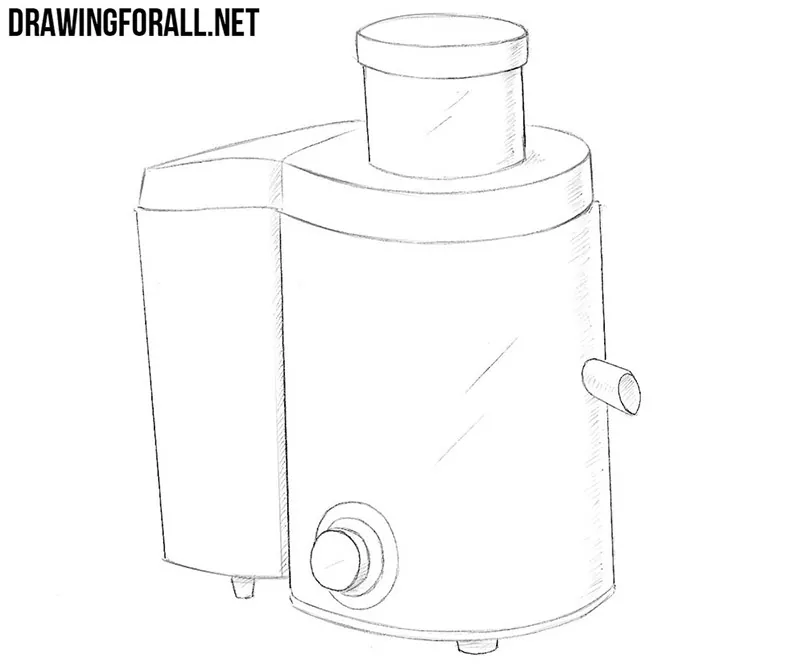
In this very simple drawing tutorial the team of Drawingforall.net will tell you how to draw a juicer . We pay a lot of attention to drawing ordinary things from everyday life because it is an excellent training for working with straight lines. If you draw a few objects from everyday life, you can easily draw spaceships, lightsabers or similar cool things.
We also can not fail to note that the juicer is an excellent and very useful thing. Many people do not like juices from packages – they say they have too much sugar. In fact, the freshly squeezed orange juice doesn’t even match the coolest juice in the bag, is it?
Step 1
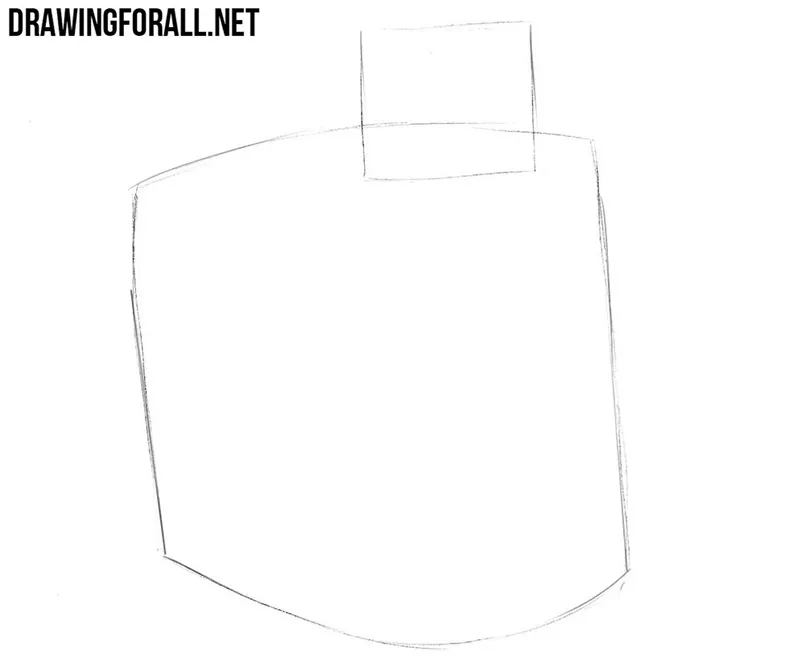
First, we draw the outline of our juicer. This contour consists of two large asymmetrical figures. Do not try to draw perfectly smooth lines in this step.
Step 2
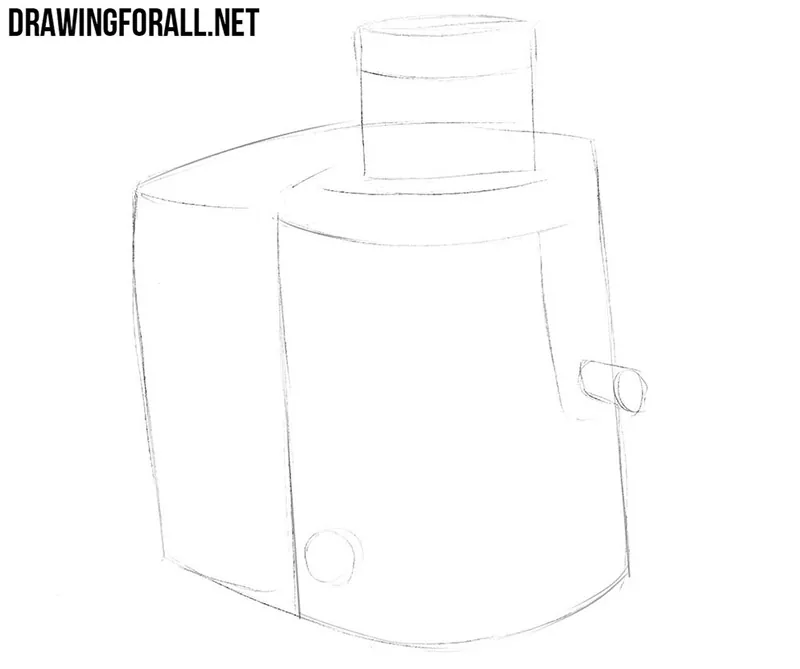
Let’s draw the main details of the juicer. You can see in this step the contours of the lid and the tube for juice. At the bottom left is the power button. In our case, the power button is quite large. As in the last step, you should not draw perfectly smooth lines.
Step 3
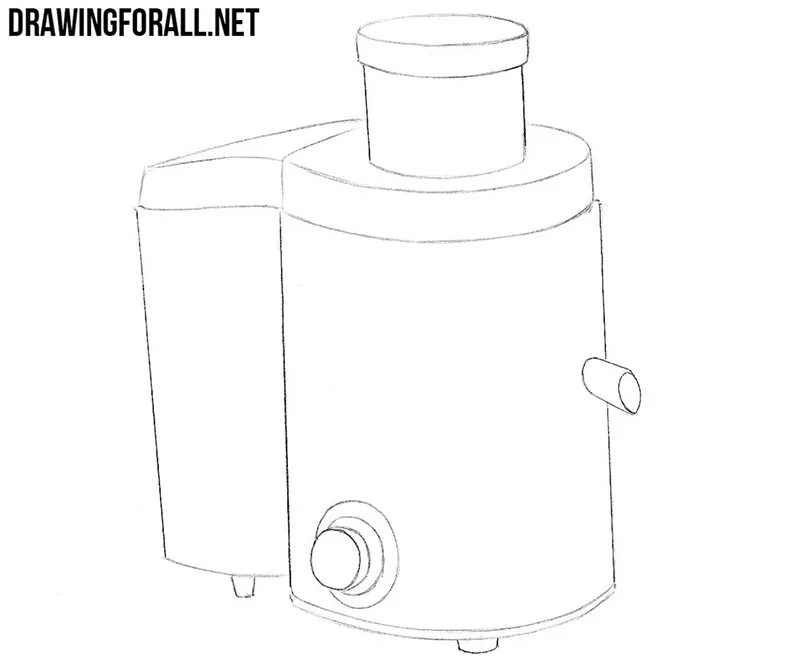
Now we will work with straight and even lines. We draw the final contours of the juicer using the lines from the first steps as a guide. We erase the extra lines from the juicer to get a clean finished drawing
Step 4
In order for our juicer drawing to look more realistic, we need to draw shadows. If we assume that the light falls from the left side, then we need to depict shadows on the right margin of the juicer. The shadows in such a drawing are not pretty hard to make, you just need to apply dense and uniform hatching as in our example below.

It was pretty easy. We still have a few lessons of pencilling objects that are located in the kitchen and help in the preparation of dishes. If you do not particularly like this topic, you can write about this comment and then we will not make new drawing lessons about it.


