

How to Draw a Waterfall
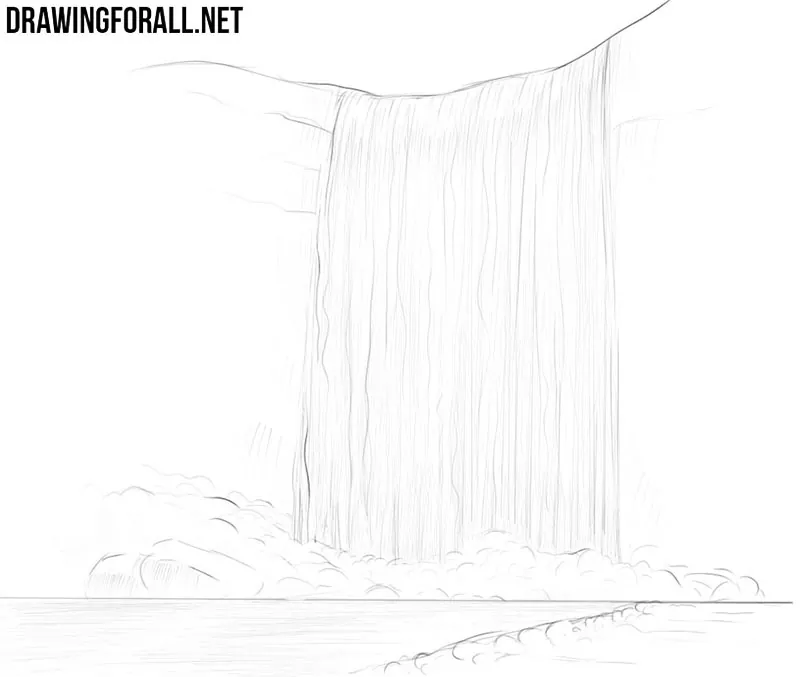
Drawingforall.net has been around for many years, and our readers from time to time ask us to show how to draw a waterfall. We have long thought how to make this instruction more detailed and understandable for anyone who wants to learn how to draw a waterfall. And eventually we created this super simple drawing guide, in which with the help of five very simple steps we will show how to draw a waterfall easy and fast.
Step 1
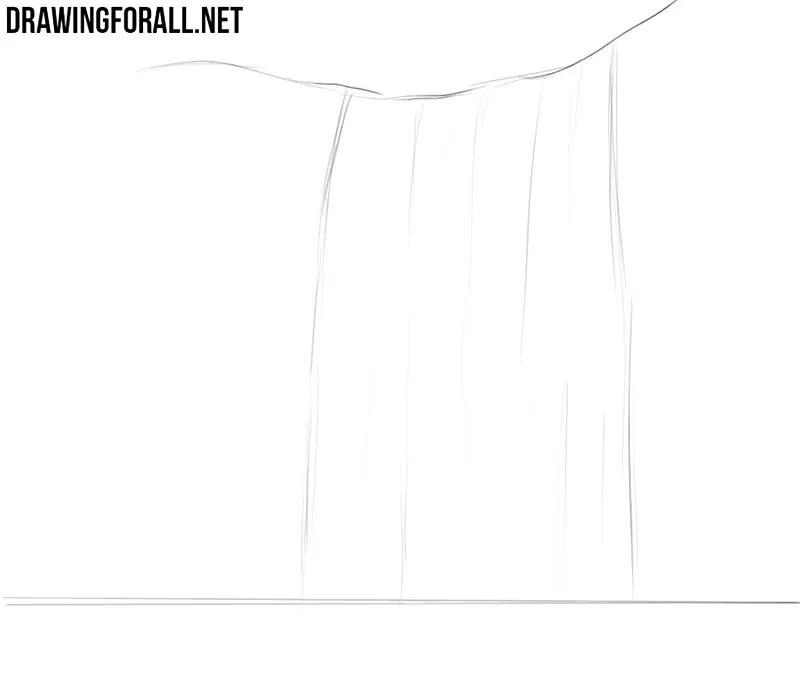
Let’s begin depicting a waterfall with two simple lines. First, sketch a straight horizon line at the lower part. After that depict a rough and uneven line of the upper part of the waterfall, as the artists of Drawingforall.net showed in the example below.

Step 2
Now let’s draw the most integral part of the waterfall – the falling water itself. This should be done with a few light vertical lines. These lines should not be too straight and sharp.
Step 3
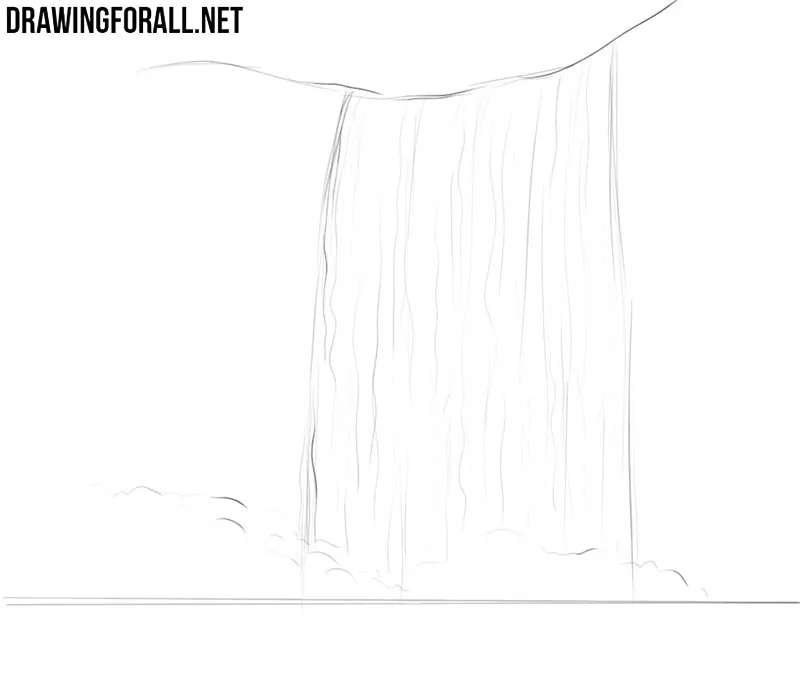
At the lower part of the waterfall, right above the horizon line, draw a cloud of water with a large number of wavy lines. Now add a large number of slightly curved vertical lines of the waterfall.
Step 4
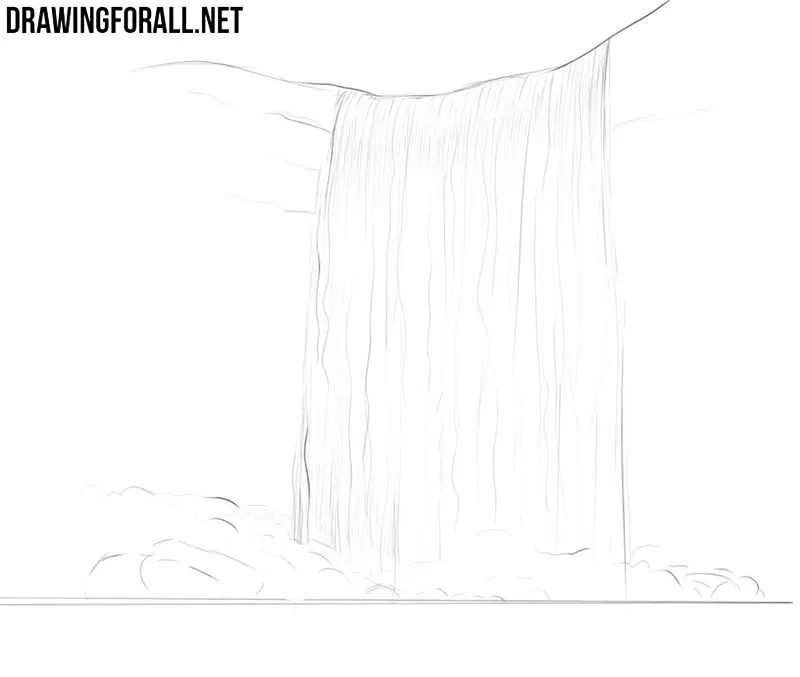
Let’s now make our drawing of a waterfall more voluminous and realistic. At the upper and lower parts of the waterfall, draw a large number of light lines, creating a glare of water. Next, in the top and bottom, depict the texture of the stones.
Step 5
Let’s continue to make our waterfall drawing more voluminous and realistic. To do this, add shadows, as shown in our example. Next, draw a coastline and a lot of light vertical lines on the surface of the water.
As we said in the intro of our article, we tried to make the lesson about how to draw a waterfall the easiest to understand. You can diversify your drawing by adding a tree or a girl standing on the beach and looking at this beautiful wonder of nature. And to continually improve your drawing skills, subscribe to us on Facebook, Pinterest and Twitter, where we constantly post new content. In Pinterest we usually publish all links to our new articles and the shortened news of our guides. On Twitter and Facebook, we also publish announcements on our upcoming lessons. So be sure to subscribe to us in the aforementioned social networks, to be aware of absolutely all of our new articles.



This site is the best one I’ve seen so far. It has the details on how to draw things or objects. ❤❤😍😍😍
Yeah i agree with Jason
Jason and Ronald, you’re just terrible at drawing, it’s not their fault. I am 12 years old and completed this drawing in a few minutes.
soo cool yours are better than mine
i like it
Well I think it is an awesome site
It’s amazing and simple. Pls try ban Ronald and Jason. This waterfall is realist and honestly quite outstanding.
It is really easy and outstanding drawing
I love it .Ronald and Jason go take your negativity away from us I bet you can’t even draw like this
Could you please do many other water sources, such as an ocean, lake, mountain lake, or other bodies of water?
Nope, I think your just a hater, and your bad at drawing, GREAT APP