

How to Draw a Cranberry
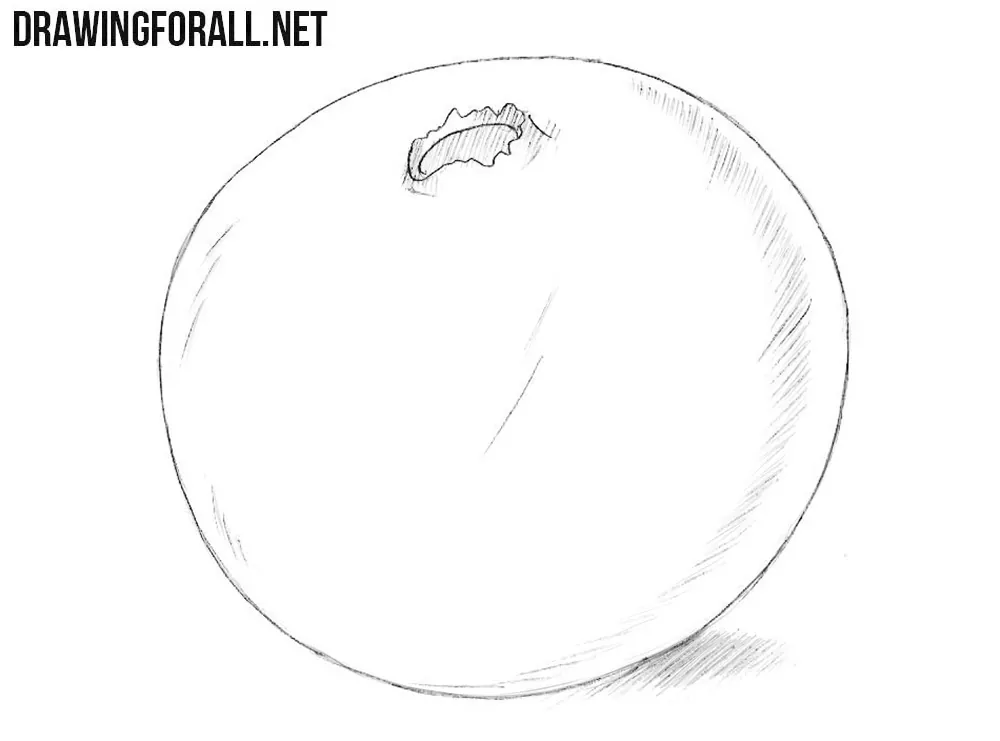
Cranberries are small berries with an almost spherical shape and a distinctive calyx at one end. Despite this apparent simplicity, a convincing drawing requires careful attention to the outline, surface, and distribution of light and shadow. In this tutorial, we will show you how to draw a cranberry with these features in mind.
How to draw a cranberry step by step
Step 1: Sketch the cranberry shape
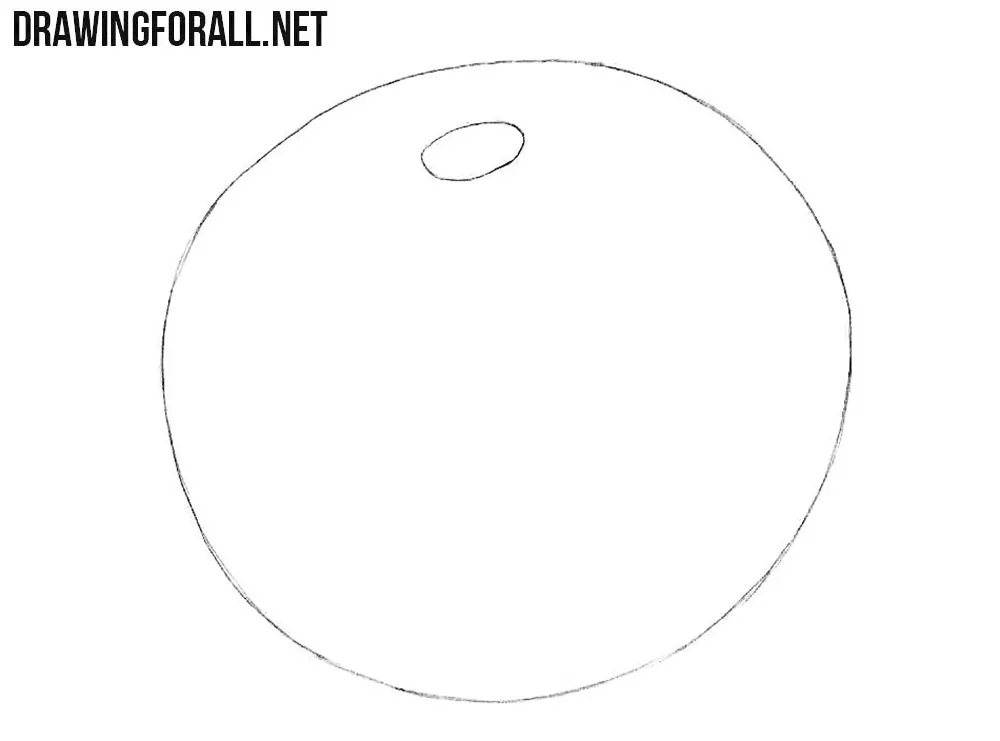
First, draw a regular circle. You do not have to copy our drawing exactly. It is fine if you draw a slightly flattened circle of a different shape. A slight irregularity in the contour will make the berry look more natural. In the upper part of the circle, draw a flattened horizontal oval. Its shape follows the spherical surface of the cranberry.
Step 2: Draw the cranberry calyx
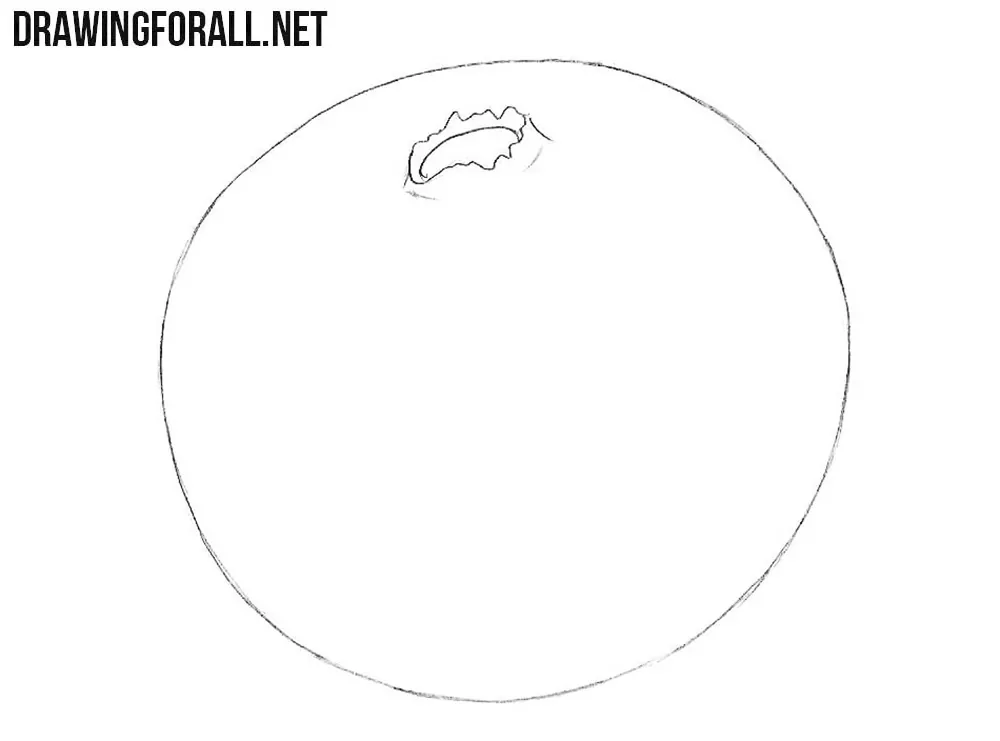
Now work with the small flattened oval. Draw another oval with jagged edges on top of the first one. Note that these two ovals share one side. Make the individual points of the calyx slightly different in size and direction.
Step 3: Add shadows to the berry
Now let’s work on the shadows a bit to make the berry more realistic. Apply hatching inside the oval from the previous step and darken its outer edges. Add broad hatching to the side of the berry. Do not forget the cast shadow on the surface beneath the cranberry. Make it darkest near the berry and lighter toward the outer edge.
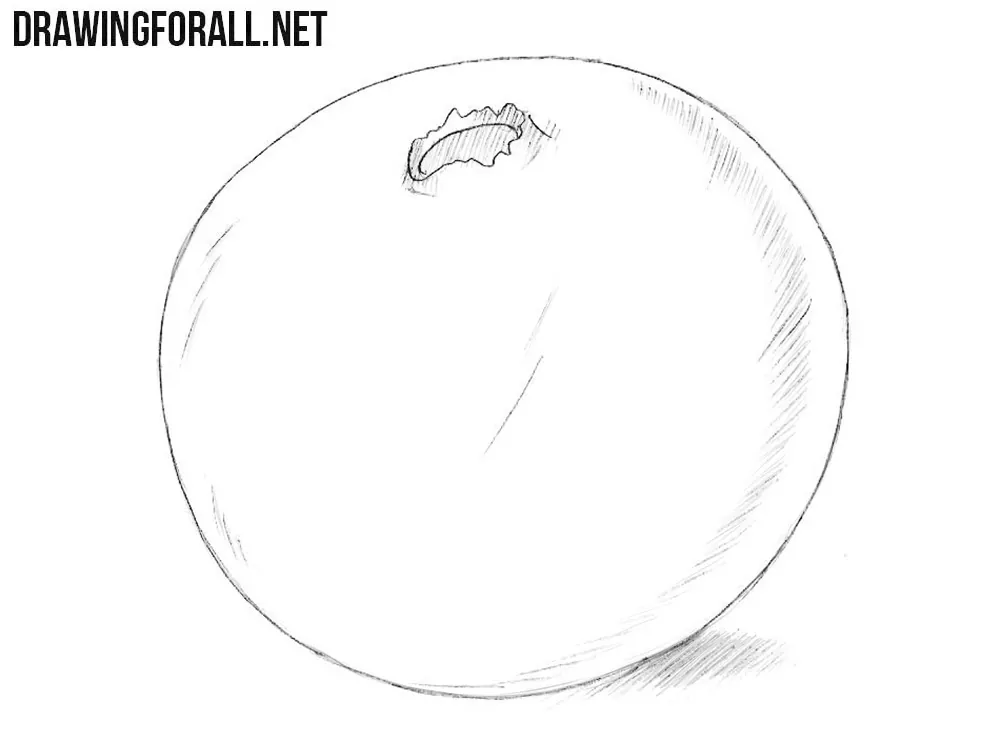
If you think the berry you drew looks noticeably different from ours and you are not satisfied with the result, just return to the first step, and try again.
With this drawing tutorial, we complete our set of wild berries. For example, we have already drawn blueberries and drawn blackberries.
You can also try drawing all these berries together and create a complete still life composition.
Although these berries differ in shape and details, the same basic principles of drawing simple natural forms and adding volume with shadows can be used for all of them.


